How to Edit Screen Recordings on Mac: 5 Free Methods
Need to edit a screen recording on Mac? Whether you want to trim a few seconds from the beginning, crop out your messy desktop, or blur sensitive information before sharing, macOS gives you several options — from quick built-in tools to full-featured editors like ScreenSnap Pro.
This guide walks you through five methods to edit screen recordings on Mac, starting with the simplest and progressing to more advanced options. You'll learn exactly when to use each one based on your needs.
TL;DR — Which method to use:
- Quick trim (5 sec): Floating thumbnail right after recording
- Cut middle sections: QuickTime Player (free, built-in)
- Add titles/transitions: iMovie (free, more features)
- Blur sensitive info: ScreenSnap Pro (annotate while recording)
- Cinema-quality polish: Screen Studio or Final Cut Pro
How to Edit Screen Recordings with the Floating Thumbnail (Method 1)
The fastest way to trim a screen recording is using the floating thumbnail that appears right after you finish recording.
How to Use the Floating Thumbnail
When you stop a screen recording (using ⌘ + Shift + 5 or the Screenshot app), a small preview appears in the bottom-right corner of your screen. This is part of Apple's Screenshot toolbar, introduced in macOS Mojave. Don't let it disappear — click it to open the editing options.
What you can do:
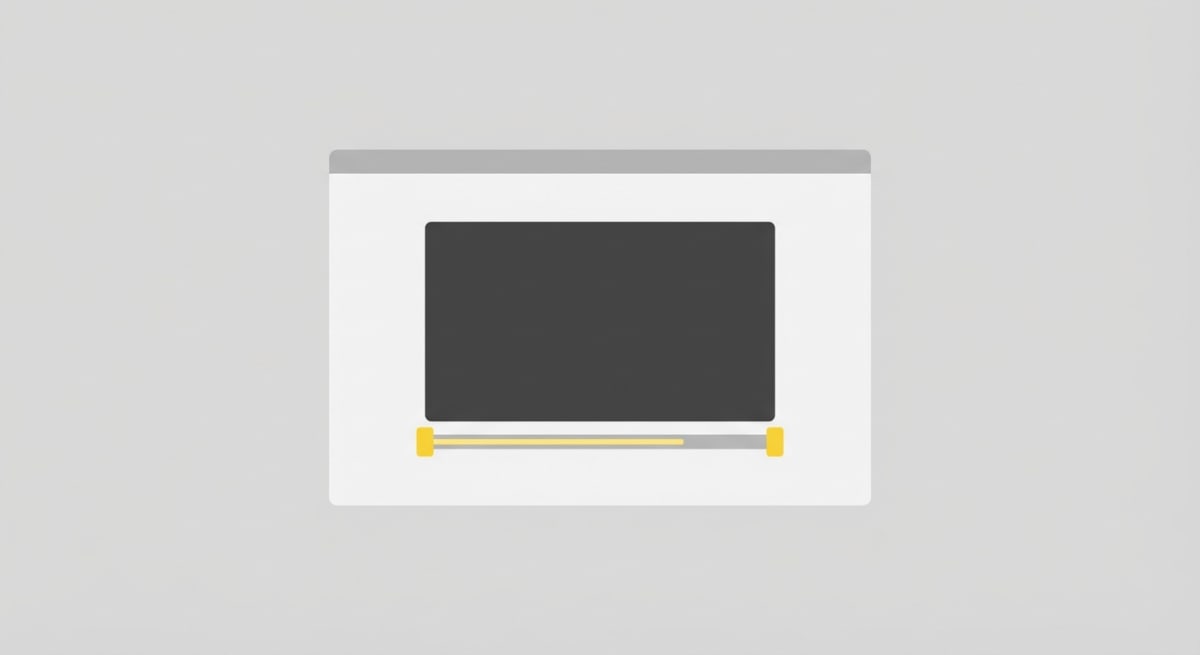
- Trim the recording — Click the trim icon to drag the yellow handles and remove unwanted sections from the beginning or end
- Markup basics — Add text, shapes, or arrows using the built-in annotation tools (similar to what you'd use to annotate screenshots on Mac)
- Share directly — Send via AirDrop, Messages, or Mail without saving first
Best for: Quick trims when you only need to cut a few seconds.
Limitations: You only have about 5 seconds before the thumbnail disappears. Can't split clips or add transitions.
Method 2: QuickTime Player (Built-in)
QuickTime Player is already on your Mac and handles basic video editing surprisingly well. For simple trim-and-save operations, it's all you need.
Trimming in QuickTime
- Open your screen recording in QuickTime Player
- Go to Edit > Trim (or press
⌘ + T) - Drag the yellow handles to select the portion you want to keep
- Click Trim
- Save with File > Export As and choose your quality
Splitting Clips
Want to remove something from the middle of your recording? QuickTime can do that too:
- Go to View > Show Clips
- Position the playhead where you want to split
- Choose Edit > Split Clip (or
⌘ + Y) - Select and delete the unwanted section
- The remaining clips will snap together
Export Options
QuickTime offers several export resolutions:
- 4K (2160p)
- 1080p
- 720p
- 480p
Pro tip: For tutorials and demos, 1080p is usually the sweet spot between quality and file size.
Rotating and Flipping
Sometimes you record in the wrong orientation. QuickTime handles this:
- Open the recording
- Go to Edit > Rotate Left/Right or Flip Horizontal/Vertical
- Save the result
This is particularly useful if you accidentally recorded your iPhone screen in portrait when you wanted landscape.
Audio Considerations
QuickTime preserves audio when trimming, but you can't adjust levels or add new audio tracks. If you need to fix audio issues — like removing background noise or adding a voiceover — you'll need iMovie or another editor.
Best for: Simple trims, splitting clips, quick exports, rotation fixes.
Limitations: No annotations, no speed changes, limited audio editing.
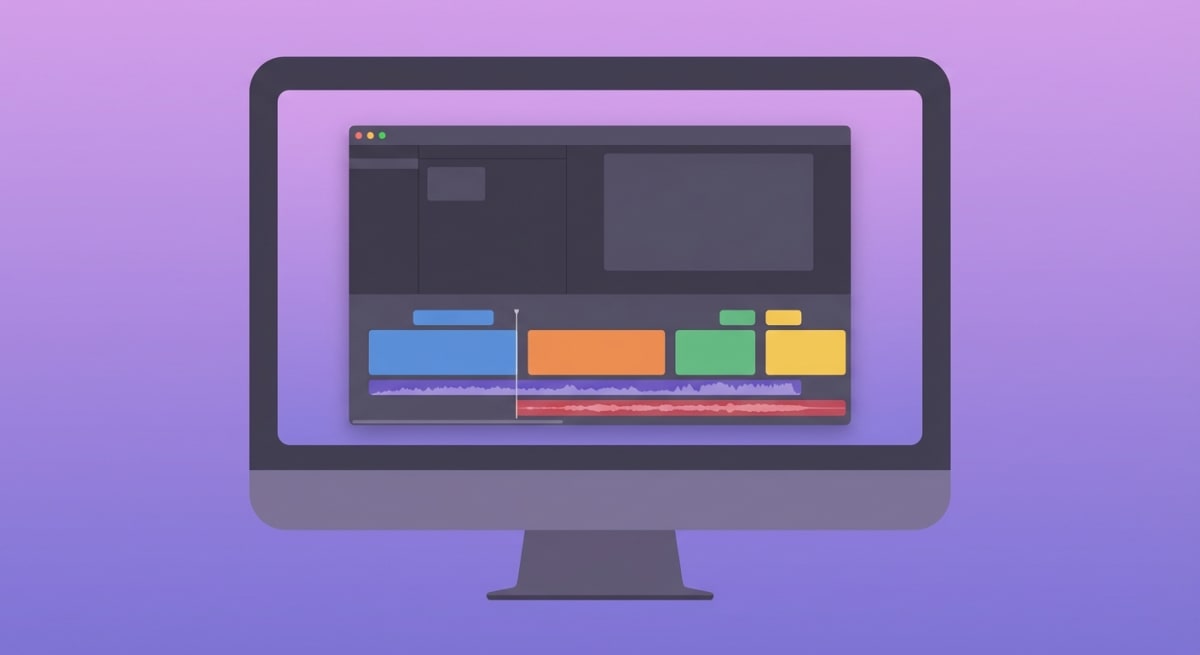
Method 3: iMovie (Free, More Power)
For recordings that need titles, transitions, or audio work, iMovie is the natural next step. It's free, pre-installed on most Macs, and surprisingly capable.
What iMovie Adds Over QuickTime
- Titles and lower thirds — Add text overlays to explain what's happening
- Transitions — Smooth cuts between clips
- Speed adjustments — Speed up boring parts (like waiting for something to load)
- Audio editing — Adjust levels, add background music, or record voiceovers
- Picture-in-picture — Show your webcam in the corner (great for tutorials)
Importing Your Screen Recording
- Open iMovie and create a new project
- Click Import Media and select your screen recording
- Drag the clip to the timeline
- Start editing
Key Editing Tasks in iMovie
Trimming: Hover over the edge of a clip until you see the trim cursor, then drag.
Splitting: Position the playhead and press ⌘ + B.
Adding titles: Click the "Titles" tab and drag a template onto your timeline.
Adjusting speed: Select a clip, click the speedometer icon, and choose your speed.
Adding Background Music
iMovie includes a library of royalty-free music and sound effects. To add background music:
- Click the Audio tab above the browser
- Choose from Sound Effects, Music, or import your own
- Drag the audio track below your video clip
- Adjust volume by selecting the audio track and using the volume slider
Tip: Keep background music at 10-20% volume during voiceover sections. Viewers should barely notice it's there.
Exporting from iMovie
When your edit is complete:
- Click the Share button (arrow icon in top right)
- Choose Export File
- Select resolution (1080p is usually ideal) and quality
- Click Next and choose save location
iMovie exports as MP4 by default, which works on virtually any platform. According to Apple's iMovie guide, you can also share directly to YouTube, Vimeo, or Facebook.
Best for: Tutorials, demos, any recording that needs polish before sharing.
Limitations: Can't blur or redact sensitive information. No motion tracking or automatic zoom. For privacy edits, you'll need something else — more on this below.
Method 4: ScreenSnap Pro (Record + Edit in One)
Sometimes the best editing happens while you record. Tools like ScreenSnap Pro let you annotate in real-time, which means less post-production work.
Editing Features During Recording
With ScreenSnap Pro, you can:
- Draw arrows and shapes to highlight what you're demonstrating
- Add text callouts that explain steps as you go
- Blur sensitive information on the fly — perfect if you're recording something with passwords or personal data visible
This last point is crucial. If you regularly record your screen and need to hide sensitive details, having blur built into your recording tool saves a significant amount of time compared to doing it in post.
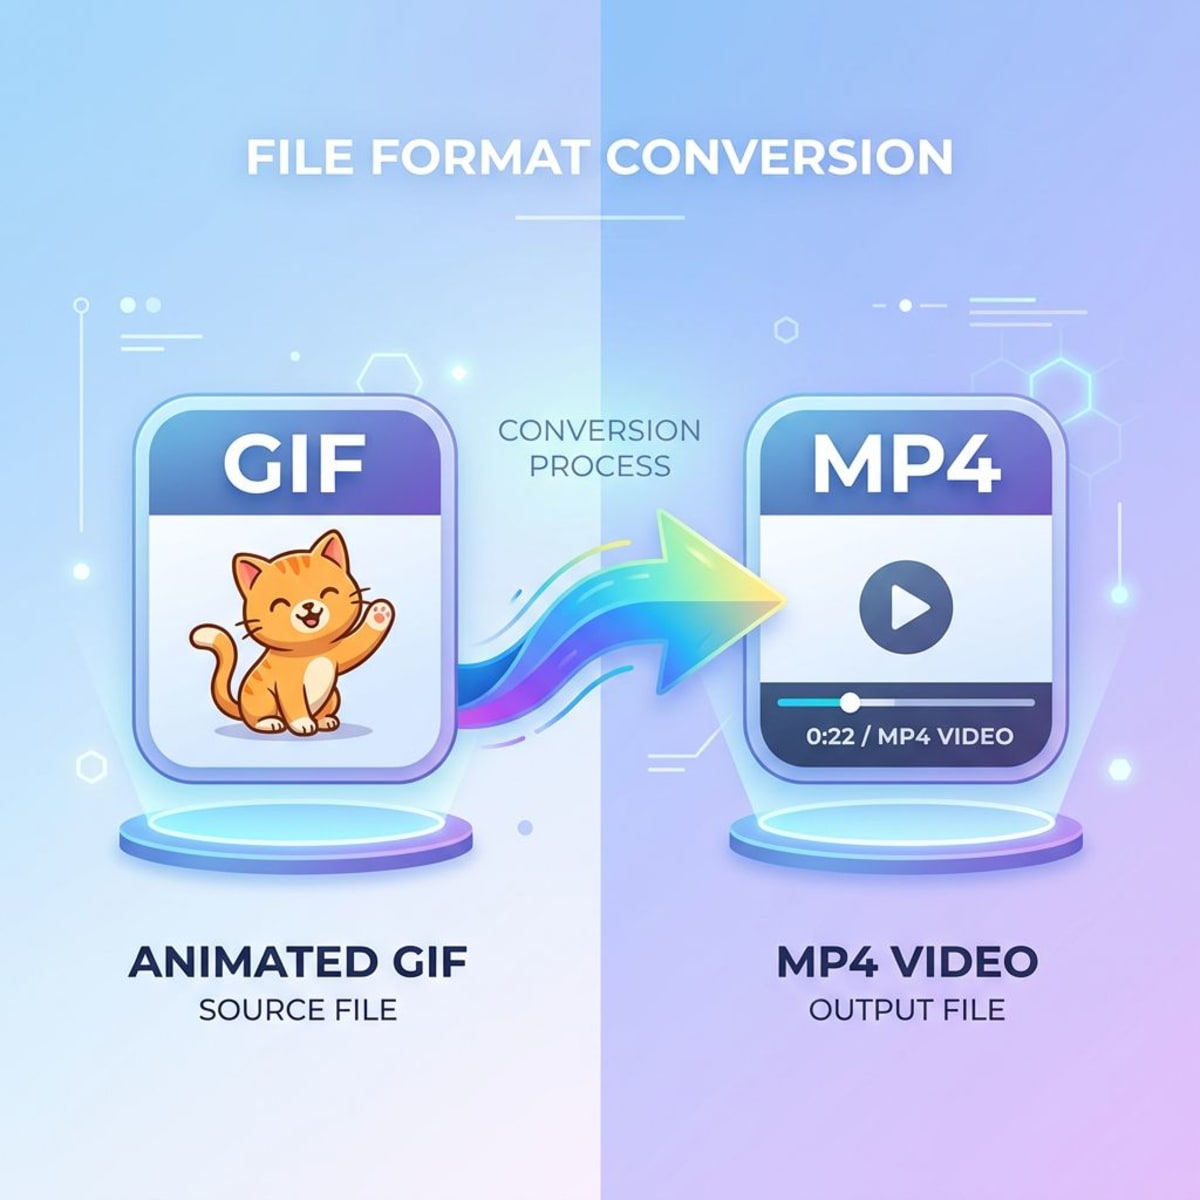
GIF Export
For short recordings (under 30 seconds), exporting as a GIF is often better than video. GIFs play automatically, loop infinitely, and work everywhere. You can also use our free GIF maker to turn a series of screenshots into an animated GIF. If you're creating quick demos for documentation or Slack, check out our guide on how to record GIFs on Mac.
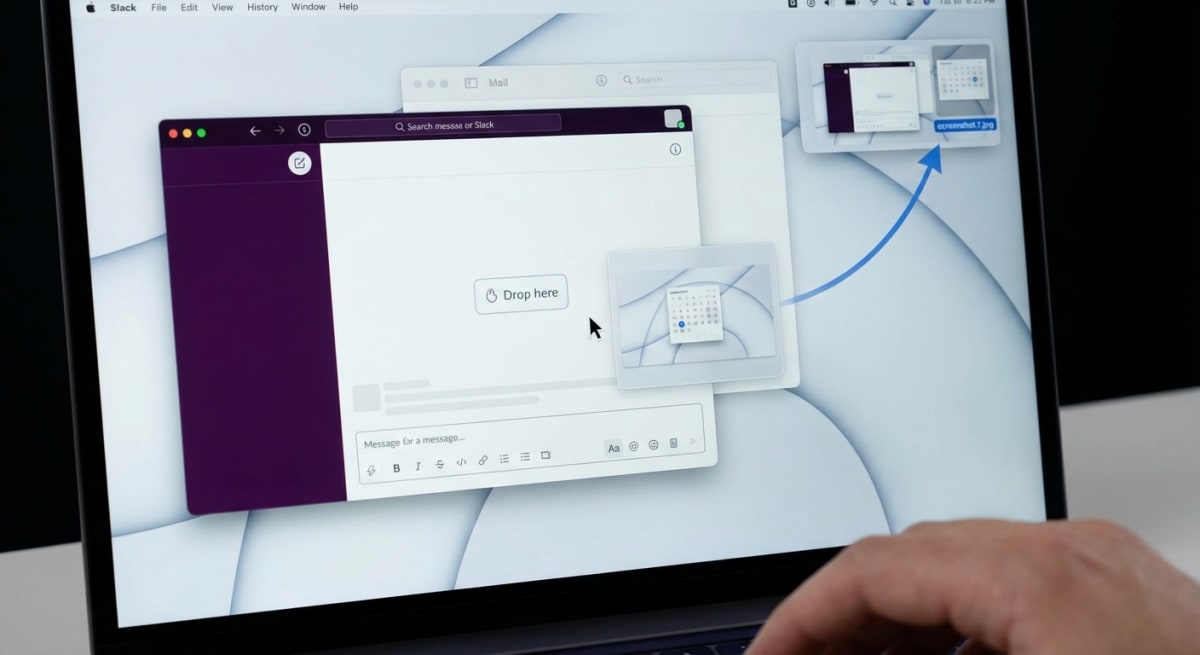
Instant Sharing
After recording, ScreenSnap Pro can automatically upload to cloud storage and copy a shareable link to your clipboard. This is perfect for quick bug reports or showing a colleague how to do something — capture, annotate, share in under 30 seconds.
Why One-Time Payment Matters
Unlike subscription tools that charge monthly, ScreenSnap Pro is a one-time purchase of $29. You own it forever, no recurring fees. For anyone who records their screen more than occasionally, this makes it a practical choice.
Best for: People who record frequently, need blur/annotation features, and want to minimize post-production editing time.
Method 5: Pro Tools (Screen Studio, Final Cut Pro)
When you need cinema-quality screen recordings with automatic zoom, motion blur, and professional effects, dedicated screen recording apps step in.
Screen Studio
Screen Studio is designed specifically for product demos and tutorials. Its killer feature: automatic zoom that follows your cursor, making your recordings look professionally produced without manual keyframing.
Key features:
- Auto-zoom on clicks
- Motion blur for smooth movements
- Background blur and device frames
- Direct export for social media
Pricing: Subscription-based
Final Cut Pro
For full control over every frame, Final Cut Pro gives you professional editing capabilities. It's overkill for most screen recordings, but if you're creating polished video content for YouTube or courses, it delivers.
Pricing: $299.99 one-time purchase
Tired of plain screenshots? Try ScreenSnap Pro.
Beautiful backgrounds, pro annotations, GIF recording, and instant cloud sharing — all in one app. Pay $29 once, own it forever.
See what it doesCommon Editing Tasks: Quick Reference
Here's how to handle the most common screen recording edits:
Trim Beginning/End
Fastest method: Floating thumbnail right after recording
More control: QuickTime Player's trim tool (⌘ + T)
Crop to Focus
QuickTime: Not directly supported — you'll need iMovie or another editor
iMovie: Use the cropping tool in the viewer
Speed Up Boring Parts
iMovie: Select clip, click speed icon, adjust percentage
Pro tip: 2x speed works well for installations or loading screens. 4x might be too fast to follow.
Add Text/Callouts
During recording: ScreenSnap Pro's annotation tools
After recording: iMovie titles or dedicated annotation software
Blur Sensitive Data

This is the one task where most free tools fall short. Your options:
- During recording: ScreenSnap Pro's built-in blur tool
- After recording: Dedicated privacy tools or video editors with masking
We've written a complete guide on blurring sensitive information on Mac that covers all your options.
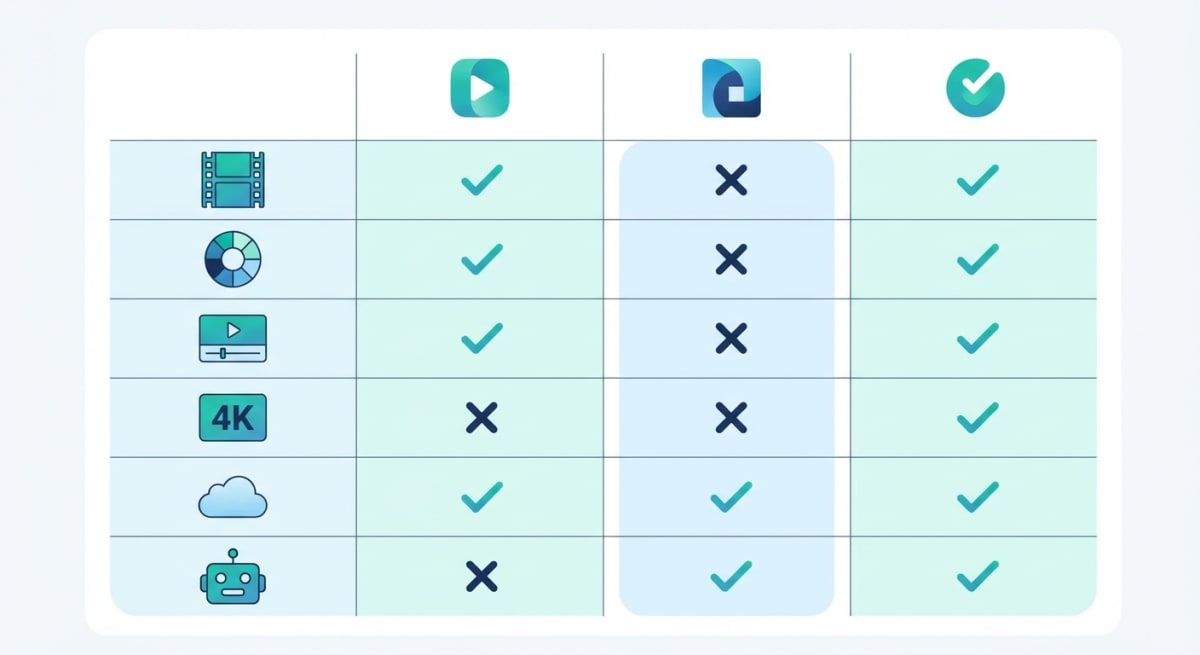
Choosing the Right Method: Decision Table
| Need | Best Method |
|---|---|
| Quick 5-second trim | Floating thumbnail |
| Remove middle section | QuickTime Player |
| Add titles/transitions | iMovie |
| Blur sensitive info | ScreenSnap Pro |
| Professional polish | Screen Studio / Final Cut |
| GIF export | ScreenSnap Pro |
| Free solution | QuickTime + iMovie |
Tips for Better Screen Recordings
Before you even start editing, you can save yourself work:
- Clean your desktop — Hide icons and use a simple wallpaper. A cluttered desktop is distracting.
- Close notifications — Turn on Do Not Disturb from Control Center. Nothing ruins a recording like a personal notification popping up.
- Use keyboard shortcuts — Memorize Mac screenshot shortcuts and screen recording hotkeys. The less mouse movement, the easier to follow.
- Record at 1080p minimum — You can always scale down, but you can't scale up. If your display supports it, consider 4K for extra flexibility.
- Leave buffer space — Start recording a few seconds early, stop a few seconds late. It's much easier to trim than to re-record.
- Plan your clicks — Know exactly what you'll demonstrate before hitting record. Practice once if needed.
- Use a clean browser profile — For web recordings, use a browser profile without personal bookmarks or extensions showing.
Workflow Example: Creating a Tutorial
Here's a practical example of editing a 5-minute tutorial:
- Record using
⌘ + Shift + 5, making sure to enable microphone audio - Trim the beginning 3 seconds (where you clicked record) using QuickTime
- Import into iMovie for more extensive editing
- Speed up any waiting/loading sections to 2x
- Add a title at the beginning explaining what viewers will learn
- Export at 1080p as MP4
- Upload to YouTube or share internally
Total editing time for a 5-minute video: approximately 15-20 minutes.
Frequently Asked Questions
What's Next?
If you're taking lots of screenshots and screen recordings for documentation, tutorials, or bug reports, you might want to explore the best screenshot apps for Mac to find a tool that fits your workflow.
For most quick edits, QuickTime and iMovie handle the job perfectly well. But if you find yourself repeatedly blurring information, adding annotations, or wishing you could edit while recording, it might be time to try a dedicated tool like ScreenSnap Pro — especially since it's a one-time purchase rather than another subscription.
Happy recording.
Morgan
Indie DeveloperIndie developer, founder of ScreenSnap Pro. A decade of shipping consumer Mac apps and developer tools. Read full bio
@m_0_r_g_a_n_