Change Screenshot Location on Mac: 5 Easy Methods
Want to change screenshot location on Mac and stop cluttering your desktop? By default, macOS saves every screenshot directly to your desktop, which quickly becomes a mess if you take screenshots regularly. The good news: you can easily redirect screenshots to any folder you want — or skip the file system entirely with a tool like ScreenSnap Pro that opens captures straight into an editor.
In this guide, I'll show you five different methods to change where your Mac saves screenshots—from the built-in Screenshot app to Terminal commands, cloud storage options, and automation workflows.
Where Does Mac Save Screenshots by Default?
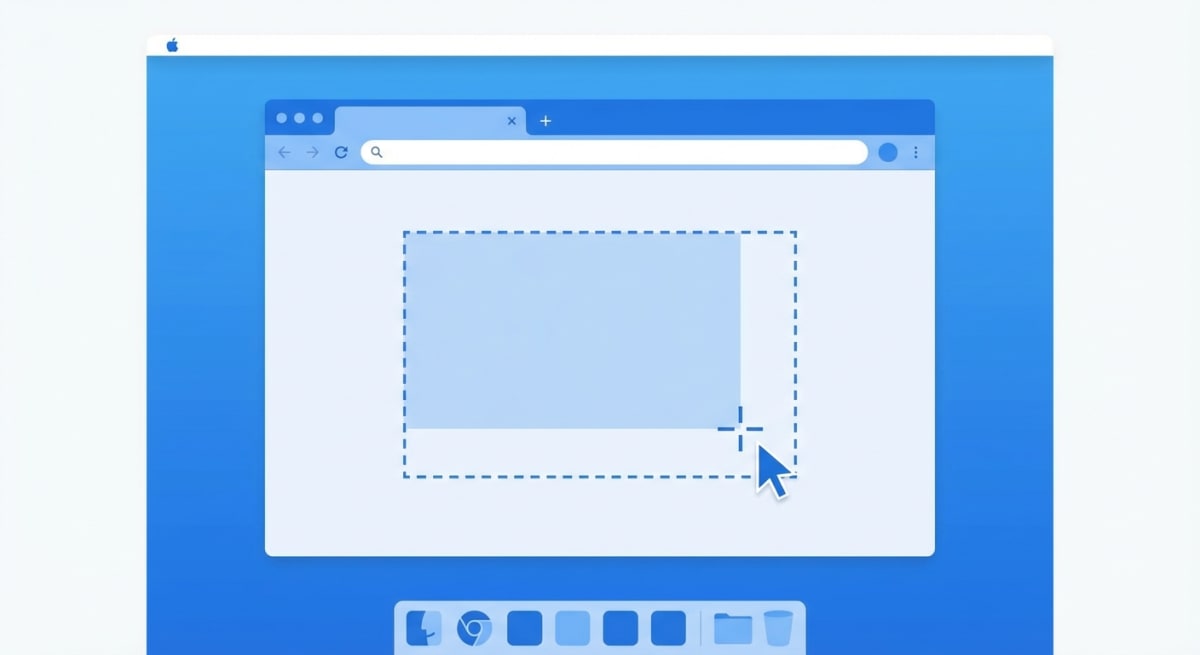
When you press ⌘ + Shift + 3 or ⌘ + Shift + 4 to take a screenshot on Mac, macOS saves the file to your desktop with a filename like "Screenshot 2026-01-31 at 10.30.45.png." According to Apple's official documentation, all screenshots save to the desktop by default, including those taken with ⌘ + Shift + 5.
While the desktop might seem convenient at first, it creates several problems over time:
- Desktop clutter — Screenshots pile up quickly
- Hard to find files — Mixed with other desktop items
- Sync issues — If you use iCloud Desktop, screenshots sync across devices
- Unprofessional appearance — Messy desktop visible during screen shares
Let's fix that with these five methods.
Method 1: Use the Screenshot App (Easiest)
If you're running macOS Mojave (10.14) or later, this is the fastest way to change your screenshot save location.
Step-by-step instructions:
- Press
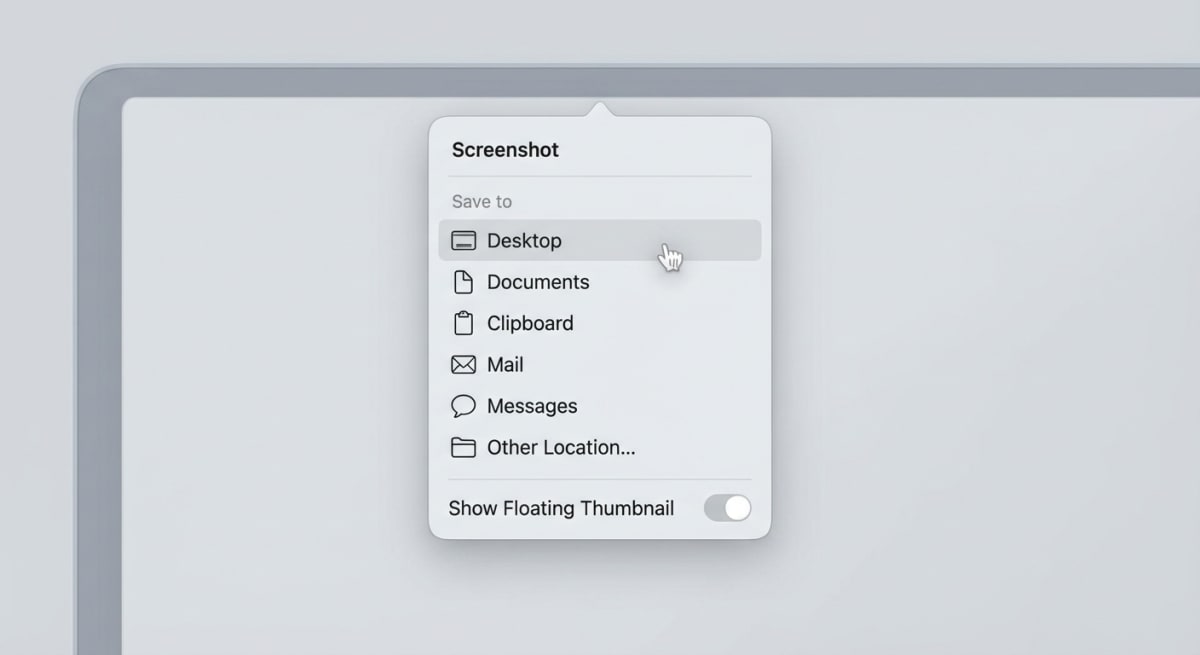
⌘ + Shift + 5to open the Screenshot app - Click Options in the floating toolbar
- Under Save to, choose from:
- Desktop
- Documents
- Clipboard
- Messages
- Preview
- Other Location... (to pick any folder)
- If you chose "Other Location," navigate to your preferred folder and click Choose
- Press
Escor click anywhere to close the toolbar
That's it! All future screenshots will save to your selected location.
Pro tip: Create a dedicated "Screenshots" folder in your Documents or a project-specific folder. This keeps everything organized and easy to find.
Why this method works best for most users
The Screenshot app method is ideal because:
- No Terminal commands required
- Changes apply immediately
- Works with all screenshot shortcuts (
⌘ + Shift + 3,⌘ + Shift + 4, etc.) - Easy to change again anytime
If you're having trouble with screenshots not saving at all, check out our guide on fixing Mac screenshot issues.
Method 2: Use Terminal (For Older macOS or Power Users)
Running macOS High Sierra or earlier? Or prefer the command line? Terminal gives you full control over screenshot settings.

Step-by-step instructions:
- Open Terminal (Applications → Utilities → Terminal, or search with Spotlight)
- Create your target folder first (if it doesn't exist):
mkdir ~/Documents/Screenshots- Run this command to set the new location:
defaults write com.apple.screencapture location ~/Documents/Screenshots- Restart the screenshot system:
killall SystemUIServerCommon Terminal variations
Save to Downloads folder:
defaults write com.apple.screencapture location ~/DownloadsSave to a folder on an external drive:
defaults write com.apple.screencapture location /Volumes/MyDrive/ScreenshotsReset to default (Desktop):
defaults write com.apple.screencapture location ~/Desktop
killall SystemUIServer
Important: Don't delete the folder you've set as the save location! If you do, screenshots will fail to save. Either change the location first or recreate the folder.
Additional Terminal customizations
While you're in Terminal, you might want to customize other screenshot settings:
Change the default file format:
defaults write com.apple.screencapture type jpgOptions: png (default), jpg, gif, pdf, tiff
Remove the date/time from filenames:
defaults write com.apple.screencapture include-date -bool falseDisable the floating thumbnail preview:
defaults write com.apple.screencapture show-thumbnail -bool falseAfter any change, run killall SystemUIServer to apply it.
Method 3: Save to Cloud Storage (iCloud, Dropbox, Google Drive)
Want screenshots automatically synced across your devices? Save them directly to a cloud storage folder.
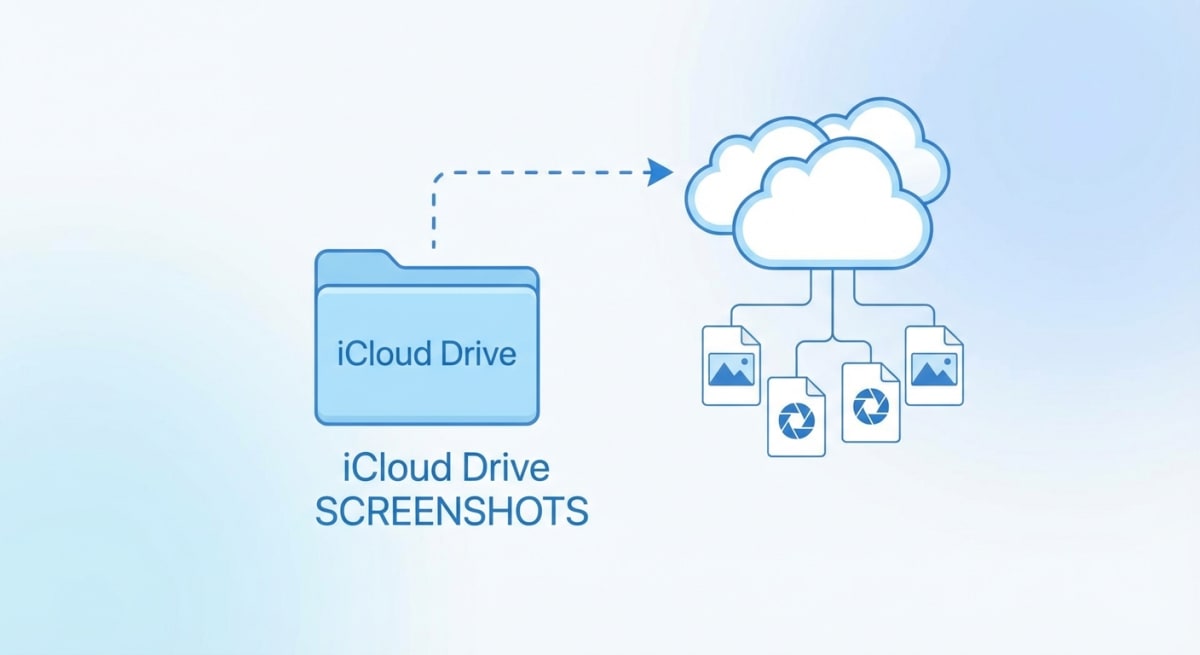
iCloud Drive
- Open Finder and go to iCloud Drive
- Create a new folder called "Screenshots"
- Use either Method 1 or Method 2 to set this as your save location
For Terminal:
defaults write com.apple.screencapture location ~/Library/Mobile\ Documents/com~apple~CloudDocs/Screenshots
killall SystemUIServer
Dropbox
- Locate your Dropbox folder (usually
~/Dropbox) - Create a "Screenshots" folder inside it
- Set the location using Method 1 or 2
For Terminal:
defaults write com.apple.screencapture location ~/Dropbox/Screenshots
killall SystemUIServer
Dropbox bonus feature: Dropbox has a built-in screenshot sharing feature. Enable it in Dropbox Preferences → Backups → Screenshots, and Dropbox will automatically save screenshots and copy a shareable link to your clipboard.
Google Drive
If you use Google Drive's desktop app:
defaults write com.apple.screencapture location ~/Google\ Drive/Screenshots
killall SystemUIServer
Benefits of cloud screenshot storage
- Access from anywhere — View screenshots on your phone, tablet, or other computers
- Automatic backup — Never lose important screenshots
- Easy sharing — Generate share links instantly
- Cross-platform access — Works on Windows, iOS, Android
- Collaboration — Team members can access shared folders
- Version history — Some cloud services keep file versions
Choosing the right cloud service
iCloud Drive is best if you're fully in the Apple ecosystem. Screenshots sync seamlessly across your iPhone, iPad, and other Macs. The integration is flawless, and if you already pay for iCloud storage, there's no extra cost.
Dropbox excels at sharing. Its screenshot feature automatically copies share links to your clipboard, making it the fastest option for sending screenshots to colleagues. The free tier offers 2GB of storage—plenty for screenshots.
Google Drive works best if you collaborate with Windows and Android users or use Google Workspace. The 15GB free tier is generous, and integration with Google Docs makes it easy to embed screenshots in documents.
If you frequently share screenshots with your team, you might also want to learn how to annotate screenshots professionally before sending them.
Tired of plain screenshots? Try ScreenSnap Pro.
Beautiful backgrounds, pro annotations, GIF recording, and instant cloud sharing — all in one app. Pay $29 once, own it forever.
See what it doesMethod 4: Use Third-Party Screenshot Apps
Dedicated screenshot apps often include more flexible save options, plus features macOS doesn't offer natively.
ScreenSnap Pro
ScreenSnap Pro lets you configure multiple save locations and automatically organizes screenshots by project or date. Key features:
- Custom save locations per capture type
- Cloud upload with instant shareable links
- Automatic file naming with customizable patterns
- Quick annotation tools before saving
Other popular options
- CleanShot X — Save to custom folders, cloud upload, scrolling capture
- Shottr — Lightweight, free, with OCR and annotation (compare Shottr vs ScreenSnap Pro)
- Monosnap — Built-in cloud storage with direct upload
Third-party apps shine when you need features like scrolling screenshots, blurring sensitive information, or advanced annotation tools.
Method 5: Create an Automator Workflow (Advanced)
Want screenshots automatically organized by date or moved to specific folders based on rules? Automator can help.

Create a folder action to organize screenshots
- Open Automator (Applications → Automator)
- Choose Folder Action as the document type
- At the top, set "Folder Action receives files and folders added to:" to Desktop
- Add these actions from the library:
- Filter Finder Items: Name begins with "Screenshot"
- Move Finder Items: Choose your Screenshots folder
- Save the workflow with a descriptive name like "Move Screenshots"
Now, any file starting with "Screenshot" that lands on your desktop will automatically move to your designated folder.
Advanced: Organize by date
You can extend this workflow to create dated subfolders:
- Add a Run Shell Script action before moving:
   today=$(date +%Y-%m-%d)
mkdir -p ~/Documents/Screenshots/$today- Modify the Move Finder Items action to use the dated folder
This creates a folder structure like:
Screenshots/
├── 2026-01-31/
├── 2026-01-30/
└── 2026-01-29/
Using Shortcuts (macOS Monterey and later)
The Shortcuts app offers even more flexibility:
- Open Shortcuts
- Create a new shortcut with these actions:
- Get contents of folder (Desktop)
- Filter files (where Name contains "Screenshot")
- Move files to your chosen folder
- Set it to run on a schedule or trigger manually
Quick Comparison: Which Method Should You Use?
| Method | Best For | Difficulty | macOS Version |
|---|---|---|---|
| Screenshot App | Most users | Easy | Mojave (10.14)+ |
| Terminal | Power users, older Macs | Medium | Any |
| Cloud Storage | Multi-device users | Easy | Any |
| Third-Party Apps | Advanced features | Easy | Varies |
| Automator | Auto-organization | Advanced | Any |
My recommendation: Start with Method 1 (Screenshot App) unless you need cloud sync or advanced automation. It's the simplest solution that works for 90% of users.
Troubleshooting Common Issues
Screenshots aren't saving to the new location
This is the most common issue after changing screenshot locations. Here's how to fix it:
- Verify the folder exists — Open Finder and navigate to the folder you specified. If it was deleted or renamed, screenshots won't save.
- Check permissions — Right-click the folder, select Get Info, and verify you have "Read & Write" access under Sharing & Permissions.
- Restart the system UI — Open Terminal and run
killall SystemUIServer - Restart your Mac — If the above steps don't work, a full restart often resolves stuck settings.
- Re-apply the setting — Use the Screenshot app (
⌘ + Shift + 5) to set the location again.
"The operation couldn't be completed" error
This typically indicates a permissions problem:
- Open System Settings → Privacy & Security → Files and Folders
- Look for any screenshot-related apps and ensure they have folder access
- Try choosing a folder within your home directory (Documents, Downloads) rather than an external location
- Check if the folder is on a network drive—some network locations have permission restrictions
Screenshots saving with wrong format
If your screenshots are saving as JPG when you want PNG (or vice versa), fix it with Terminal:
defaults write com.apple.screencapture type png
killall SystemUIServer
Replace png with your preferred format (jpg, gif, pdf, or tiff).
Screenshots have no shadow
By default, window screenshots include a drop shadow. If yours don't:
defaults write com.apple.screencapture disable-shadow -bool false
killall SystemUIServer
To remove shadows (for cleaner documentation screenshots):
defaults write com.apple.screencapture disable-shadow -bool true
killall SystemUIServer
Frequently Asked Questions
defaults write com.apple.screencapture location /Volumes/DriveName/ScreenshotsWrapping Up
Changing your Mac's screenshot save location takes less than a minute but saves hours of desktop cleanup over time. For most users, the Screenshot app method (⌘ + Shift + 5 → Options) is the fastest solution.
If you want more control—like automatic cloud sync, dated folders, or per-project organization—combine these methods or consider a dedicated screenshot tool. Whatever you choose, your desktop will thank you.
Related guides:
Morgan
Indie DeveloperIndie developer, founder of ScreenSnap Pro. A decade of shipping consumer Mac apps and developer tools. Read full bio
@m_0_r_g_a_n_