How to Annotate Screenshots on Mac Professionally (2026 Guide)
You've taken a screenshot. Now you need to point something out — maybe highlight a button, circle an error message, or add a quick note. But your annotations look... amateurish. Crooked arrows, clashing colors, text that's hard to read. Tools like ScreenSnap Pro bundle the markup features that make this fast on Mac.
Professional screenshot annotations don't require design skills. They require the right tools and a simple workflow.
In this guide, you'll learn:
- How to add arrows, shapes, and text that look clean
- The best blur and redaction techniques for sensitive data
- How to add beautiful backgrounds (the secret to polished screenshots)
- A 30-second workflow for annotating any screenshot
Time required: 2-5 minutes to learn, 30 seconds per screenshot after that
Difficulty: Beginner
What you need: A Mac running macOS 11.0 or later
Quick Answer
To annotate screenshots on Mac professionally: Use a dedicated screenshot tool like ScreenSnap Pro, which gives you arrows, shapes, text, blur, and beautiful gradient backgrounds — all in one workflow. Capture your screenshot, click to edit, add 1-3 annotations, apply a background, and share via cloud link. Total time: 30 seconds.
Why Professional Annotations Matter
Screenshots are everywhere — bug reports, documentation, tutorials, Slack messages, emails. The quality of your annotations affects how people perceive your work:
- Messy annotations → Look rushed, unprofessional
- Too many annotations → Confusing, overwhelming
- Clean, minimal annotations → Clear, trustworthy, professional
The difference between amateur and professional screenshots isn't talent — it's tools and technique.
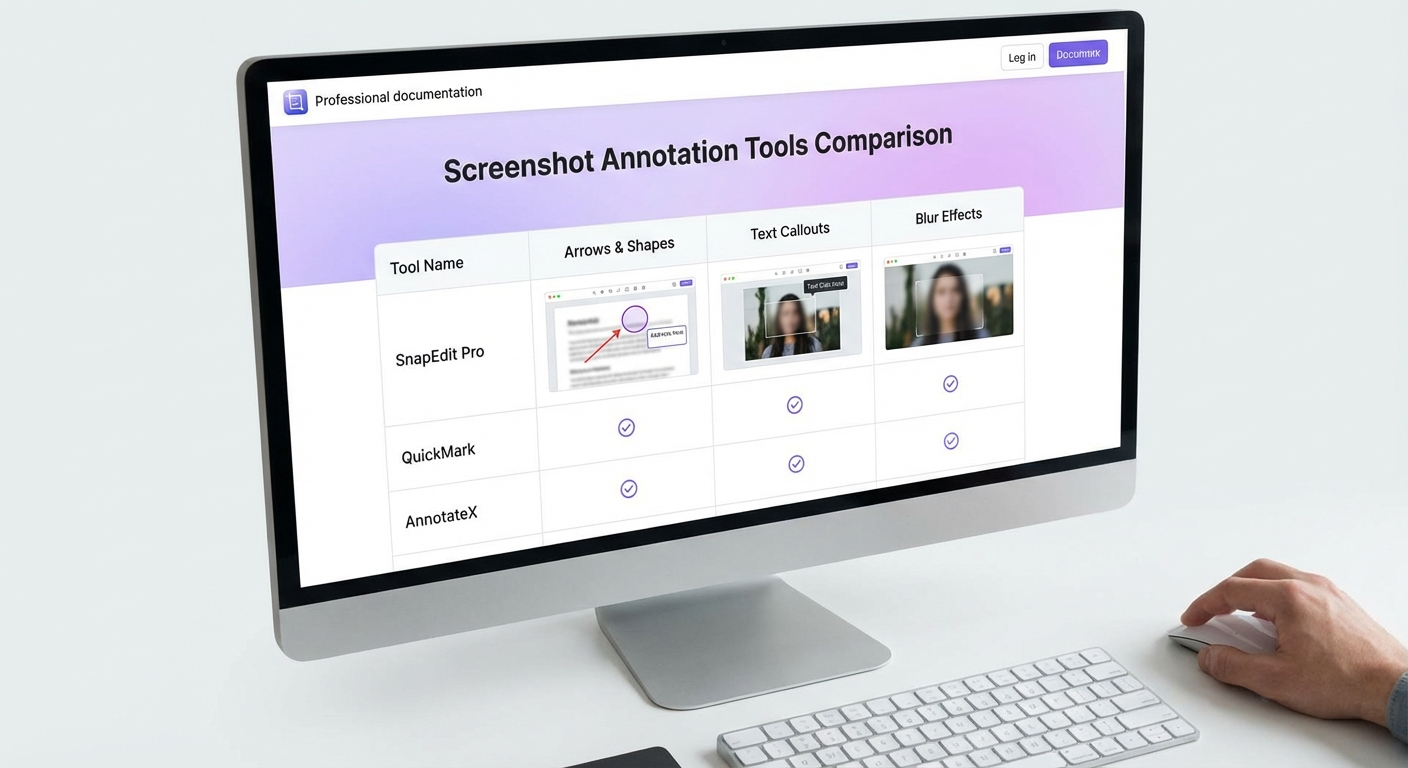
The Tools You Need
macOS gives you basic annotation tools built-in, but they're limited. Here's how your options compare:
| Tool | Price | Arrows | Shapes | Text | Blur | Backgrounds | Cloud Share |
|---|---|---|---|---|---|---|---|
| Preview (built-in) | Free | ✅ Basic | ✅ Basic | ✅ | ❌ | ❌ | ❌ |
| Screenshot app (Cmd+Shift+5) | Free | ❌ | ❌ | ❌ | ❌ | ❌ | ❌ |
| ScreenSnap Pro | $39 | ✅ Pro | ✅ Pro | ✅ | ✅ | ✅ 150+ | ✅ |
| Shottr | Free/$12 | ✅ | ✅ | ✅ | ✅ | ✅ | ❌ |
| CleanShot X | $29/yr | ✅ Pro | ✅ Pro | ✅ | ✅ | ✅ | ✅ |
My recommendation: ScreenSnap Pro for the all-in-one workflow. One-time purchase, 15 annotation tools, instant cloud sharing. For a detailed comparison of all options, see our best screenshot apps for Mac guide.
Need to record your screen as a GIF instead? Check out our complete guide to recording GIFs on Mac.
Step-by-Step: Annotate Screenshots Like a Pro
Step 1: Capture with Purpose
Before adding annotations, capture the right screenshot:
- Frame only what's necessary — Crop out distractions
- Clean your desktop — Hide sensitive tabs, close extra windows
- Choose the right capture mode:
- Selection (Cmd + Shift + 4): Precise area capture
- Window (Cmd + Shift + 4, then Space): Clean window with shadow
- Full screen (Cmd + Shift + 3): Everything visible
Pro tip: With ScreenSnap Pro, capture triggers the Quick Access Overlay immediately — you can start annotating in under a second.
Step 2: Add Arrows That Point Clearly
Arrows are the most common annotation. Here's how to make them look professional:
Do:
- Use a consistent color (red, orange, or your brand color)
- Keep arrow thickness consistent (2-4px works well)
- Point toward the element, not at it
- Use curved arrows for complex paths
Don't:
- Mix multiple arrow colors randomly
- Make arrows too thin (hard to see) or too thick (looks childish)
- Let arrows overlap important content
ScreenSnap Pro tip: The arrow tool remembers your last color and thickness, so every arrow looks consistent.
Step 3: Use Shapes to Highlight
Shapes draw attention to specific areas without obscuring content:
Rectangles:
- Best for UI elements (buttons, menus, input fields)
- Use 2-3px borders, no fill
- Red or orange borders stand out on most backgrounds
Circles/Ovals:
- Best for drawing attention to a specific point
- Great for "look here" callouts
- Use sparingly — one or two per screenshot max
Lines:
- Connect related elements
- Show relationships between UI components
- Use dashed lines for suggested paths
Step 4: Add Text Labels
Sometimes arrows aren't enough — you need words:
Best practices:
- Use 14-16px font size (readable on all screens)
- High contrast: white text with dark outline, or vice versa
- Keep labels brief: "Click here" not "Click on this button to proceed"
- Position labels near (not on) the element they describe
Numbered steps:
Use numbered callouts (①②③) for sequential instructions. ScreenSnap Pro has a built-in counter tool that auto-increments.
Step 5: Blur or Pixelate Sensitive Information
Before sharing any screenshot, scan for sensitive data:
- Email addresses
- Names and faces
- API keys and passwords
- Financial information
- Private conversations
Blur vs. Pixelate:
| Method | Best For | Look |
|---|---|---|
| Blur | Text, general content | Soft, professional |
| Pixelate | Faces, high-security data | Obvious redaction |
| Solid fill | Complete removal | Clean but obvious |
Important: Some blur methods can be reversed. ScreenSnap Pro flattens the image — blurred content is permanently unrecoverable. Learn more in our guide to blurring sensitive information on Mac.
Step 6: Apply a Beautiful Background (The Secret Weapon)
This is what separates amateur screenshots from professional ones:
Plain screenshots look... plain. Adding a gradient background instantly elevates them:

When to use backgrounds:
- Documentation and tutorials
- Social media posts
- Marketing materials
- App Store screenshots
- Client presentations
When to skip backgrounds:
- Bug reports (keep them raw)
- Quick Slack messages
- Internal team communication
ScreenSnap Pro includes 500+ wallpapers. One click transforms your screenshot. You can also try our free online screenshot background generator for quick styling without the app.
Step 7: Export and Share
Different contexts need different formats:
| Use Case | Format | Resolution |
|---|---|---|
| Documentation | PNG | 2x (retina) |
| Web/Email | PNG or JPEG | 1x or 2x |
| Social media | PNG | Platform-specific |
| Bug reports | PNG | 1x is fine |
| Presentations | PNG | 2x (retina) |
ScreenSnap Pro workflow: Click upload → get instant cloud link → paste anywhere. No file attachments, no size limits, works everywhere.
Tired of plain screenshots? Try ScreenSnap Pro.
Beautiful backgrounds, pro annotations, GIF recording, and instant cloud sharing — all in one app. Pay $39 once, own it forever.
See what it doesCommon Annotation Mistakes (And How to Fix Them)
Mistake 1: Over-Annotating
Problem: Five arrows, three circles, two text boxes — the screenshot is a mess.
Fix: Follow the "1-3 rule" — no more than 1-3 annotations per screenshot. If you need more, take multiple screenshots.
Mistake 2: Inconsistent Styles
Problem: Red arrow here, blue circle there, different thickness everywhere.
Fix: Pick one color (red or orange work well) and stick to it. Use consistent line thickness.
Mistake 3: Ignoring Sensitive Data
Problem: Accidentally sharing email addresses, API keys, or private information.
Fix: Always scan before sharing. Make it a habit — capture, scan, annotate, share.
Mistake 4: Low Resolution Exports
Problem: Screenshots look blurry on retina displays.
Fix: Export at 2x resolution for anything that might be viewed on modern screens.
Mistake 5: Annotations Covering Content
Problem: Your arrow or shape hides the thing you're trying to highlight.
Fix: Use outlines instead of fills. Position labels beside elements, not on top.
My 30-Second Annotation Workflow
Here's the exact workflow I use for every screenshot:
- Capture — Keyboard shortcut (Cmd + Shift + 4 or ScreenSnap Pro hotkey)
- Quick Access Overlay — Screenshot appears immediately
- Click to Edit — Opens annotation tools
- Add 1-3 annotations — Arrows, shapes, or text
- Scan for sensitive data — Blur if needed
- Apply background — If it's for documentation or social
- Upload — One click, get cloud link
- Paste — Share anywhere
Total time: 20-30 seconds. Most of that is deciding what to annotate.
Troubleshooting
Problem: Annotations look pixelated
Solution: You're probably zoomed in too far when annotating. Work at 100% zoom, or export at 2x resolution.
Problem: Can't find a consistent color
Solution: Use the color picker to sample your brand color once, then reuse it. ScreenSnap Pro remembers your last-used color.
Problem: Text is hard to read
Solution: Add an outline or shadow to your text. White text + black outline is readable on any background.
Problem: Screenshots are too large to share
Solution: Use cloud sharing (ScreenSnap Pro) or compress to JPEG. For documentation, PNG at 1x resolution is often enough.
FAQ
Conclusion
Professional screenshot annotations aren't about artistic skill — they're about having the right tools and following a simple workflow:
- Capture with purpose
- Add 1-3 clear annotations
- Blur sensitive data
- Apply a background (when appropriate)
- Share via cloud link
With ScreenSnap Pro, this entire process takes 30 seconds. No more ugly screenshots, no more wasted time.
Download ScreenSnap Pro — 15 annotation tools, 500+ wallpapers, instant cloud sharing. One price, yours forever.
Need a quick annotation without installing anything? Try our free online image annotation tool — add arrows, shapes, and text right in your browser.
Morgan
Indie DeveloperIndie developer, founder of ScreenSnap Pro. A decade of shipping consumer Mac apps and developer tools. Read full bio
@m_0_r_g_a_n_