How to Attach Screenshots in Jira (2026 Guide)
A screenshot in Jira is worth a thousand words when reporting bugs. Instead of typing long notes about where the button broke or which modal flickered, you can attach an image that shows exactly what went wrong. This guide walks through each way to capture and add screenshots to Jira issues, plus pro tips for making your bug reports crystal clear — including how a dedicated capture app like ScreenSnap Pro speeds the whole flow up.
Why Screenshots Matter for Bug Reports
Clear visuals cut the back-and-forth between QA, devs, and product teams. When you attach a screenshot to a Jira ticket, you give your team:
- Visual proof that makes it easier to repeat the bug
- Context about the UI state when the bug showed up
- Clarity about which part is broken (no more "the button on that page")
Devs spend less time asking "which screen?" and more time fixing bugs. As noted in Atlassian's docs, screenshots are one of the best ways to boost ticket quality.
Method 1: Paste Screenshot Directly Into Jira
The fastest way to add an image to a Jira ticket is the clipboard paste method. No saving files, no dragging—just capture and paste.
On Mac
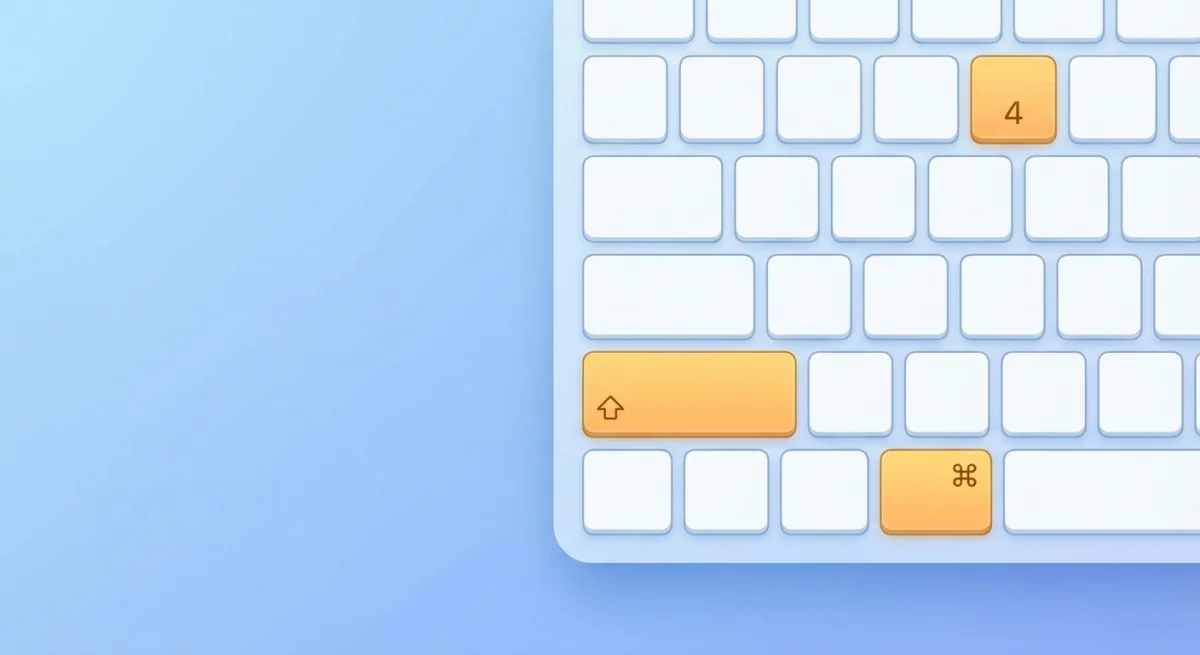
- Press
⌘ + Shift + 4to capture a selection (or⌘ + Shift + 3for full screen) - Your screenshot saves to Desktop by default
- Open the Jira issue
- Click in the description or comment field
- Press
⌘ + Vto paste
Pro tip: Add Control to your shortcut (⌘ + Control + Shift + 4) to copy to your clipboard—no file saved. Then paste right into Jira. Learn more in our screenshot to clipboard guide.
On Windows
- Press
Win + Shift + Sto open Snip & Sketch - Select the area to capture
- The screenshot copies to your clipboard right away
- Open the Jira issue and press
Ctrl + V
The image shows up as an inline attachment for PNG, JPG, and GIF files. This paste method is the fastest way to share visual context without breaking your flow.
Method 2: Drag and Drop Attachments
When you already have screenshot files saved, drag and drop is your friend.
- Open the Jira issue
- Locate your screenshot in Finder (Mac) or File Explorer (Windows)
- Drag the file directly onto the issue
- Drop it in the attachments area or description field
Jira takes many files at once. Select several screenshots and drop them all in. This is great for multi-step bugs.
Formats: PNG, JPG, GIF, and most other image types. The default max size is 10MB per file, though your Jira admin can change this.
Method 3: Use the Attach Files Button
This method works when copy-paste isn't playing nice:
- Open the issue
- Click More (the three-dot menu)
- Select Attach files
- Browse to your screenshot and select it
- Click Attach or Open
A file picker lets you browse to any folder. Handy when screenshots are spread across folders or you need to attach other files with your images.
Naming tip: Use clear filenames like checkout-button-broken.png over Screenshot 2026-02-04.png. Good names help your team grasp the issue at a glance and make tickets easier to search.
Method 4: Screenshot Jira Extensions and Browser Tools
Atlassian offers a "Capture for Jira" browser add-on that speeds up the screenshot-to-ticket flow. Here's how it works:
- Install the add-on from Chrome Web Store or Firefox Add-ons
- Click the icon when you spot a bug
- Capture the visible area or select a region
- The add-on creates a new Jira issue with your screenshot attached
Limits to know:
- Needs a browser add-on install
- Only works in your browser (can't capture desktop apps)
- Markup tools are basic compared to standalone apps
For more robust capture that works system-wide, try a screenshot tool for Mac.
Tired of plain screenshots? Try ScreenSnap Pro.
Beautiful backgrounds, pro annotations, GIF recording, and instant cloud sharing — all in one app. Pay $39 once, own it forever.
See what it doesBetter Screenshots for Jira: Annotation Matters
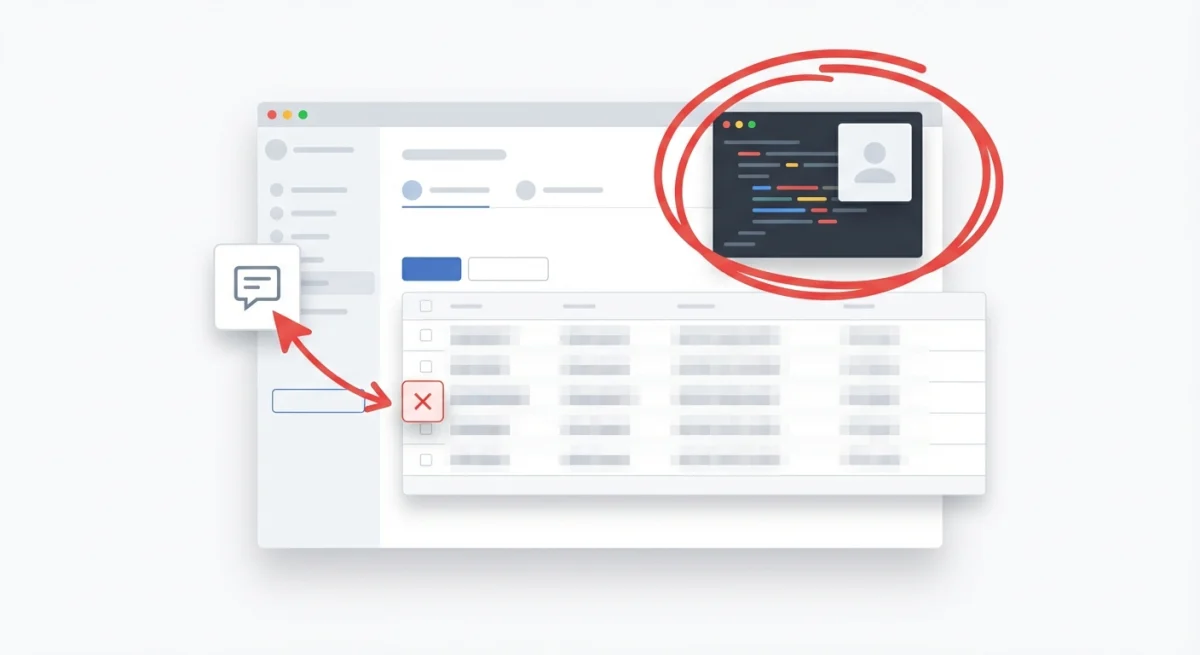
A plain screenshot helps. An annotated one helps more. Highlight the problem area, add arrows, or blur private data to turn a basic image into a clear bug report.
Essential Annotation Types
Arrows and circles: Point to the exact part that's broken. Don't make devs play "Where's Waldo?" with your screenshot.
Text labels: Add short notes like "This button does nothing" or "Expected: green / Actual: red."
Blur or pixelate: Hide private info like user data, API keys, or personal details before sharing. Check out our guide on how to blur private info.
Highlights: Use see-through color overlays to draw the eye to key areas without hiding the content beneath.
The Counter Tool for Step-by-Step Bugs
Some bugs need many steps to repeat. Instead of writing "First click here, then go there, then click that," add numbered markers right on your screenshots.
The counter tool drops numbers (1, 2, 3...) wherever you click. This makes a visual guide that matches your written repro steps. Great for:
- Multi-page workflows
- Bugs that require specific click sequences
- Issues where timing or order matters
Tools like ScreenSnap Pro have a built-in counter tool made just for this—each click adds the next number.
Cloud Links vs. Attachments
Large screenshots or GIFs may hit Jira's file size limits. Two fixes:
Shrink before attaching: Cut the file size by lowering quality or resolution. Most bug reports don't need 4K screenshots—use our free image compressor to shrink files first.
Use cloud links: Upload your screenshot to a cloud host and paste the link into your Jira ticket. This keeps tickets light and skips file size limits.
For quick cloud sharing workflows, see our cloud screenshot sharing guide.
Screenshot Best Practices for Bug Reports
Great screenshots are a skill. These tips will make your Jira tickets much better:
Include Relevant Context
Capture enough of the screen to show what's going on. A tight crop of just one button often cuts out the context devs need. Include:
- The page URL or breadcrumb navigation
- Related elements that might affect the bug
- Any error messages on screen
For tips on framing your captures properly, read our guide on how to crop screenshots on Mac.
Highlight the Issue Clearly
Don't assume the viewer will spot the problem right away. Use marks to make the issue clear at a glance:
- Draw a red circle around the broken element
- Add an arrow pointing to the shifted text
- Use a text box to label what's wrong
A well-annotated screenshot answers questions before they're asked.
Add Steps with Numbered Annotations
For bugs requiring multiple steps:
- Take screenshots at each key step
- Add numbered annotations (1, 2, 3) to each screenshot
- Write matching numbered steps in the ticket description
- Reference the screenshots: "See Screenshot 1 for step 1"
This creates a clear trail any dev can follow.
Show Expected vs. Actual Behavior
When possible, include two screenshots:
- What the user sees (the bug)
- What should happen (expected behavior)
Side-by-side views remove all guesswork. Our guide on how to combine screenshots shows how to stitch images for quick comparison.
Editing Screenshots Before Attaching
Sometimes you need to tweak a screenshot after taking it—crop it, add text, or adjust colors. Here are your options:
macOS Preview: Double-click a screenshot to open it in Preview. Use the markup tools (Tools → Annotate) for basic shapes, text, and cropping.
Third-party editors: Standalone screenshot tools offer stronger editing. Undo history, layer support, and fine controls make complex markups easier.
In-browser editing: Some Jira integrations let you annotate directly before creating the ticket.
For a full list of editing options, see how to edit screenshots on Mac.
Handling Common Jira Attachment Issues
"File extension not allowed" Error
Your Jira admin may have blocked some file types. Try:
- Saving your image as PNG or JPG
- Asking your admin to allow the file type
- Using a cloud link instead of a direct upload
Attachment Size Too Large
The default limit is 10MB, but admins can change this. If your file is too big:
- Shrink the image (cut quality or size)
- For GIFs, reduce frame count or resolution
- Use a cloud link for large files
Thumbnails Not Displaying
If images show as a list instead of thumbs, your admin turned off thumbnail display in settings. The images are still there—they just won't preview inline.
Frequently Asked Questions
Streamline Your Jira Screenshot Workflow
The fastest bug reporters build a steady capture-annotate-attach flow. Here's a template that works:
- Spot the bug → Press your screenshot shortcut immediately
- Annotate → Add arrows, highlights, numbers while context is fresh
- Attach → Paste directly into a new Jira issue or comment
- Describe → Write reproduction steps that match your annotations
If you capture screenshots often for bug reports, docs, or design reviews, a tool like ScreenSnap Pro can speed things up a lot. It offers instant markup, counter tools for numbered steps, and one-click cloud sharing—built for this kind of work.
Whatever tools you choose, the goal remains the same: clear screenshots that help your team fix bugs faster.
Morgan
Indie DeveloperIndie developer, founder of ScreenSnap Pro. A decade of shipping consumer Mac apps and developer tools. Read full bio
@m_0_r_g_a_n_