Copy Screenshots to Clipboard on Mac (2026 Guide)
Copying a screenshot to clipboard Mac is faster than saving files when you need to quickly paste into Slack, emails, or documents. Instead of taking a screenshot, finding the file, and copying it, you can capture directly to your clipboard and paste immediately with ⌘ + V. Apps like ScreenSnap Pro make clipboard-first capture the default behavior.
This guide covers every method to copy screenshots to your Mac clipboard — from quick keyboard shortcuts to advanced workflows that save AND copy simultaneously.
The Quick Answer: Add Control to Any Screenshot Shortcut
Here's the fastest way to copy a screenshot directly to your clipboard:
Hold Control while taking any screenshot. That's it.
Your normal screenshot shortcuts become clipboard shortcuts:
| Normal Screenshot | Clipboard Screenshot |
|---|---|
⌘ + Shift + 3 (full screen) | ⌘ + Control + Shift + 3 |
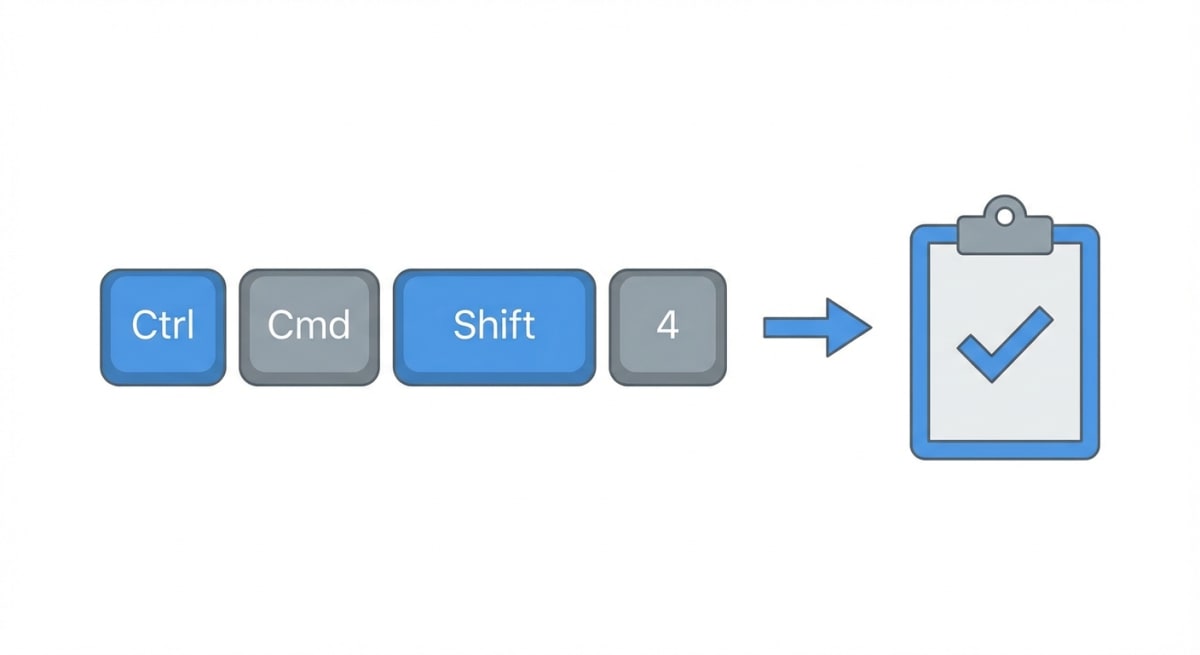
⌘ + Shift + 4 (selection) | ⌘ + Control + Shift + 4 |
⌘ + Shift + 4 + Space (window) | ⌘ + Control + Shift + 4 + Space |
After pressing these shortcuts, the screenshot goes directly to your clipboard — no file saved, no desktop clutter. Just press ⌘ + V to paste wherever you need it.
If you're not familiar with all the Mac screenshot shortcuts, learning the Control key trick is the fastest way to level up your workflow.
Screenshot to Clipboard Mac: All Keyboard Shortcuts
Let's break down exactly how each clipboard shortcut works.
Copy Full Screen to Clipboard
Press ⌘ + Control + Shift + 3 to capture your entire screen directly to the clipboard.
This captures everything visible on your primary display. If you have multiple monitors, it captures only the primary screen. The screenshot goes straight to your clipboard — paste it anywhere with ⌘ + V.
Best for: Quick full-screen captures when you need to paste immediately into a chat or document.
Copy Selected Area to Clipboard
Press ⌘ + Control + Shift + 4 and your cursor turns into a crosshair. Drag to select the exact area you want, then release the mouse.
While selecting, you can:
- Press
Spaceto move the selection without changing its size - Press
Escapeto cancel - Hold
Optionto resize from the center
The selected area copies directly to your clipboard. No file is created.
Best for: Capturing specific parts of your screen — error messages, UI elements, code snippets — to paste into bug reports or documentation.
Copy a Window to Clipboard
Press ⌘ + Control + Shift + 4, then press Space. Your cursor becomes a camera icon.
Click any window to capture it. The screenshot includes the window's shadow by default, which looks polished in presentations and documents.
Pro tip: Hold Option while clicking to capture the window without its shadow — useful when you need a cleaner look.
Best for: Sharing app windows in Slack, email, or Notion without capturing your entire messy desktop. For more advanced window capture options, check out our guide on taking window screenshots on Mac.
Using the Screenshot Bar (⌘ + Shift + 5)
The Screenshot app toolbar gives you a visual interface for all capture options, including clipboard settings.
Press ⌘ + Shift + 5 to open it. You'll see buttons for different capture modes at the bottom of your screen.

Setting Clipboard as Default Destination
Click Options in the toolbar, then under "Save to," select Clipboard.
Now every screenshot you take using the toolbar — or the keyboard shortcuts — goes to your clipboard instead of saving as a file. This setting is "sticky" and persists until you change it.
The trade-off: You can't have both. macOS forces you to choose between saving to a file OR copying to clipboard, not both. (We'll fix this limitation in the next section.)
Other Useful Options
While you're in the Options menu, consider these settings:
- Show Floating Thumbnail: Turn this off if you want screenshots to go directly to the clipboard without the preview appearing
- Remember Last Selection: Keeps your selection area for repeated captures
- Timer: Set a 5 or 10-second delay for capturing menus or tooltips
If your screenshot location settings get confusing, the Screenshot bar's Options menu is the quickest way to reset everything.
Save AND Copy at the Same Time
What if you want both — a saved file AND clipboard copy? macOS doesn't offer this natively, but there's a clever workaround.
The Floating Thumbnail Trick
- Take a normal screenshot (
⌘ + Shift + 4) - Watch for the thumbnail that appears in the bottom-right corner
Control-clickthe thumbnail before it disappears- Select Save to Clipboard from the menu
This saves the file AND copies it to your clipboard. The downside? You have about 5 seconds before the thumbnail disappears.
The Automator/Shortcuts Method
For a permanent solution, you can create a custom workflow using macOS Shortcuts:
- Open the Shortcuts app
- Create a new shortcut called "Screenshot to Clipboard and File"
- Add the "Run Shell Script" action
- Use the
screencapturecommand to save a file, thenosascriptto copy it to clipboard
Here's the basic script:
screencapture -i "$HOME/Desktop/screenshot-$(date +%Y%m%d-%H%M%S).png"
osascript -e "set the clipboard to (read (POSIX file \"$HOME/Desktop/screenshot-*.png\") as «class PNGf»)"
Then assign your shortcut to a keyboard combination. It's more setup, but you get true "save and copy" functionality.
Tired of plain screenshots? Try ScreenSnap Pro.
Beautiful backgrounds, pro annotations, GIF recording, and instant cloud sharing — all in one app. Pay $29 once, own it forever.
See what it doesUniversal Clipboard: Paste on iPhone and iPad
One of the most underrated Mac features is Universal Clipboard — copy a screenshot on your Mac, paste it on your iPhone or iPad (and vice versa).

Requirements for Universal Clipboard
Universal Clipboard works automatically when all your devices:
- Are signed into the same Apple ID
- Have Bluetooth and Wi-Fi enabled
- Have Handoff turned on (Settings > General > AirPlay & Handoff on iPhone; System Settings > General > AirDrop & Handoff on Mac)
- Are within Bluetooth range of each other (~30 feet)
How It Works
- Copy a screenshot to clipboard on your Mac using
⌘ + Control + Shift + 4 - On your iPhone or iPad, tap and hold in any text field
- Tap Paste
The screenshot transfers wirelessly. There's usually a 1-2 second delay while it syncs, but it's remarkably seamless.
Practical Universal Clipboard Use Cases
Bug reporting workflow:
Screenshot an error on Mac → paste into iMessage to send to a developer → they see it instantly on their iPhone. No emailing files, no AirDrop menus.
Design review:
Capture a website design on Mac → paste into Procreate or Notes on iPad → annotate with Apple Pencil → paste the marked-up version back on Mac. The round-trip takes seconds.
Expense tracking:
Screenshot a receipt from your browser → paste directly into your expense app on iPhone. Much faster than saving, AirDropping, and opening.
Social media posting:
Capture a chart or infographic on Mac → paste into Instagram or Twitter on iPhone. Avoids the photo library clutter.
Quick documentation:
Copy a screenshot of error logs → paste into your phone → text it to yourself or a colleague while walking to a meeting.
Universal Clipboard Limitations
According to Apple's official documentation, clipboard content stays available for about 2 minutes before expiring. Large images may take longer to transfer.
Other things to know:
- File size matters: Very large screenshots (4K displays, long scrolling captures) may fail to transfer or take 10+ seconds
- Network dependency: While Universal Clipboard uses Bluetooth for discovery, the actual data often transfers over Wi-Fi. Spotty networks can cause delays
- App support varies: Some older apps don't support pasting images from Universal Clipboard correctly
- Battery impact: Keeping Bluetooth and Handoff active uses minimal battery, but it's something to be aware of on older devices
For detailed setup instructions and troubleshooting, check Apple's Handoff support page.
Clipboard Managers for Power Users
Mac's native clipboard holds only one item at a time. Copy something new, and the previous content is gone. For screenshot-heavy workflows, this becomes frustrating fast.
Why You Might Need a Clipboard Manager
Imagine this workflow:
- Copy a screenshot of Bug A
- Copy a screenshot of Bug B
- Realize you need Bug A again... but it's gone
A clipboard manager solves this by keeping a history of everything you copy.
Top Clipboard Managers for Mac
Here's a detailed comparison of the best clipboard managers for screenshot workflows:
Maccy (Free, open source)
- Lightweight, lives in your menu bar
- Search through clipboard history with a keyboard shortcut (
⌘ + Shift + Cby default) - Stores text, images, and files
- Configurable history size (default: 200 items)
- Perfect for basic needs without any cost
Maccy is ideal if you want a simple, no-frills clipboard manager. It supports fuzzy search, so you can find that screenshot you took hours ago by typing part of the window title or app name that was visible.
Paste ($1.99/month or $24.99 one-time)
- Visual clipboard history with beautiful previews
- iCloud sync across Mac and iOS devices
- Smart filtering by app — see only screenshots copied in Slack, for example
- Pinboards for organizing frequently-used items
- Direct paste into any app with keyboard shortcuts
Paste shines for visual workflows. Instead of a text list, you see actual image previews of your screenshots. The iOS app means you can access your Mac clipboard history on your iPhone — a game-changer if you switch devices frequently.
Alfred (Powerpack, $34 one-time)
- Clipboard history is one of many productivity features
- Powerful search with image preview support
- Text snippets and expansion
- Workflow automation capabilities
- Best for users who want an all-in-one productivity tool
Alfred's clipboard viewer (⌥ + ⌘ + C by default) shows your full history with previews. You can merge multiple clipboard items, clear sensitive data, and even set up workflows that automatically process screenshots.
Raycast (Free tier available, Pro $8/month)
- Modern alternative to Alfred with built-in clipboard history
- Quick look preview for images
- Extensions for integrations with other tools
- Growing ecosystem of community-built features
Raycast is newer but has gained popularity among developers. Its clipboard history extension is snappy and integrates well with its launcher functionality.
Choosing the Right Clipboard Manager
| Feature | Maccy | Paste | Alfred | Raycast |
|---|---|---|---|---|
| Price | Free | $2/mo or $25 | $34 one-time | Free/$8 mo |
| Image Preview | ✓ | ✓ (best) | ✓ | ✓ |
| iOS Sync | ✗ | ✓ | ✗ | ✗ |
| Search | Good | Good | Excellent | Excellent |
| Learning Curve | Easy | Easy | Moderate | Moderate |
For pure screenshot workflows, Paste offers the best visual experience. For power users who want more than clipboard history, Alfred or Raycast provide the best value.
With a clipboard manager, your screenshots live in a searchable history. Take ten screenshots in a row, then paste any of them whenever you need. For more screenshot tool recommendations, see our roundup of the best screenshot apps for Mac.
Common Use Cases
Here's how clipboard screenshots fit into real workflows:
Pasting into Slack or Discord
- Press
⌘ + Control + Shift + 4 - Select the area to capture
- Open Slack/Discord and press
⌘ + V
The image pastes directly into your message — no file attachment menu needed.
Adding to Documents and Presentations
Most apps support pasting images from clipboard:
- Google Docs/Slides: Just press
⌘ + V - Notion:
⌘ + Vpastes the image inline - Apple Pages/Keynote:
⌘ + Vor Edit > Paste
This is much faster than Insert > Image > Browse > Select File.
Email Attachments
In Apple Mail or Gmail (web):
- Copy screenshot to clipboard
- Compose your email
- Press
⌘ + Vin the message body
The screenshot embeds inline. Some email clients paste it as an attachment instead.
Troubleshooting: Screenshot Not Going to Clipboard?
If your screenshots aren't copying to clipboard, work through these fixes in order — most issues resolve with the first two.
Check Your Save Location
Press ⌘ + Shift + 5, click Options, and verify the "Save to" setting. If it's set to Desktop or another location, screenshots save as files instead of copying to clipboard.
To fix: Select "Clipboard" from the Save to options. This setting is sticky and applies to all future screenshots, including keyboard shortcuts.
Make Sure You're Holding Control
The most common mistake: forgetting to hold Control while pressing the screenshot shortcut. Without Control, the screenshot saves as a file.
Quick test: Press ⌘ + Control + Shift + 4, select a small area, then immediately open Notes and press ⌘ + V. If an image appears, clipboard screenshots are working.
Restart the Screenshot Service
If clipboard screenshots worked before but stopped:
- Open Activity Monitor (search for it in Spotlight with
⌘ + Space) - Search for "Screenshot"
- Select the process and click the X (Stop) button
- Choose "Force Quit" if asked
- Take a new screenshot — the service restarts automatically
This fixes most glitches caused by macOS updates or system sleep issues.
Check for Conflicting Apps
Some third-party apps intercept clipboard operations or screenshot shortcuts:
- Clipboard managers might redirect captures to their own storage
- Screenshot tools like Monosnap or Lightshot may override system shortcuts
- Keyboard remapping apps (Karabiner, BetterTouchTool) could interfere
To diagnose: Temporarily quit all menu bar apps and try again. If it works, re-enable apps one by one to find the culprit.
Verify Keyboard Shortcuts Aren't Remapped
- Open System Settings > Keyboard > Keyboard Shortcuts
- Click Screenshots in the sidebar
- Verify the shortcuts match the defaults, or note your custom bindings
If shortcuts are disabled or changed, you might be pressing the wrong combination.
Reset Screenshot Preferences (Nuclear Option)
If nothing else works, reset all screenshot settings to defaults:
defaults delete com.apple.screencapture
killall SystemUIServer
This clears custom save locations, file formats, and other settings. You'll need to reconfigure any preferences you had.
If none of this helps, check our complete guide to fixing Mac screenshot problems.
Frequently Asked Questions
Conclusion
Copying screenshots directly to your Mac clipboard eliminates the friction of saving, finding, and attaching files. The key shortcut to remember: add Control to any screenshot combination.
For power users, Universal Clipboard extends this across all your Apple devices, and clipboard managers keep a history of everything you capture.
If you take lots of screenshots and find yourself constantly annotating or sharing them, tools like ScreenSnap Pro streamline the entire workflow — capture, annotate, and share with a link, all in one step.
Master these clipboard tricks, and you'll spend less time managing screenshot files and more time getting actual work done.
Morgan
Indie DeveloperIndie developer, founder of ScreenSnap Pro. A decade of shipping consumer Mac apps and developer tools. Read full bio
@m_0_r_g_a_n_