How to Screenshot a Window on Mac: 4 Easy Methods (2026)
To screenshot a window on Mac, press ⌘ + Shift + 4, then press Space. Your cursor turns into a camera icon. Click any window to capture it instantly with a clean drop shadow. The screenshot saves to your Desktop by default. Capture apps like ScreenSnap Pro bind window capture to a single hotkey too.
That's the quick answer, but there's much more to window capture on Mac. This guide covers four different methods, plus tricks for capturing dropdown menus, removing shadows, and troubleshooting common issues. Whether you're documenting software, creating tutorials, or sharing bug reports, mastering window screenshots will save you time every day.
Method 1: The Keyboard Shortcut (Fastest)
The keyboard shortcut is the quickest way to capture any window on your Mac:
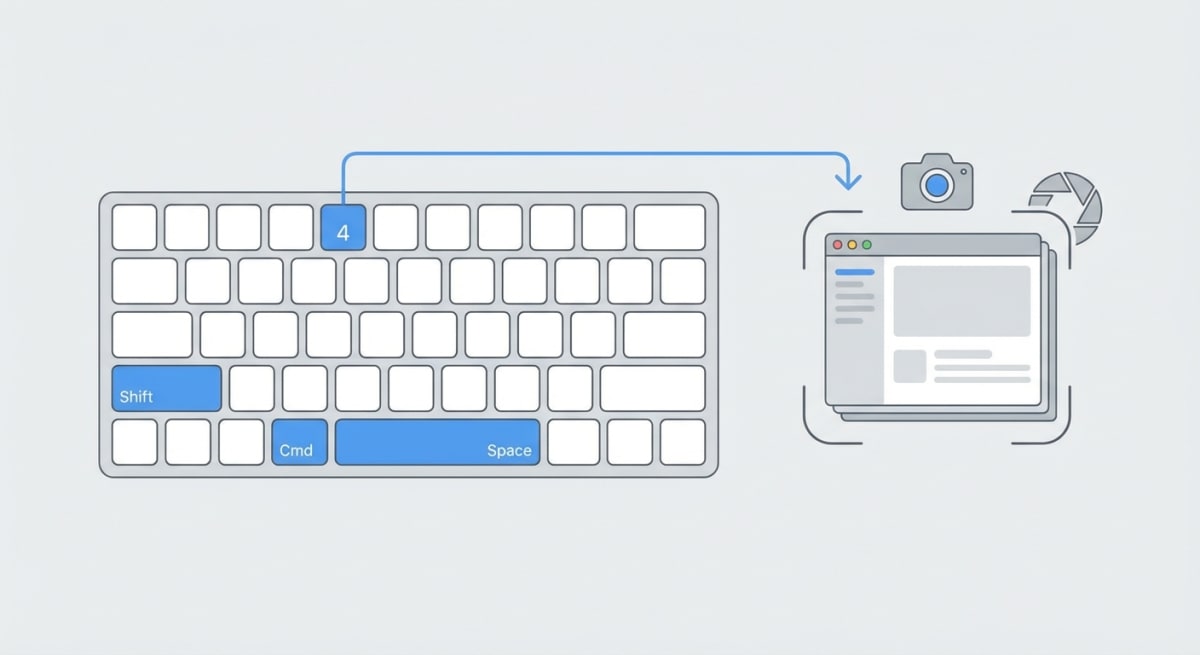
- Press
⌘ + Shift + 4— your cursor becomes a crosshair - Press
Space— the crosshair becomes a camera icon - Hover over the window you want — it highlights in blue
- Click to capture
The screenshot saves to your Desktop with a filename like "Screen Shot 2026-02-01 at 10.30.45 AM.png."
How Window Highlighting Works
When you press Space to enter window capture mode, macOS highlights whatever's under your cursor. Move your cursor around and you'll see different elements light up:
- Application windows — The most common use case
- Desktop — Captures your entire wallpaper without the menu bar
- Dock — Captures just the Dock
- Menu bar — Captures the top menu bar across screens
This highlighting system makes it easy to capture exactly the element you need, without manually dragging a selection box.
The Thumbnail Preview
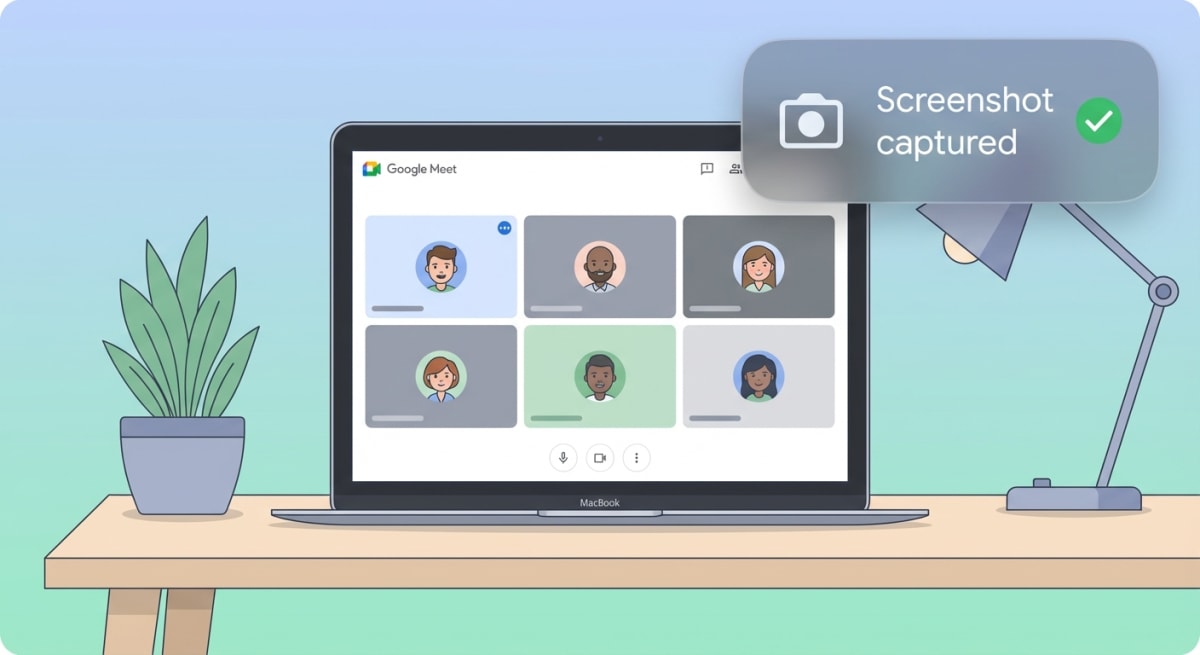
After capturing, a thumbnail appears in the bottom-right corner of your screen. You have two options:
- Click it to open Markup tools for quick editing
- Ignore it and it saves automatically after a few seconds
The thumbnail feature is useful if you need to annotate your screenshots immediately after capture.
Tip: Swipe the thumbnail right to dismiss it instantly without waiting.
Method 2: Using the Screenshot App (`⌘ + Shift + 5`)
The Screenshot app gives you more control with a visual toolbar:
- Press
⌘ + Shift + 5to open the Screenshot toolbar - Click the "Capture Selected Window" button (third from left)
- Click any window to capture it

Why Use the Screenshot App?
The toolbar offers options you won't get with keyboard shortcuts alone:
- Timer — Set a 5 or 10-second delay before capture
- Save location — Choose Desktop, Documents, Clipboard, Mail, or a custom folder
- Show floating thumbnail — Toggle the preview on or off
- Show mouse pointer — Include or exclude your cursor in screenshots
- Capture format — On macOS Tahoe, choose between SDR (PNG) or HDR (HEIF)
Click Options on the right side of the toolbar to access these settings.
If you frequently save screenshots to a specific folder, check out our guide on how to change your screenshot location on Mac.
Method 3: Using Preview
Preview isn't just a PDF reader — it can take screenshots too:
- Open Preview from your Applications folder (or use Spotlight with
⌘ + Space) - Click File → Take Screenshot → From Window...
- Your cursor changes to a crosshair — click the window you want to capture
- The screenshot opens immediately in Preview for editing or saving
This method works well when you want to immediately edit or save in a different format. Preview supports exporting to JPEG, PNG, TIFF, PDF, and several other formats through File → Export.
Preview's Hidden Advantage
Unlike the keyboard shortcut, Preview captures the window without any drop shadow. This is useful when you need a clean image without the macOS visual effects.
Preview also offers built-in editing tools:
- Markup toolbar — Add text, shapes, arrows, and signatures
- Adjust Size — Resize the image without opening another app
- Adjust Color — Tweak exposure, contrast, and saturation
- Crop — Select a portion and press
⌘ + Kto crop
The downside is that Preview requires more steps than keyboard shortcuts. You need to have Preview open, navigate through menus, and then manage the resulting file. For quick captures, the keyboard shortcut is faster.
Method 4: Third-Party Apps
The built-in tools work well for basic captures, but third-party apps offer powerful extras:
- Instant annotation — Add arrows, text, and highlights without opening another app
- Cleaner captures — Hide desktop clutter automatically
- Cloud sharing — Get a shareable link instantly
- Better organization — Auto-name and sort screenshots
- Scrolling capture — Capture entire windows that scroll beyond the visible area
- Custom shortcuts — Set your own keyboard combinations
Apps like ScreenSnap Pro handle window captures with one-click annotation and instant cloud sharing. You capture, mark up, and share — all without the screenshot ever hitting your Desktop.
This workflow is especially useful for developers documenting bugs, support teams showing steps, or anyone who sends a lot of screenshots.
When Third-Party Apps Make Sense
Consider a dedicated screenshot app if you:
- Take more than 5-10 screenshots per day
- Need to annotate most of your captures
- Share screenshots with teammates frequently
- Want screenshots organized instead of scattered on your Desktop
- Need to capture scrolling content like long web pages
The built-in macOS tools are sufficient for occasional screenshots. But if capturing and sharing images is part of your daily work, a specialized tool pays for itself in time saved.
Common Features in Screenshot Apps
Most dedicated screenshot tools share a core feature set:
- Annotation toolbar — Draw arrows, boxes, text, and highlights directly on the image
- Keyboard shortcuts — Trigger captures without touching your mouse
- History panel — Browse and re-use recent screenshots
- Export options — Save as PNG, JPEG, or copy to clipboard with one click
- Cloud integration — Auto-upload to Dropbox, Google Drive, or a custom server
The key differentiator is workflow speed. With built-in tools, you capture, open in Preview or Markup, annotate, save, then share. With a dedicated app, you capture and annotate in one step, then share immediately.
For teams, shared cloud storage means everyone can access the same screenshots without sending files back and forth. This is especially useful for remote teams documenting bugs or creating training materials.
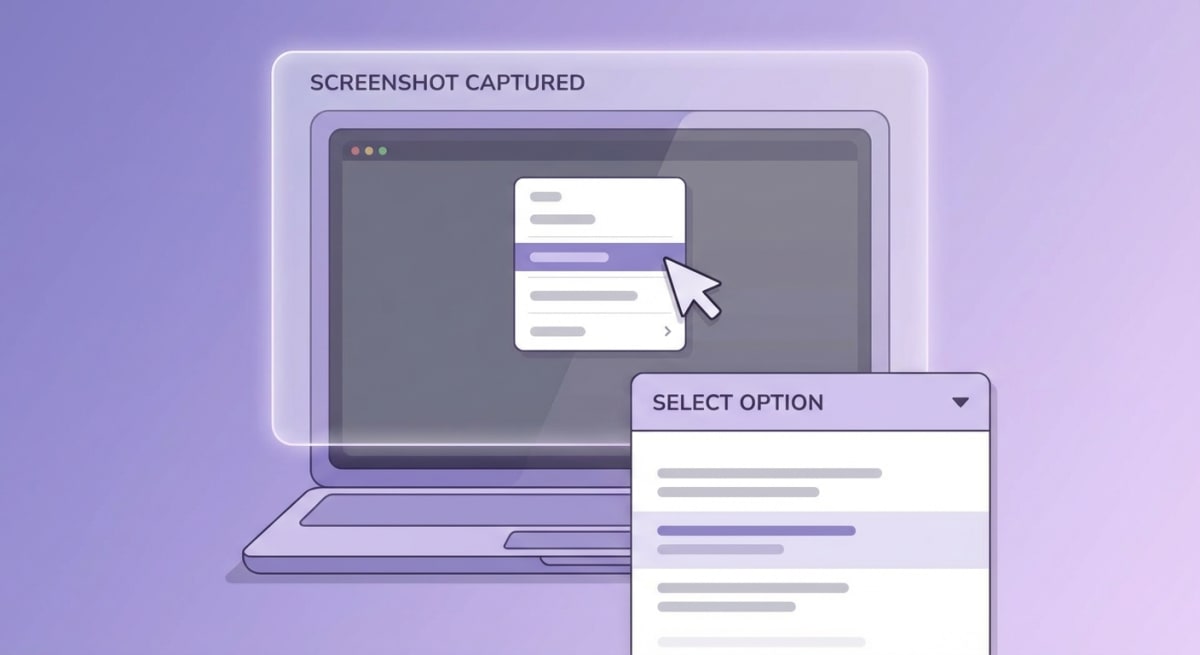
How to Screenshot Dropdown Menus and Dialogs
Capturing menus requires a slight timing trick because they disappear when you click away.
Method A: Using the Timer
- Press
⌘ + Shift + 5to open the Screenshot toolbar - Click Options and select 5 Seconds under Timer
- Click Capture Selected Window
- Quickly open your dropdown menu
- Wait for the timer to capture
Method B: Using Selection Capture
For more control:
- Press
⌘ + Shift + 4(don't press Space) - Right-click or open your menu first
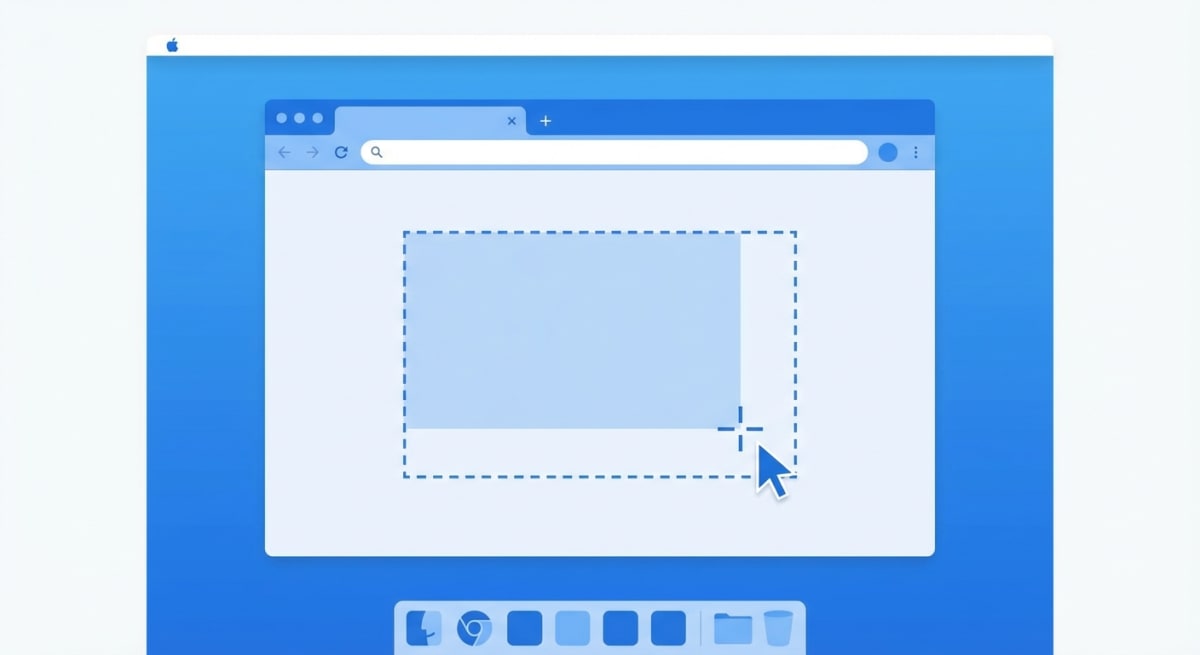
- While the menu is open, drag to select the area
- Release to capture
The selection crosshair doesn't dismiss menus, so you can carefully position your capture area around the dropdown.
Capturing Context Menus
Right-click context menus work the same way. Open the menu first, then use ⌘ + Shift + 4 to draw a selection around it. The crosshair won't make the menu disappear.
Capturing Dialog Boxes
Dialog boxes (like Save dialogs or preference panels) are simple — they're just windows. Use the standard ⌘ + Shift + 4 + Space method and click the dialog.
Important: Some system dialogs from Apple apps capture just fine, but others (especially security prompts) may block screenshot tools. This is intentional to protect sensitive information.
Window Shadow: How to Keep or Remove It
By default, window screenshots include a drop shadow. Here's how to control it.
Remove Shadow with Option Key
To capture without the shadow:
- Press
⌘ + Shift + 4, thenSpace - Hold
Optionwhile clicking the window
The resulting image has no shadow — just the window itself. This is useful when you need a cleaner look or when pasting screenshots into documents where the shadow would look odd.

Disable Shadow Permanently
If you always want shadow-free screenshots, run this Terminal command:
defaults write com.apple.screencapture disable-shadow -bool true
killall SystemUIServer
To re-enable shadows later:
defaults write com.apple.screencapture disable-shadow -bool false
killall SystemUIServer
Why You Might Want the Shadow
The drop shadow isn't just decorative. It:
- Makes windows stand out in documents and presentations
- Adds depth when the window is on a white background
- Looks more polished in professional contexts
For technical documentation and tutorials, the shadow often helps readers distinguish the screenshot from surrounding content.
Tired of plain screenshots? Try ScreenSnap Pro.
Beautiful backgrounds, pro annotations, GIF recording, and instant cloud sharing — all in one app. Pay $29 once, own it forever.
See what it doesTroubleshooting Window Screenshots
Sometimes window capture doesn't work as expected. Here are common issues and fixes.
Window Won't Highlight
If pressing Space doesn't highlight windows:
- Check keyboard shortcuts — Go to System Settings → Keyboard → Keyboard Shortcuts → Screenshots and verify they're enabled
- Try restarting — Sometimes a quick restart fixes temporary glitches
- Check for conflicts — Third-party apps might be capturing the shortcut first
- Reset NVRAM — If shortcuts still don't work, resetting NVRAM can fix keyboard-related issues
For more solutions, see our full guide on Mac screenshot not working. Apple also has official documentation on screenshots that covers basic troubleshooting.
Screenshot Is Black or Blank
Some apps block screenshot capture:
- Apple TV and other streaming apps block captures due to DRM
- Some banking apps prevent screenshots for security
- Netflix, Disney+, and similar services protect content this way
This is intentional and cannot be bypassed with built-in tools.
If you're getting black screenshots from apps that should work, check Screen Recording permissions:
- Open System Settings → Privacy & Security → Screen Recording
- Make sure relevant apps have permission to record your screen
- If you recently updated macOS, permissions may need to be re-granted
According to Apple's privacy documentation, apps must have explicit Screen Recording permission to capture content from other applications. Without this permission, screenshots of protected content appear black.
Window Appears Cut Off
If your screenshot captures only part of a window:
- Check display scaling — Go to System Settings → Displays and try a different resolution
- Move the window — Position the window so it's fully on one display (not spanning multiple monitors)
- Resize the window — Make it smaller so it fits entirely on screen
This issue is more common on multi-monitor setups where windows span across displays.
Wrong Window Gets Captured
If you're capturing the wrong window, make sure:
- The window you want is visible (not completely behind another)
- Your cursor is positioned over the correct window
- You're clicking, not just hovering
Windows need to be at least partially visible to be captured. If a window is completely hidden behind another, bring it forward first with ⌘ + Tab or by clicking on it.
Screenshots Not Saving
If screenshots seem to capture but don't appear:
- Check your save location — Press
⌘ + Shift + 5, click Options, and see where screenshots are being saved - Search in Finder — Press
⌘ + Fand search for "Screen Shot" - Check Clipboard — You might have accidentally pressed
Controlwhich copies to clipboard instead of saving - Check available disk space — Screenshots won't save if your disk is full
Screenshot Quality Is Poor
If your window screenshots look blurry or pixelated:
- Check your display resolution — Screenshots capture at your current display resolution
- Avoid resizing after capture — Enlarging screenshots degrades quality
- Use PNG format — JPEG compression can reduce clarity
For the sharpest results, capture at native resolution and avoid scaling. If you need larger images, consider using a higher-resolution display or capturing at 2x with Retina displays
Capture the Touch Bar (Older MacBooks)
If you have a MacBook Pro with a Touch Bar (2016-2019 models), you can capture it too:
Press ⌘ + Shift + 6 to capture the entire Touch Bar.
The result is a very wide, thin image showing exactly what's displayed on your Touch Bar at that moment.
Copy to Clipboard Instead of Saving
Sometimes you want to paste a screenshot directly without saving a file:
- Full screen:
⌘ + Control + Shift + 3 - Selection:
⌘ + Control + Shift + 4 - Window:
⌘ + Control + Shift + 4, thenSpace, then click
Adding Control to any screenshot shortcut copies to your clipboard instead of saving a file. This is perfect for pasting directly into Slack, email, or documents.
Check out all the Mac screenshot shortcuts for more keyboard combinations.
Where Screenshots Are Saved
By default, screenshots save to your Desktop. You can change this:
- Press
⌘ + Shift + 5 - Click Options
- Choose a new location: Desktop, Documents, Clipboard, Mail, Messages, Preview, or Other Location
Popular alternative locations:
- Documents folder — Keeps your Desktop clean
- iCloud Drive — Access screenshots from any device
- A dedicated Screenshots folder — Easy to find and organize
Quick Reference: Window Screenshot Commands
| Action | Shortcut |
|---|---|
| Capture window | ⌘ + Shift + 4, then Space, then click |
| Capture window (no shadow) | ⌘ + Shift + 4, then Space, hold Option, click |
| Capture window to clipboard | ⌘ + Control + Shift + 4, then Space, then click |
| Open Screenshot toolbar | ⌘ + Shift + 5 |
| Cancel screenshot | Esc |
Frequently Asked Questions
Next Steps
Now that you can capture windows cleanly, you might want to:
- Annotate your screenshots professionally
- Blur sensitive information before sharing
- Take scrolling screenshots for full web pages
- Set up a better workflow with ScreenSnap Pro for instant capture, annotation, and sharing
Window screenshots are one of the most useful capture types — clean, focused, and perfect for documentation. With these methods, you'll capture exactly what you need every time.
Morgan
Indie DeveloperIndie developer, founder of ScreenSnap Pro. A decade of shipping consumer Mac apps and developer tools. Read full bio
@m_0_r_g_a_n_