How to Crop a Screenshot on Mac in 2026 (5 Methods)
To crop a screenshot on Mac, open it in Preview, click the Markup button, drag to select the area you want to keep, then choose Tools → Crop (or press ⌘ + K) and save with ⌘ + S. You can also crop as you capture with ⌘ + Shift + 4, or use an app like ScreenSnap Pro that captures and crops in one step.
Quick steps (Preview):
- Open the screenshot in Preview (double-click the file).
- Click the Markup button (the pen-tip icon) in the toolbar.
- Drag to select the area you want to keep.
- Choose Tools → Crop, or press
⌘ + K. - Save with
⌘ + S.
Cropping a screenshot on Mac means removing unwanted portions of a captured image to focus on the content that matters. Whether you need to hide sensitive information, trim out a cluttered menu bar, or highlight a specific detail, macOS offers multiple built-in and third-party options to crop screenshots quickly—no Photoshop required. Apps like ScreenSnap Pro bundle capture and crop into one workflow so you save the editing step entirely.
The secret most guides miss? The fastest way to crop a screenshot on Mac is often to capture only what you need in the first place. Let's explore five methods, from instant selection captures to full editing workflows.
Method 1: Take a Cropped Screenshot (Skip Cropping Later)
The quickest way to get a cropped screenshot? Don't crop at all—capture only what you need from the start.
This approach has two major advantages: you save time by skipping the editing step entirely, and you end up with smaller file sizes since you're not capturing unnecessary pixels. For most everyday screenshot tasks—grabbing a UI element, capturing an error message, or saving a specific section of a webpage—this is the method to use.
Using Selection Capture (`⌘ + Shift + 4`)
This keyboard shortcut transforms your cursor into crosshairs, letting you draw a rectangle around exactly what you want to capture:
- Press
⌘ + Shift + 4 - Your cursor changes to a crosshair with coordinates
- Click and drag to select the area you want
- Release to capture just that selection
The screenshot saves directly to your configured screenshot location (Desktop by default).

Pro Tips for Selection Captures
- Hold Space while dragging to move the entire selection area without resizing
- Hold Shift to lock the aspect ratio and resize in one direction only
- Hold Option to resize from the center outward
- Press Escape to cancel the capture
Capture a Specific Window
If you want to capture an entire window without any surrounding elements:
- Press
⌘ + Shift + 4 - Press
Space— your cursor becomes a camera icon - Click on any window to capture it perfectly cropped
This method automatically adds a nice shadow around the window. If you prefer no shadow, hold Option while clicking.
Using the Screenshot Bar (`⌘ + Shift + 5`)
For more control, use the screenshot toolbar introduced in macOS Mojave:
- Press
⌘ + Shift + 5 - A floating toolbar appears at the bottom of your screen
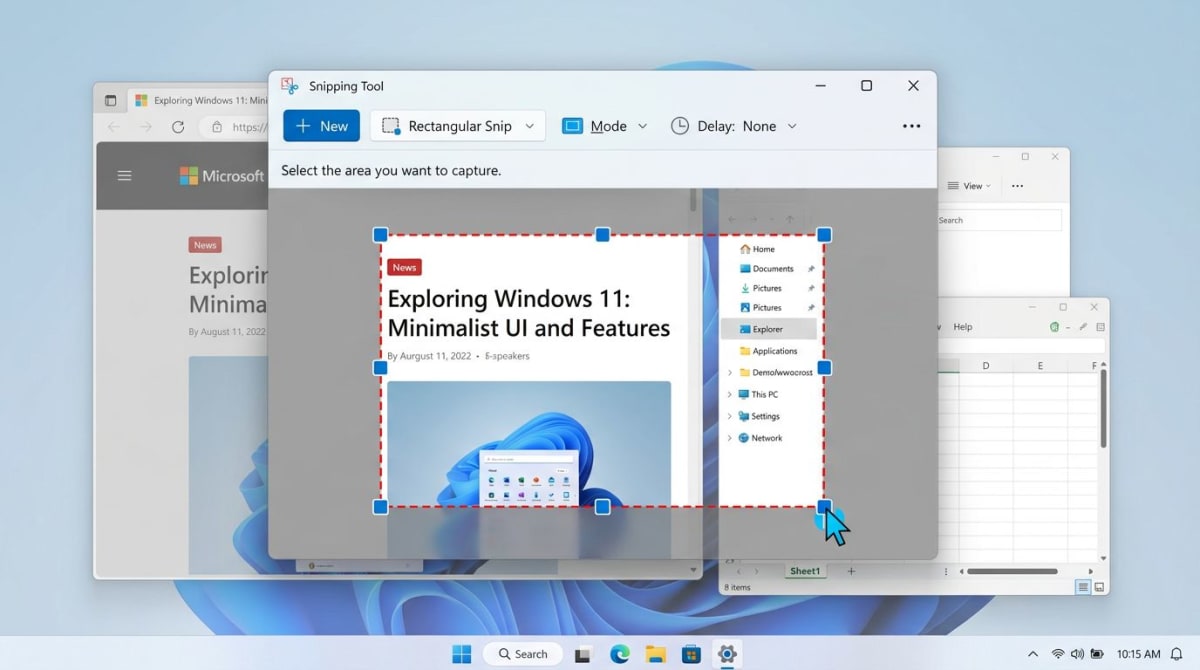
- Choose "Capture Selected Portion" (the dotted rectangle icon)
- Drag the handles to select your area
- Click "Capture" or press Enter
This is similar to Mac's snipping tool functionality and gives you a visual preview before capturing.
When to use this method: Whenever you know exactly what you want to capture beforehand. It's faster than taking a full screenshot and cropping later.
Keyboard Shortcut Quick Reference
Here's a summary of all the selection-based screenshot shortcuts on Mac:
| Shortcut | What It Does |
|---|---|
⌘ + Shift + 3 | Capture entire screen |
⌘ + Shift + 4 | Capture selected area |
⌘ + Shift + 4, then Space | Capture a specific window |
⌘ + Shift + 5 | Open screenshot toolbar with options |
⌘ + Shift + 6 | Capture Touch Bar (if available) |
Adding Control to any of these copies the screenshot to your clipboard instead of saving it as a file—handy when you just need to paste somewhere without cluttering your Desktop.
Method 2: Crop Using the Screenshot Thumbnail
Here's a trick most Mac users don't know about: you can crop screenshots immediately after taking them without opening any app.
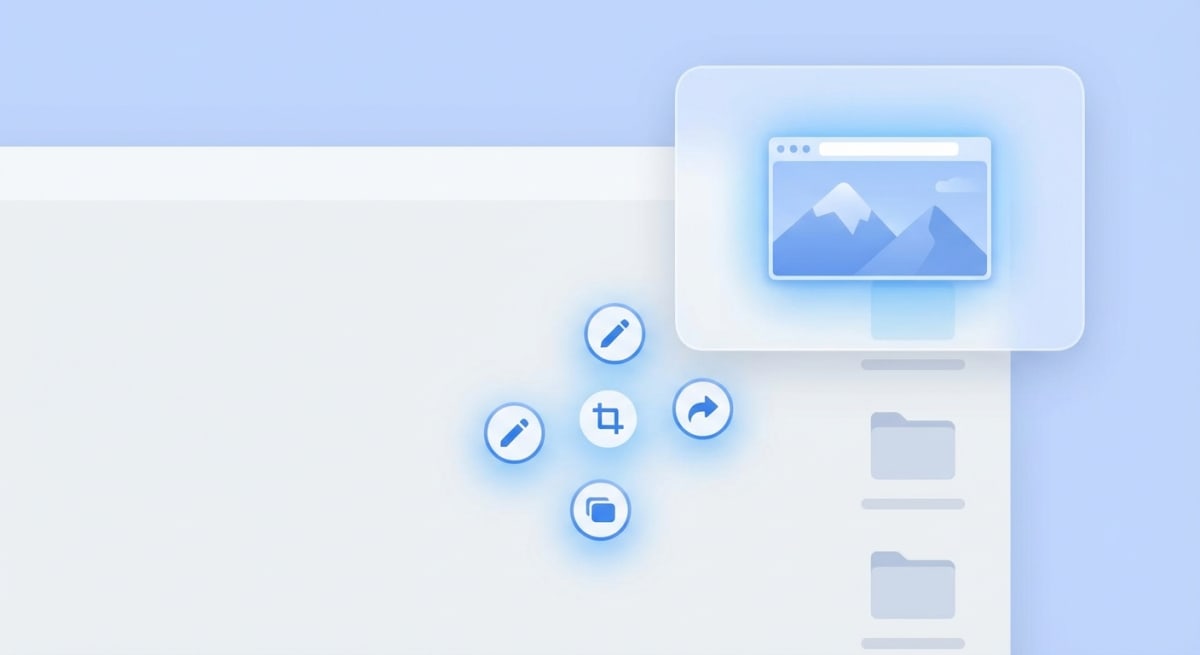
When you take any screenshot on macOS Mojave or later, a small thumbnail appears in the bottom-right corner for about 5 seconds. This is your window for instant editing.
How to Crop Using the Thumbnail
- Take any screenshot (
⌘ + Shift + 3,⌘ + Shift + 4, or⌘ + Shift + 5) - Click the thumbnail that appears in the corner (you have about 5 seconds)
- The screenshot opens in a Quick Look editor
- Click the crop icon in the top-right toolbar
- Drag the corner handles to select what you want to keep
- Click "Done" to save, or "Revert" to start over
What You Can Do in Thumbnail Edit Mode
Beyond cropping, this quick editor lets you:
- Add shapes, arrows, and text
- Draw with the sketch tool
- Add your signature
- Rotate the image
This is the same Markup toolbar you'd find in Preview, but without the extra step of opening an app. If you need more advanced annotation features, check out our guide on how to annotate screenshots professionally.
When to use this method: Perfect for quick crops right after capturing. If you miss the thumbnail window, move on to Method 3 or 4.
Adjusting Thumbnail Behavior
If the thumbnail disappears too quickly (or you find it distracting), you can adjust its settings:
- Press
⌘ + Shift + 5to open the screenshot toolbar - Click Options
- Find "Show Floating Thumbnail" and toggle it on or off
When the thumbnail is disabled, screenshots save directly to your designated location. Some users prefer this for a cleaner workflow, though you lose the quick-edit capability.
You can also drag the thumbnail directly into apps, documents, or emails—a quick way to share without saving a file first.
Method 3: Crop with Preview App
Preview is macOS's built-in image viewer, and it doubles as a capable image editor. Since screenshots open in Preview by default when you double-click them, this is the most natural workflow for cropping existing screenshots.
Step-by-Step: Crop in Preview
- Double-click any screenshot to open it in Preview
- Click the Markup toolbar button (looks like a pencil tip) in the top-right
- Click and drag on the image to select the area you want to keep
- A rectangular selection with blue handles appears
- Click "Crop" in the toolbar (or press
⌘ + K) - Press
⌘ + Sto save the cropped image
Preview Cropping Tips
- Selection shapes: Click the dropdown next to the selection tool to choose rectangular, elliptical, or lasso selection
- Smart Lasso: Use the lasso selection to crop irregular shapes (though the saved image will still be rectangular with transparency)
- Precise dimensions: After making a selection, look at the bottom-left corner to see exact pixel dimensions
Preview also lets you blur sensitive information after cropping—useful for screenshots containing personal data.
Alternative: Batch Cropping Multiple Screenshots
If you need to crop several screenshots to the same dimensions, Preview can help:
- Open all screenshots in Preview (select multiple files, right-click, Open With > Preview)
- In the sidebar, select the first image
- Make your selection and crop (
⌘ + K) - Note the dimensions shown in the bottom-left
- For subsequent images, type those exact dimensions after making a selection
This ensures consistent cropping across multiple images—useful for documentation or tutorials where visual consistency matters.
When to use this method: Best for cropping screenshots you've already saved, or when you need precise control over the crop area.
Tired of plain screenshots? Try ScreenSnap Pro.
Beautiful backgrounds, pro annotations, GIF recording, and instant cloud sharing — all in one app. Pay $29 once, own it forever.
See what it doesMethod 4: Crop in Photos App
While Photos is primarily designed for managing your photo library, it includes a solid crop tool that works great for screenshots too.
Step-by-Step: Crop in Photos
- Right-click your screenshot and select Open With > Photos
- Or drag the screenshot into an open Photos window
- Double-click the imported image to open it
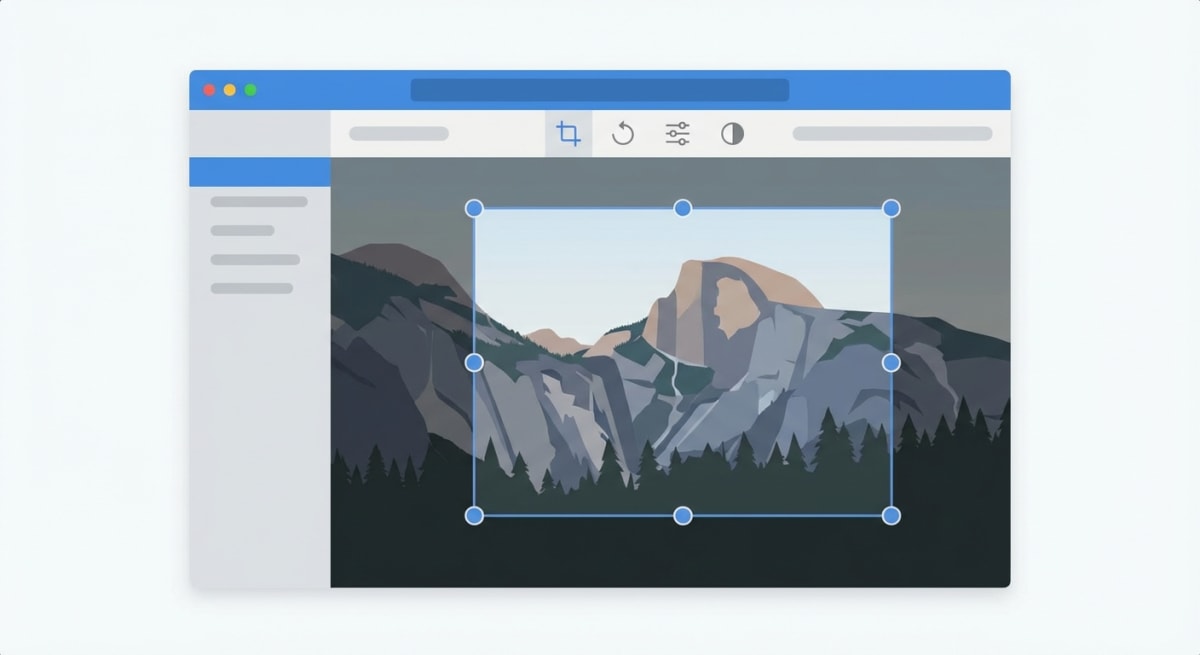
- Click "Edit" in the top-right corner
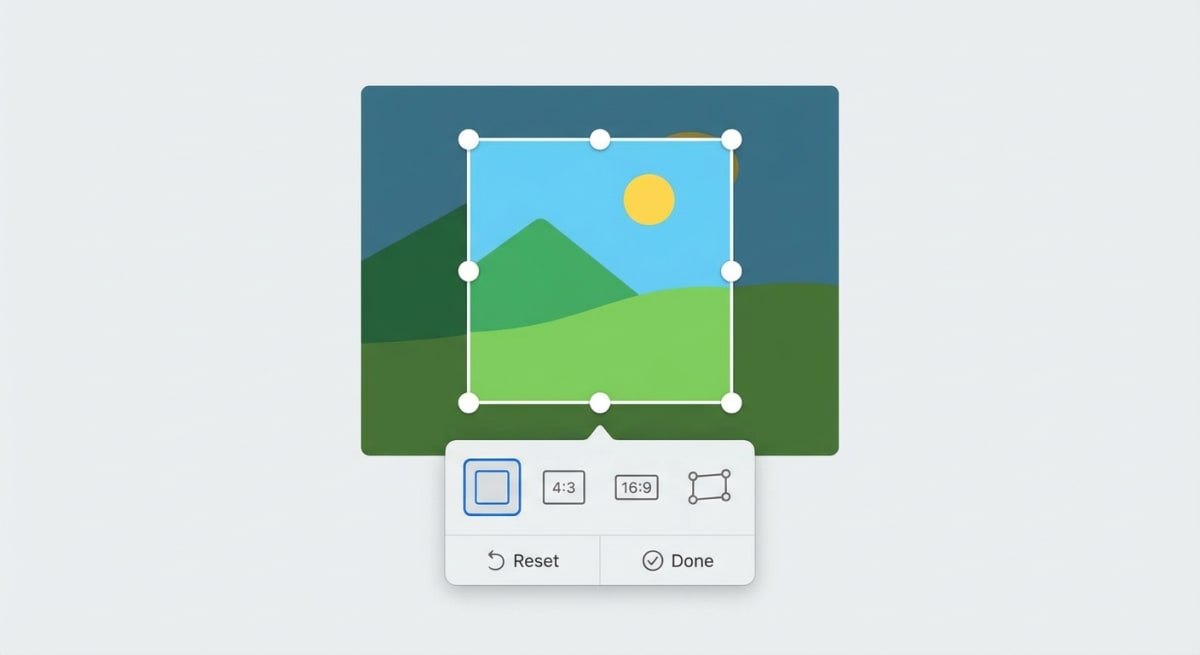
- Select the Crop tab in the editing panel
- Drag the corner handles to select your crop area
- Click "Done" to save
Photos App Crop Features
Photos offers several advantages over Preview:
- Aspect ratio presets: Choose from Square, 16:9, 4:3, and other standard ratios
- Straighten tool: Fix slightly tilted screenshots with a rotation slider
- Flip options: Mirror your image horizontally or vertically
- Non-destructive editing: You can revert to the original at any time
Exporting Your Cropped Screenshot
After cropping in Photos, you'll need to export the image to use it elsewhere:
- Select the cropped image
- Go to File > Export > Export 1 Photo
- Choose your format (PNG for screenshots, JPEG for smaller files)
- Select a save location
When to use this method: Great when you need aspect ratio constraints or plan to do additional adjustments like straightening. The extra import/export steps make it slower for quick crops.
Method 5: Crop with Pro Screenshot Apps
The built-in tools work well for occasional cropping, but if you take screenshots regularly, dedicated apps can streamline your workflow significantly.
What Pro Screenshot Apps Offer
Beyond basic cropping, professional screenshot tools typically include:
- Instant crop on capture: Crop during the capture process, not after
- Annotation tools: Add arrows, highlights, and callouts in one step
- Quick sharing: Copy to clipboard or generate shareable links instantly
- Scrolling captures: Capture content longer than your screen
- OCR text recognition: Copy text directly from screenshots
ScreenSnap Pro: Crop + Annotate in One Step
ScreenSnap Pro is designed specifically for Mac users who want efficiency. When you capture a screenshot, it opens immediately in an annotation editor where you can:
- Crop to the exact area you need
- Add arrows, text, and highlights
- Apply backgrounds or frames
- Share directly or copy to clipboard
The advantage? You're not bouncing between apps. Capture, crop, annotate, and share happens in one smooth flow.
For a detailed comparison of screenshot tools, see our roundup of the best screenshot apps for Mac.
Other Notable Options
Several other apps handle screenshot cropping well:
- CleanShot X — Subscription-based with extensive features. See our CleanShot X alternatives guide for comparisons.
- Shottr — Free and lightweight with solid annotation tools
- Skitch — Part of the Evernote family, good for quick annotations
When to use this method: If you take more than a few screenshots per week, especially for documentation, bug reports, or content creation, a dedicated app will pay for itself in time saved.
Which Method Should You Use?
Here's a quick decision guide based on your situation:
| Scenario | Best Method |
|---|---|
| You haven't taken the screenshot yet | Method 1: Selection capture |
| You just took a screenshot (within 5 seconds) | Method 2: Thumbnail edit |
| You have an existing screenshot file | Method 3: Preview app |
| You need specific aspect ratios | Method 4: Photos app |
| You crop screenshots frequently | Method 5: Pro screenshot app |
The key insight: prevent cropping when possible. Using ⌘ + Shift + 4 to capture only what you need is almost always faster than taking a full-screen shot and cropping later.
Workflow Recommendations by Use Case
For documentation and tutorials: Use Method 1 (selection capture) or Method 5 (pro apps). Consistency matters here, and capturing exactly what you need reduces post-processing time. If you need to add annotations, a pro app saves multiple steps.
For bug reports: Method 2 (thumbnail edit) works great. Take a quick screenshot, immediately crop to the relevant area, add a quick annotation if needed, and share. The whole process takes seconds.
For social media content: Method 4 (Photos app) is ideal when you need specific aspect ratios. Square crops for Instagram, 16:9 for Twitter cards—Photos makes this straightforward.
For presentations: Method 3 (Preview) gives you the most control for one-off edits. You can precisely position your crop, adjust dimensions, and export in the format you need.
Common Cropping Mistakes to Avoid
A few things to watch out for when cropping screenshots:
- Cropping too tight: Leave a small margin around important elements. Text and UI elements that touch the edge of an image look cramped and unprofessional.
- Forgetting Retina resolution: On Retina Macs, screenshots are captured at 2x resolution. A 1000px crop on screen becomes a 2000px image. Keep this in mind when sizing for web use.
- Not saving before editing: Preview edits are destructive—they overwrite the original. If you might need the full screenshot later, duplicate the file first (
⌘ + D).
Frequently Asked Questions
Conclusion
Cropping screenshots on Mac is straightforward once you know your options. For speed, capture only what you need using ⌘ + Shift + 4. For quick edits right after capture, use the thumbnail editor. For existing images, Preview or Photos get the job done.
If you find yourself cropping and annotating screenshots regularly—for documentation, bug reports, or tutorials—consider a dedicated screenshot app. The time savings add up quickly when you're not jumping between multiple tools for each capture.
Ready to streamline your screenshot workflow? Try ScreenSnap Pro free and see how much faster capture-to-share can be.
Morgan
Indie DeveloperIndie developer, founder of ScreenSnap Pro. A decade of shipping consumer Mac apps and developer tools. Read full bio
@m_0_r_g_a_n_