Mac Snipping Tool: ⌘+Shift+4 and 4 Better Alternatives (2026)
The Mac equivalent of Windows Snipping Tool is the built-in Screenshot app. Press ⌘ + Shift + 4 to snip any area of your screen, or ⌘ + Shift + 5 to open the full toolbar with area, window, and screen recording options. For more annotation, sharing, and recording features, third-party tools like ScreenSnap Pro pick up where the built-in app stops.
If you need more — annotations, cloud sharing, blur tools, or GIF recording — there are four excellent alternatives covered below. Here's the quick version:
| Tool | Price | Best For |
|---|---|---|
| Mac Built-in | Free | Quick captures, no frills |
| ScreenSnap Pro | $29 once | Annotations + cloud sharing |
| CleanShot X | $29 + $8/yr | Power users, scrolling capture |
| Shottr | Free | Developers, OCR + measurements |
Does Mac Have a Snipping Tool?
Yes — Mac has a built-in screenshot tool that serves the same purpose as Windows' Snipping Tool. It's called Screenshot (previously known as "Grab" in older macOS versions), and it's been part of macOS since Mojave (10.14).
While there's no app literally named "Snipping Tool," Mac's Screenshot app offers everything Windows users expect:
- Area capture — Select any rectangular portion of your screen
- Window capture — Grab a specific window with one click
- Full screen capture — Screenshot your entire display
- Screen recording — Record video of your screen (bonus feature)
You can access it instantly with ⌘ + Shift + 5 or find it in /Applications/Utilities/Screenshot.app.
If your Mac screenshot is not working, check our troubleshooting guide for quick fixes.
Mac vs Windows Snipping Tool: Key Differences
If you're switching from Windows, here's how the tools compare:
| Feature | Windows Snipping Tool | Mac Screenshot (⌘+Shift+5) |
|---|---|---|
| Free-form snip | ✅ | ❌ (rectangular only) |
| Rectangular snip | ✅ | ✅ |
| Window snip | ✅ | ✅ |
| Full screen | ✅ | ✅ |
| Built-in annotation | ✅ (pen, highlighter) | ❌ (need Preview or 3rd party) |
| Delay timer | ✅ (3, 5, 10 sec) | ✅ (5, 10 sec) |
| Screen recording | ❌ | ✅ |
| Clipboard copy | ✅ | ✅ (add Control to shortcut) |
| OCR text extraction | ✅ (Windows 11) | ❌ |
The biggest difference: Windows Snipping Tool includes basic annotation (pen, highlighter, ruler) built in. Mac's Screenshot app has zero annotation — you need Preview or a third-party tool. On the flip side, Mac includes screen recording, which Windows Snipping Tool doesn't.
For Windows switchers: The hardest adjustment is the keyboard shortcuts. Windows uses Win + Shift + S; Mac uses ⌘ + Shift + 4 (area) or ⌘ + Shift + 5 (toolbar). Once you retrain your muscle memory, the Mac tool is equally fast.
How to Use Mac's Built-in Screenshot Tool
Mac offers multiple ways to capture your screen. Here's everything you need to know.
Keyboard Shortcuts Cheat Sheet
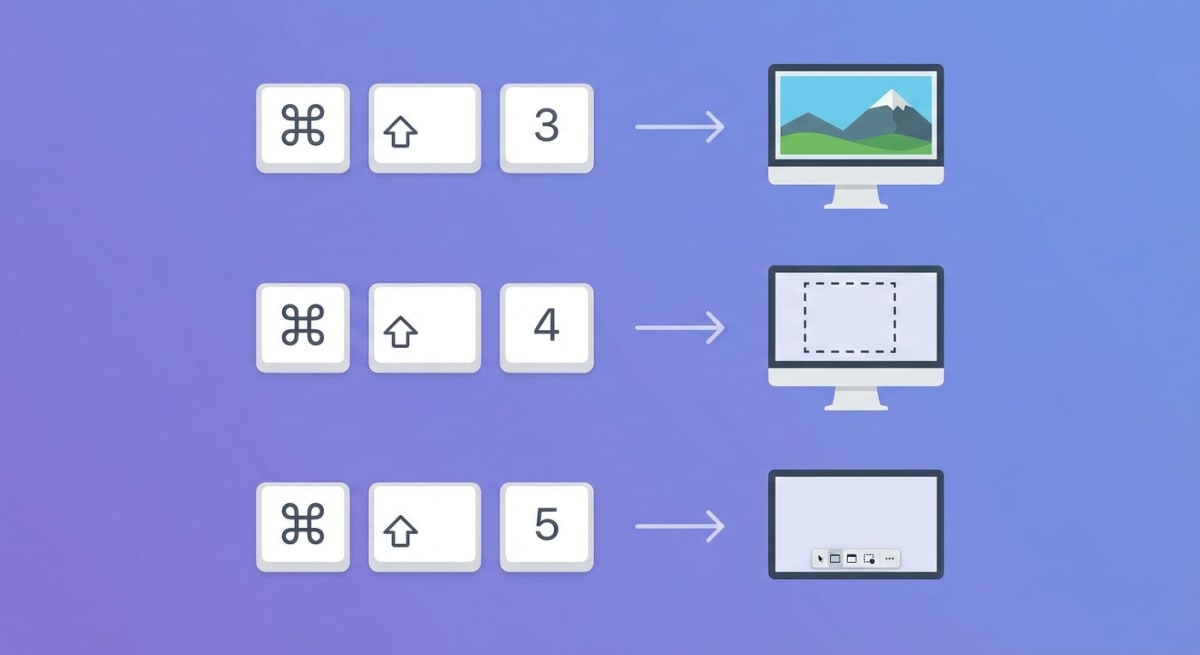
Memorize these three shortcuts, and you'll never struggle with screenshots again:
| Shortcut | What It Does |
|---|---|
⌘ + Shift + 3 | Capture entire screen |
⌘ + Shift + 4 | Capture selected area |
⌘ + Shift + 5 | Open Screenshot toolbar |
Pro tip: Add Control to any shortcut to copy the screenshot to your clipboard instead of saving it as a file. For example, Control + ⌘ + Shift + 4 captures an area directly to your clipboard.
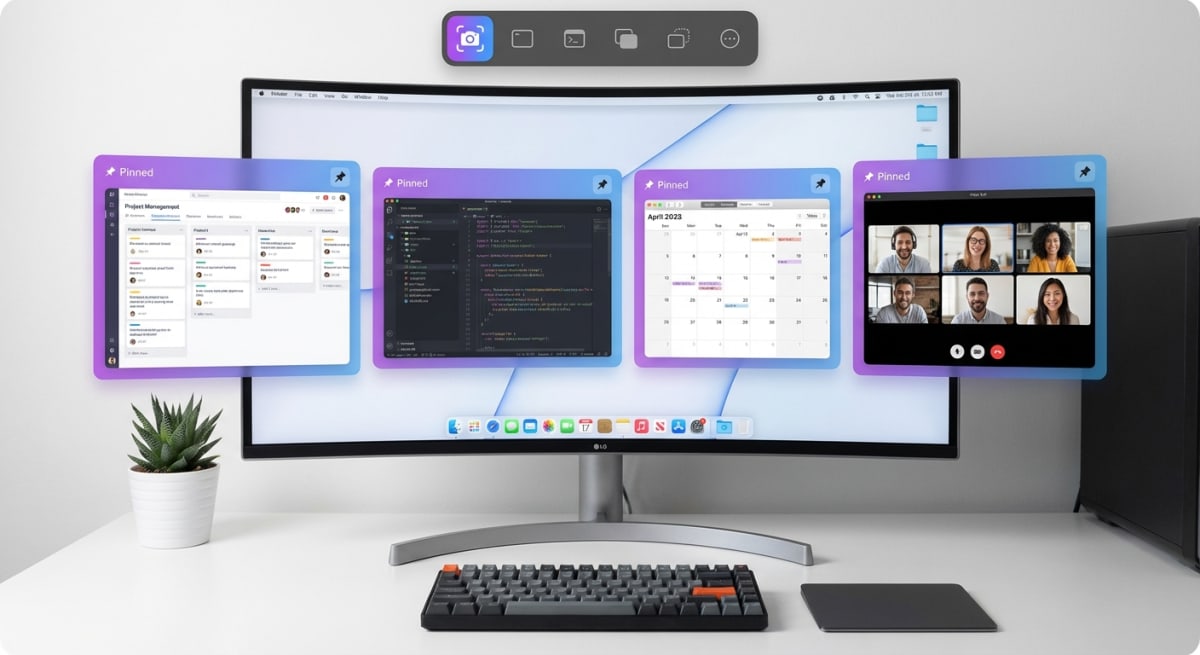
Using the Screenshot Toolbar (⌘ + Shift + 5)
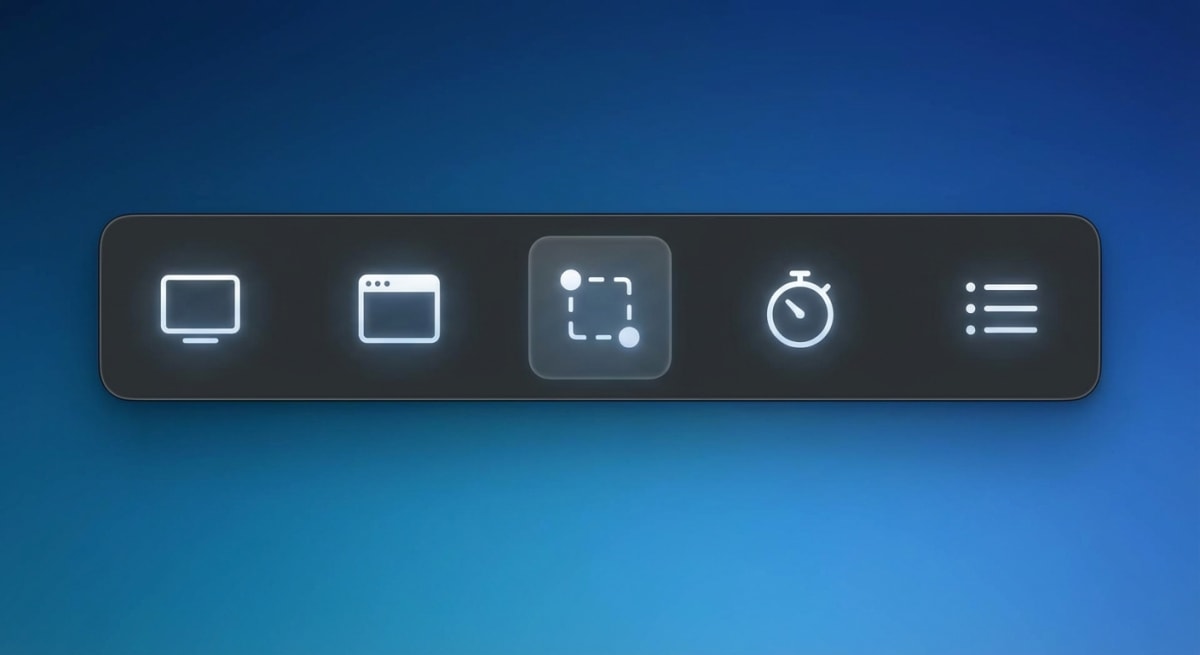
The Screenshot toolbar is the most versatile option. Press ⌘ + Shift + 5 to reveal a floating toolbar with these options:
- Capture Entire Screen — Click once to grab everything
- Capture Selected Window — Click any window to capture it
- Capture Selected Portion — Drag to select a custom area
- Record Entire Screen — Start a full-screen video recording
- Record Selected Portion — Record a specific area
Click Options to configure:
- Save location — Desktop, Documents, Clipboard, or a custom folder
- Timer — 5 or 10 second delay before capture
- Show Floating Thumbnail — Enable quick editing after capture
- Remember Last Selection — Keep your previous capture area
- Show Mouse Pointer — Include or exclude cursor in captures
According to Apple's official documentation, macOS Tahoe 26 also introduces HDR screenshot support on compatible Macs.
Capturing Specific Windows
To capture a single window without the background:
- Press
⌘ + Shift + 4 - Press
Spacebar— Your cursor turns into a camera icon - Click the window you want to capture
The resulting screenshot includes the window's drop shadow by default. To capture without the shadow, hold Option while clicking.
This is particularly useful when you're creating tutorials or documentation and want clean, isolated window captures.
Saving Screenshots to Clipboard
Sometimes you want to paste a screenshot directly into an email, Slack message, or document without creating a file. Here's how:
- Full screen to clipboard:
Control + ⌘ + Shift + 3 - Selection to clipboard:
Control + ⌘ + Shift + 4 - Window to clipboard:
Control + ⌘ + Shift + 4, thenSpacebar, then click
You can also change the default save location to "Clipboard" in the Screenshot toolbar options (⌘ + Shift + 5 → Options → Save to).
Changing Default Screenshot Location
Tired of screenshots cluttering your Desktop? Change the save location:
- Press
⌘ + Shift + 5to open the Screenshot toolbar - Click Options
- Under "Save to," choose your preferred location
Popular choices include a dedicated "Screenshots" folder in Documents or iCloud Drive for automatic syncing across devices.
You can also use Terminal for more control:
defaults write com.apple.screencapture location ~/Pictures/Screenshots
killall SystemUIServer
Mac Snipping Tool Limitations
While Mac's built-in screenshot tool handles the basics well, it falls short in several areas:
No annotation tools — You can't add arrows, text, or shapes directly. You'll need to open screenshots in Preview or another app to annotate, which adds friction to your workflow.
Limited editing — Beyond basic cropping in the thumbnail preview, there's no way to blur sensitive information, add callouts, or highlight areas.
No scrolling screenshots — Can't capture entire web pages or long documents that extend beyond your screen.
No cloud sharing — Screenshots save locally. Sharing requires manually uploading to a service.
No GIF recording — Screen recording only outputs video files. If you need to record GIFs on Mac, you'll need a third-party tool.
Basic organization — Files pile up with generic "Screenshot" names. No tagging, albums, or search capabilities.
If you regularly take screenshots for work — whether for documentation, bug reports, tutorials, or social media — these limitations add up quickly.
Tired of plain screenshots? Try ScreenSnap Pro.
Beautiful backgrounds, pro annotations, GIF recording, and instant cloud sharing — all in one app. Pay $29 once, own it forever.
See what it doesBest Snipping Tool Alternatives for Mac
When the built-in tool isn't enough, these alternatives offer professional-grade features. Here's an honest look at your best options.
ScreenSnap Pro (Best One-Time Purchase)
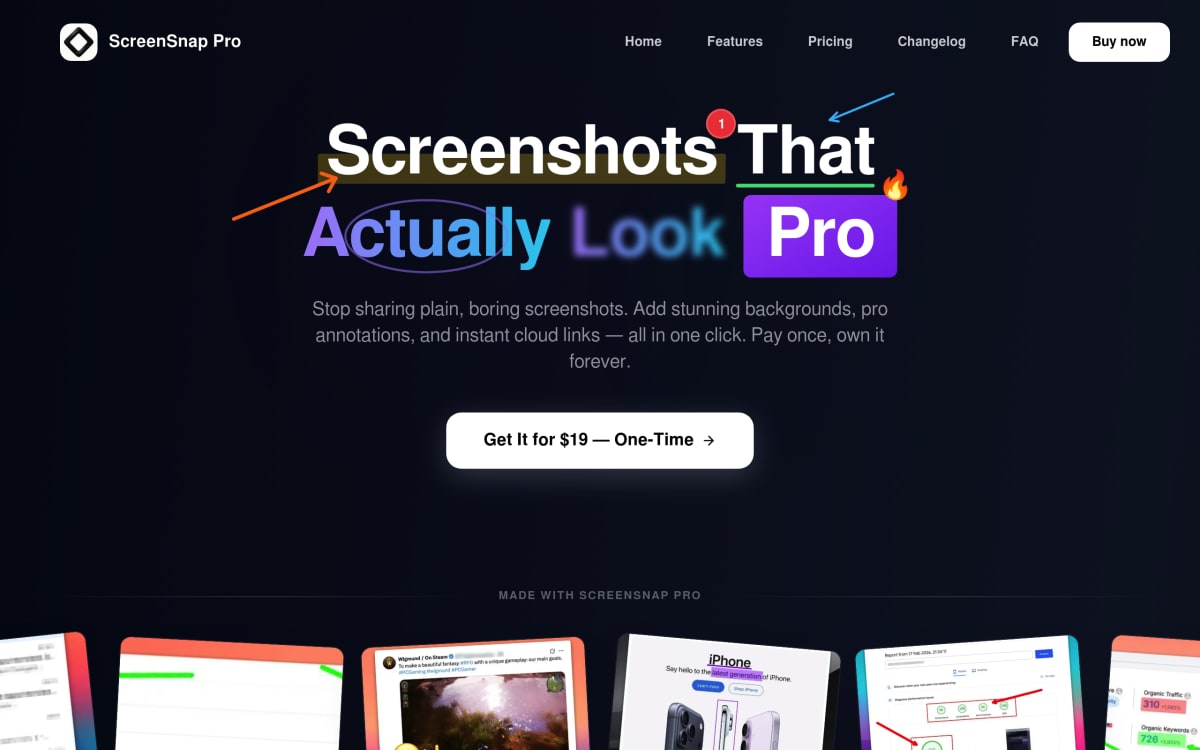
ScreenSnap Pro stands out for one simple reason: you pay once and own it forever. No subscriptions, no recurring fees.
Key features:
- Instant annotation with arrows, text, shapes, and callouts
- Full-Page Website Capture — paste any URL and grab the first screen or the full page, with safe handling of infinite-scroll and lazy-loaded content
- One-click blur for sensitive information
- Cloud sharing with shareable links
- GIF recording and screen recording with internal audio
- OCR text extraction from screenshots
- Beautiful backgrounds for social-ready screenshots
Pricing: $29 one-time purchase
Best for: Anyone who takes screenshots regularly and wants professional features without ongoing costs. Particularly good for developers, designers, writers, and support teams. For long web pages, the new Full-Page Website Capture grabs any URL. For in-app scrolling of native Mac windows (long PDFs, Slack threads, Excel sheets), Shottr or CleanShot X still win.
If you're interested in comparing tools, check out our detailed breakdown in best screenshot apps for Mac.
CleanShot X (Subscription)
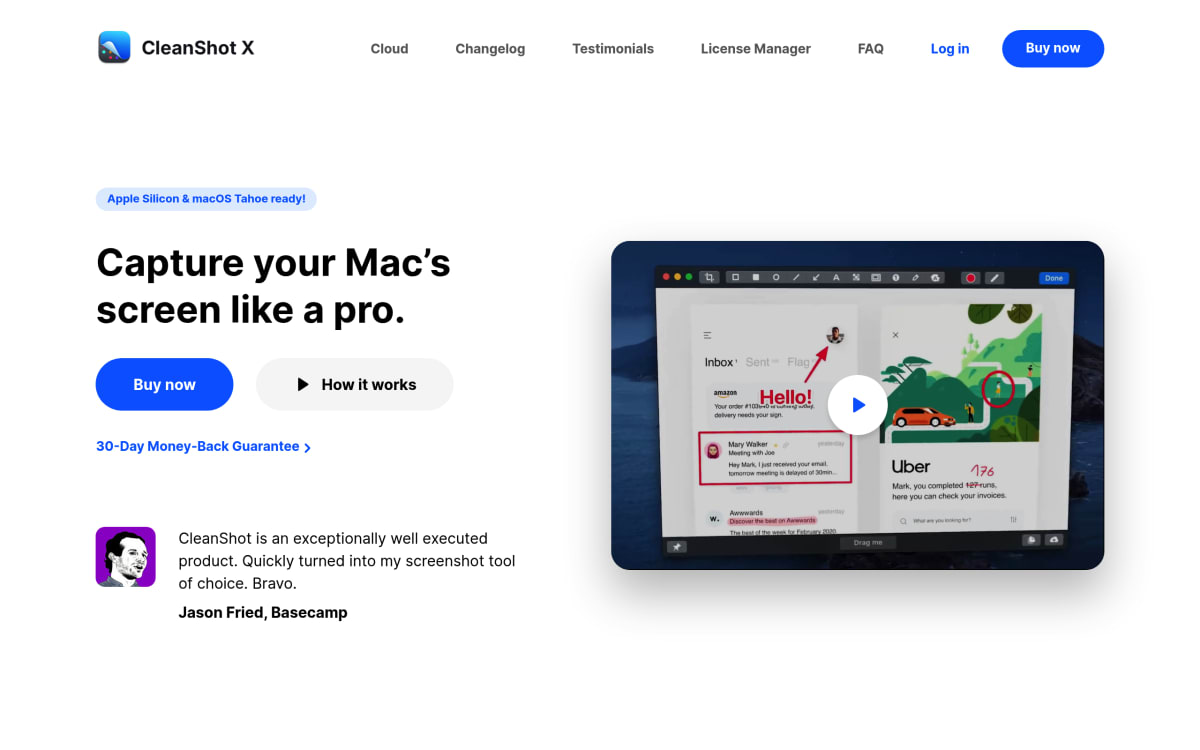
CleanShot X is the feature-packed option many Mac power users love. It's available through Setapp or as a standalone purchase with cloud storage.
Key features:
- Desktop icon hiding during capture
- Quick Access Overlay for immediate editing
- CleanShot Cloud for instant link sharing (1GB free storage)
- Scrolling capture and screen recording
- Self-timer and delay options
Pricing: $29 one-time + $8/year for cloud (or included in Setapp at ~$10/month)
Best for: Users who want an all-in-one solution and don't mind the subscription for cloud features.
We've written a full comparison: Best CleanShot X Alternative if you want to explore options.
Shottr (Free)

Shottr is a lightweight, free screenshot tool with surprisingly capable features for the price (free!).
Key features:
- Scrolling screenshots
- OCR text recognition
- Basic annotation tools
- Pixel measurement for designers
- Lightweight and fast
Pricing: Free (donations welcome)
Best for: Users who want more than the built-in tool but don't need cloud sharing or professional annotation features. Great for developers and designers.
Read our full comparison: ScreenSnap Pro vs Shottr.
Snagit (Enterprise)
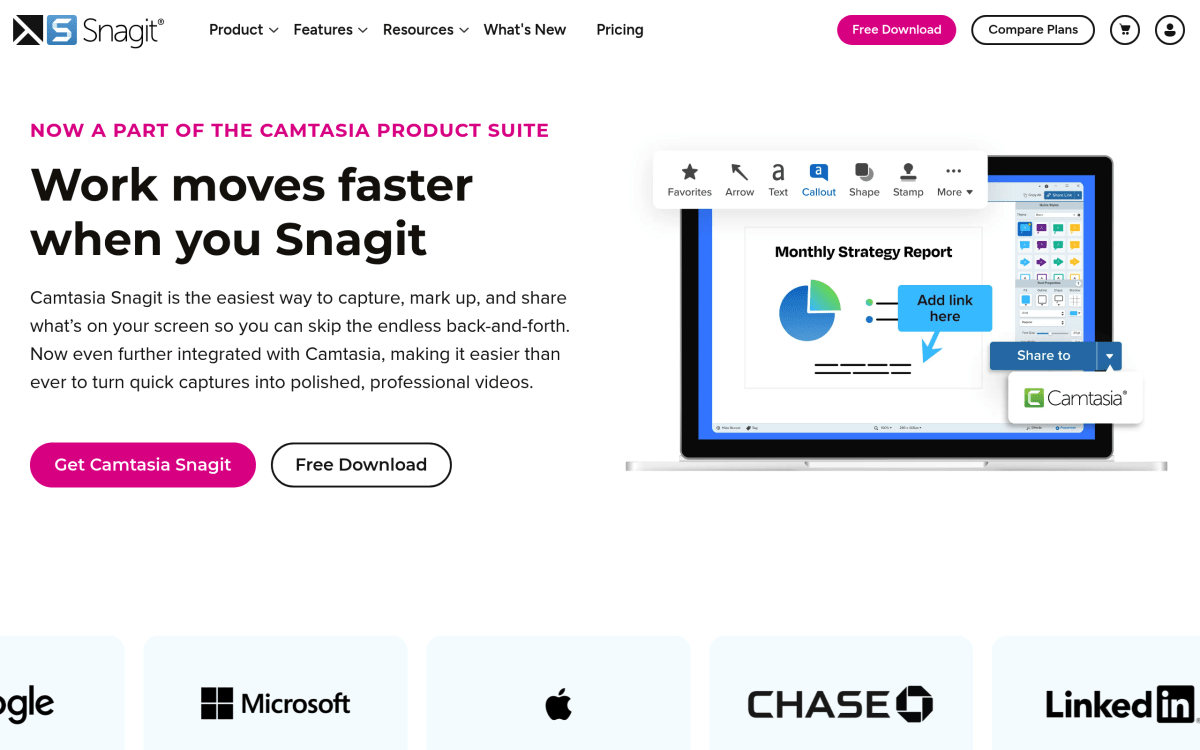
TechSmith's Snagit has been around for decades and targets enterprise users who need robust documentation capabilities.
Key features:
- Extensive template library
- Video recording with editing
- Integration with enterprise tools
- Smart Move for editing text in images
Pricing: $62.99 one-time (perpetual license)
Best for: Enterprise teams and anyone creating product documentation or training materials.
Looking for alternatives? See our guide to Snagit alternatives for Mac.
Feature Comparison Table
Here's how the top Mac snipping tools stack up:
| Feature | Mac Built-in | ScreenSnap Pro | CleanShot X | Shottr |
|---|---|---|---|---|
| Price | Free | $29 one-time | $29 + $8/yr | Free |
| Area capture | ✅ | ✅ | ✅ | ✅ |
| Window capture | ✅ | ✅ | ✅ | ✅ |
| Scrolling capture | ❌ | Websites ✅ / In-app ❌ | ✅ | ✅ |
| Annotations | ❌ | ✅ | ✅ | Basic |
| Blur/redact | ❌ | ✅ | ✅ | ✅ |
| GIF recording | ❌ | ✅ | ✅ | ❌ |
| Screen recording | ✅ | ✅ | ✅ | ❌ |
| Cloud sharing | ❌ | ✅ | ✅ (paid) | ❌ |
| OCR text extraction | ❌ | ✅ | ✅ | ✅ |
In short: If you only need basic captures, the free built-in tool works fine. For annotation, cloud sharing, and full-page captures of any website without a subscription, ScreenSnap Pro ($29 one-time) is the best value. If you need in-app scrolling capture of native windows (PDFs, Slack threads, Excel), choose Shottr (free) or CleanShot X (paid). For enterprise documentation with templates, Snagit is the standard.
If you frequently need to annotate screenshots professionally, the built-in tool won't cut it.
Tips for Better Screenshots on Mac
Regardless of which tool you use, these tips will improve your screenshot game:
1. Clean your desktop first — A cluttered desktop makes full-screen captures look messy. Create a "Screenshots" folder and keep your desktop minimal.
2. Use consistent naming — Rename important screenshots immediately. "Screenshot 2026-01-31 at 10.42.15 AM" doesn't help you find anything later.
3. Learn the clipboard shortcuts — Control + ⌘ + Shift + 4 for quick paste-ready captures saves countless steps.
4. Set up a dedicated folder — Change your default save location to a "Screenshots" folder. Review and delete regularly.
5. Consider adding backgrounds — For social media or presentations, screenshots look more polished on a gradient or device mockup. See our guide on how to add backgrounds to screenshots.
6. Blur sensitive info — Before sharing screenshots, always check for visible passwords, personal data, or confidential information. Learn how to blur sensitive information on Mac.
Frequently Asked Questions
Conclusion
Mac's built-in screenshot tool handles basic captures well, and the keyboard shortcuts (⌘ + Shift + 3/4/5) are fast once you've memorized them. For quick screenshots without annotations, it's perfectly adequate.
But if you're taking screenshots regularly for work — whether for documentation, tutorials, bug reports, or social media — the limitations become frustrating quickly. No annotation tools, no cloud sharing, no scrolling captures.
For those needs, a dedicated snipping tool makes a real difference. If you want professional features without a subscription, ScreenSnap Pro offers annotations, cloud sharing, GIF recording, and blur tools for a one-time $29 purchase.
Whatever tool you choose, the key is picking one that fits your actual workflow. The best screenshot tool is the one you'll actually use.
Morgan
Indie DeveloperIndie developer, founder of ScreenSnap Pro. A decade of shipping consumer Mac apps and developer tools. Read full bio
@m_0_r_g_a_n_