How to Screen Record with Audio on Mac (2026 Guide)
TL;DR: Mac's built-in tools don't capture system audio. Use BlackHole (free virtual audio driver) with QuickTime for a free setup — it's the best free option. For a simpler workflow, ScreenSnap Pro captures internal audio with no drivers needed. Skip to Method 2 for the free route or Method 4 for the easiest setup.
Want to screen record with audio on Mac? Here's the frustrating truth: macOS can record your screen natively, but it won't capture internal audio — like the sound from a video call, app notification, or YouTube video — without extra steps. Tools like ScreenSnap Pro bundle screen capture and system-audio recording into one app, so you skip the BlackHole setup.
This guide covers four methods. Here's which one to pick based on what you're doing:
Which Method Should You Use?
| What you need | Best method | Setup time | Cost |
|---|---|---|---|
| Record your voice over a screencast | Method 1: QuickTime | 0 min | Free |
| Capture app/system audio (free) | Method 2: BlackHole | 10-15 min | Free |
| Mix multiple audio sources, livestream | Method 3: OBS Studio | 20-30 min | Free |
| Just record everything with one click | Method 4: ScreenSnap Pro | 1 min | One-time purchase |
Common scenarios:
- Recording a Zoom or Google Meet call → Method 2 (free) or Method 4 (easiest)
- Making a tutorial with voiceover → Method 1 (voice only) or Method 4 (voice + app sounds)
- Capturing a bug with sound → Method 4 (fastest) or Method 2 (free)
- Streaming to Twitch/YouTube → Method 3 (OBS)
Before You Start
Make sure these are set up before recording:
- Grant screen recording permission — Go to System Settings → Privacy & Security → Screen Recording and enable your recording app
- Check disk space — 1 hour of recording uses roughly 1-3 GB depending on resolution
- Close unnecessary apps — fewer background processes = smoother recording
- Disable notifications — turn on Focus mode or Do Not Disturb so popups don't appear mid-recording
- Test with a 10-second clip first — catch audio issues before a long session
macOS compatibility: All methods below work on macOS 12 Monterey and later (including Sequoia). Methods 2-4 also support macOS 11 Big Sur. All methods work on both Intel and Apple Silicon (M1/M2/M3/M4) Macs.
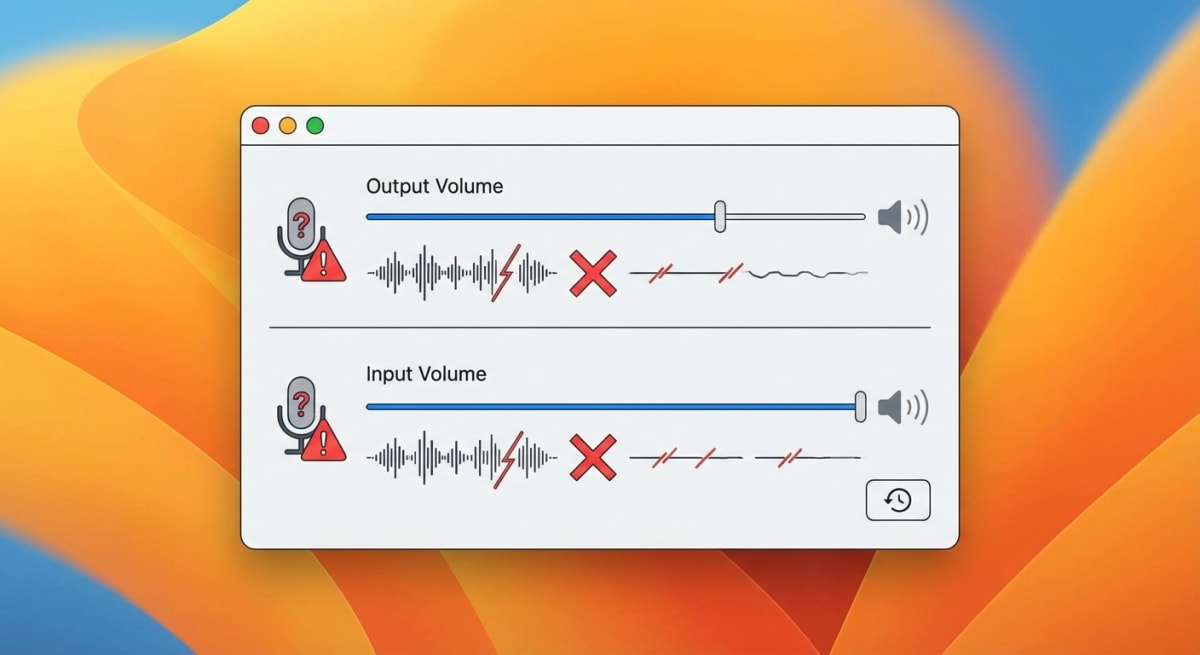
Why Mac Can't Record Internal Audio by Default
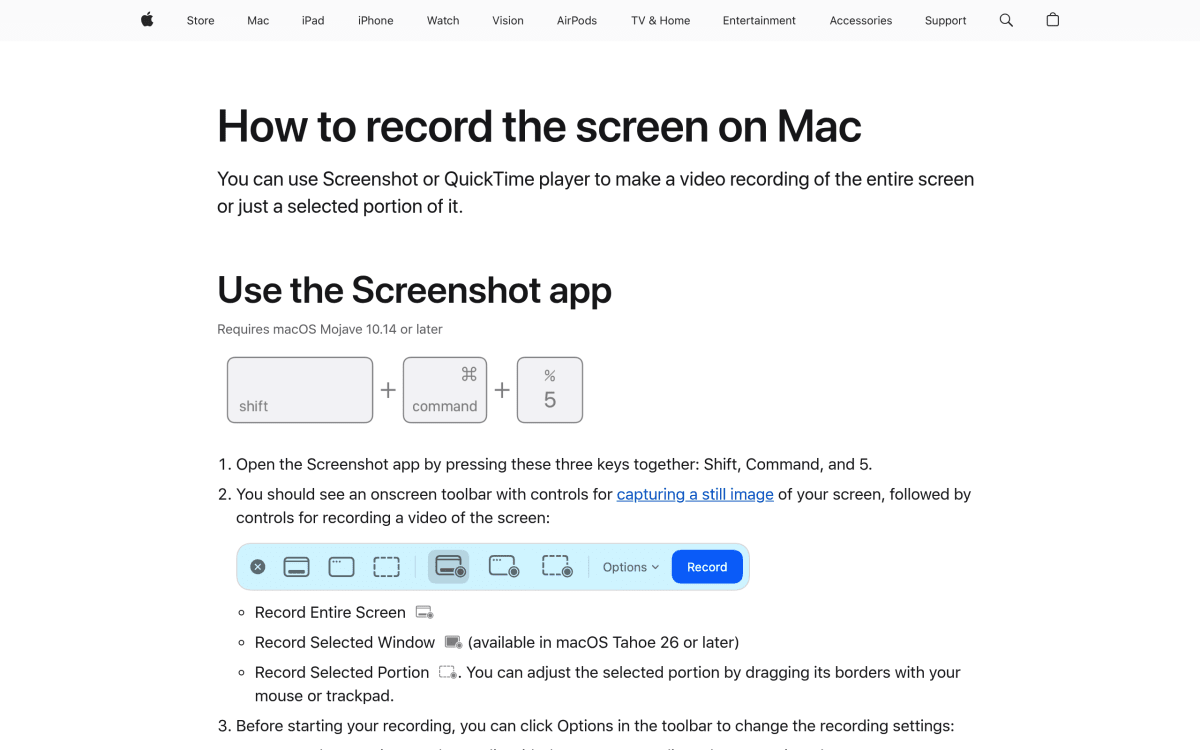
Apple's built-in tools — the Screenshot app (⌘ + Shift + 5) and QuickTime Player — only capture microphone audio. They can't record system sounds like app audio, video calls, or music. Apple's official documentation confirms this.
The reason is privacy: macOS sandboxes audio routing so apps can't secretly tap into each other's audio streams. Good for security, annoying for screen recording.
The workarounds fall into two categories:
- Virtual audio drivers (free): Route system audio through a virtual device that screen recorders can capture
- Dedicated apps (paid): Handle audio capture internally, no drivers needed
Let's start with the simplest option.
Method 1: QuickTime + Microphone (Basic)
If you only need to record your own voice narrating over your screen, the built-in tools work fine.
How to Record with Microphone Audio
- Press
⌘ + Shift + 5to open the Screenshot toolbar - Click Options
- Under Microphone, select your input device (Built-in Microphone or external mic)
- Choose Record Entire Screen or Record Selected Portion
- Click Record
- Click the Stop button in the menu bar when finished
Your recording saves to the Desktop by default. You can edit screen recordings on Mac using QuickTime's trim feature or more advanced tools.
Limitation: This captures your voice but not system audio — no app sounds, music, or video audio will be included.
Method 2: BlackHole Virtual Audio Driver (Free)
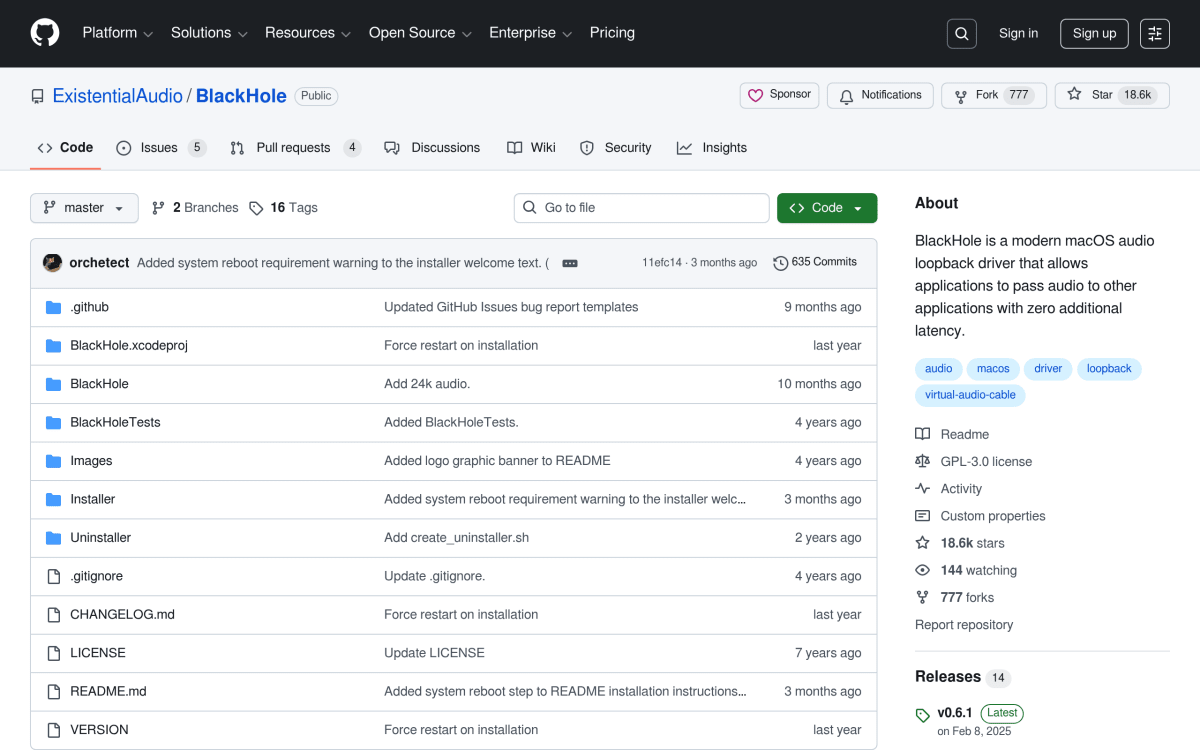
BlackHole is a free, open-source virtual audio driver that creates a "loopback" device on your Mac. It routes system audio to a virtual input that screen recorders can capture.
This is the best free method for capturing internal audio, but it requires some setup.
Installing BlackHole
- Download BlackHole from the official GitHub page
- Run the installer package and follow the prompts
- Restart your Mac (recommended for clean audio routing)
BlackHole comes in two versions: 2ch (stereo) for most use cases and 16ch for advanced multi-channel routing. The 2ch version is what you need.
Setting Up Multi-Output Device
To hear audio while recording (instead of it only going to BlackHole), you need to create a Multi-Output Device:
- Open Audio MIDI Setup (search in Spotlight or find in Applications → Utilities)
- Click the + button at the bottom-left
- Select Create Multi-Output Device
- Check both BlackHole 2ch and your regular output (like MacBook Pro Speakers or headphones)
- Make sure your speakers/headphones are checked as the Drift Correction source
Recording with Internal Audio
Now configure your Mac to use this setup:
- Go to System Settings → Sound → Output
- Select your new Multi-Output Device
- Open QuickTime Player → File → New Screen Recording
- Click the dropdown arrow next to the record button
- Select BlackHole 2ch as the microphone
- Start recording
Your screen recording will now capture all system audio. When you're done, switch your sound output back to normal speakers.
Tip: To record both microphone and system audio simultaneously, you'll need to create an Aggregate Device that combines BlackHole with your microphone input.
Creating an Aggregate Device for Dual Audio
If you need to capture both your voice and system sounds in the same recording (common for tutorials), here's how:
- Open Audio MIDI Setup
- Click + → Create Aggregate Device
- Check BlackHole 2ch and your microphone input
- Name it something like "Mic + System Audio"
- In QuickTime's recording options, select this Aggregate Device as your microphone
This routes both audio streams into a single input that any screen recorder can capture.
⚠️ Don't forget: After you're done recording, switch your Sound Output back to your normal speakers/headphones. If you leave it on the Multi-Output Device, some apps may behave unexpectedly.
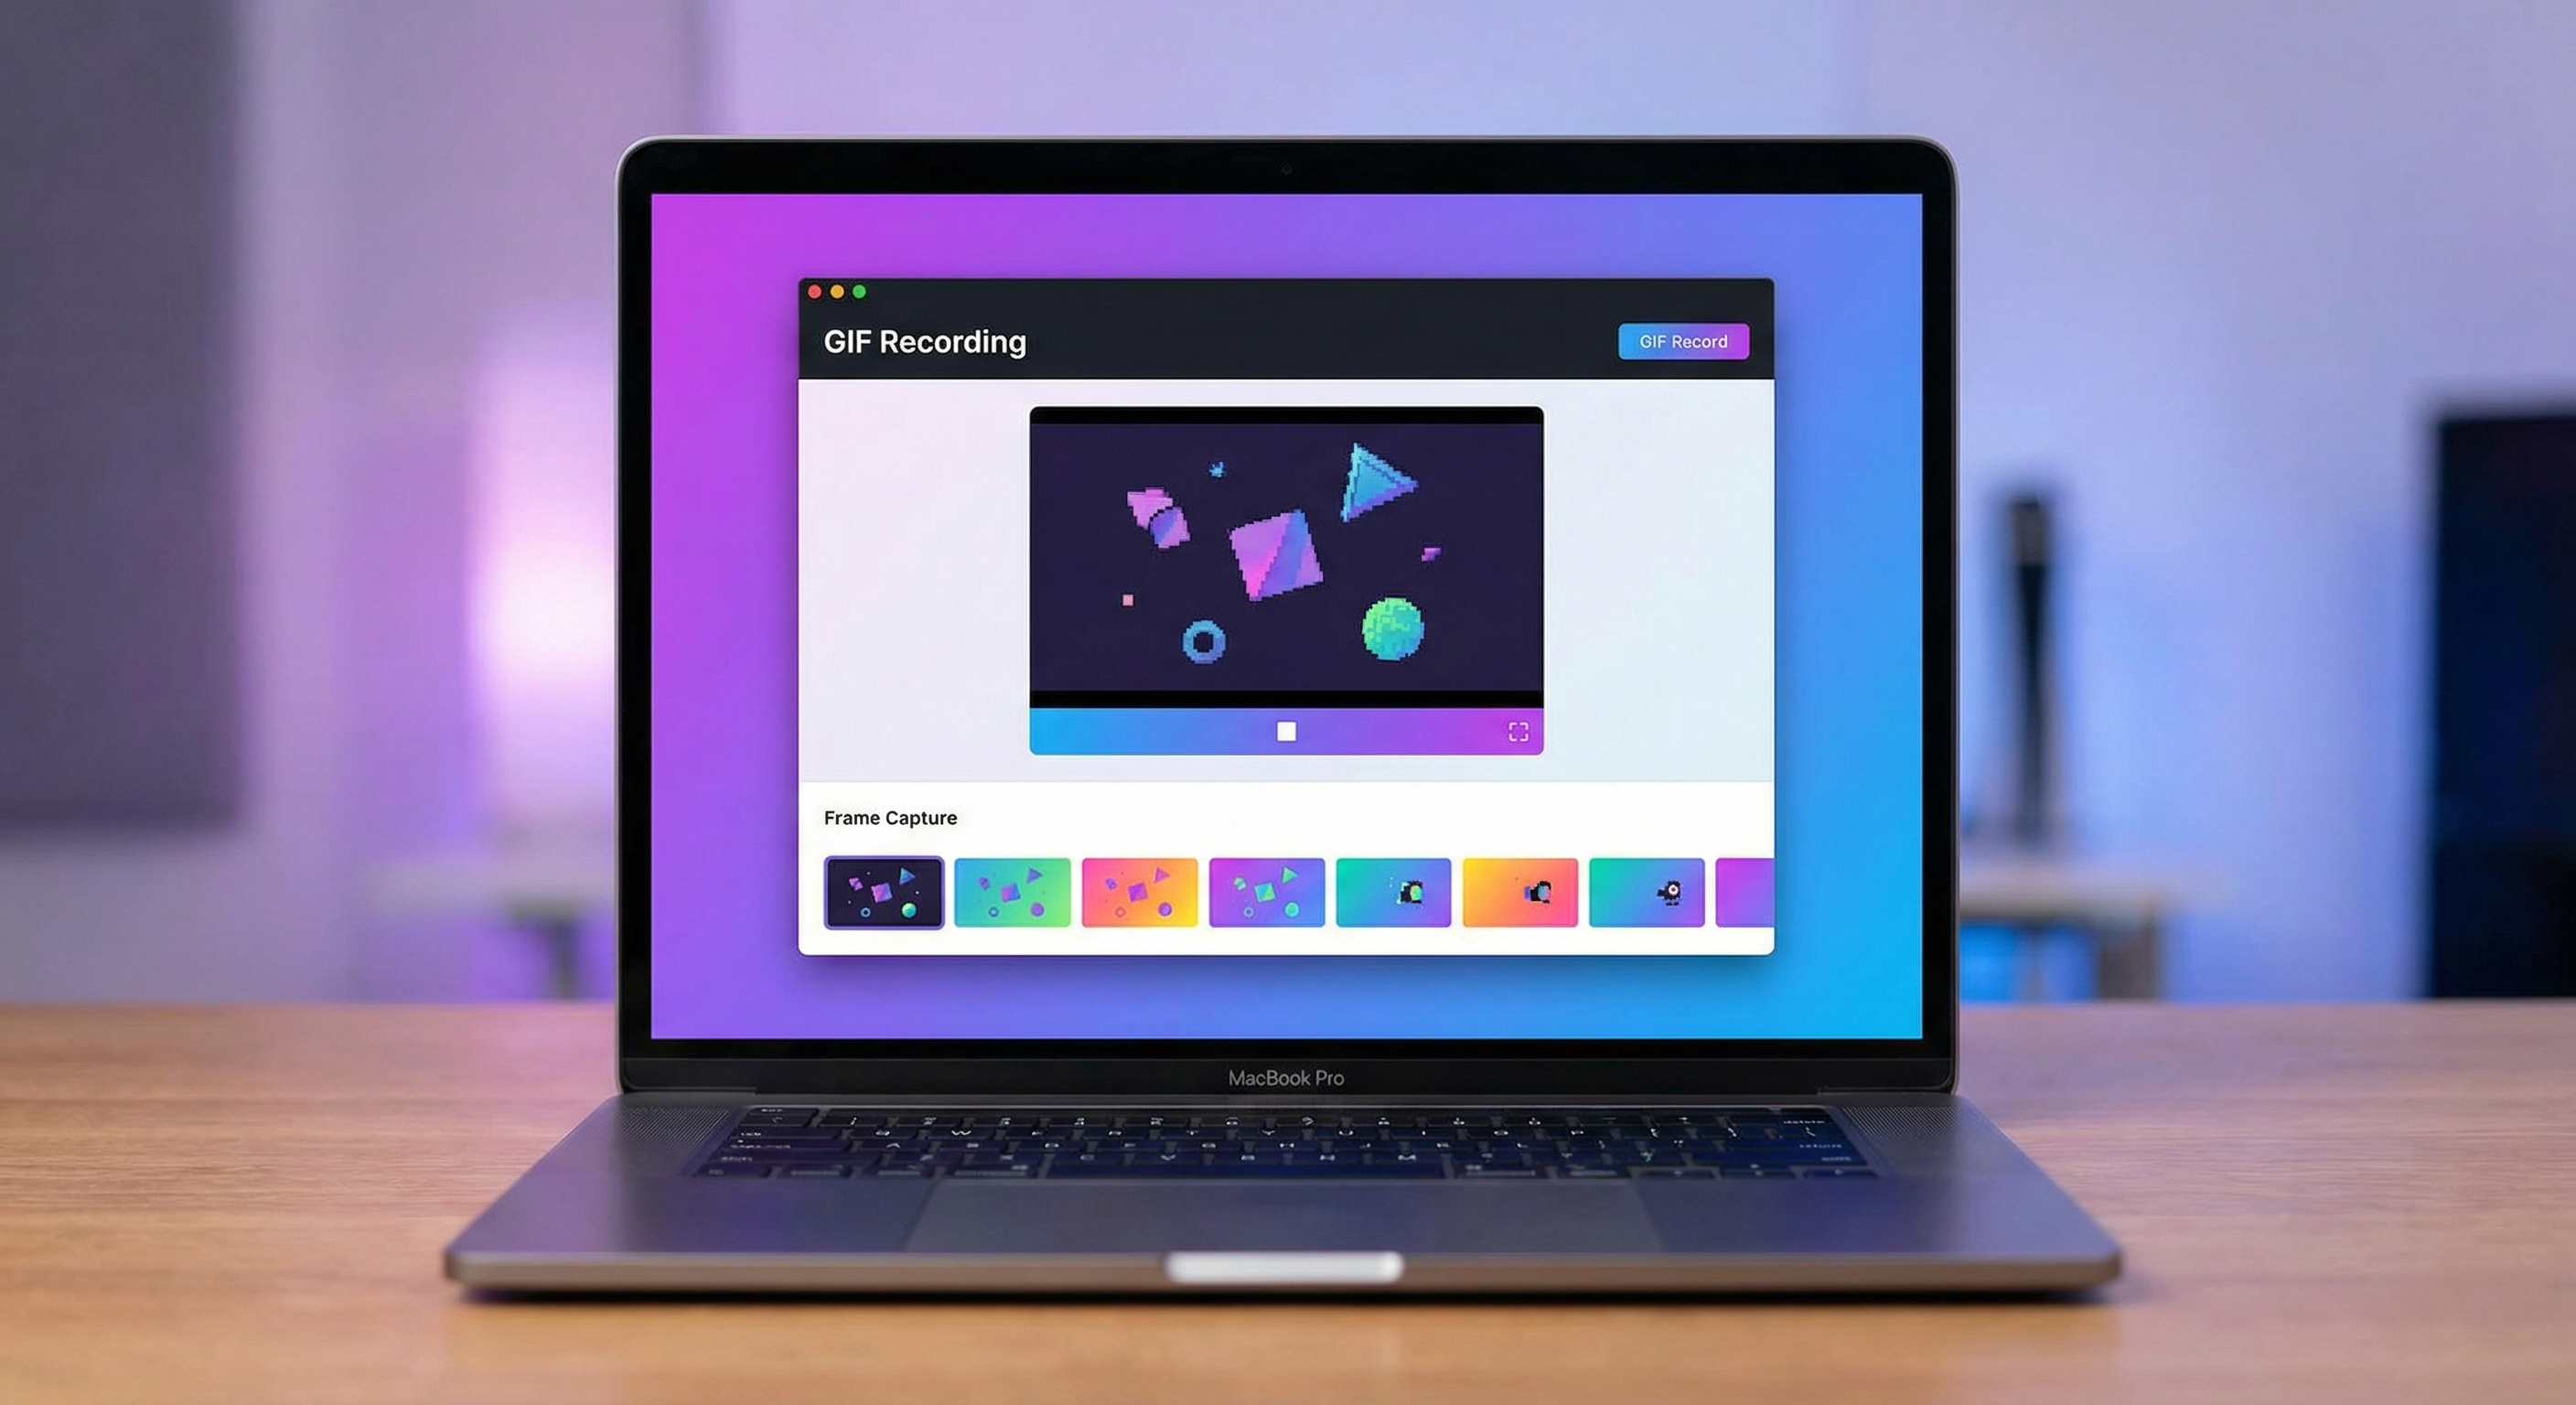
Tired of plain screenshots? Try ScreenSnap Pro.
Beautiful backgrounds, pro annotations, GIF recording, and instant cloud sharing — all in one app. Pay $29 once, own it forever.
See what it doesMethod 3: OBS Studio (Free, Advanced)
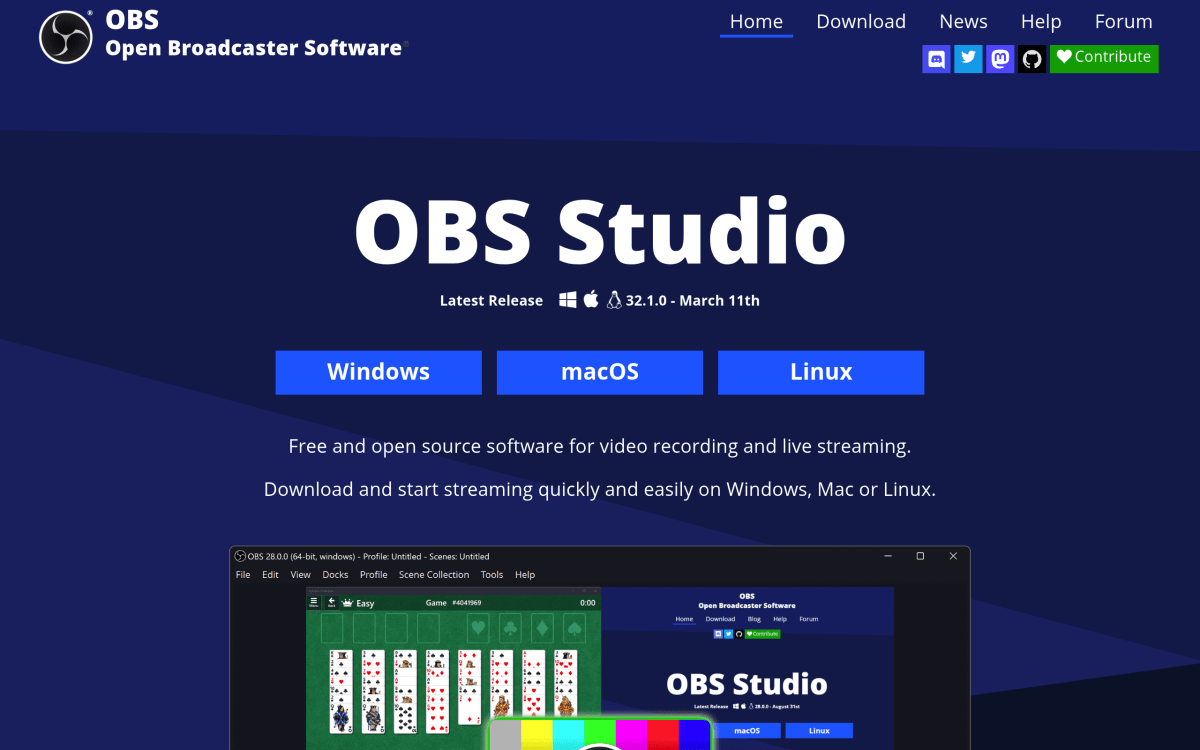
OBS Studio is professional-grade recording and streaming software that's completely free. It's more complex than simpler tools, but offers granular control over audio sources.
Setting Up OBS for Mac Audio
- Download OBS Studio for macOS
- Install BlackHole using the steps above (OBS needs it for system audio)
- Open OBS and create a new Scene
- Add a Display Capture or Window Capture source
- Add an Audio Input Capture source and select BlackHole 2ch
- Optionally add another Audio Input Capture for your microphone
OBS lets you mix multiple audio sources with individual volume controls. This is ideal for tutorials where you need to balance narration with app sounds.
Best for: Streamers, professional content creators, anyone who needs multi-source audio mixing.
Drawback: Steeper learning curve compared to simpler tools. If you're looking for something lighter, check out our guide to recording GIFs on Mac for simpler workflows.
Method 4: ScreenSnap Pro (Paid, Simple)
ScreenSnap Pro is a screenshot and screen recording app for Mac that captures both microphone and internal system audio without needing BlackHole or any virtual audio drivers.
Recording with ScreenSnap Pro
- Click the ScreenSnap Pro menu bar icon
- Select Record Screen
- Choose your audio source — microphone, internal audio, or both
- Select full screen, window, or custom area
- Click to start recording
ScreenSnap Pro handles the audio routing automatically. No separate drivers, no complex setup.
Pricing: One-time purchase — no subscription fees.
Best for: Users who want a polished, all-in-one solution without recurring costs. It also includes annotation tools, GIF recording, and instant cloud sharing.
Screen Recording Tools Comparison
Here's how each method stacks up:
| Method | Internal Audio | Setup Required | Price | Best For |
|---|---|---|---|---|
| QuickTime + Mic | ❌ Microphone only | None | Free | Voice narration only |
| BlackHole + QuickTime | ✅ | Moderate | Free | Budget-conscious users |
| OBS Studio | ✅ | Complex | Free | Streamers, power users |
| ScreenSnap Pro | ✅ | None | One-time purchase | All-in-one solution |
For most users, a dedicated recording app saves hours of troubleshooting BlackHole configurations. If budget is the priority, BlackHole + QuickTime works — it just takes patience to set up correctly.
Troubleshooting Common Issues
No Audio in Recording
Check your audio source: Make sure BlackHole 2ch (or your app's audio capture) is selected as the recording input — not your microphone.
Check Sound Output: If using BlackHole, confirm your System Settings → Sound → Output is set to the Multi-Output Device you created.
Restart Audio Services: Open Terminal and run:
sudo killall coreaudiodThis restarts the audio system without rebooting.
Audio Out of Sync
Sync issues usually happen with BlackHole at higher sample rates. Try:
- Open Audio MIDI Setup
- Select BlackHole 2ch
- Set format to 44100 Hz (standard CD quality)
- Match this setting on your Multi-Output Device
Can't Hear Audio While Recording
If you're using BlackHole without a Multi-Output Device, all audio goes to the virtual device — you won't hear it. Create a Multi-Output Device as described in Method 2 to hear audio while recording.
Permission Errors
macOS requires screen recording permissions for third-party apps:
- Go to System Settings → Privacy & Security → Screen Recording
- Enable the toggle for your recording app
- Restart the app if prompted
For more Mac troubleshooting, check out our guide on fixing Mac screenshot not working issues — many permission fixes apply to screen recording too.
Quick Tips for Better Screen Recordings
- Use an external microphone for narration — even a $30 USB mic is a huge upgrade over the built-in one
- Record at native resolution for the sharpest output
- Know your shortcuts:
⌘ + Shift + 5opens the Screenshot toolbar;⌘ + Control + Escstops recording - Record in a quiet room with soft surfaces (carpet, curtains) to reduce echo
- Keep recordings focused — one topic per recording is easier to follow than a 20-minute walkthrough
For a complete reference on capture shortcuts, see our Mac screenshot shortcuts guide.
Frequently Asked Questions
Conclusion
Recording your Mac screen with internal audio isn't as simple as it should be, but you have options:
- Free and reliable: BlackHole + QuickTime works great once configured
- Simple and polished: ScreenSnap Pro handles audio capture automatically — one-time purchase, no subscription
- Professional and free: OBS Studio for advanced multi-source mixing
The right choice depends on how often you record. If you're creating occasional tutorials, the free BlackHole method works fine. For regular recording — documentation, content creation, client presentations — ScreenSnap Pro pays for itself in time saved, and you'll never see a renewal charge.
Whatever you choose, test your audio setup before important recordings. A quick 10-second test clip can save you from discovering audio issues after a 30-minute session.
Looking for more Mac screen capture tips? Browse our best screenshot apps for Mac comparison to find tools that complement your workflow.
Morgan
Indie DeveloperIndie developer, founder of ScreenSnap Pro. A decade of shipping consumer Mac apps and developer tools. Read full bio
@m_0_r_g_a_n_