How to Screenshot Microsoft Teams on Mac (2026 Guide)
Microsoft Teams is great for work. But here's the catch: Teams doesn't have a built-in screenshot feature. Unlike Zoom or Slack, you can't take a teams screenshot from the app itself — so a system-wide capture tool like ScreenSnap Pro fills the gap.
The good news? Your Mac has strong screenshot tools built right in. With the right method, you can capture meetings, chats, and slides in seconds.
This guide covers every way to screenshot Teams on your Mac. Save a chat, grab a slide, or capture a key moment—let's get started.
Does Microsoft Teams have a screenshot feature?
No. Teams has no built-in screenshot tool. It relies on your Mac's own capture tools instead.
That's not a bad thing. Your Mac's tools are fast and flexible. Third-party apps can add extras like markup and cloud sharing that Teams would never offer.
One key point: Teams doesn't notify anyone when you take a screenshot. No alert, no popup, nothing. Your captures stay private. (More on privacy below.)
Method 1: Mac keyboard shortcuts (fastest)
Mac keyboard shortcuts are the fastest way to take a Teams meeting screenshot. No apps to open, no menus to click. Just press the keys and you're done.
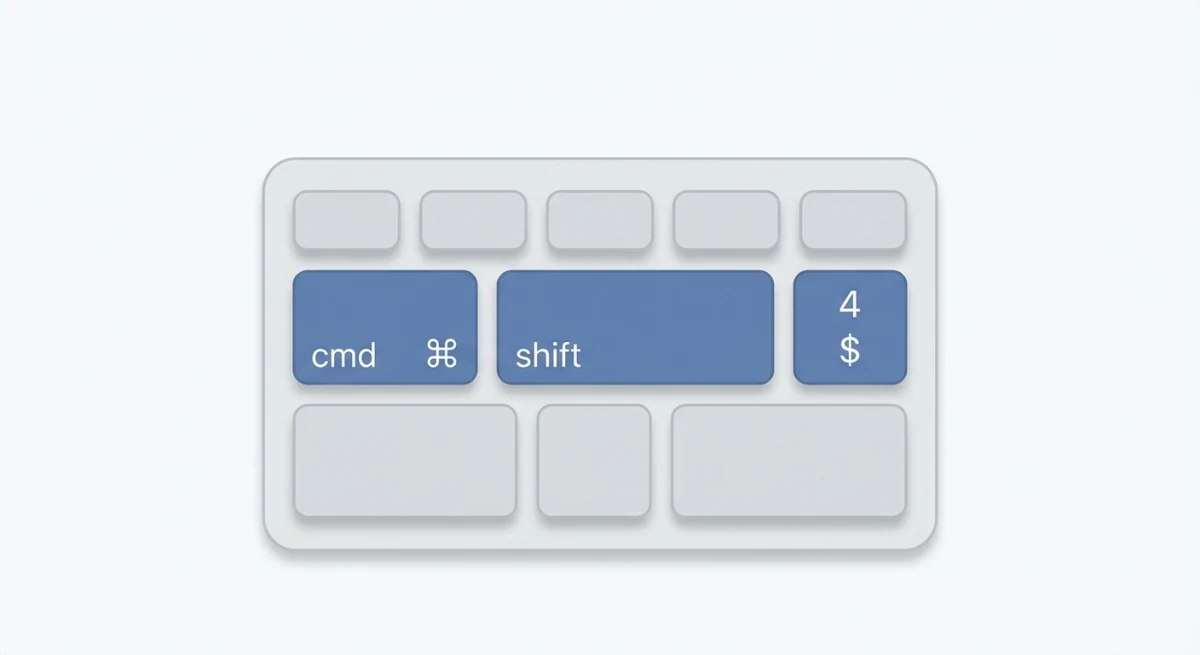
Capture a selected area
⌘ + Shift + 4 — Best for Teams
This is the teams screenshot shortcut you'll use most. Press the keys, then drag to select what you want. Great for:
- A specific chat message
- One participant's video feed
- A portion of a shared presentation
The file saves to your Desktop right away.
When to use this: Most Teams captures. Meetings, chats, shared slides — area select handles them all. It gives you full control over what ends up in the image.
Capture a specific window
⌘ + Shift + 4, then press Space
This turns on window capture mode. Hover over the Teams window and click. You get a clean capture of the full window with a soft drop shadow.
When to use this: You want the entire Teams window — chat list, message area, and all. Works well for docs or reports where you need to show the full Teams layout.
Copy directly to clipboard
Control + ⌘ + Shift + 4
This is the pro move for Teams users. Instead of saving a file, the capture goes straight to your clipboard. You can paste it right into:
- The Teams chat with
⌘ + V - A document or email
- An image editor
This is the fastest way to capture and share in one motion.
When to use this: You plan to paste the image right away. No file cleanup needed. Perfect mid-meeting when you want to share a screenshot in the chat without leaving the call.
Capture your entire screen
⌘ + Shift + 3
Grabs your full screen. Useful when you need to show what else was on screen, but often too much for Teams captures.
When to use this: Bug reports where you need to show the full display, or when someone asks "what does your screen look like right now?" It grabs everything — both monitors if you have a dual setup.
Want more shortcuts? Check out our full guide to the Mac snipping tool.
Method 2: Using Mac's Screenshot app
For more control, open Mac's Screenshot app. Press ⌘ + Shift + 5 to bring up the toolbar.

The toolbar gives you several options:
| Icon | Function | Best for |
|---|---|---|
| Full screen | Captures entire display | Context-heavy screenshots |
| Window | Captures one window | Clean Teams window captures |
| Selection | Captures drawn area | Specific content |
| Record entire | Records full screen | Meeting recordings |
| Record portion | Records selected area | Demo clips |
Use the timer for self-captures
Click Options in the Screenshot toolbar and set a 5 or 10-second timer. This gives you time to:
- Start your presentation
- Navigate to the right screen
- Get your video positioned correctly
The timer is a huge help when you need to capture your own shared screen or slides.
Change where screenshots save
By default, screenshots land on your Desktop. In the Options menu, you can change this to:
- A specific folder (create a "Teams Screenshots" folder)
- Your clipboard (for immediate pasting)
- Preview (for quick edits before saving)
Apple's screenshot guide covers more options if you want to learn more.
Method 3: Third-party screenshot tools
Mac's built-in tools work well for basic captures. But if you take Teams screenshots often, a better app can save real time.
Why upgrade?
- Instant markup — Add arrows, highlights, and text without opening another app
- Cloud sharing — Get a link instead of sending files
- Auto sorting — Captures get named and filed for you
- Scrolling capture — Grab long chat threads in one image
Tools like ScreenSnap Pro let you capture, mark up, and share a Teams screenshot in seconds. Grab a meeting moment, add an arrow to the key detail, and paste a link into Teams chat. All without leaving your flow.
This helps most when you need to:
- Highlight key choices from a meeting
- Make step-by-step guides from shared content
- Share marked-up screenshots with people who missed the call
Need to edit screenshots on Mac or copy text from images often? These tools make the process much faster.
Tired of plain screenshots? Try ScreenSnap Pro.
Beautiful backgrounds, pro annotations, GIF recording, and instant cloud sharing — all in one app. Pay $39 once, own it forever.
See what it doesHow to share screenshots in Teams chat
Got your screenshot? Getting it into Teams is easy.

Paste from clipboard (fastest)
If you used Control + ⌘ + Shift + 4 to copy to clipboard:
- Click in the Teams chat message box
- Press
⌘ + V - Hit Enter to send
The image uploads and sends right away. Want to crop the screenshot first? Paste it into Preview before sending.
Drag and drop from Desktop
- Open Finder or click on your Desktop
- Drag the screenshot file into the Teams chat box
- Add a message if needed, then send
Using OneDrive for larger files
For high-resolution screenshots or multiple images:
- Upload to OneDrive
- Click the Attach button in Teams
- Select OneDrive
- Choose your file
This shares a link instead of the full file. It's faster and keeps chat storage clean.
Screenshot tips for Teams meetings
Capturing shared screens
When someone shares their screen in Teams, you see it on yours. You can capture it like any other content. A few tips:
- Use area capture (
⌘ + Shift + 4) to grab just the shared content, not the Teams UI - Wait for motion to stop before taking the capture
- Be quick — shared content can change fast
- Enter full screen first — click the full-screen button on the shared content for a bigger, crisper capture
- Mute your mic if needed — some keyboards make a sound when you press screenshot shortcuts
If you're taking a screenshot during a live demo, pause a second before the shortcut. Motion blur and transition frames make images look blurry.
Capturing Teams webinars and breakout rooms
Teams webinars work the same as meetings for screenshots. The host shares a screen, and you capture it with any method above.
Breakout rooms need a small extra step. When you join a breakout room, Teams opens a new session inside the same window. Make sure the right room is active before you take your capture.
A few points to keep in mind:
- Webinar Q&A panels can be captured along with slides by using full-screen area select
- Breakout room whiteboards — use
⌘ + Shift + 4to grab the whiteboard before the room closes - Town halls in new Teams may limit some features — screenshots still work fine from your Mac
- Post-meeting, act fast — once a breakout room closes, you lose access to the shared content
Screenshot etiquette
Teams won't tell anyone you took a screenshot. But that doesn't mean you should capture without care. Good habits:
- Ask first before capturing video of other people
- Check your company's rules — some firms restrict meeting captures
- Watch for private content — pay info, personal details, and secret data shouldn't be captured lightly
- Tell people when you're capturing for notes or records
Organize screenshots by meeting
If you take lots of meeting screenshots, staying sorted matters. Try:
- Making folders by date or project
- Using clear names:
YYYY-MM-DD-meeting-name-01.png - Using a tool that sorts captures for you
For bigger projects, you can combine screenshots into one reference image.
Annotate action items
Screenshots work best when you add context. Before sharing:
- Circle or highlight key choices
- Add arrows to point out details
- Add text labels for clarity
This turns a basic screenshot into a useful reference. Learn more in our screenshot editing guide.
Does Teams notify when you screenshot?
No, Microsoft Teams does not notify users when you take a screenshot.
This differs from apps like Snapchat or Instagram, which alert users when you capture the screen. Teams is built for work, and Microsoft hasn't added screenshot alerts.
Privacy considerations
Screenshots are silent, but that doesn't make them always OK:
- Meeting recordings show up for all — Teams displays a recording badge
- Screenshots stay hidden — no one knows you took one
- Work devices may have tools that track your screen captures
Sharing screenshots outside your company? Meeting content may be private. When in doubt, ask before sharing.
Enterprise security
Companies using Microsoft Teams security features can set up:
- Data Loss Prevention (DLP) rules
- Info barriers between teams
- Access controls by role or device
These won't block screenshots. But they can limit what gets shared outside the company.
Frequently Asked Questions
Capture Teams meetings like a pro
Teams has no built-in screenshot tools, but your Mac fills the gap. For quick captures, learn ⌘ + Shift + 4. For more control, use the Screenshot app with ⌘ + Shift + 5. And if you need markup, cloud sharing, and auto sorting, a tool like ScreenSnap Pro can speed up your whole process.
The best method is the one that fits how you work. Start with keyboard shortcuts. Move to better tools as your needs grow.
Morgan
Indie DeveloperIndie developer, founder of ScreenSnap Pro. A decade of shipping consumer Mac apps and developer tools. Read full bio
@m_0_r_g_a_n_