How to Screenshot Discord on Mac (2026 Guide)
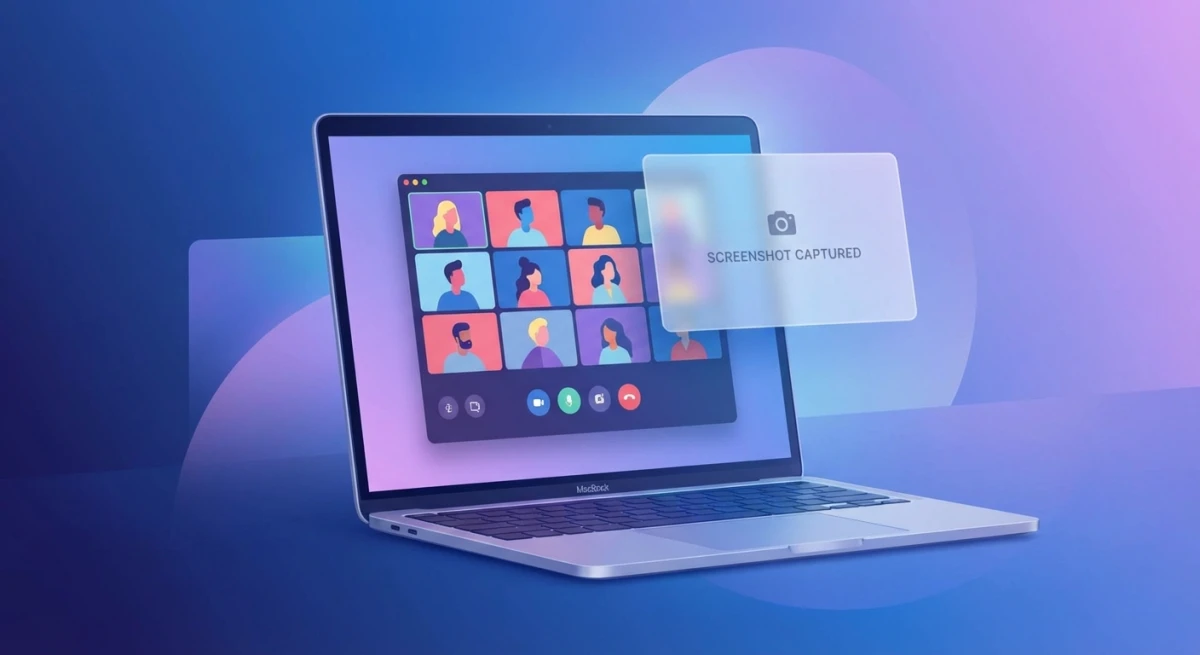
Need to capture a Discord screenshot on your Mac? You've got several easy options, including dedicated screenshot apps like ScreenSnap Pro. The good news: Discord doesn't notify anyone when you screenshot. No alerts, no warnings, no awkward explanations.
This guide covers the fastest ways to screenshot Discord on Mac. You'll learn keyboard shortcuts, app-based methods, and tips for sharing your captures.
Does Discord Notify When You Take a Screenshot?
Let's answer the big question: does Discord notify screenshots?
No. Discord has no screenshot detection at all. It doesn't track when you capture your screen. You can screenshot Discord chats, video calls, or screen shares without anyone knowing.
This applies to:
- Text channels and DMs
- Voice and video calls
- Screen sharing sessions
- User profiles and server info
That said, be mindful of privacy. Just because you can screenshot doesn't mean you should share private conversations without consent.
Method 1: Mac Keyboard Shortcuts for Discord Screenshots
The fastest way to screenshot Discord on Mac is using built-in keyboard shortcuts. Here's your cheat sheet:
Capture Entire Screen
Press ⌘ + Shift + 3 to grab everything on your display. This works great when Discord is fullscreen.
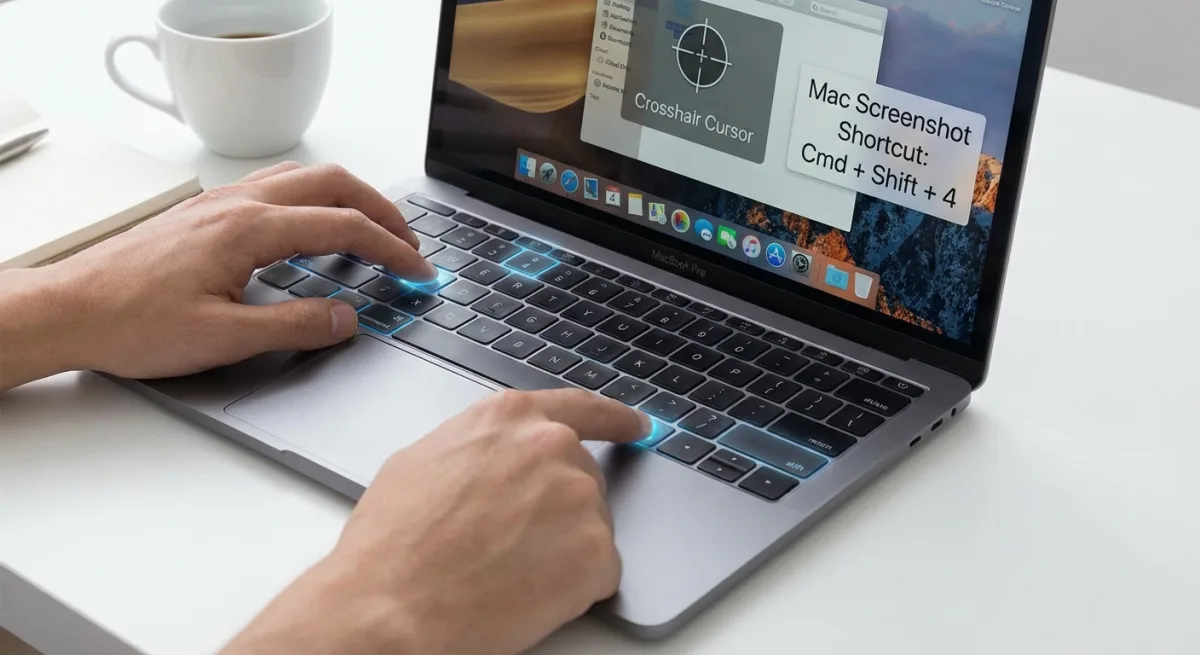
Capture Selected Area
Press ⌘ + Shift + 4 and drag to select exactly what you want. Perfect for capturing specific Discord messages without the sidebar.
Capture Single Window
Press ⌘ + Shift + 4, then hit Space. Click on the Discord window to capture it with a nice shadow effect.
Screenshot Toolbar
Press ⌘ + Shift + 5 to open the Screenshot app toolbar. This gives you options to capture the screen, a window, or record video — plus you can change where screenshots save.
Pro tip: For the discord screenshot shortcut mac users love, ⌘ + Shift + 4 is the sweet spot. It's quick, precise, and doesn't require any extra apps.
Method 2: Screenshot Apps for Better Discord Captures
Mac's built-in tools work fine for basic captures. But what if you need to add arrows, blur usernames, or share fast? A dedicated screenshot app saves serious time.
Here's what these apps offer:
- Quick annotations — Add arrows, text, boxes, and highlights
- Blur sensitive info — Hide usernames, IPs, or personal details
- Cloud upload — Get shareable links instantly
- Scrolling capture — Grab long Discord conversations
- Custom hotkeys — Set your preferred shortcuts
Tools like ScreenSnap Pro combine capture, editing, and sharing in one step. Take a screenshot, add annotations, and get a shareable link — all in seconds.
For annotating screenshots on Mac, a proper tool makes a big difference. It's handy for bug reports, tutorials, or proving someone wrong on the internet.
How to Screenshot Discord Chats and DMs
Capturing Discord text conversations is straightforward. Here's the best approach:
- Open the chat you want to capture
- Scroll to position the messages you need
- Use
⌘ + Shift + 4and drag around the chat area - Review the screenshot on your desktop
For long conversations, you have two options. Take multiple screenshots and combine them. Or use a scrolling screenshot tool to grab the whole chat in one image.
Tip for screenshot discord chat: Before capturing DMs with sensitive info, consider using a tool with blur capabilities to hide names, profile pictures, or anything you don't want visible. For a quick fix, our free blur image and pixelate image tools work right in your browser.
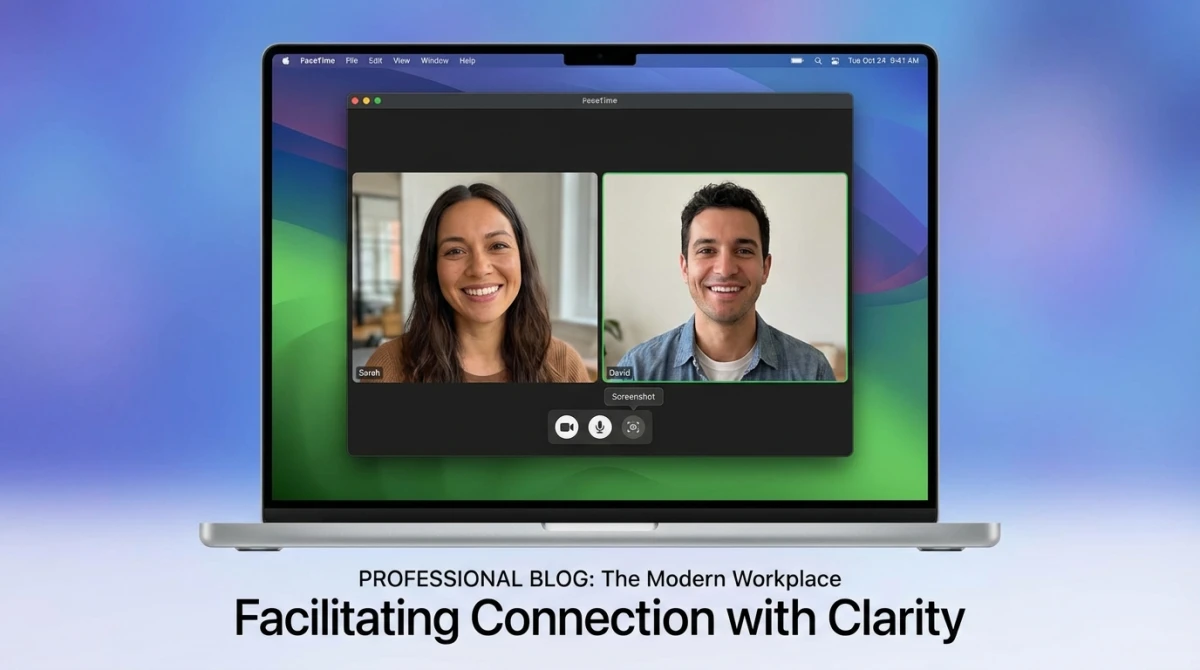
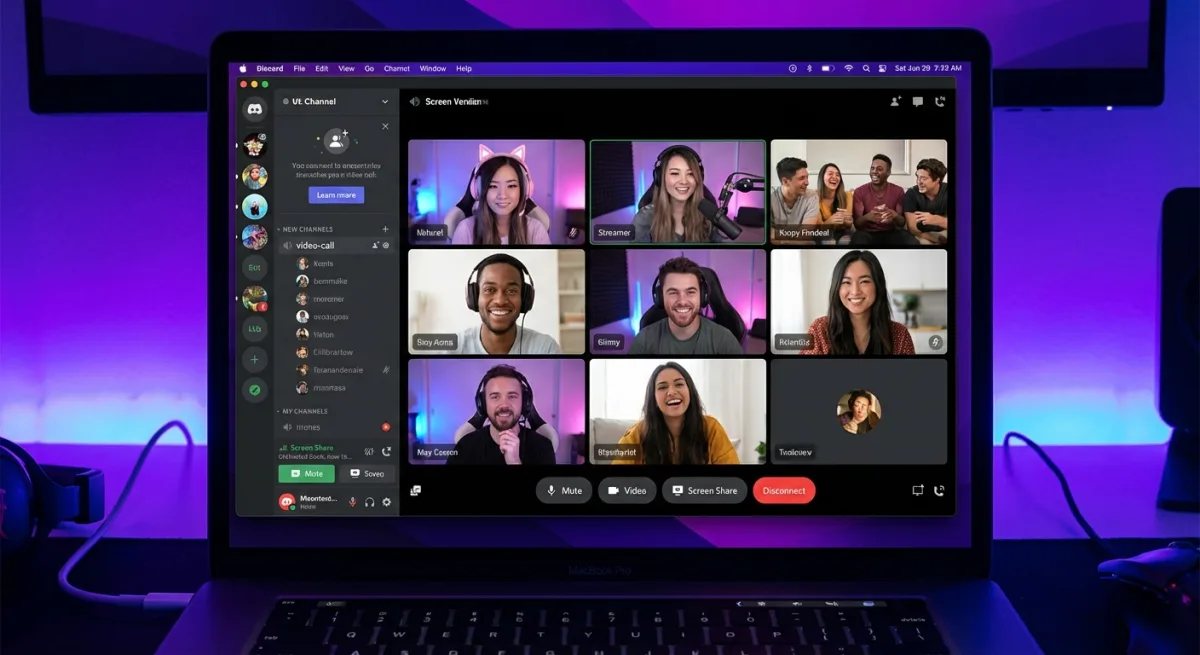
How to Screenshot Discord Voice and Video Calls
Capturing Discord calls takes good timing. The content moves fast! Here's how to screenshot Discord calls:
For Video Calls
- Wait for the right moment — Pause before the perfect frame
- Press
⌘ + Shift + 4 - Quickly select the video area before the moment passes
For Voice Calls With Screen Share
When someone shares their screen during a voice call, use ⌘ + Shift + 4 to capture the shared content. This works great for grabbing slides, gameplay, or demos.
Screenshot discord call tip: For important calls, try recording instead. Press ⌘ + Shift + 5 to start a screen recording. Then pull screenshots from the video later.
Tired of plain screenshots? Try ScreenSnap Pro.
Beautiful backgrounds, pro annotations, GIF recording, and instant cloud sharing — all in one app. Pay $39 once, own it forever.
See what it doesHow to Screenshot Discord Screen Share
Screen sharing is a bit different. You're capturing content from someone else's screen. Here's what works:
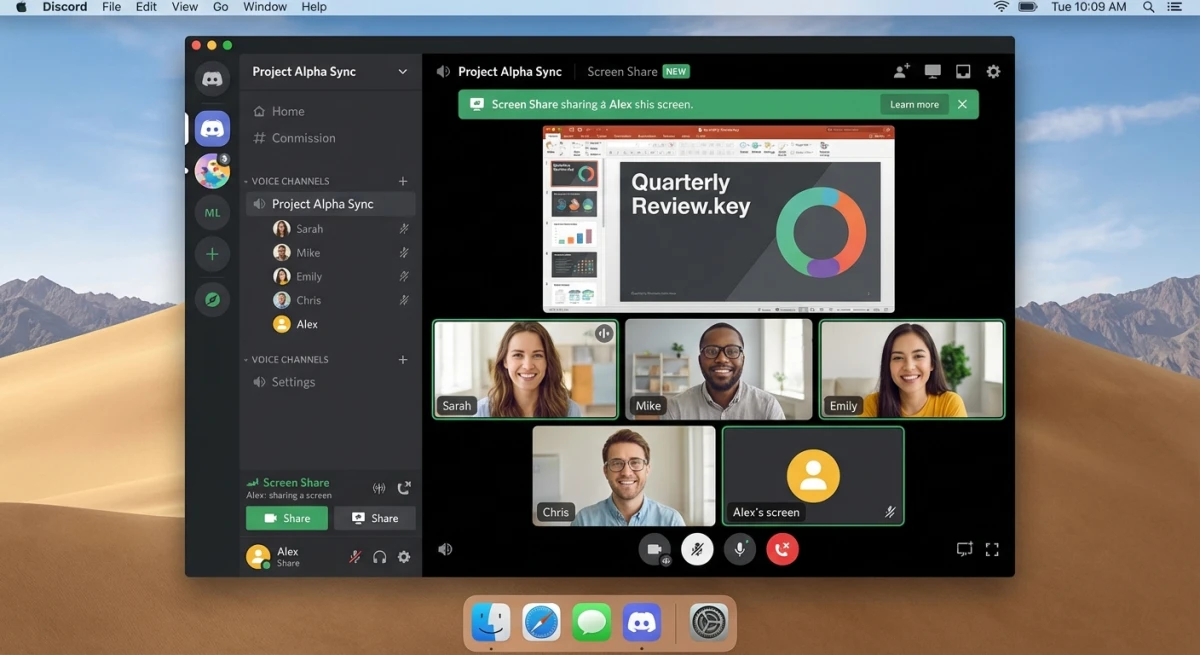
Capture the Shared Screen Only
- Maximize the screen share view (click the expand icon)
- Use
⌘ + Shift + 4+Spaceto capture just that window - Click on the screen share window
Capture With Discord UI
If you need the Discord interface visible (showing who's sharing, call participants, etc.):
- Don't maximize the screen share
- Use
⌘ + Shift + 4to select both the shared content and Discord UI
Handle Overlays
Discord shows user icons during calls. These may appear in your screenshot. Want a clean capture?
- Right-click the overlay and turn it off
- Or crop it out later using screenshot editing tools
Timing Tips for Screen Share Captures
Screen share content changes constantly. To get the perfect frame:
- Communicate with the sharer — Ask them to pause on important slides or content
- Use burst mode — Take several screenshots in quick succession by pressing your shortcut repeatedly
- Watch for loading states — Wait until content fully loads before capturing
- Check for cursor visibility — The sharer's cursor appears in screen share. Time your capture when it's not covering important content
For tutorials or documentation, consider asking the presenter to slow down or pause while you capture key steps
Common Discord Screenshot Issues and Fixes
Running into problems with Discord screenshots on Mac? Here are the most common issues and their solutions:
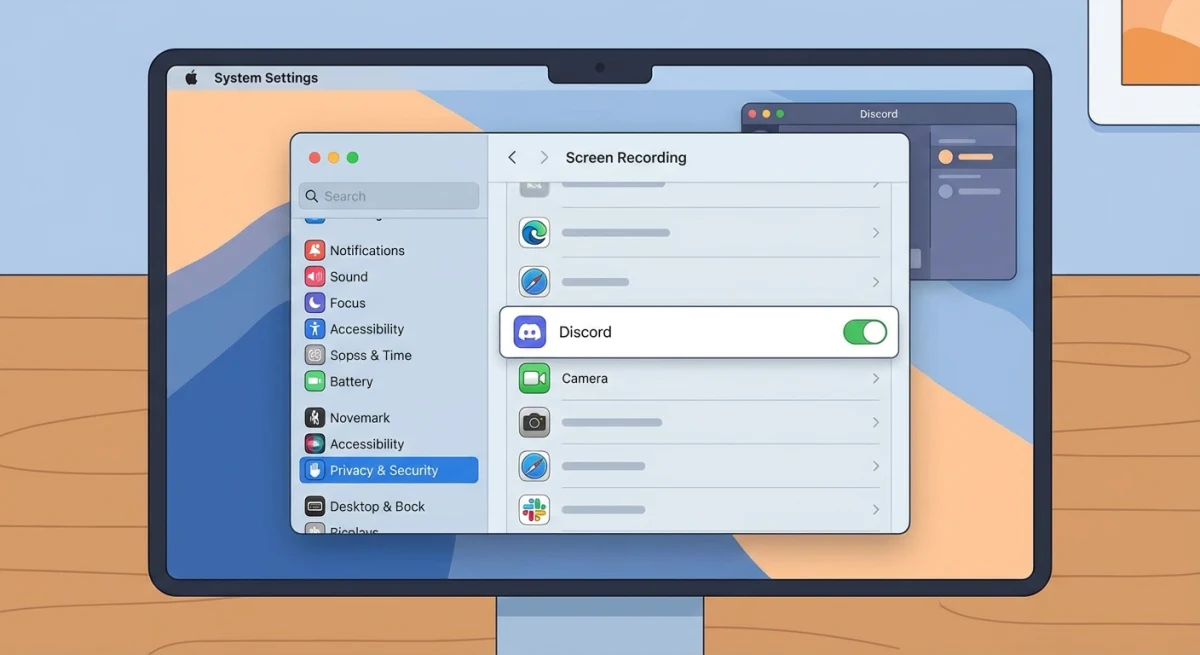
Black Screen in Screenshots
If your Discord screenshots come out black or blank, it's usually a permissions issue:
- Open System Settings → Privacy & Security → Screen Recording
- Make sure your screenshot tool is listed and enabled
- Restart Discord after granting permissions
This happens because macOS requires explicit permission to capture screen content.
Screenshots Show Wrong Monitor
Using multiple displays? The screenshot might capture the wrong screen:
- Use
⌘ + Shift + 4for manual selection — this always captures exactly what you drag over - When using
⌘ + Shift + 3, macOS captures your primary display first - Move Discord to your primary monitor before using full-screen capture
Low Quality or Blurry Screenshots
Discord screenshots looking fuzzy? Try these fixes:
- Check Discord settings — Go to Discord Settings → Accessibility → Enable "Sync with Computer" for display settings
- Capture larger areas — Scaling down is better than scaling up
- Use PNG format — It preserves quality better than JPG (Mac screenshots save as PNG by default)
Scrolling Content Gets Cut Off
Discord chats don't fit in one screenshot. Your options:
- Take multiple screenshots and stitch them manually
- Use a scrolling capture tool that grabs the entire conversation
- Export the conversation text if visuals aren't critical
Where Discord Screenshots Are Saved on Mac
By default, Mac saves screenshots to your Desktop. You'll see files named like Screenshot 2026-02-02 at 3.45.12 PM.png.
To change the screenshot save location:
- Press
⌘ + Shift + 5 - Click Options
- Choose a new location (Desktop, Documents, or custom folder)

Organizing tips:
- Create a dedicated
Discord Screenshotsfolder - Use a tool with cloud upload to avoid cluttering your Desktop
- Delete screenshots you no longer need — they add up fast
Tips for Sharing Screenshots in Discord
Got your Discord screenshot? Time to share it. Here are the best methods:
Drag and Drop
The simplest method — just drag the screenshot file directly into a Discord chat.
Clipboard Paste
After taking a screenshot, use ⌘ + Shift + Control + 4 instead. This copies to clipboard. Then paste directly in Discord with ⌘ + V.
Cloud Links
For larger images or sharing outside Discord, upload to a cloud service and paste the link. Tools like ScreenSnap Pro generate shareable links automatically, which works great for quick sharing without file attachments.
Before Sharing Checklist
- Remove sensitive info — Blur or crop out personal details
- Check file size — Discord has an 8MB limit for free users (50MB for Nitro)
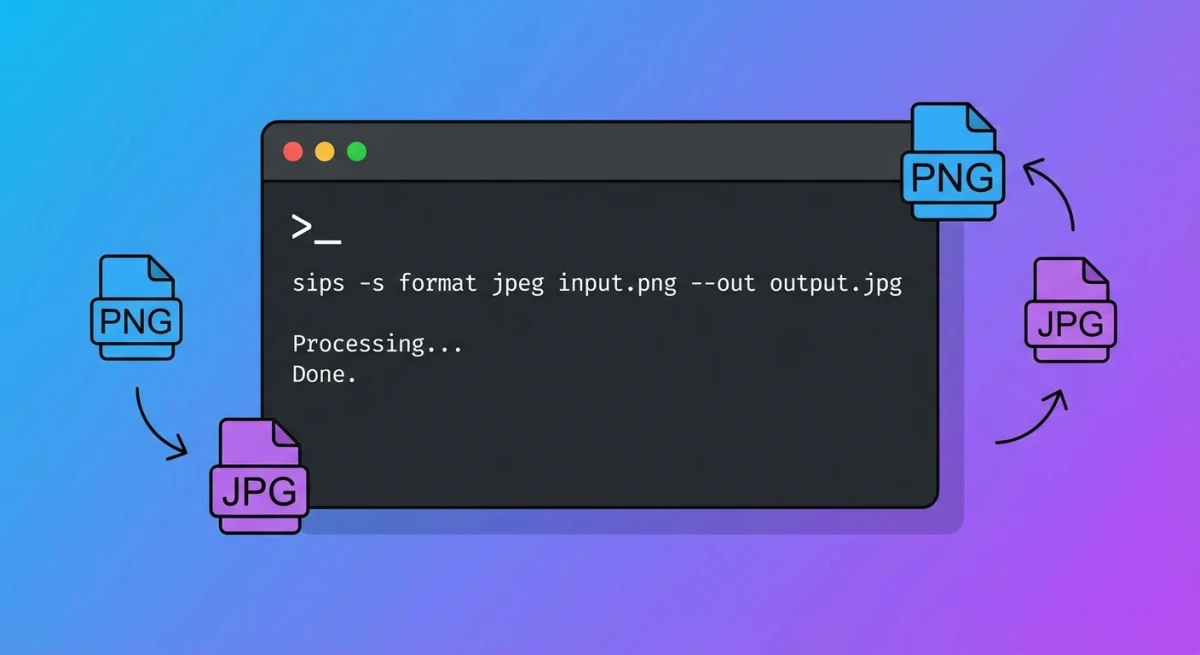
- Consider format — PNG for quality, JPG for smaller files
Mac screenshots save as PNG files by default. PNG keeps high quality but creates larger files. Hitting Discord's upload limit? Convert to JPG first. See Apple's screenshot guide for more details.
Frequently Asked Questions
Wrapping Up
Taking a Discord screenshot on Mac is straightforward once you know the shortcuts. Use ⌘ + Shift + 4 for quick captures, or open the Screenshot toolbar with ⌘ + Shift + 5 for more control.
Do you share screenshots in Discord often? Need to add notes before sending? A dedicated screenshot tool speeds things up. ScreenSnap Pro combines capture, editing, and sharing in one step. Go from screenshot to shared link in seconds.
Now go capture those legendary Discord moments. Just remember: screenshot responsibly.
Morgan
Indie DeveloperIndie developer, founder of ScreenSnap Pro. A decade of shipping consumer Mac apps and developer tools. Read full bio
@m_0_r_g_a_n_