How to Convert JPG to PDF Free (5 Methods, 2026)
Converting JPG to PDF is one of the most common file tasks — whether you're submitting documents, emailing photos, or archiving screenshots taken with ScreenSnap Pro in a portable format. A PDF keeps your images sharp, locked in layout, and easy to share across any device.
Here are five free methods that work on Mac, Windows, and mobile — no paid software required. Each method is completely free, takes under a minute, and doesn't require creating an account anywhere.
Quick summary: Use an online converter for the fastest option (any device, no install). On Mac, use Preview (File → Export as PDF). On Windows, right-click → Print → Microsoft Print to PDF. On Chrome, press ⌘/Ctrl + P → Save as PDF. On iPhone/Android, use the built-in print-to-PDF feature.Why convert JPG to PDF?
JPG is great for photos, but PDF wins when you need to:
- Share documents professionally — resumes, invoices, presentations
- Lock the layout — PDFs look the same on every screen and printer
- Combine multiple images — merge several JPGs into one neat file
- Reduce file size — a multi-page PDF is often smaller than sending separate images
- Add security — PDFs support password protection and read-only permissions
The good news is you don't need Adobe Acrobat or any paid tool. Every major platform has a free way to do this.
Let's walk through each method so you can pick the one that fits your setup.
Method 1: Free online JPG to PDF converter
The fastest option — no download, works on any device with a browser.
Our free Image to PDF tool handles this in seconds:
- Open the Image to PDF converter
- Drag and drop your JPG files (or click to browse)
- Rearrange pages if you're combining multiple images
- Click Convert to PDF
- Download your file
Why this method rocks:
- No account or signup needed
- Works with JPG, PNG, WebP, and other formats
- Supports batch conversion (multiple JPGs → one PDF)
- Your files stay private — processed in-browser
This is the best option when you need a quick jpg to pdf converter without installing anything.
Online converters are especially useful when you're working on a shared computer, a Chromebook, or any device where you can't install desktop software. The conversion happens instantly in your browser, and you get a clean PDF ready to download or share.
Method 2: Mac Preview (combine multiple images)
Mac's built-in Preview app can convert single or multiple JPGs to PDF — and it's surprisingly powerful for batch jobs.

Single image
- Double-click your JPG to open it in Preview
- Go to File → Export as PDF
- Choose your save location and click Save
That's it. Three clicks.
Multiple images into one PDF
- Select all JPG files in Finder (
⌘ + A) - Right-click → Open With → Preview
- In Preview's sidebar, select all thumbnails (
⌘ + A) - Drag to reorder pages if needed
- Go to File → Print (
⌘ + P) - Click the PDF dropdown in the bottom-left → Save as PDF
This is the go-to method for Mac users who need to combine images to PDF without any third-party tools. Preview handles the conversion natively and preserves image quality.
Pro tip: If you regularly convert screenshots to PDF on Mac, Preview is your best friend for quick one-off jobs.
Method 3: Windows Print to PDF
Windows 10 and 11 have a built-in PDF printer that works with any image format, including JPG.

Single image
- Right-click your JPG file
- Select Print
- Change the printer to Microsoft Print to PDF
- Adjust paper size and orientation if needed
- Click Print and choose where to save
Multiple images
- Select all JPG files in File Explorer
- Right-click → Print
- Set printer to Microsoft Print to PDF
- Use the layout options to control how many photos appear per page
- Click Print to save as one PDF
The Windows method is reliable but limited. You can't reorder pages or fine-tune margins like you can with the Mac Preview or online methods.
Tip for batch conversion on Windows: Sort your files by name in File Explorer before selecting them. Windows processes them in the order shown, so renaming files with numbers (01-photo.jpg, 02-photo.jpg) gives you control over the final page order in your PDF.
Method 4: Google Chrome (print as PDF)
Any browser with a print function can convert images to PDF. Chrome works best for this on both Mac and Windows.
- Open your JPG in Chrome (drag it into a browser tab, or right-click → Open With → Chrome)
- Press
⌘ + P(Mac) orCtrl + P(Windows) - Set destination to Save as PDF
- Adjust layout (portrait or landscape) and margins
- Click Save
This is a handy fallback when you're on a computer where you can't install software and don't have an internet connection for online tools.
Limitation: Chrome only handles one image at a time this way. For batch conversion, use Method 1 or Method 2.
Works in other browsers too: This same print-to-PDF approach works in Firefox, Edge, Safari, and Brave. The menu options look slightly different, but the core flow is identical — open image, print, save as PDF.
Tired of plain screenshots? Try ScreenSnap Pro.
Beautiful backgrounds, pro annotations, GIF recording, and instant cloud sharing — all in one app. Pay $29 once, own it forever.
See what it doesMethod 5: iPhone and Android (built-in methods)
You don't need an app to convert photos to PDF on your phone. Both iOS and Android have this built in.

iPhone (iOS)
- Open the Photos app and select the image(s)
- Tap the Share button
- Select Print
- On the print preview, pinch outward on the thumbnail — this creates a PDF
- Tap Share again and save or send the PDF
This hidden iOS trick uses the system's print-to-PDF engine. It works with multiple photos too — just select them all before sharing.
The pinch-to-zoom trick is one of iOS's best-kept secrets. It works in any app that supports printing — not just Photos. You can use it to convert web pages, notes, and emails to PDF the same way.
Android
- Open your image in Google Photos or the gallery
- Tap the three-dot menu → Print
- Select Save as PDF as the printer
- Tap the download icon to save
Android's method works similarly to the Windows print approach. It's quick for single images but less convenient for merging multiple pictures to PDF.
If you regularly need to convert photos to PDF on Android, consider using Google Drive as an alternative. Upload your JPGs to Drive, select them, and use the "Print" option with "Save as PDF." This gives you slightly more control over page layout and margins.
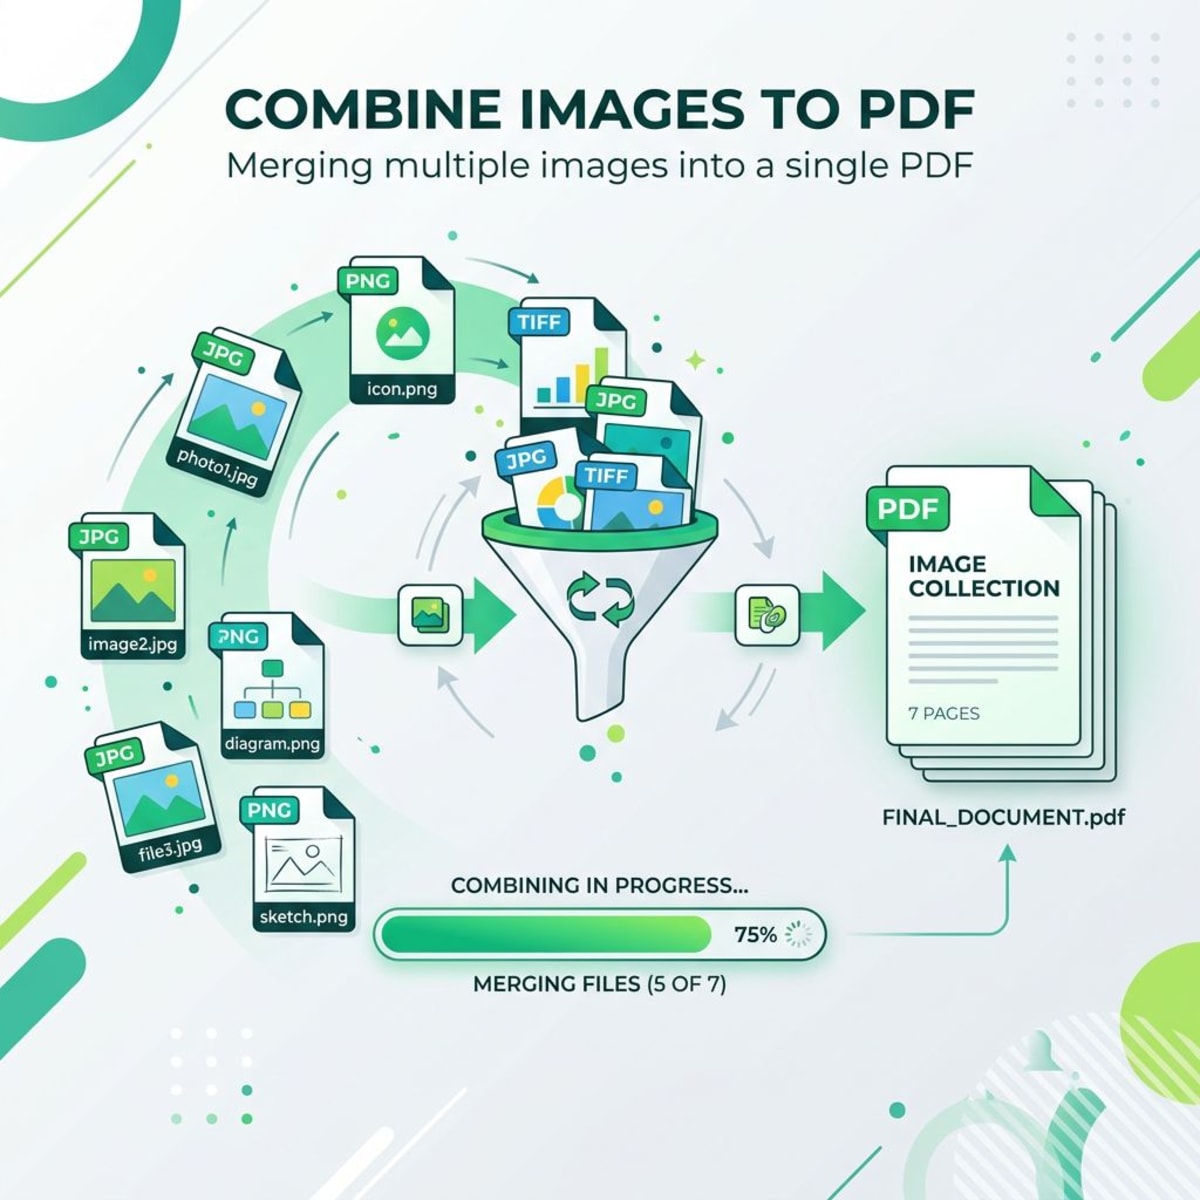
How to combine multiple JPGs into one PDF
This is the task most people actually need — not just converting one photo, but merging several images into a single document.
Here's a quick comparison of methods for batch conversion:
| Method | Multiple images? | Reorder pages? | Free? |
|---|---|---|---|
| Online converter (Method 1) | ✅ Yes | ✅ Yes | ✅ Yes |
| Mac Preview (Method 2) | ✅ Yes | ✅ Yes | ✅ Yes |
| Windows Print (Method 3) | ✅ Yes | ❌ No | ✅ Yes |
| Chrome (Method 4) | ❌ One at a time | ❌ No | ✅ Yes |
| iPhone/Android (Method 5) | ✅ Yes (limited) | ❌ No | ✅ Yes |
For combining multiple JPG to PDF, the online converter and Mac Preview give you the most control — especially for reordering and page arrangement.
If you're working with photos that were taken in HEIC format on an iPhone, you may need to convert them to JPG first before some of these tools will accept them. The online converter (Method 1) handles HEIC directly, so it's the easiest route for iPhone photos.
Tips for combining images
- Name files in order (01.jpg, 02.jpg, etc.) before importing — most tools sort alphabetically
- Use consistent dimensions — mixing portrait and landscape photos can produce awkward layouts
- Check the page size — set it to match your image orientation (A4 portrait for vertical photos, landscape for horizontal)
Common mistakes when converting JPG to PDF
These issues trip up even experienced users. Avoid them to save yourself a headache.
Sending individual JPGs instead of combining
The number one mistake: emailing five separate JPG attachments when a single PDF would be cleaner. Recipients have to download each file individually, and the images can display in the wrong order. Always combine related images into one PDF before sharing.
Ignoring page orientation
Most conversion tools default to portrait (vertical) layout. If your photos are landscape (horizontal), the PDF will add unnecessary white space above and below — or worse, shrink the images to fit. Check the orientation setting before you convert, especially when mixing portrait and landscape photos in one document.
Forgetting to check the output
Always open the PDF after conversion and scroll through every page. Common problems include cut-off edges, wrong page order, and unexpectedly low resolution. A quick 10-second review catches these before you send the file to someone important.
Using paid tools for a free task
You don't need a $20/month subscription to convert JPG to PDF. Every method in this guide is completely free. Some sites deliberately make the process look complicated to push you toward paid software — don't fall for it.
How to reduce PDF file size after conversion
Large JPG files can create bloated PDFs. If your converted file is too big for email or uploading, here's how to shrink it:
- Compress before converting — reduce your JPG file size first, then convert to PDF
- Lower the image resolution — resize images to the size you actually need (1200px wide is plenty for most documents)
- Use an online compressor — tools like Smallpdf or iLovePDF have PDF compression features after conversion
According to Apple's Preview documentation, you can also export PDFs with a reduced file size filter directly in Preview on Mac — go to File → Export → Quartz Filter → Reduce File Size.
A good rule of thumb: if you're emailing the PDF, keep it under 10MB. For web uploads, aim for under 5MB.
Another trick: if your JPGs are high-resolution camera photos (3000+ pixels wide), resize them to 1500–2000px before converting. Most documents don't need print-quality resolution, and this alone can cut your PDF size by 60–70%.
Best practices for professional-looking PDFs
If you're converting JPGs for work, school, or clients, a few small tweaks make a big difference.
- Use consistent image dimensions — crop all photos to the same aspect ratio before combining. A mix of square, portrait, and landscape images creates messy-looking pages.
- Set the right color space — photos saved in sRGB display most consistently across devices. If your images look washed out in the PDF, the color profile might be the culprit.
- Add meaningful file names — name your PDF something descriptive like "Q1-2026-receipts.pdf" instead of "untitled.pdf." It helps when you need to find the file six months later.
- Consider the audience — for formal submissions (tax documents, applications), keep one image per page. For casual sharing (vacation photos, project updates), multiple images per page saves space.
JPG vs PDF: When to use each format
Not every image needs to be a PDF. Here's a quick guide:
| Use JPG when... | Use PDF when... |
|---|---|
| Sharing casual photos | Submitting official documents |
| Posting on social media | Combining multiple pages |
| Editing or cropping later | Preserving exact layout |
| File size matters most | Cross-platform consistency matters |
If you need to go the other direction — converting PDF back to images — check out our free PDF to Image converter.
One common workflow: scan paper documents with your phone camera (saved as JPGs), crop them to remove excess borders, then convert to a clean PDF for filing or emailing. This essentially turns your smartphone into a document scanner — no scanning app needed.
Frequently Asked Questions
Morgan
Indie DeveloperIndie developer, founder of ScreenSnap Pro. A decade of shipping consumer Mac apps and developer tools. Read full bio
@m_0_r_g_a_n_