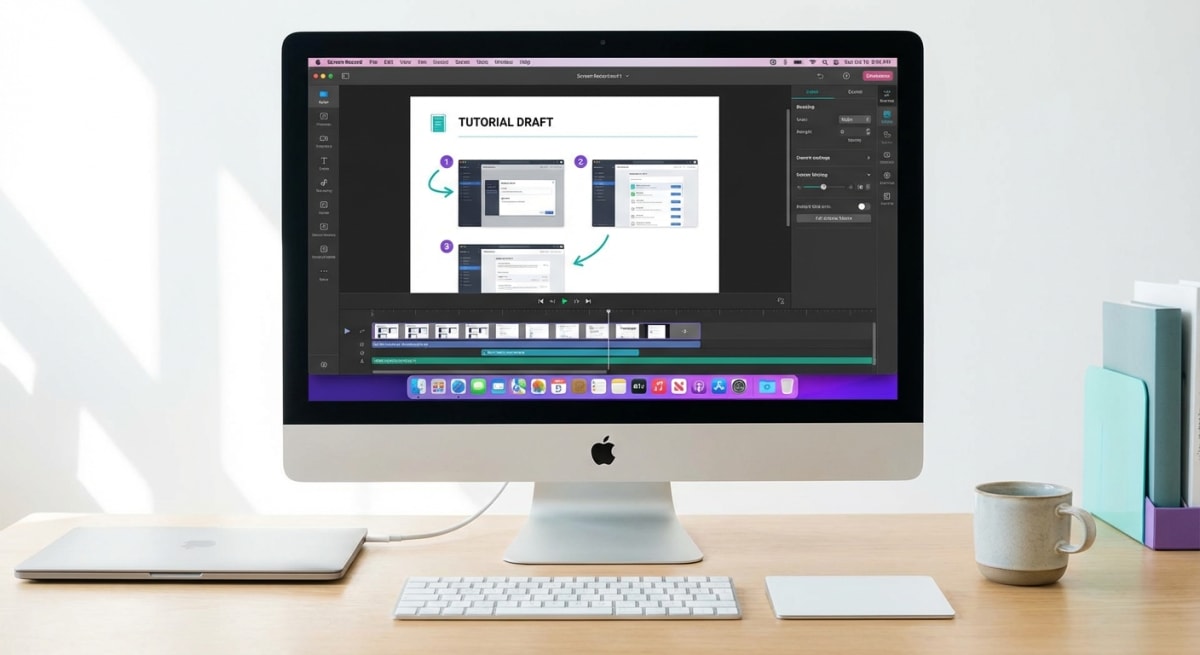
How to Screencast on Mac 2026 | Tutorials & Demos
A screencast on Mac is a screen recording made for sharing. It captures your workflow and voice. You explain ideas fast. You're not just recording—you're teaching. Dedicated apps like ScreenSnap Pro handle the recording, trimming, and exporting in one place.
Making tutorials? Filing bug reports? Screencasts save hours. No more back-and-forth emails. Just show what you mean.
This guide covers:
- Native macOS tools (free)
- The best mac screencast software
- Tips to make your recordings look polished
What is Screencasting? (And How It's Different from Screen Recording)
Screencasting isn't just hitting record. It's recording with purpose.
Screen Recording captures what's on your display. That's it. Raw footage.
Screencasting adds intent. You're making content for others. That usually means voiceover and editing.
Here's how to screencast mac workflows effectively:
| Aspect | Screen Recording | Screencasting |
|---|---|---|
| Purpose | Archive, evidence | Communication, teaching |
| Audio | Optional | Usually includes narration |
| Editing | Rarely edited | Often trimmed and enhanced |
| Output | Local file | Shared link or embed |
| Length | Any length | Typically 30 sec to 10 min |
Already recording your screen with audio? You're halfway there. The difference is mindset and polish.
When to Use Screencasts
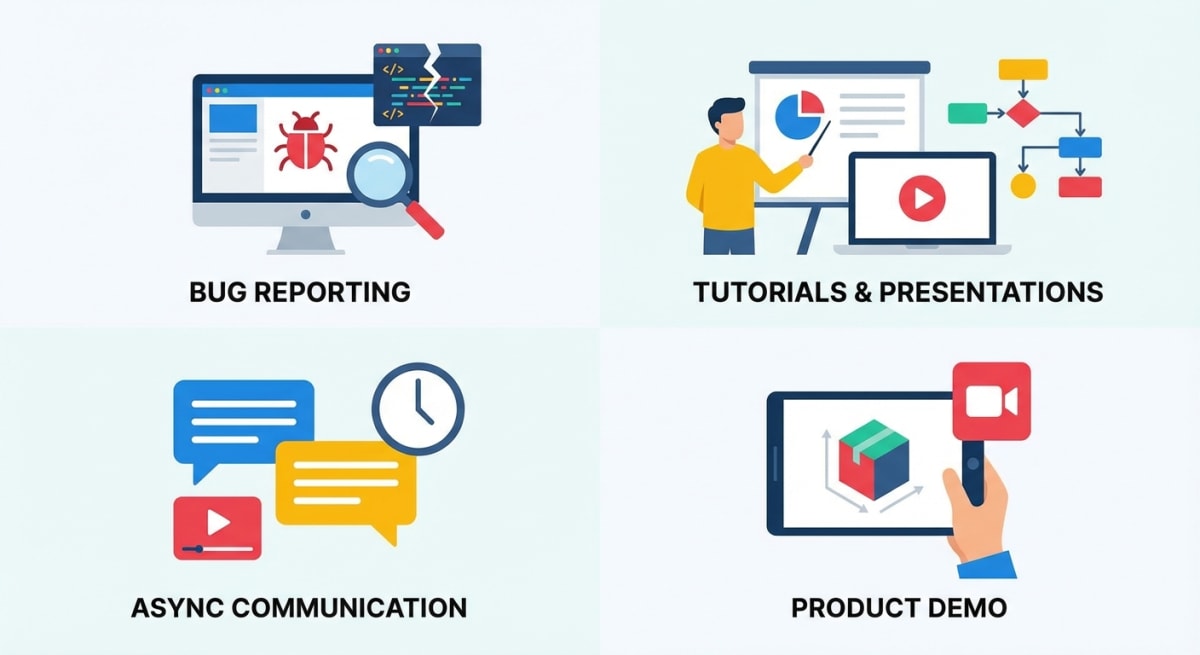
Screencasts work when text or screenshots fall short. Here's when to use them:
For Developers
- Bug reports: Show the issue. Skip writing 500 words.
- PR walkthroughs: Walk reviewers through code changes
- Documentation: Create visual guides for technical docs
For Marketers and Sales
- Product demos: Quick, personal clips for prospects
- Feature announcements: Show what's new. Don't just describe it.
- Support replies: Record solutions. Skip the long emails.
For Educators and Creators
- Screencast tutorials: Walk through software step-by-step
- Course content: Pro-looking lessons. No expensive gear needed.
- Social clips: Quick tips for vertical viewing
For Async Work
- Skip meetings: Record updates. No more scheduling calls.
- Onboarding: Reusable training for new hires
- Feedback: Show edits visually. No lengthy write-ups.
Native macOS Screencast Method: The Screenshot Toolbar
The fastest way to screencast on Mac? Built-in tools. No downloads. No cost.
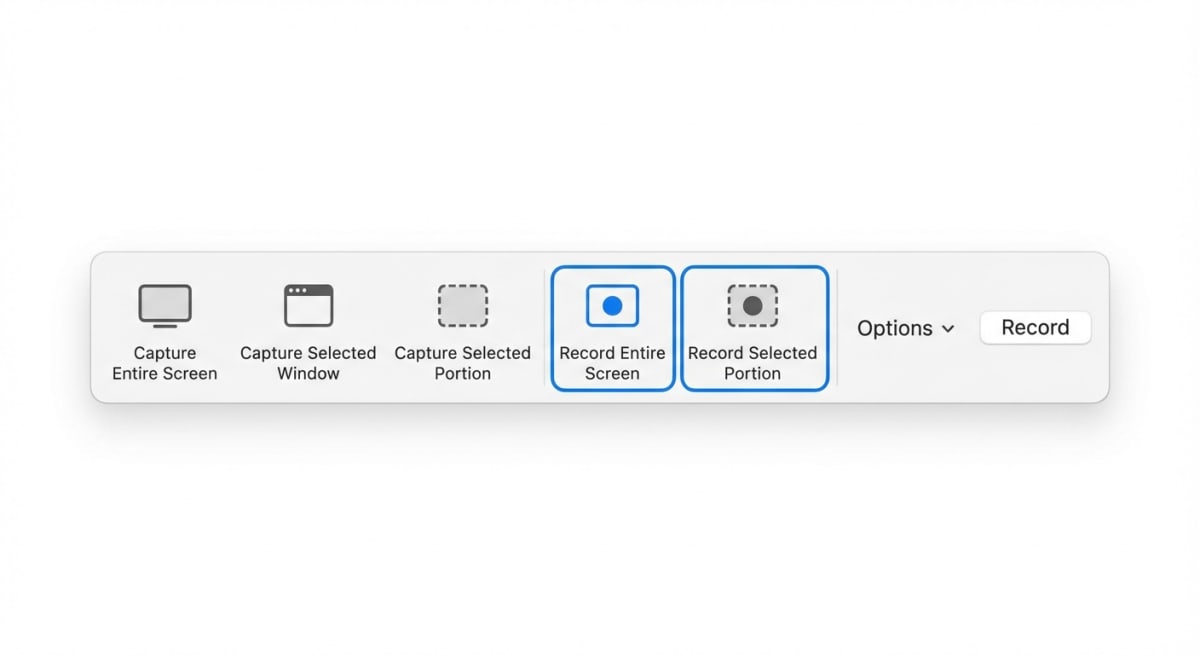
How to Open the Screenshot Toolbar
Per Apple Support, you need macOS Mojave 10.14 or later.
- Press
⌘ + Shift + 5 - Look at the right side of the toolbar
- Pick Record Entire Screen or Record Selected Portion
Recording Options
Click Options before you record:
- Microphone: Pick your mic for voiceover
- Timer: Add a 5 or 10-second delay
- Show Mouse Clicks: Adds a circle around clicks
- Save to: Choose where files land
How to Start and Stop
- Click Record (or click anywhere for full screen)
- Do your screencast. Speak clearly for audio.
- Click Stop in the menu bar (or press
⌘ + Control + Esc)
Your file saves right away. A thumbnail pops up in the corner. Click it to trim.
Pro tip: The toolbar's great for quick screencasts. Want more polish? Use dedicated software.
QuickTime for Longer Screencasts
QuickTime Player offers more control. It's better for longer recordings. Apple's QuickTime guide has full details.
Starting a QuickTime Screen Recording
- Open QuickTime Player from Applications
- Go to File → New Screen Recording (or
Control + ⌘ + N) - Click the dropdown arrow to pick your mic
- Hit Record. Click anywhere for full screen, or drag an area.
What QuickTime Does Well
- Audio levels: See your mic levels as you record
- Big capture area: Great for multiple windows
- Quick trims: Edit start and end points in the app
Where QuickTime Falls Short
QuickTime saves MOV files. They're often big. You may need to compress for sharing.
It also lacks annotations, zoom, and polish. For those, use dedicated screencast software.
Best Screencast Apps for Mac
When native tools aren't enough, these apps deliver:
Screen Studio ($89 one-time)
The go-to for polished screencasts. It adds:
- Auto-zoom: Follows your cursor. Highlights actions.
- Smooth cursor: Removes shaky mouse moves
- Backgrounds: Adds branding and rounded corners
Best for: Creators, course makers, product demos.
Loom (Free tier / $15/month)
The async work standard. Loom shines at:
- Instant sharing: Get a link the moment you stop
- Analytics: See who watched and how long
- Comments: Viewers leave timestamped notes
Best for: Teams, sales outreach, quick updates.
ScreenPal (Free tier / $6/month)
Formerly Screencast-O-Matic. This screencast-o-matic mac option offers:
- Built-in editor: Trim, annotate, add music
- Stock library: Images and audio included
- Free tier: 15-minute clips with watermark
Best for: Educators on a budget.
ScreenSnap Pro (One-time purchase)
Need quick GIF screencasts instead of video? ScreenSnap Pro captures screen-to-GIF directly.
- Bug reports: Smaller files. Plays anywhere.
- Quick demos: 10-second loops that explain fast
- Chat-friendly: GIFs embed better than video links
Plus instant cloud sharing. No attachments needed.
Tired of plain screenshots? Try ScreenSnap Pro.
Beautiful backgrounds, pro annotations, GIF recording, and instant cloud sharing — all in one app. Pay $29 once, own it forever.
See what it doesRecording Tips for Better Screencasts
The gap between amateur and pro? A few simple tweaks.
Audio Quality
- Use an external mic if you can. Even a $30 USB mic helps.
- Find a quiet spot. Close windows. Mute notifications.
- Speak clearly. Go a bit slower than normal.
- Leave 2 seconds of silence at the start and end for clean edits
Cursor Visibility
- Make it bigger: System Settings → Accessibility → Display
- Move slowly. Avoid jerky, fast movements.
- Pause on key elements. Let viewers catch up.
- Hide the cursor when it's not needed
Screen Prep
- Clean your desktop. Hide personal files.
- Close extra apps. Kill notifications.
- Use a clean browser profile. No personal bookmarks.
- Set display to 1080p on Retina screens (scales better)
Zoom and Focus
Pro screencasts use zoom to:
- Draw eyes to the active area
- Make small text readable
- Add visual variety
Screen Studio does this for you. Without it, focus on one area at a time.
Editing Your Screencast
Raw clips rarely ship as-is. Here's how to polish them:
Essential Edits
- Trim the ends: Cut the "let me click record" parts
- Remove mistakes: Splice out errors
- Speed up dead air: Run loading screens at 2-4x
See our guide on editing screen recordings on Mac for more.
Adding Polish
- Text overlays: Highlight key steps
- Callouts: Point out UI bits
- Transitions: Smooth cuts between parts
- Background music: Subtle audio for long clips
Editing Tools
| Tool | Best For | Price |
|---|---|---|
| QuickTime | Basic trimming | Free |
| iMovie | Titles and music | Free |
| Screen Studio | Auto zoom and polish | $89 |
| Final Cut Pro | Pro editing | $299 |
Sharing Options: Getting Your Screencast Out
The whole point is sharing. Here's how to get recordings to others:
Cloud Links (Fastest)
Loom, Droplr, and ScreenSnap Pro create instant links. No uploading. No attachments. Stop recording, get link, paste.
Why cloud links work:
- Watch right away—no download
- Works in email, Slack, Notion
- Often shows view counts
Video Hosting
For public or long-term content:
- YouTube (free): Best for tutorials and SEO
- Vimeo (free/paid): Cleaner player. Better privacy.
- Wistia (paid): Marketing analytics built in
Direct Export
For offline use or more editing:
- MP4 (H.264): Works everywhere
- MOV: Native Mac format. Larger files.
- GIF: Short loops. No player needed.
Embedding
Most hosts give you embed codes. Use them in sites, docs, or courses. Screen Studio exports web-ready files.
Screencast vs Video Recording vs GIFs: When to Use What
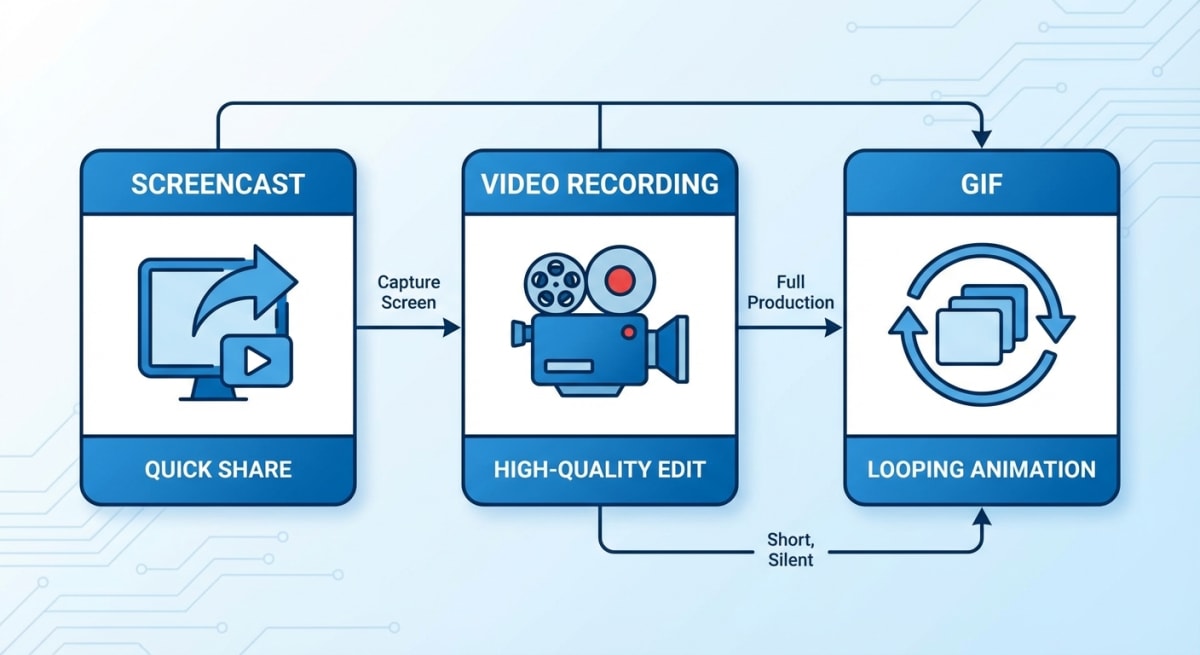
Pick the right format:
Use a Screencast When:
- You're explaining a process
- You're teaching with voice
- You're making demos for prospects
- You're sending async updates
Use a Video Recording When:
- You're archiving a meeting
- You're creating long content (courses, webinars)
- You're recording gameplay
- You'll edit a lot later
Use a GIF When:
- It's a quick clip (3-15 seconds)
- It's for GitHub or docs
- Video won't auto-play there
- File size matters more than audio
GIFs are silent screencasts that loop. Recording GIFs on Mac works great for bug reports. Often better than video.
Common Screencast Problems + Fixes
"My recording has no audio"
- Check permissions: System Settings → Privacy → Microphone
- Pick the right input: Check Options or QuickTime dropdown
- Test first: Record 5 seconds. Verify audio works.
"The file is too large"
- Use HandBrake (free): Shrinks files with no visible loss
- Use cloud sharing: Services compress for you
- Record at 1080p: Skip 4K or Retina
- Use GIF for short clips: Often 90% smaller
"My cursor is hard to see"
- Make it bigger: System Settings → Accessibility → Display
- Show click circles: Enable in Screenshot Options
- Use Screen Studio: It enlarges your cursor for you
"Recordings look choppy"
- Close other apps: Free up CPU and RAM
- Lower resolution: Record at 1080p, not Retina
- Turn off effects: Reduce transparency in Accessibility
"System audio isn't recording"
macOS doesn't capture system audio by default. You need BlackHole or Loopback. See our guide on recording screen with audio on Mac.
Frequently Asked Questions
- Tutorials: 3-10 minutes
- Bug reports: 30 seconds to 2 minutes
- Async updates: Under 5 minutes
Start Screencasting Today
You have what you need. Start with the Screenshot toolbar for quick clips. Add dedicated software when you want polish.
For devs, GIF screencasts often beat video. For creators, Screen Studio pays off fast. For everyone: just start. You'll get better each time.
Want screenshots and GIF screencasts with instant cloud sharing? Check out ScreenSnap Pro—pay once, own forever.
Morgan
Indie DeveloperIndie developer, founder of ScreenSnap Pro. A decade of shipping consumer Mac apps and developer tools. Read full bio
@m_0_r_g_a_n_