Playwright Screenshot Guide: Full Page, Element & Visual Diffs
A playwright screenshot is a one-line API call: await page.screenshot({ path: 'page.png' }). Playwright captures the viewport by default, the full scrollable page with fullPage: true, or any DOM element via a locator. It also ships built-in visual regression with toHaveScreenshot() and works in Node, Python, Java, and .NET. (For ad-hoc desktop captures outside a test suite, a GUI app like ScreenSnap Pro is the better fit.)
If you need code-driven captures inside a test suite or scraper, Playwright is the strongest pick in 2026. For ad-hoc desktop screenshots, a GUI tool is the better fit.
When to use Playwright for screenshots
Playwright is built for browser automation. Reach for it when you need:
- Automated screenshots in CI for visual regression tests
- Scraping pages that render with JavaScript
- Generating social cards, OG images, or PDFs from HTML
- Cross-browser captures (Chromium, Firefox, WebKit) from one script
If you only need a quick desktop capture or a marked-up image to drop in a doc, skip the setup and use a native tool. We cover that briefly near the end.
Setup: install Playwright in 60 seconds
You need Node.js 18 or newer. From the project root:
npm init -y
npm install -D @playwright/test
npx playwright install
The npx playwright install step downloads Chromium, Firefox, and WebKit browser binaries. They land in a Playwright cache, not in node_modules, so they only download once per machine.
Smoke test
Save this as smoke.js and run node smoke.js:
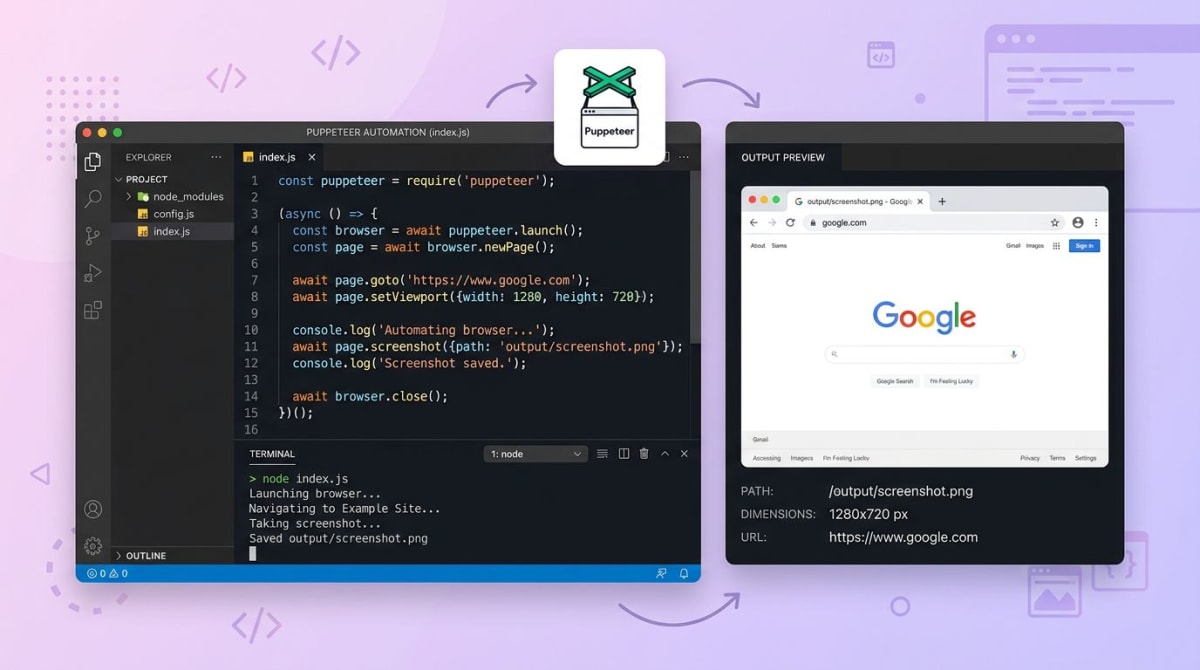
const { chromium } = require('playwright');

(async () => {
  const browser = await chromium.launch();
  const page = await browser.newPage();
  await page.goto('https://example.com');
  await page.screenshot({ path: 'smoke.png' });
  await browser.close();
})();
If smoke.png lands next to your script, the install worked. The same five lines port directly to Python (from playwright.sync_api import sync_playwright), Java (Playwright.create()), and .NET (await using var playwright = await Playwright.CreateAsync()). Pick the language your team already ships with and skip the rewrite tax.
Project layout for tests
If you plan to write more than a handful of screenshot scripts, scaffold a real test project:
npm init playwright@latestThis creates playwright.config.ts, an example test, and a CI workflow file. The config is where you set baseline viewport size, default timeout, and which browsers to run against.
Core screenshot operations with code examples
Every example below uses the Node.js API. The Python, Java, and .NET signatures are nearly identical, just renamed for the host language.
Page screenshot (default viewport)
await page.screenshot({ path: 'page.png' });Captures only what is visible in the current viewport. Default size is 1280 by 720. PNG is the default format.
Full-page screenshot
await page.screenshot({ path: 'full.png', fullPage: true });Playwright resizes the screenshot to match the full document height, scrolling the page virtually under the hood, then stitching the image. You do not need to scroll yourself. Fixed and sticky elements may move during the capture, which is normal.
Element screenshot
const heading = page.locator('h1');
await heading.screenshot({ path: 'h1.png' });
The locator API scopes the capture to a single DOM node. Playwright auto-waits for the element to be attached, visible, and stable before snapping. That alone removes a class of flake you would hit with manual setTimeout waits.
Clip a specific region
await page.screenshot({
  path: 'clip.png',
  clip: { x: 0, y: 0, width: 800, height: 400 }
});
Useful when an element selector is fragile but the coordinates are known, for example a chart drawn on a .
Buffer instead of file
const buffer = await page.screenshot();
// Upload to S3, attach to a Slack message, return from a Lambda...
await s3.putObject({ Bucket: 'shots', Key: 'a.png', Body: buffer }).promise();
Skip the path argument and you get a Node Buffer directly. Handy in serverless flows where the filesystem is read-only.
Custom viewport (retina, mobile, ultrawide)
const context = await browser.newContext({
  viewport: { width: 1920, height: 1080 },
  deviceScaleFactor: 2  // retina output
});
const page = await context.newPage();
deviceScaleFactor: 2 doubles pixel density, the same trick a Mac display uses for crisp text. Use it when the screenshot will land on a retina marketing page.
Disable animations
await page.screenshot({
  path: 'stable.png',
  animations: 'disabled'
});
This is the fix for flaky CI runs. Playwright pauses CSS animations and transitions and rewinds them to the start, so a spinner caught mid-rotation cannot wreck your diff.
Mask sensitive elements
await page.screenshot({
  path: 'safe.png',
  mask: [page.locator('.user-email'), page.locator('.api-key')]
});
Mask paints a pink box (configurable with maskColor) over the matching elements. Perfect for marketing site captures where real customer data leaks through.
Visual regression with `toHaveScreenshot()`
This is the killer feature. Playwright bundles a pixel-diff assertion that stores baselines, runs them in CI, and writes diff images on failure. No extra library, no Percy account, no fee.
import { test, expect } from '@playwright/test';

test('homepage looks right', async ({ page }) => {
  await page.goto('https://example.com');
  await expect(page).toHaveScreenshot('home.png', {
    maxDiffPixelRatio: 0.01,
    animations: 'disabled'
  });
});
The workflow
- Run
npx playwright test --update-snapshotsonce. Playwright saves the baseline next to your test file. - Commit those baselines to git.
- On the next run, Playwright captures a fresh screenshot, diffs against the baseline, and writes
home-diff.pngif the change exceedsmaxDiffPixelRatio. - Review the diff. If the change is intentional, run
--update-snapshotsagain. If not, fix the bug.

For a deeper walkthrough including baseline strategy and tolerance tuning, see our visual regression testing guide.
Element-level visual diff
await expect(page.locator('.pricing-card')).toHaveScreenshot('card.png');Diffing one component is faster and far less flaky than diffing a full page. Start there.
Tired of plain screenshots? Try ScreenSnap Pro.
Beautiful backgrounds, pro annotations, GIF recording, and instant cloud sharing — all in one app. Pay $29 once, own it forever.
See what it doesCommon gotchas (and how to fix them)
These trip up almost everyone the first week.
Lazy-loaded images miss the screenshot
The fix is to wait for the network to go quiet, or scroll the element into view first.
await page.goto(url, { waitUntil: 'networkidle' });
// or for one element
await page.locator('img.lazy').scrollIntoViewIfNeeded();
networkidle waits 500 ms after the last request finishes. It works for most sites but can hang on pages with long-poll connections.
Animations make screenshots flaky
Always pass animations: 'disabled'. If you also have JS animations running on a , mock the timer:
await page.addInitScript(() => {
  window.requestAnimationFrame = (cb) => cb(0);
});
Viewport vs. document
A default screenshot captures only the viewport, even if the page is 8,000 pixels tall. Pass fullPage: true or a clip rectangle. This is the single most common confusion in bug reports.
Headless vs. headed differences
Headless Chromium can render fonts slightly differently than the headed build, especially on Linux. If your local Mac and your Ubuntu CI runner produce different baselines, set the same Docker image in both. The official mcr.microsoft.com/playwright image bakes the fonts in for you.
Logged-in pages and auth state
Don't log in inside every test. Sign in once, save the storage state, then reuse it.
// global-setup.js
await page.context().storageState({ path: 'auth.json' });

// playwright.config.ts
use: { storageState: 'auth.json' }
Now every screenshot test starts already logged in. This also keeps secrets out of the test files themselves and cuts test runtime by skipping repeated login flows.
Wrong format or quality
PNG is the default and what you want for visual diffs, since it is lossless. For social cards or hero images where size matters, switch to JPEG with a quality flag:
await page.screenshot({ path: 'card.jpg', type: 'jpeg', quality: 85 });Quality is a 0 to 100 scale and only applies to JPEG. WebP is not supported as an output format yet, though you can convert the buffer with sharp if you need it.
Playwright vs. Puppeteer for screenshots
Both libraries can take a screenshot in one line. Where they diverge:
| Feature | Playwright | Puppeteer |
|---|---|---|
| Browsers | Chromium, Firefox, WebKit | Chromium, Firefox (beta) |
| Languages | JS, TS, Python, Java, .NET | JS, TS only |
| Visual diff built in | Yes (toHaveScreenshot) | No (need pixelmatch) |
| Mask sensitive elements | Yes | No |
| Auto-wait before capture | Yes | Limited |
| Animations flag | Yes | No |
For pure Chrome-only scraping, Puppeteer is leaner. For testing or anything cross-browser, Playwright wins. The full breakdown is in our Puppeteer vs. Playwright comparison.
If you also evaluate hosted screenshot services for production traffic, our roundup of the best screenshot APIs covers when an API beats running a headless browser yourself.
Run Playwright screenshots in CI (GitHub Actions)
Drop this in .github/workflows/screenshots.yml:
name: Screenshot tests
on: [push, pull_request]

jobs:
  test:
    runs-on: ubuntu-latest
    steps:
      - uses: actions/checkout@v4
      - uses: actions/setup-node@v4
        with:
          node-version: 20
      - run: npm ci
      - run: npx playwright install --with-deps
      - run: npx playwright test
      - uses: actions/upload-artifact@v4
        if: always()
        with:
          name: playwright-report
          path: playwright-report/
          retention-days: 30
The --with-deps flag installs system libraries Chromium needs on a fresh Ubuntu runner. The artifact upload preserves diff images and the HTML report when a test fails, so you can review what changed without rerunning.
For Docker-based pipelines, swap the runner for the official image to keep fonts identical to local development:
container:
  image: mcr.microsoft.com/playwright:v1.50.0-jammy
When you don't need Playwright
Playwright is for automation. If the goal is a quick screenshot of your screen, a window, or a region, plus an arrow or two, the setup cost is wasted. A native tool is faster.
For ad-hoc captures with annotation, instant cloud links, and zero code, look at ScreenSnap Pro. It runs on Mac and Windows, ships 15 annotation tools, and is a $29 one-time purchase rather than a subscription. No Playwright config required.
You can also annotate screenshots online with our free browser tool when you just need to mark up an existing PNG.
Frequently Asked Questions
Wrapping up
Playwright's screenshot API covers everything from a one-line viewport capture to a full visual regression suite, across four languages and three browser engines. Start with page.screenshot({ fullPage: true }), layer in animations: 'disabled' and mask for stability, then graduate to toHaveScreenshot() when you want CI to catch UI regressions for you.
If your screenshot need is more "drop a marked-up PNG in Slack" than "diff a homepage in CI," skip the setup and use a desktop tool. Either way, you now have the playbook.
Morgan
Indie DeveloperIndie developer, founder of ScreenSnap Pro. A decade of shipping consumer Mac apps and developer tools. Read full bio
@m_0_r_g_a_n_