How to Create GIFs for Presentations on Mac (2026)
Creating a GIF for presentation slides is one of the best ways to make your content pop. A GIF is a short clip that loops on its own inside your slides — no play button, no sound, no plugins. Drop it into PowerPoint, Keynote, or Google Slides and it just works. A screen-recording app like ScreenSnap Pro can output the GIF directly, with no video conversion step.
GIFs are great for software demos, quick tutorials, and short workflow clips. They're smaller than video files, work in every slide app, and grab eyes without anyone needing to click play.
Why use GIFs in presentations instead of video?
Before jumping into methods, here's why animated GIFs beat embedded videos for most presentation scenarios:
- Auto-play without interaction — GIFs loop automatically. No awkward clicking or buffering during your talk.
- Smaller file sizes — A 5-second GIF is typically 2-5 MB versus 20-50 MB for equivalent video.
- Universal compatibility — Every presentation app supports GIFs natively. Videos often need specific codecs.
- No audio complications — Perfect for silent demos where you provide verbal context yourself.
- Offline reliability — Unlike embedded YouTube links, GIFs work without internet.
The tradeoff? GIFs max out at 256 colors and work best under 10 seconds. For longer clips, use video. But for quick demos, UI tours, and short diagrams, GIFs win every time.
Method 1: Record your screen as a GIF directly (recommended)
The fastest approach is recording your screen directly as a GIF — no video conversion step needed.

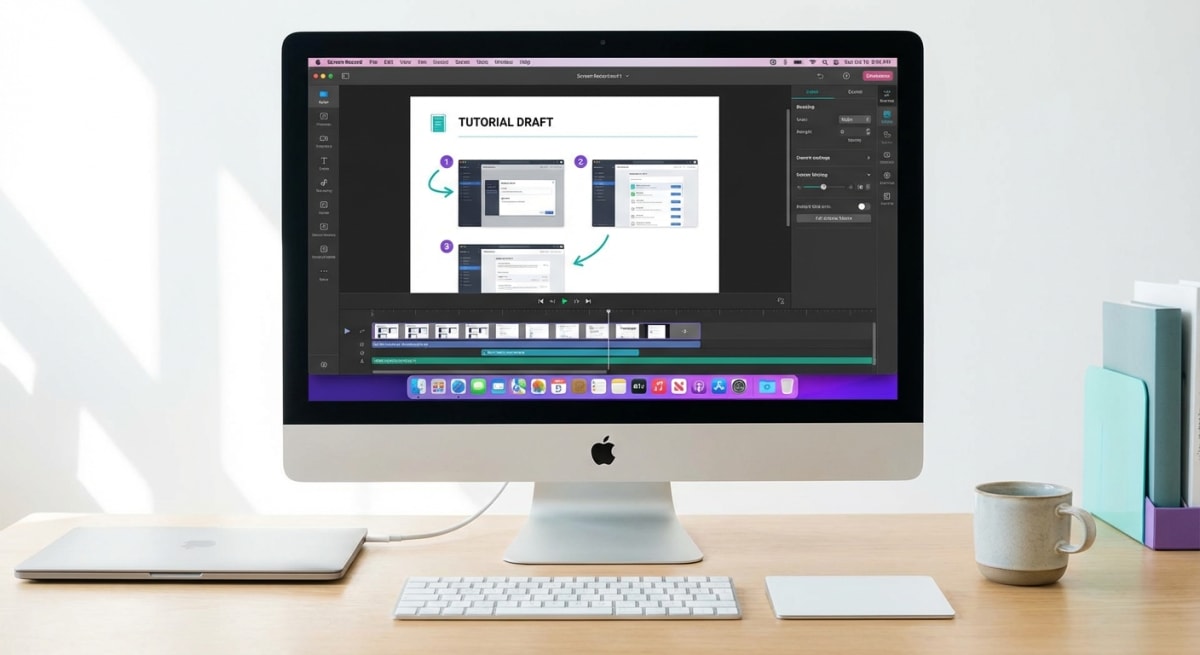
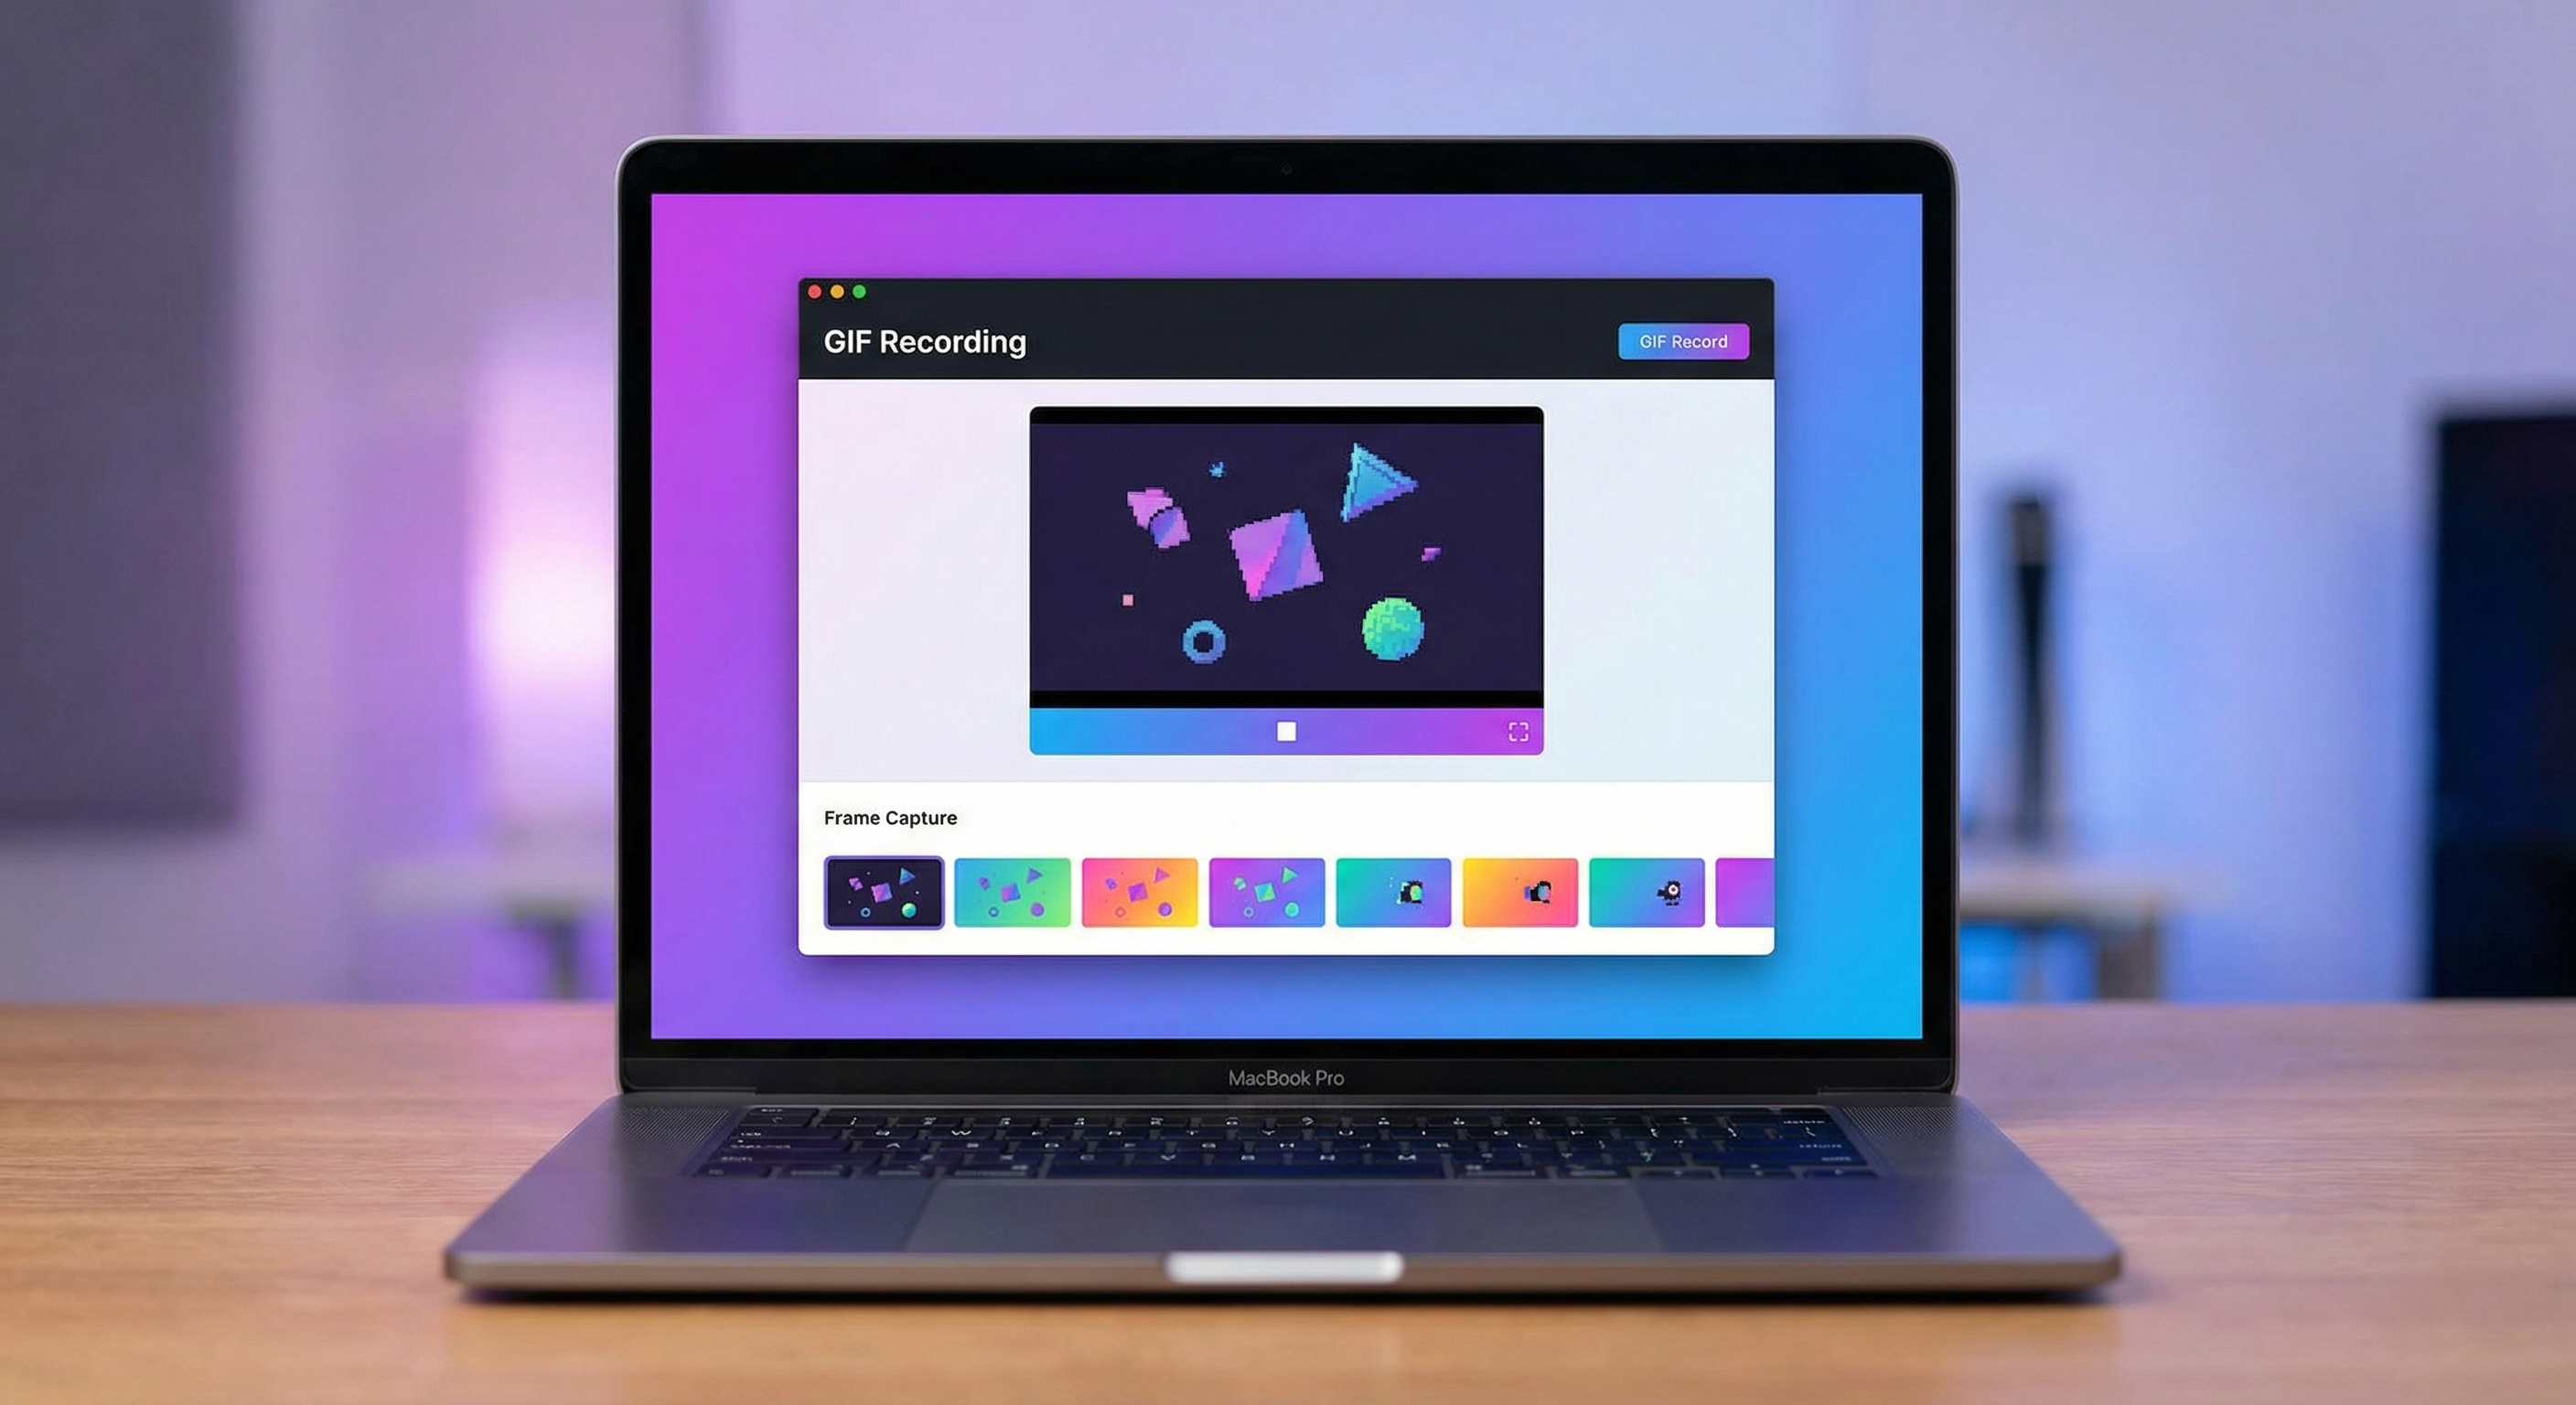
Using ScreenSnap Pro
ScreenSnap Pro records any area of your screen as a GIF in seconds:
- Open ScreenSnap Pro and select GIF Recording mode
- Drag to select the area you want to capture
- Click Record and perform your demo
- Click Stop — your GIF is ready instantly
- Drag the GIF file into your presentation
No conversion, no compression, no extra steps. The GIF is ready to use the moment you stop recording.
Best for: Software demos, UI walkthroughs, showing keyboard shortcuts in action.
Using Kap (free alternative)
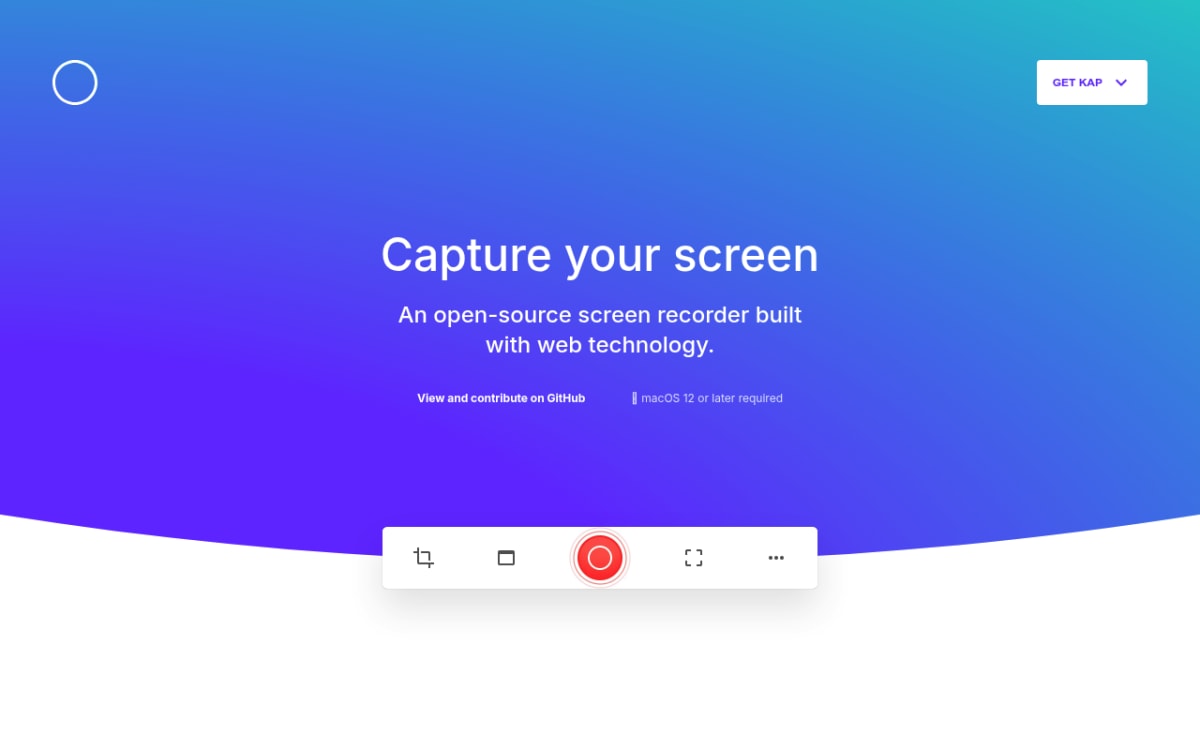
Kap is a free, open-source screen recorder for Mac that exports to GIF:
- Download Kap from getkap.co
- Click the menu bar icon and select your capture area
- Record your demo
- Choose GIF as the export format
- Adjust quality settings and save
Kap works well for basic recordings. The main limitation is fewer annotation options and no instant sharing compared to dedicated tools.
Using macOS built-in + conversion
You can also use macOS Screenshot toolbar (⌘ + Shift + 5) to record your screen, then convert the MOV file to GIF. This two-step process works but adds friction — direct GIF recording saves time.
Method 2: Convert existing video to GIF
Already have a screen recording in MOV or MP4 format? Convert it to GIF instead of re-recording.
When to use this approach
- You already recorded the perfect demo as video
- You want to trim a specific section from a longer recording
- The source material comes from someone else
How to convert video to GIF on Mac
Check out our detailed guide on how to convert MOV to GIF on Mac for step-by-step instructions. The quick version:
- Open your video file
- Trim to the exact segment you need (under 10 seconds works best)
- Export as GIF using a converter tool
- Optimize the file size before inserting into your presentation
You can also use our free Image to GIF converter to create animated GIFs from a sequence of screenshots.
Method 3: Export slides as animated GIF
Both PowerPoint and Keynote can export your entire presentation (or individual slides) as animated GIFs. This is useful for creating shareable previews of your slide deck.

PowerPoint GIF export
PowerPoint has built-in animated GIF export since Microsoft 365:
- Open your presentation in PowerPoint for Mac
- Go to File → Export
- Select Animated GIF as the file format
- Choose quality: Small, Medium, Large, or Extra Large
- Set Seconds spent on each slide (default is 1 second)
- Select which slides to include — all or a specific range
- Click Export
Limitations: The exported GIF shows slide changes and simple moves but at a lower frame rate. Complex slide effects may look choppy. The max size depends on the quality setting you pick.
Keynote animated GIF export
Keynote also supports GIF export:
- Open your Keynote presentation
- Go to File → Export To → Animated GIF
- Choose resolution: Original, Large, Medium, or Small
- Set the Frame Rate (lower = smaller file, choppier animation)
- Select Auto-Advance timing if your slides don't have set durations
- Click Next and save
Keynote GIFs tend to have better quality than PowerPoint exports, especially for text-heavy slides.
When to use slide export vs. screen recording
| Scenario | Best approach |
|---|---|
| Share slide preview on social media | Slide export |
| Show a software demo inside slides | Screen recording |
| Create a looping presentation for a booth | Slide export |
| Demonstrate a workflow or process | Screen recording |
| Send a quick deck summary via chat | Slide export |
Tired of plain screenshots? Try ScreenSnap Pro.
Beautiful backgrounds, pro annotations, GIF recording, and instant cloud sharing — all in one app. Pay $29 once, own it forever.
See what it doesHow to insert GIFs into presentations
Once you have your GIF file, here's how to add it to each major presentation app.
PowerPoint
- Go to the slide where you want the GIF
- Click Insert → Pictures → Picture from File
- Select your GIF file and click Insert
- Resize and position as needed
- The GIF auto-plays during slideshow mode — it won't animate in edit mode
Pro tip: Right-click the GIF and select Format Picture to add a border or shadow for a polished look.
Keynote
- Drag and drop the GIF file directly onto your slide
- Or use Insert → Choose and select the GIF
- Keynote shows GIF animation even in edit mode
- Resize using corner handles to maintain aspect ratio
Keynote handles GIFs smoothly, but very large GIFs (over 10 MB) may cause lag during editing.
Google Slides
- Open your presentation in Google Slides
- Click Insert → Image → Upload from computer
- Select your GIF file
- The GIF animates automatically in both edit and present mode
Note: Google Slides GIF support works well for files under 5 MB. Larger GIFs may not animate properly. If your GIF is too large, compress it first before uploading.
Best practices for presentation GIFs
Not all GIFs work well in presentations. Follow these guidelines to keep your slides professional and smooth.

Keep recordings under 10 seconds
Shorter GIFs are more effective. Your audience can absorb a 5-second demo loop without getting distracted. If your workflow takes longer, break it into multiple GIFs across several slides.
Optimize file size
Large GIFs slow down your presentation and increase file size. Aim for under 5 MB per GIF:
- Reduce dimensions — 800px wide is plenty for most slides
- Lower frame rate — 10-15 FPS looks smooth enough for most demos
- Limit colors — Fewer colors = smaller files (most screen recordings don't need 256)
- Crop tightly — Only capture the relevant area, not your entire screen
Use our free GIF compressor to reduce file size without visible quality loss.
Design for looping
Your GIF will loop continuously. Make sure the end state flows naturally back to the start. Abrupt jumps are distracting.
Good loop: Click button → animation plays → returns to original state
Bad loop: Scrolling down a page → jumps back to top
Add context on the slide
Don't let the GIF speak for itself. Add a text label or numbered callout explaining what the viewer should notice. A GIF showing "how to use the filter menu" needs a headline like "Applying filters takes 2 clicks."
Common issues and fixes
GIF not playing in PowerPoint
PowerPoint only animates GIFs during slideshow mode. In edit mode, you'll see a static frame. Press ⌘ + Return to start the slideshow and verify your GIF plays.
If it still won't play, check that you inserted it as a Picture, not as an Object. PowerPoint sometimes imports GIFs as static images if you paste from clipboard instead of inserting from file.
GIF file too large for presentation
If your GIF exceeds 10 MB, try these fixes:
- Reduce recording area — capture only the relevant portion of your screen
- Shorten duration — trim to the essential 3-5 seconds
- Lower resolution — 800×600 is usually sufficient for slide content
- Compress the GIF — use our GIF compressor tool or reduce the color palette
Quality looks poor after inserting
PowerPoint may shrink images when you save. To stop this:
- Go to File → Reduce File Size
- Set picture quality to Best Quality
- Uncheck Delete cropped areas of pictures
In Google Slides, upload the highest quality version — Google handles compression automatically and there's no way to override it.
GIF plays too fast or too slow
The speed is built into the GIF file. You can't change it inside PowerPoint or Keynote. To fix speed:
- Re-record at a more deliberate pace
- Use a GIF editor to adjust frame timing
- Most screen recording tools let you set the recording frame rate before capture

Use cases: Where presentation GIFs shine
Marketing and social media previews
Create a GIF preview of your presentation to share on social media or in emails. Export your key slides as an animated GIF using PowerPoint or Keynote's built-in export, then post it as a teaser. If you need to add backgrounds to your screenshots before creating the GIF, do that first for a more polished look.
Software training and onboarding
Show new employees exactly where to click. A 5-second GIF demonstrating "how to submit a timesheet" is clearer than three paragraphs of written instructions.
Product demos and sales decks
Drop a GIF of your product in action right into your pitch deck. It's more engaging than a static screenshot and avoids the risk of a live demo failing during your presentation.
Educational content
Teachers and course creators use GIFs to demonstrate technical processes without requiring students to watch full videos. Quick visual aids keep students engaged during lectures.
Bug reports and documentation
Developers can record their screen as a GIF to show exactly how to reproduce a bug. Drop it into a Keynote or Google Slides presentation for sprint reviews and team standups. You can also annotate the recording with arrows and callouts before converting to GIF.
Client presentations and proposals
Instead of listing features with bullet points, show them. A short GIF demo in your proposal slides says more in 5 seconds than a full page of text. Clients notice motion — it signals effort and care.
Internal team updates and standup decks
Weekly standups and sprint reviews get stale fast. Drop a GIF showing the feature you shipped, the bug you fixed, or the design change you made. It takes 10 seconds to record a GIF on Mac and paste it into your slide. Your team sees the result right away — no switching to a live demo or sharing your screen mid-call.
Comparing before and after changes
Need to show a UI change, a design tweak, or a speed boost? Put two GIFs side by side on one slide — one showing the old state, one showing the new. This works great for design reviews, A/B test results, and version comparison screenshots. The visual contrast makes the change clear at a glance.
Sharing workflows across teams
If your team uses tools like Figma, Notion, or Jira, a GIF walkthrough is the fastest way to show someone a new process. Record the steps, drop the GIF into a shared slide deck, and link to it in your docs. It works better than written instructions because people can see exactly where to click and what to expect. You can also crop your screenshots to focus on just the relevant part of the screen before turning them into GIFs.
Frequently Asked Questions
Morgan
Indie DeveloperIndie developer, founder of ScreenSnap Pro. A decade of shipping consumer Mac apps and developer tools. Read full bio
@m_0_r_g_a_n_