Always on Top Mac: Keep Windows Floating in 2026 (6 Methods)
Always on top on Mac means pinning a window so it stays visible no matter what else you click. macOS doesn't have a built-in way to do this, but several apps and workarounds make it easy. Screenshot tools like ScreenSnap Pro also let you pin a captured image as a floating reference window.
Whether you need a reference image floating over your code editor, a chat window visible during presentations, or notes pinned while researching — this guide covers every working method in 2026.
Why There's No Always on Top Mac Button Built In
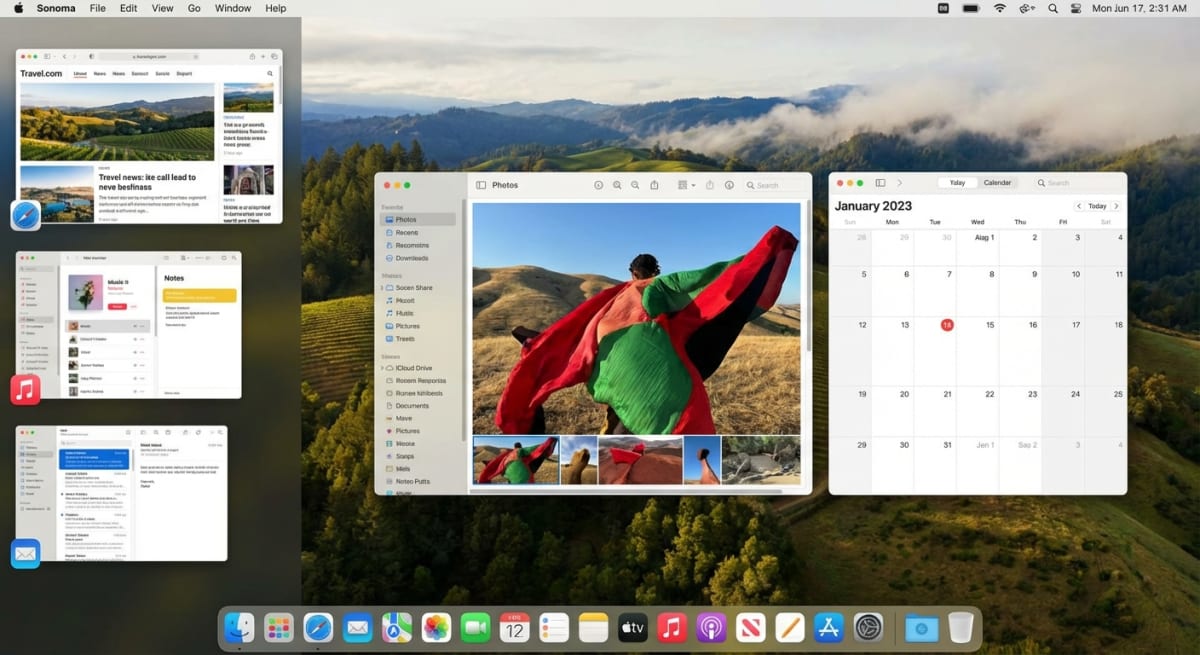
Windows has some built-in ways to pin a window on top. macOS doesn't. Apple chose to manage windows through Mission Control, Spaces, and Stage Manager instead.
So you'll need a third-party app or a workaround. The good news: there are great options out there, and most are free or cheap.
Method 1: BetterTouchTool (most flexible)
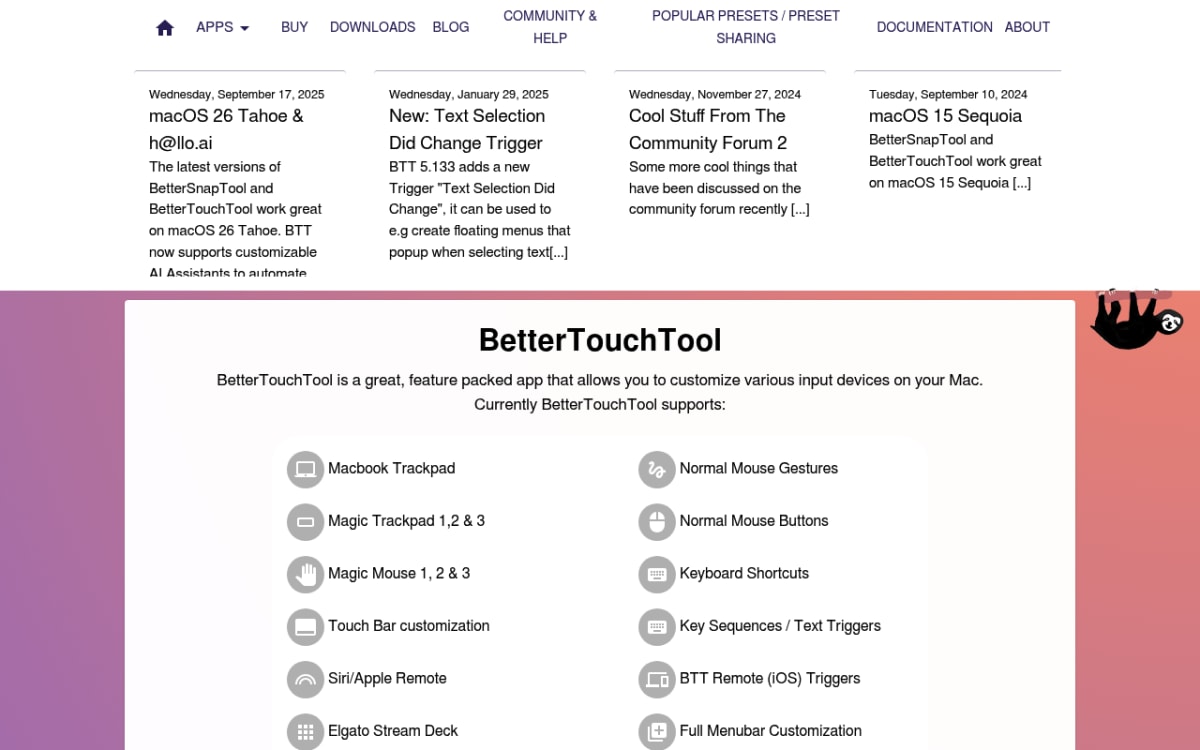
BetterTouchTool is a popular Mac tool that lets you set custom shortcuts for almost anything — including pinning a window on top. It has a "Set Window Level" action that does exactly what we need.
How to set it up:
- Download and install BetterTouchTool from folivora.ai
- Open Preferences → Keyboard Shortcuts
- Click + Add New Shortcut
- Set your trigger (e.g.,
⌃ + ⌥ + T) - Choose action → Window Interaction → Set Window Level
- Select Floating from the level options
Now press your shortcut on any focused window to pin it above everything else. Press again to unpin.
Pros: Works with any app, highly customizable, includes hundreds of other Mac automation features.
Cons: Paid app ($10 for a standard license), slight learning curve for setup.
Best for: Power users who want a universal solution plus tons of other productivity features.
Method 2: Floaty (dedicated floating window app)
Floaty is a small app made just for keeping windows on top on Mac. If you don't need all the extras that come with BetterTouchTool, Floaty is a cleaner pick.
How to use Floaty:
- Install Floaty from the Mac App Store
- Grant access when it asks for Accessibility rights
- Right-click any window's title bar and choose Float This Window
- The window stays above all others until you unfloat it
Once you float a window, it stays pinned even when you switch apps. You can float as many windows as you like, and each one will stay above your normal windows.
Floaty also adds a small icon to your menu bar. Click it to see a list of all your floating windows and quickly unpin any of them.
Pros: Simple, works with any window, does one thing and does it well.
Cons: No extra features beyond floating, needs accessibility access to work.
Best for: Users who want a quick, no-fuss way to pin windows without learning a big tool.
Method 3: Picture-in-Picture for videos
If you only need to keep a video floating on screen, macOS has a built-in Picture-in-Picture (PiP) mode that works in Safari, Chrome, and QuickTime Player.
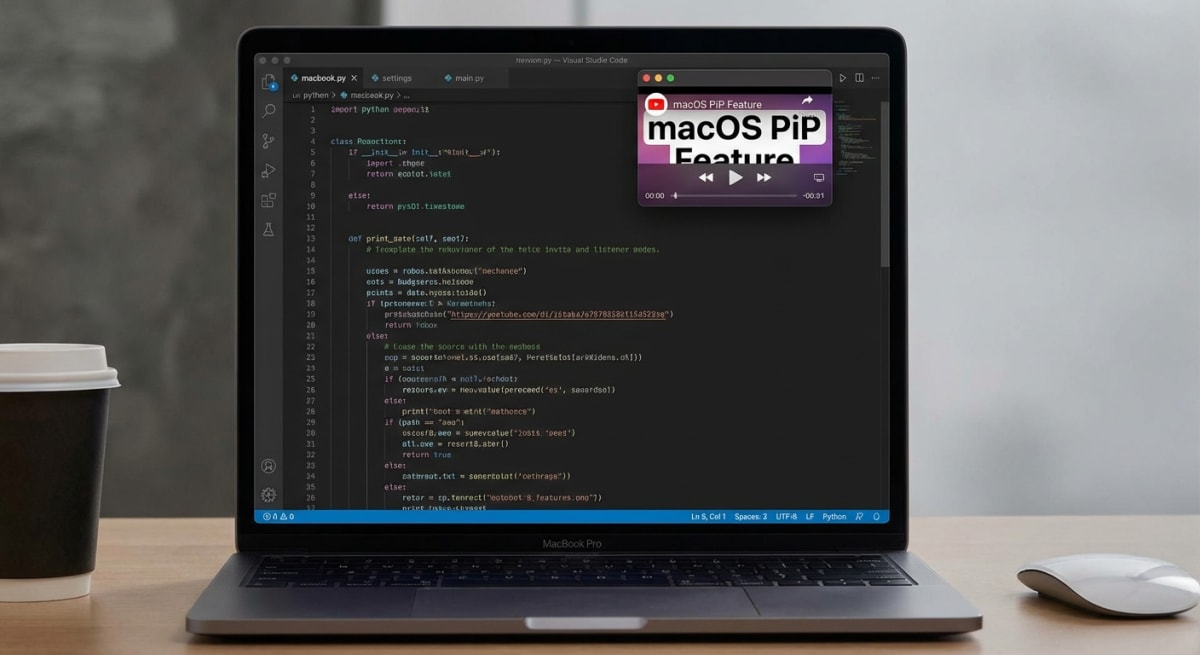
In Safari or Chrome:
- Start playing a video (YouTube, Netflix, etc.)
- Right-click the video twice (first click shows the site menu, second shows the browser menu)
- Select Enter Picture in Picture
- The video floats above all windows
In QuickTime Player:
- Open your video in QuickTime
- Click View → Float on Top
You can resize the PiP window by dragging its corners and reposition it to any corner of your screen. Double-click the floating video to toggle between the small and larger size.
Pros: Built into macOS, no extra software needed, works across Safari, Chrome, Firefox, and QuickTime.
Cons: Only works with videos — you can't pin Finder, Notes, PDFs, or any other window type. Some streaming sites restrict PiP.
Best for: Watching tutorials or video calls while working. If you need to capture what's on screen while a PiP video plays, take a screenshot normally — PiP windows appear in captures.
Tired of plain screenshots? Try ScreenSnap Pro.
Beautiful backgrounds, pro annotations, GIF recording, and instant cloud sharing — all in one app. Pay $29 once, own it forever.
See what it doesMethod 4: Stage Manager (macOS Sonoma and later)
Stage Manager groups your windows into sets and puts the active group front and center. The rest get tucked to the side. It's not a true floating window, but it cuts the clutter fast.
How to enable Stage Manager:
- Open System Settings → Desktop & Dock
- Scroll to Stage Manager and toggle it on
- Or click the Control Center icon in the menu bar → Stage Manager
You can drag windows between groups to keep specific combinations visible together. It's not a true "always on top" solution, but it reduces window clutter significantly.
Pros: Built into macOS, no extra apps needed, great for organizing multiple projects.
Cons: Not a true pin — windows don't float above others. Takes some adjustment.
Best for: Users who want better window organization rather than a strict floating window.
According to Apple's official Stage Manager guide, you can also use Stage Manager across multiple displays on supported Macs running macOS Ventura or later.
Method 5: Pin screenshot with ScreenSnap Pro
Here's a method most people overlook: if you need a reference image visible while you work — design specs, instructions, code snippets, color palettes — you can pin a screenshot to your screen.
ScreenSnap Pro includes a Pin Screenshot feature that captures any area of your screen and keeps it floating above all windows. The pinned image stays visible no matter which app you switch to.
How it works:
- Take a screenshot with ScreenSnap Pro (
⌘ + Shift + 1for area capture) - Click the Pin button in the capture overlay
- The screenshot floats above all windows
- Drag it anywhere, resize it, or dismiss when done
This is perfect for keeping reference material visible — following a tutorial, matching design specs, or comparing layouts. You can annotate the screenshot before pinning it to highlight important details.
Pros: Instant, no window management needed, works with any content you can see on screen, one-time purchase with no subscription.
Cons: Pins a static image, not a live window. Great for reference, not for interactive content.
Best for: Designers, developers, and anyone who needs reference images visible while they work.
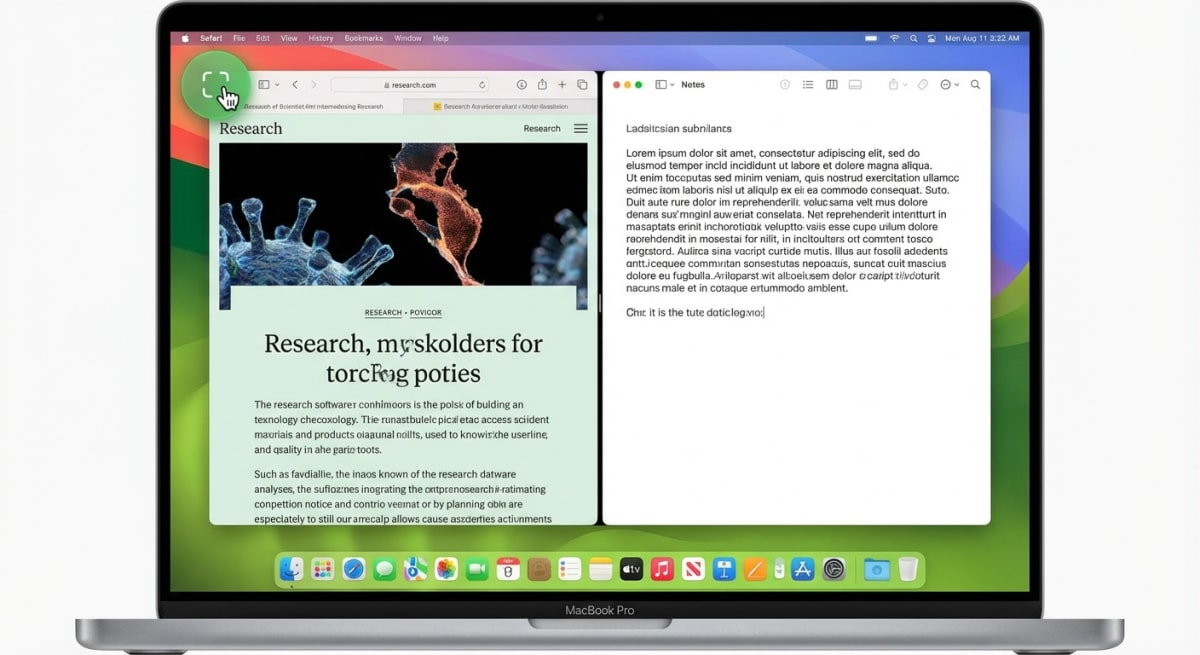
Method 6: Split View workaround
Split View isn't truly "always on top," but it locks two apps side by side so they never overlap. It's built into every Mac and costs nothing.
How to enter Split View:
- Hover over the green full-screen button (top-left of any window)
- Choose Tile Window to Left of Screen or Tile Window to Right
- Click another window to fill the other half
- Drag the divider to adjust the split ratio
Once you're in Split View, both windows stay locked in place. You can't lose one behind the other. This makes it great for tasks where you need to read from one app and type in another.
To leave Split View, press Esc or hover over the top of the screen to reveal the menu bar, then click the green button again. Your windows will go back to their normal size.
Pros: Built into macOS, keeps two apps in sight at all times, no setup needed.
Cons: Only works with two apps, hides the menu bar and Dock, feels tight on smaller screens.
Best for: Focused work with two apps — like notes and browser, or docs and code.
Pro tip: On macOS Sequoia and later, you can also tile windows by dragging them to the edges of the screen — just like Windows Snap. This gives you a faster way to set up a side-by-side layout. You can also use window shortcuts to speed things up.
Which method is best for your workflow?
| Method | Best for | Cost | Difficulty |
|---|---|---|---|
| BetterTouchTool | Power users, any window | $10 | Medium |
| Floaty | Simple floating windows | Free/Paid | Easy |
| Picture-in-Picture | Videos only | Free | Easy |
| Stage Manager | Window organization | Free | Easy |
| ScreenSnap Pro | Reference images | One-time | Easy |
| Split View | Two-app focus | Free | Easy |
Our recommendation: If you need a true always-on-top window for any app, go with BetterTouchTool — it's the most flexible option and includes countless other productivity features. If you mainly need reference images floating while you work, ScreenSnap Pro's Pin Screenshot is the most streamlined solution.
For quick tasks, don't overlook Split View and Picture-in-Picture — they're free, built-in, and handle common use cases without installing anything.
If you work with screenshots regularly, you might also want to explore how to crop screenshots or copy text from images with OCR — these pair well with a floating reference workflow. And if your floating reference images need markup, check out our guide on how to annotate screenshots on Mac.
You can also use our free image annotation tool to quickly mark up reference images before pinning them to your screen.
Frequently Asked Questions
Morgan
Indie DeveloperIndie developer, founder of ScreenSnap Pro. A decade of shipping consumer Mac apps and developer tools. Read full bio
@m_0_r_g_a_n_