How to Screenshot on Windows 11 (6 Methods) | 2026
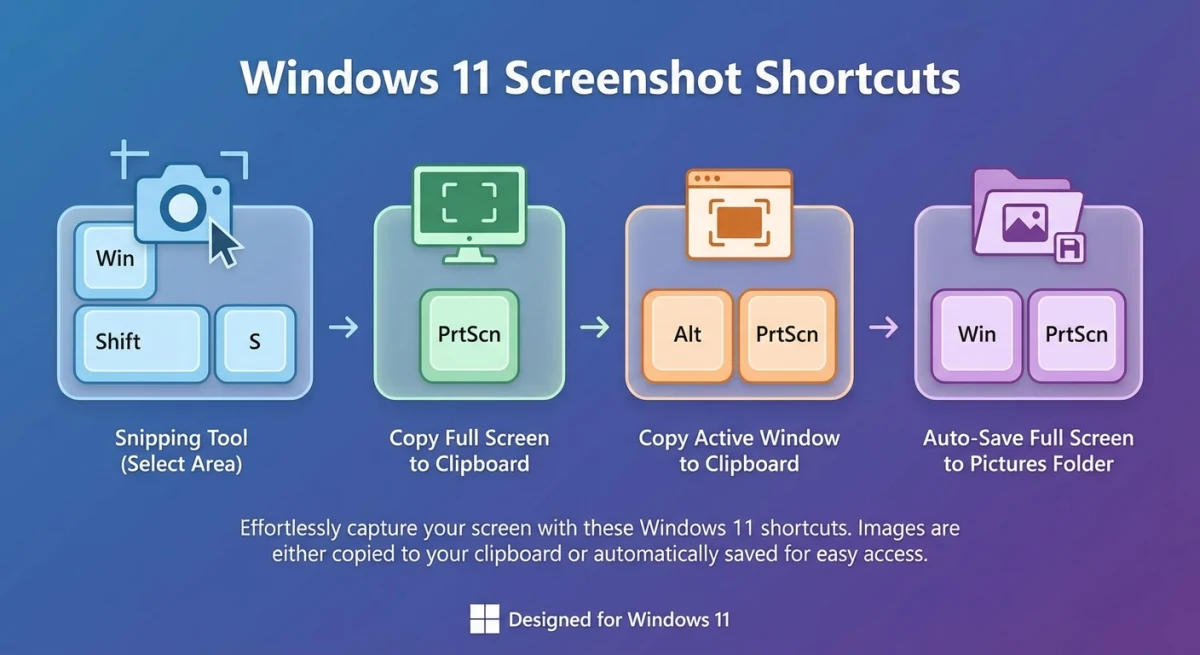
To take a screenshot on Windows 11, press Win + Shift + S to open Snipping Tool and drag to select an area, and it copies to your clipboard. Press Win + PrtSc to save a full-screen shot straight to Pictures\Screenshots. Those are the two fastest methods; dedicated apps like ScreenSnap Pro add annotations and instant cloud sharing on top.
Not sure whether you are on Windows or a Mac? Start with how to screenshot on any computer.
Windows 11 has six ways to capture your screen. Each one serves a different need. Quick full-screen grab? Region capture? Auto-saved file? There's a built-in method for all of them.
Quick answer: the fastest Windows screenshot shortcuts
In a hurry? Here's every Windows 11 screenshot shortcut at a glance:
| Shortcut | What it does | Saves to |
|---|---|---|
Win + Shift + S | Opens Snipping Tool overlay | Clipboard |
Print Screen | Opens Snipping Tool (default in 2026) | Clipboard |
Alt + Print Screen | Captures active window only | Clipboard |
Win + Print Screen | Full-screen screenshot, auto-saved | Pictures/Screenshots |
Win + G | Xbox Game Bar capture | Videos/Captures |
Win + Alt + Print Screen | Game Bar quick screenshot | Videos/Captures |
Now let's walk through each method in detail.
Method 1: Snipping Tool (`Win + Shift + S`)
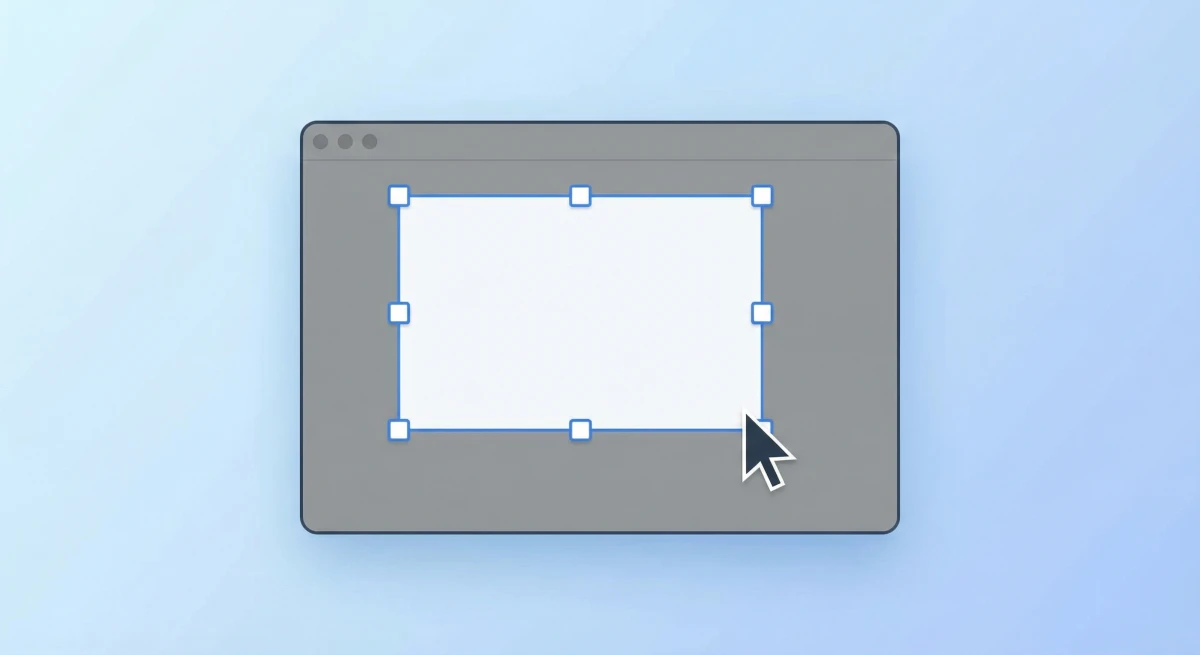
The Snipping Tool is Microsoft's flagship screenshot app in Windows 11. It's the method most people should use. Press Win + Shift + S and your screen dims with a toolbar at the top.
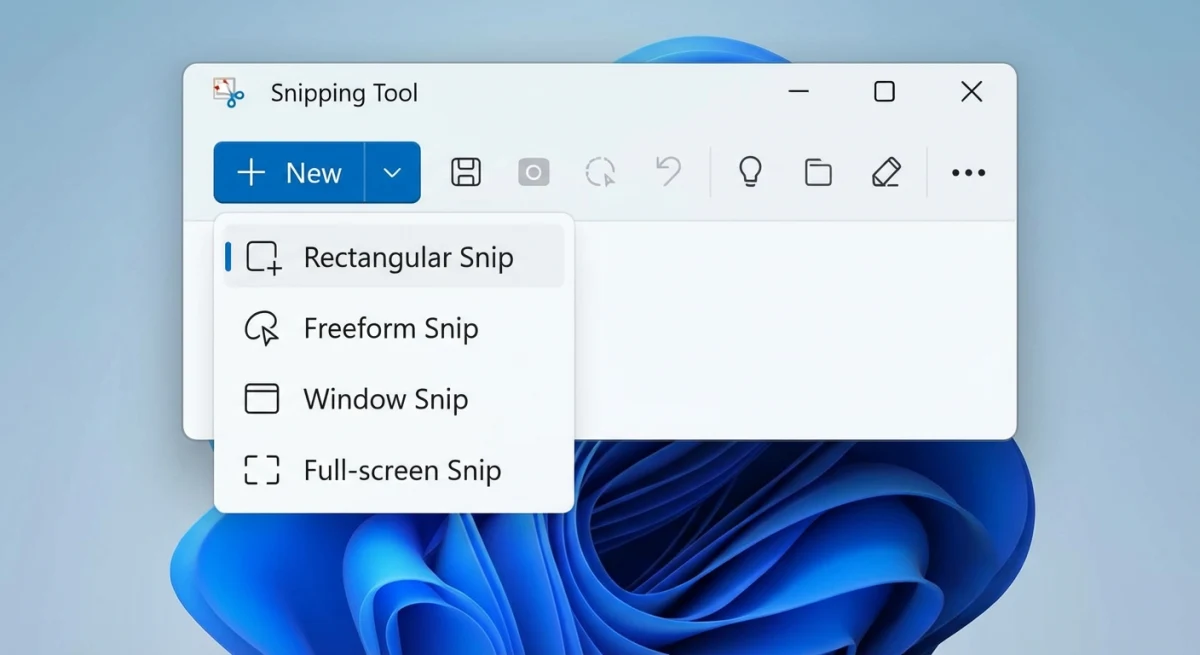
You get four capture modes:
- Rectangular snip: drag to select any rectangle on screen
- Freeform snip: draw any shape to capture irregular areas
- Window snip: click any window to capture it with borders
- Full-screen snip: captures everything on all monitors
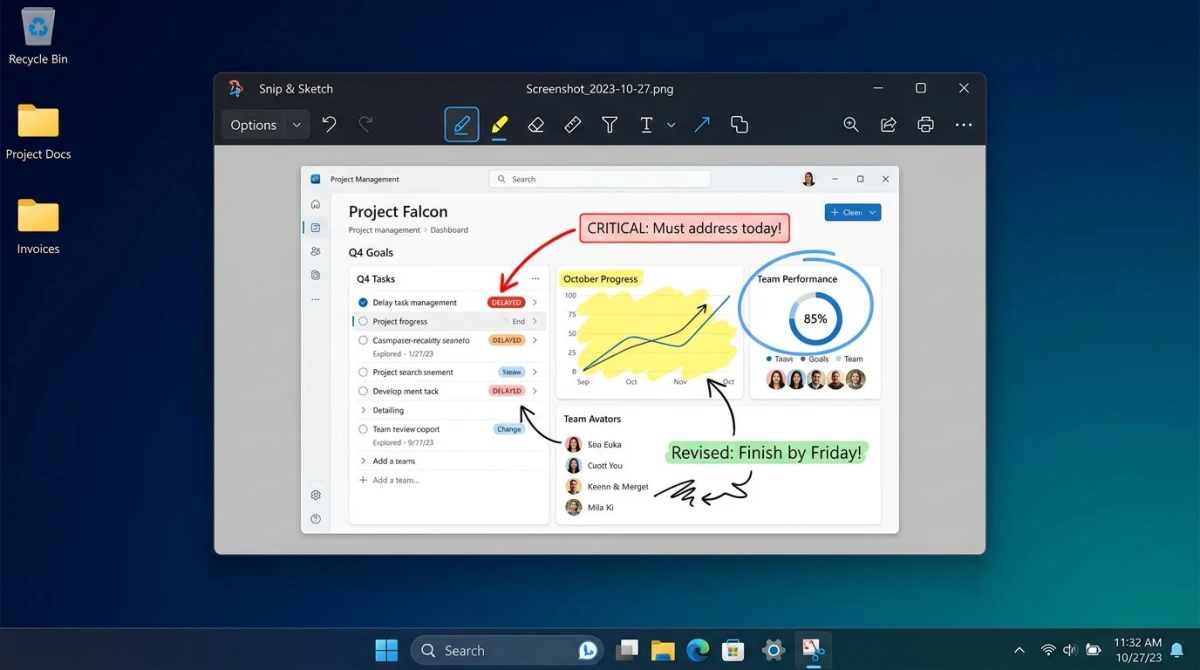
After capturing, a notification pops up in the bottom-right corner. Click it to open the Snipping Tool editor. From there, you can annotate, crop, or save the screenshot.
Pro tip: The Snipping Tool also supports delayed captures. Open the full app from the Start menu, click the clock icon, and set a 3-second, 5-second, or 10-second delay. This is great for capturing dropdown menus or tooltips that vanish when you press a shortcut.
Screen recording in Snipping Tool
Since late 2023, the Snipping Tool also includes a basic screen recorder. Click the video camera icon in the app to record a selected area of your screen. It saves as an MP4 file. That makes it handy for quick demos without extra software.
Snipping Tool advanced features (2026)
Microsoft keeps adding features to the Snipping Tool. For the full feature walkthrough, including which ones need a Copilot+ PC, see how to use the Snipping Tool. Here's what's new:
Text Actions (OCR). After taking a screenshot, click the Text Actions button in the editor. The tool scans your image and lets you copy any text it finds. It also offers a Quick Redact option. This finds emails and phone numbers so you can blur them in one click.
Copilot integration. On devices with Copilot, you can send a screenshot directly to Copilot for analysis. Take a screenshot, click the Copilot icon, and ask questions about what's on screen. Useful for getting help with error messages or unfamiliar settings.
Auto-save to folder. The Snipping Tool now auto-saves every capture to a temp folder. Even if you forget to save, your recent screenshots are still there. Find them in %LOCALAPPDATA%\Packages\Microsoft.ScreenSketch_*\TempState.
Method 2: Print Screen key (full screen)
The Print Screen key (labeled PrtScn on most keyboards) has been around since the DOS era. In Windows 11, Microsoft changed what it does. Pressing Print Screen now opens the Snipping Tool overlay instead of grabbing the full screen.
To get the old behavior back, go to Settings → Accessibility → Keyboard. Turn off "Use the Print Screen key to open Snipping Tool." This copies the full screen to your clipboard again. See Microsoft's Snipping Tool guide for more details.
With the classic behavior:
- Press
Print Screento copy the entire screen to your clipboard - Open Paint, Word, or any app
- Press
Ctrl + Vto paste - Save the file
This method works but gives you no control over what you capture. The Snipping Tool overlay works better for most tasks.
Method 3: `Alt + Print Screen` (active window)
Need to capture a single window without the taskbar or desktop background? Press Alt + Print Screen and Windows copies only the currently active window to your clipboard.
This is ideal for:
- Bug reports where you need to show one specific app
- Sharing a chat window or browser tab
- Technical documentation where you're illustrating a single interface
After pressing the shortcut, paste the screenshot into any app with Ctrl + V.
Method 4: Xbox Game Bar screenshots
The Xbox Game Bar (Win + G) isn't just for gaming. It works in any app. It's handy when you want screenshots saved to a folder without extra steps.
To take a screenshot with the Game Bar:
- Press
Win + Gto open the overlay - Click the camera icon in the Capture widget
- Or use the shortcut
Win + Alt + Print Screento skip the overlay entirely
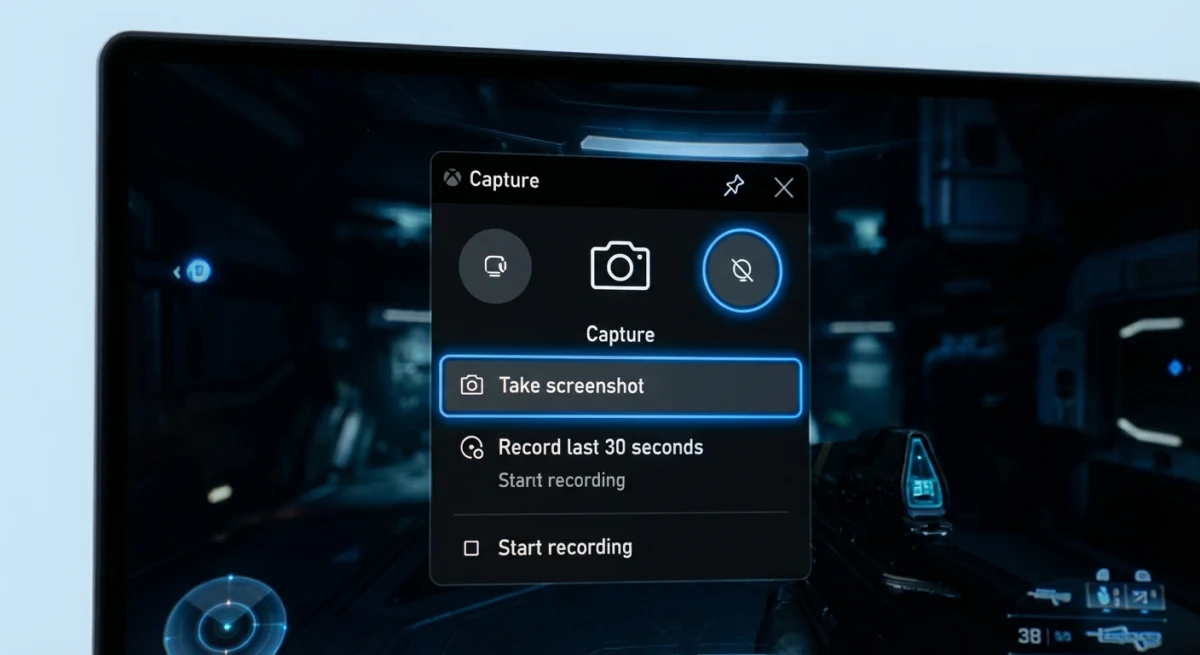
Screenshots save to C:\Users\[YourName]\Videos\Captures as PNG files. The Game Bar also shows a notification with a direct link to the file.
Limitation: The Game Bar can't capture the desktop or File Explorer. It only works within apps. For those cases, stick with the Snipping Tool.
Method 5: `Win + Print Screen` (auto-save)
This is the "set and forget" method. Press Win + Print Screen and Windows grabs your entire screen. It saves the capture as a PNG file. The screen flashes once to confirm.
Screenshots go to C:\Users\[YourName]\Pictures\Screenshots with auto-incrementing filenames like Screenshot (1).png, Screenshot (2).png, and so on.
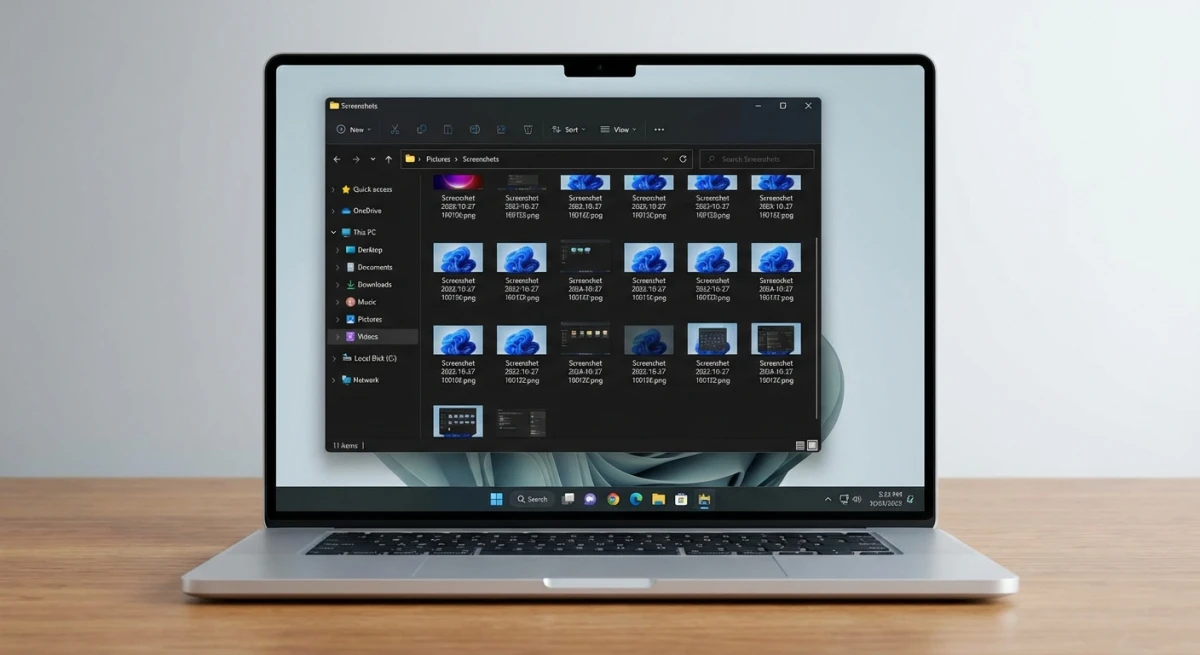
This method is perfect when you need to take multiple screenshots quickly (during a setup walkthrough, for example) and organize them later.

Tired of plain screenshots? Try ScreenSnap Pro.
Beautiful backgrounds, pro annotations, GIF recording, and instant cloud sharing, all in one app. Pay $34 once, own it forever.
See pricing and featuresMethod 6: third-party screenshot tools
Windows 11's built-in tools cover the basics well. But third-party tools offer extras like annotation, cloud sharing, and scrolling captures. Here are the most popular options:
| Tool | Price | Best for |
|---|---|---|
| ShareX | Free, open source | Power users who want maximum customization |
| Greenshot | Free | Simple, lightweight captures |
| Snagit | $39/year (subscription) | Professional documentation and training |
| Lightshot | Free | Quick region captures with instant sharing |
If you work across both Windows and Mac, a cross-platform tool like ScreenSnap Pro runs on both and offers features like instant share links, wallpaper backgrounds and a video editor that zooms in on the action and removes silences. Those are things the built-in Windows screenshot tools don't include out of the box.
For Windows users who also work on a Mac, check out our guide to the best screenshot apps for Mac to see how the two platforms compare.
Where do screenshots go on Windows 11?
The save location depends on which method you used:
| Method | Save location |
|---|---|
Win + Shift + S | Clipboard (paste anywhere) |
Print Screen | Clipboard |
Alt + Print Screen | Clipboard |
Win + Print Screen | Pictures\Screenshots folder |
| Xbox Game Bar | Videos\Captures folder |
| Snipping Tool (manual save) | Wherever you choose in Save dialog |
To change the default screenshot folder for Win + Print Screen:
- Open
Pictures\Screenshotsin File Explorer - Right-click the folder → Properties
- Go to the Location tab
- Click Move and choose your preferred folder
This is handy if you want screenshots to save directly to a cloud-synced folder like OneDrive or Dropbox.
How to edit screenshots on Windows 11
Windows 11 offers a few built-in ways to edit your captures:
Snipping Tool editor
After taking a screenshot with Win + Shift + S, click the notification to open the editor. You get basic tools: a pen, highlighter, ruler, and cropping. It's enough for quick markups but limited for professional annotation.
Paint
The classic option. Press Win + R, type mspaint, and paste your screenshot. Paint handles basic cropping, resizing, and adding text. The updated Paint app in Windows 11 even includes layers and a background removal tool.
Photos app
Right-click any screenshot → Open with → Photos → Edit. The Photos app offers cropping, filters, and light adjustments. Good for quick touch-ups.
For more advanced annotation like arrows, numbered steps, or blur effects, you'll need a third-party tool. On both Windows and Mac, tools like ScreenSnap Pro offer 17 annotation tools including blur, pixelate, and counter steps right in the capture flow.
Windows 11 vs Mac screenshots compared
Switching between Windows and Mac? Here's how the screenshot shortcuts compare:
| Action | Windows 11 | Mac |
|---|---|---|
| Full screen | Win + Print Screen | ⌘ + Shift + 3 |
| Selected area | Win + Shift + S | ⌘ + Shift + 4 |
| Active window | Alt + Print Screen | ⌘ + Shift + 4 then Space |
| Screenshot toolbar | Win + Shift + S | ⌘ + Shift + 5 |
| Delayed capture | Snipping Tool app | ⌘ + Shift + 5 → Timer |
| Default format | PNG | PNG |
| Default location | Pictures\Screenshots | Desktop |
Both platforms handle basic captures well. Mac's built-in tool edges ahead with window shadow effects and a floating thumbnail for quick actions. Windows has the advantage with Game Bar captures for gaming.
For Mac users who want more control, our guide to Mac screenshot settings covers every customization option. And if you're a Windows switcher, the Print Screen on Mac guide maps your familiar shortcuts to the Mac equivalents.
Troubleshooting: Print Screen not working
If your Print Screen key isn't responding, try these fixes:
1. Check the Print Screen key setting
Open Settings → Accessibility → Keyboard. Make sure "Use the Print Screen key to open Snipping Tool" is toggled the way you want. If it's on, pressing Print Screen opens the Snipping Tool instead of copying to the clipboard.
2. Try the On-Screen Keyboard
Press Win + Ctrl + O to open the On-Screen Keyboard. Click the PrtScn key there. If this works, your physical key might be faulty or remapped by another application.
3. Check for keyboard driver issues
Open Device Manager → Keyboards → right-click your keyboard → Update driver. Outdated drivers occasionally cause key mapping problems.
4. Disable conflicting apps
Some apps like OneDrive, Dropbox, or third-party screenshot tools intercept the Print Screen key. Check your system tray for apps that might be capturing the shortcut.
5. Use the alternative shortcut
If Print Screen refuses to work, use Win + Shift + S instead. It's more reliable because it doesn't depend on the Print Screen key mapping.
For Mac users hitting similar issues, we have a dedicated Mac screenshot not working troubleshooting guide with 10 proven fixes.
Advanced screenshot tips for Windows 11
Once you've mastered the basics, these tips will speed up your Windows screenshot workflow even further.
Use clipboard history for multiple captures
Press Win + V to open Clipboard History. This stores your last 25 clipboard items, including screenshots. Take several screenshots in a row with Win + Shift + S, then use Win + V to pick and paste them individually.
To enable this feature, go to Settings → System → Clipboard and toggle on Clipboard history. You can also sync your clipboard across devices if you're signed into the same Microsoft account on multiple PCs.
Pin screenshots to your screen
Need to reference a screenshot while working in another app? The Snipping Tool's "pin" feature keeps a screenshot floating above all windows. After capturing, click the notification and select the pin icon in the editor toolbar. The screenshot stays visible until you close it.
Screenshot with a Surface Pen
If you're on a Surface device or any Windows tablet with a stylus, double-click the top button on your Surface Pen to take a screenshot. You can configure this button in Settings → Bluetooth & devices → Pen & Windows Ink.
Capture specific monitor in multi-display setups
When using multiple monitors, Win + Shift + S lets you select across all screens. But Win + Print Screen captures all monitors in one wide image. To capture a single monitor, use Win + Shift + S and drag across just that display. For a cleaner workflow, use the Snipping Tool's full-screen mode and crop later.
Use PowerShell for automated screenshots
PowerShell can trigger screenshots on a schedule for IT pros and developers. Use the System.Windows.Forms library to capture the screen at set intervals. This is useful for monitoring or testing workflows.
Convert screenshots to other formats
Windows saves screenshots as PNG by default. PNGs look great but take up more space. If you need to convert images to different formats for web use or email, use Paint (Save As → choose format) or online tools for batch jobs. WebP and JPEG are good picks when file size matters more than perfect quality.
Best practices for organizing Windows screenshots
Taking screenshots is easy. Finding them later is the hard part. Here are some strategies to keep your captures organized.
Create a dedicated screenshot folder structure
Set up folders by project or date inside your Screenshots directory:
Pictures/
  Screenshots/
    Work/
    Personal/
    Bug Reports/
    Tutorials/
Use the folder redirect method (right-click → Properties → Location) to point Win + Print Screen saves to your preferred location.
Use OneDrive auto-save
Microsoft's OneDrive can automatically save every screenshot to the cloud. Go to OneDrive Settings → Backup and enable "Automatically save screenshots I capture to OneDrive." Screenshots appear in OneDrive\Pictures\Screenshots and sync across all your devices.
This pairs well with Win + Print Screen, since every capture is instantly backed up and accessible from your phone or another PC.
Rename files immediately
Windows names screenshots generically (Screenshot (1).png). Get in the habit of renaming right away with descriptive names like login-page-error-2026-02.png. Your future self will thank you when searching through hundreds of files.
If you handle screenshots professionally (for documentation, support tickets, or marketing), consider a dedicated tool with built-in organization. On Windows and Mac, cloud screenshot sharing tools like ScreenSnap Pro generate shareable links instantly, skipping the file management step entirely.
Frequently Asked Questions

Morgan
Indie DeveloperIndie developer, founder of ScreenSnap Pro. A decade of shipping consumer Mac apps and developer tools. Read full bio
@m_0_r_g_a_n_