The Snipping Tool for Mac
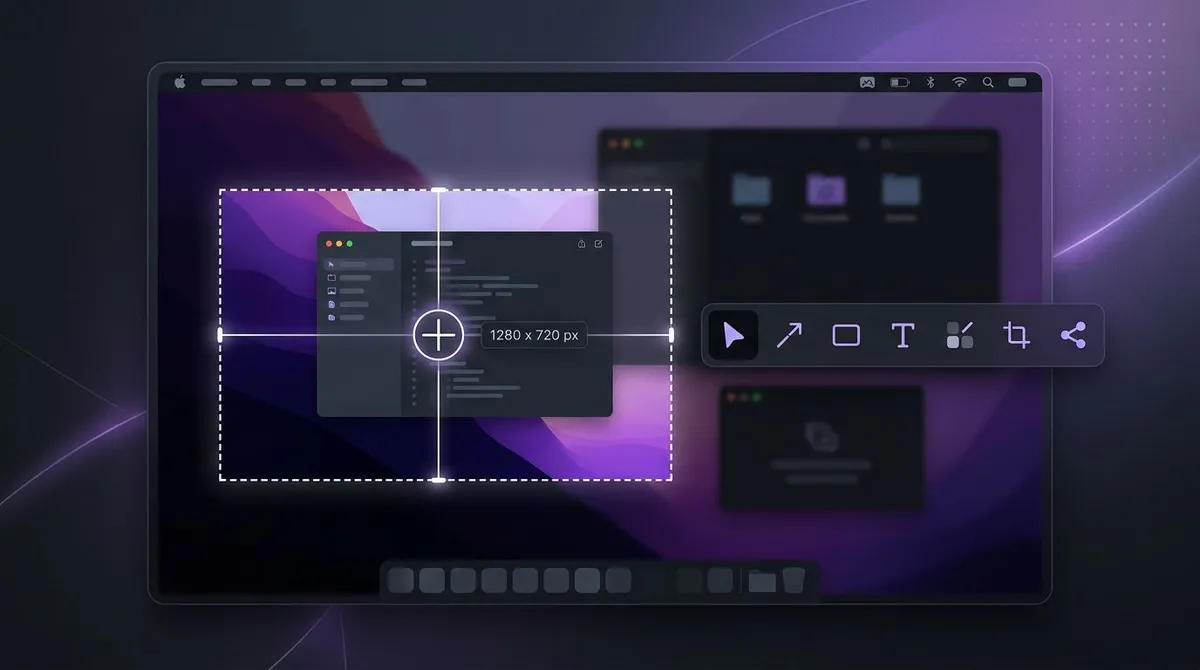
Switched from Windows and reaching for Win+Shift+S? ScreenSnap Pro brings the snipping workflow you know to macOS: capture any region, window, or full screen, annotate it, and share a private link in seconds.
There is no app called Snipping Tool on a Mac. Here is what to use instead.
If you have just moved from a PC, the first surprise is that macOS ships no Snipping Tool and no Snip & Sketch. The built-in equivalent is the Screenshot toolbar: press Cmd+Shift+5 and you can grab a region, a window, or the whole screen. It works, and for an occasional capture it is genuinely fine. Our guide to taking screenshots on a Mac covers everything the built-in tool can do.
The friction starts after the capture. Markup on macOS is a thin set of shapes hidden behind an extra click. There are no shareable links, so every snip becomes a file you drag into Slack or attach to an email. There are no backgrounds, no GIF capture, and no text extraction. Screenshots pile up on the desktop with names like Screen Shot 2026-07-02 at 09.14.31.
ScreenSnap Pro closes that gap. It is a snip tool for Mac (and Windows) built around the same three-step loop the Windows Snipping Tool taught you: shortcut, select, share. The difference is what happens in between: 15 annotation tools, one-click gradient backgrounds, OCR, GIF recording, and instant private cloud links, all without watermarks and without a subscription.
Everything the Windows Snipping Tool does, plus the parts it always missed
Six things ScreenSnap Pro actually does. No padding, no roadmap promises.
Region, window, and full-screen snips
Capture a selected area, a single window, or the entire display with one shortcut. These are the same modes you know from the Windows Snipping Tool, on macOS.
15 annotation tools
Arrows, text, callouts, shapes, highlighter, blur, pixelate, emojis, and a numbered step counter. The Windows tool gives you a pen and a highlighter; this is a complete markup kit.
Instant private share links
Upload a snip and a private cloud link lands on your clipboard, ready to paste into Slack, email, or a ticket. The cloud is optional and can be switched off entirely.
160+ gradient backgrounds
One click wraps a plain snip in a gradient frame so it looks finished in a deck, a blog post, or a social feed. No design tool round trip.
Video and GIF recording
Record your screen as video with webcam, microphone, and system audio, or capture short clips straight to GIF for docs and pull requests.
OCR text extraction
Copy text out of any snip: error dialogs, slides, PDFs, or images where selecting text is impossible. One shortcut, text on the clipboard.
Snipped an error message you need as text? OCR pulls it out in one shortcut, or try our free online extract text from image tool. There is also a full walkthrough on copying text from a screenshot on Mac.
How to use the snipping tool on Mac
Here is the whole workflow, from install to a pasted share link. If you only want the built-in options, the Mac snipping tool shortcut is Cmd+Shift+4 for a region and Cmd+Shift+5 for the full toolbar; we keep a complete list in our Mac screenshot shortcuts guide.
Install ScreenSnap Pro and pick your shortcut
Get ScreenSnap Pro (your license key and installer arrive by email right after checkout), then choose a capture hotkey in settings. Many Windows switchers set a combination that mirrors Win+Shift+S so the muscle memory carries over.
Press the shortcut and select what to snip
Your screen dims and a crosshair appears. Drag across the region you want, or capture a specific window or the full screen instead.
Annotate in the editor
The snip opens instantly in the editor. Add arrows and text, blur anything sensitive, number the steps with the counter tool, or drop the shot onto a gradient background.
Share or save
Copy the result to the clipboard, save it as a file, or upload it and paste a private share link. Capture to share typically takes a few seconds.

Want to go deeper on markup? See how to edit screenshots on a Mac for annotation techniques that make bug reports and tutorials easier to follow.
Snipping tool comparison: Windows, macOS built-in, Shottr, CleanShot X
An honest look at how the options stack up. Every tool here is good at what it was built for; the question is how much of the capture-annotate-share loop you want in one place.
| Feature | Windows Snipping Tool | macOS Cmd+Shift+5 | Shottr | CleanShot X | ScreenSnap Pro |
|---|---|---|---|---|---|
| Price | Free with Windows | Free with macOS | Free, $8 Pro | $29, cloud plans extra | $29 one-time |
| Region, window, and full-screen capture | Yes | Yes | Yes | Yes | Yes |
| Annotation tools | Pen and highlighter | Basic Markup | Solid basics | Advanced | 15 tools |
| One-click gradient backgrounds | No | No | No | Yes | 160+ presets |
| Instant private share links | No | No | No | Yes, plan limits | Yes, included |
| GIF recording | No | No | No | Yes | Yes |
| OCR text extraction | On Windows 11 | Not in the tool | Yes | Yes | Yes |
| Scrolling capture | No | No | Yes | Yes | No |
| Runs on Mac and Windows | Windows only | Mac only | Mac only | Mac only | Both |
To be fair to the competition: Shottr and CleanShot X both capture scrolling pages and ScreenSnap Pro does not. If scrolling capture is your main need, they are the better pick. For the full breakdowns, see ScreenSnap Pro vs macOS Screenshot, vs Shottr, and vs CleanShot X.
One price. No subscription.
$29
one-time purchase
- 2 license keys, each activates on up to 2 computers (4 total)
- Mac and Windows, in any combination
- Lifetime updates included
- No watermarks on anything you capture
- Optional cloud sharing, can be disabled
- 30-day money-back guarantee
CleanShot X charges extra for full cloud features and Snagit costs more than double. ScreenSnap Pro is one payment, and the license moves with you if you ever switch back to Windows. Details on the pricing page.
Get ScreenSnap ProSnipping tool for Mac: frequently asked questions
Does Mac have a snipping tool?
macOS does not include an app named Snipping Tool, but it has a built-in equivalent. Press Cmd+Shift+5 to open the Screenshot toolbar, which captures a selected region, a window, or the full screen. For deeper annotation, gradient backgrounds, and instant share links, a dedicated app like ScreenSnap Pro works as a full snipping tool for Mac.
What is the snipping tool shortcut on Mac?
The built-in Mac snipping tool shortcuts are Cmd+Shift+3 for the full screen, Cmd+Shift+4 for a selected region, and Cmd+Shift+5 for the Screenshot toolbar with recording options. ScreenSnap Pro lets you define your own capture hotkeys, so you can set a single shortcut that mirrors Win+Shift+S from Windows.
How do I use the snipping tool on Mac?
With ScreenSnap Pro installed, press your capture shortcut, then drag across the area you want to snip, or pick a window or the full screen. The capture opens in the editor, where you can add arrows, text, blur, and other annotations. From there, copy it to the clipboard, save it as a file, or upload it to get a private share link.
What is the best snipping tool alternative for Mac?
It depends on what you need. Shottr is a strong free option for quick captures. CleanShot X is a polished Mac-only tool with cloud plans sold separately. ScreenSnap Pro costs $29 one-time, includes private cloud share links, 15 annotation tools, GIF recording, and OCR, and runs on both Mac and Windows.
Can I keep my Windows Snipping Tool habits on a Mac?
Mostly, yes. ScreenSnap Pro follows the same flow as the Windows Snipping Tool: press a shortcut, drag to select, annotate, and share. Custom hotkeys let you pick a combination close to Win+Shift+S, and the same license also activates on Windows, so the tool stays identical if you move between machines.
How much does a snipping tool for Mac cost?
The built-in macOS Screenshot toolbar is free. ScreenSnap Pro costs $29 as a one-time purchase with no subscription. You get 2 license keys, each activating on up to 2 computers, so one purchase covers 4 machines across Mac and Windows, with lifetime updates and a 30-day money-back guarantee.
Get your snipping tool on Mac today
Keep the workflow you learned on Windows and gain the parts it never had: real annotation, instant links, GIFs, and OCR. Pay once, own it forever.