How to Screenshot Google Meet on Mac (4 Methods) | 2026
A Google Meet screenshot lets you save key slides, shared docs, or meeting moments on your Mac in seconds. Screenshots are silent and private—Google Meet won't tell anyone you took one. Dedicated capture apps like ScreenSnap Pro make it even faster with one-shortcut grabs and built-in annotation.
Whether you need to save a slide, capture a decision, or grab a teammate's shared screen, here are four easy ways to take a screenshot Google Meet on Mac.
Can You Screenshot in Google Meet?
Yes. You can take screenshots during any Google Meet call on your Mac. Here's what to know:
- No alerts: Google Meet won't tell the host or others when you capture your screen
- No blocks: Unlike some apps, Google Meet allows full screen capture
- Works on everything: Video grid, shared screens, slides, and chat are all fair game
The only thing to keep in mind is courtesy. If you're grabbing someone's slides or private data, ask first. Google's own Meet help page covers the basics of what's allowed in calls.
Method 1: Keyboard Shortcuts (Fastest)
The fastest way to capture a Google Meet screenshot on Mac is with built-in keyboard shortcuts. They work right away and won't break your flow.
Capture the Entire Screen
Press ⌘ + Shift + 3 to grab everything on your display. This is ideal when you want the full Google Meet view—speaker grid, controls, and all.
Best for: Saving the meeting layout or catching all speakers at once.
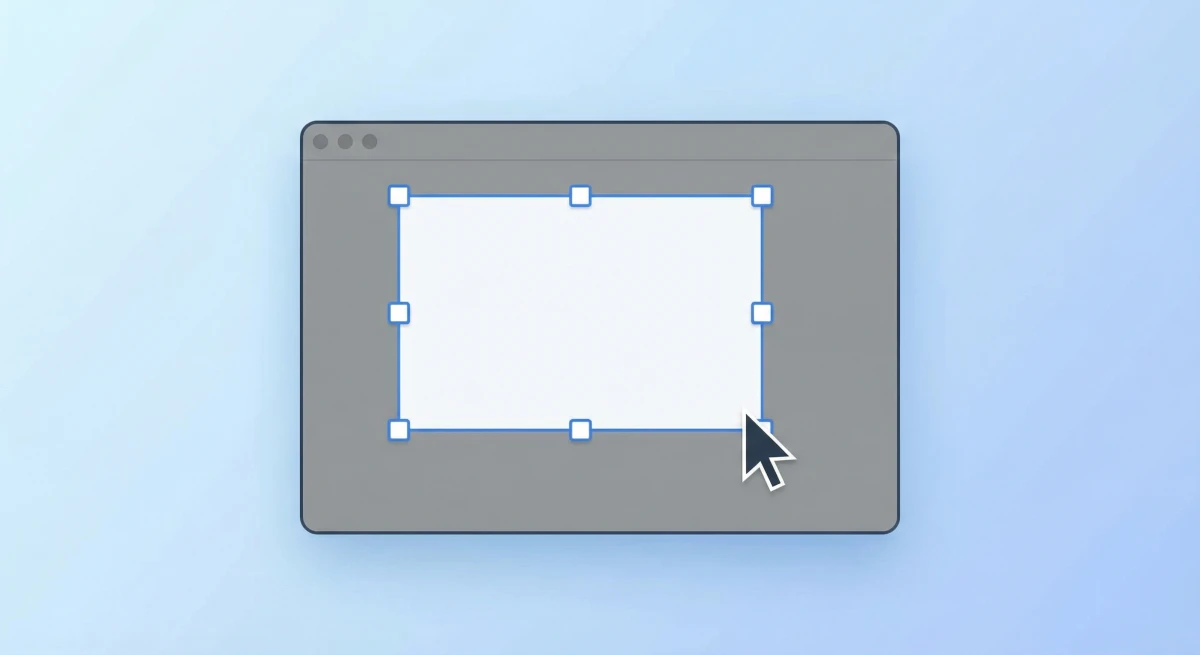
Capture a Selected Area
Press ⌘ + Shift + 4, then drag to pick the exact area you want. A crosshair shows up—draw a box around your target.
Best for: Grabbing one slide, a chat message, or a single speaker's video feed.
Capture a Specific Window
Press ⌘ + Shift + 4, then tap Spacebar. Your cursor turns into a camera icon. Click the Google Meet window to capture it without desktop clutter.
This is great for meeting screenshots because you get only the browser window—clean and ready to share. See our guide to screenshotting a window on Mac for more tips.
Pro tip: Hold Option while clicking to remove the window shadow.
Quick Reference Table
| Shortcut | What It Captures | When to Use |
|---|---|---|
⌘ + Shift + 3 | Full screen | Entire meeting view |
⌘ + Shift + 4 | Selected area | Specific content |
⌘ + Shift + 4 + Space | Single window | Clean browser capture |
Method 2: Using the Screenshot App
For more control over your captures, use the built-in Screenshot app. It has a visual toolbar with extra options.
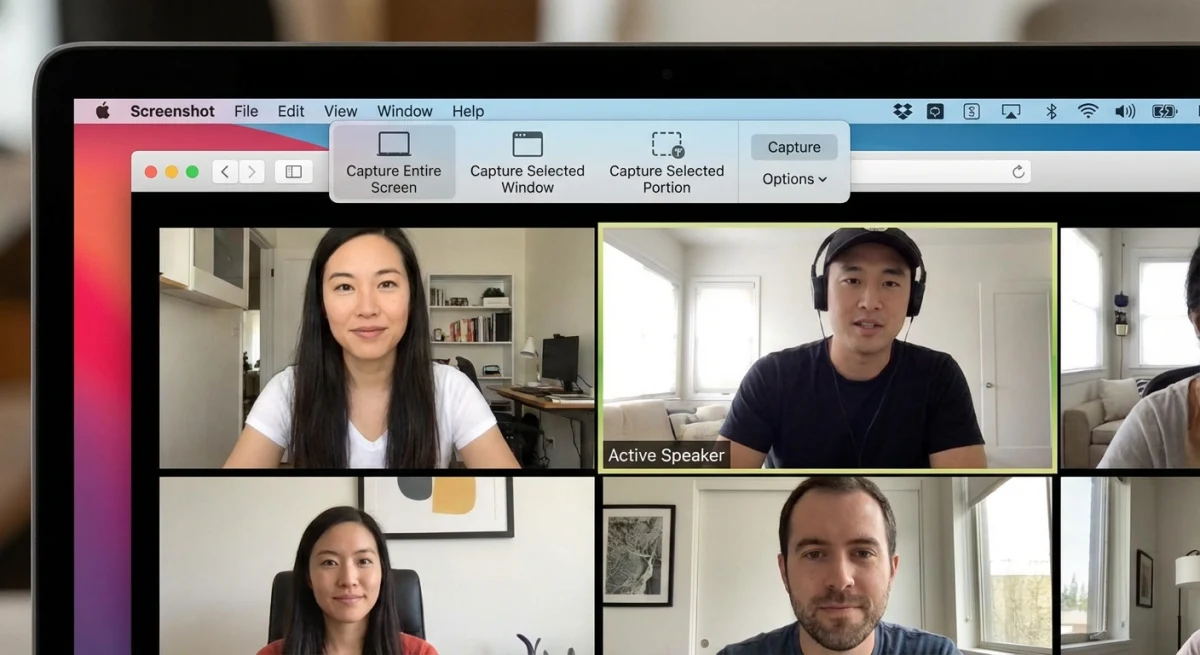
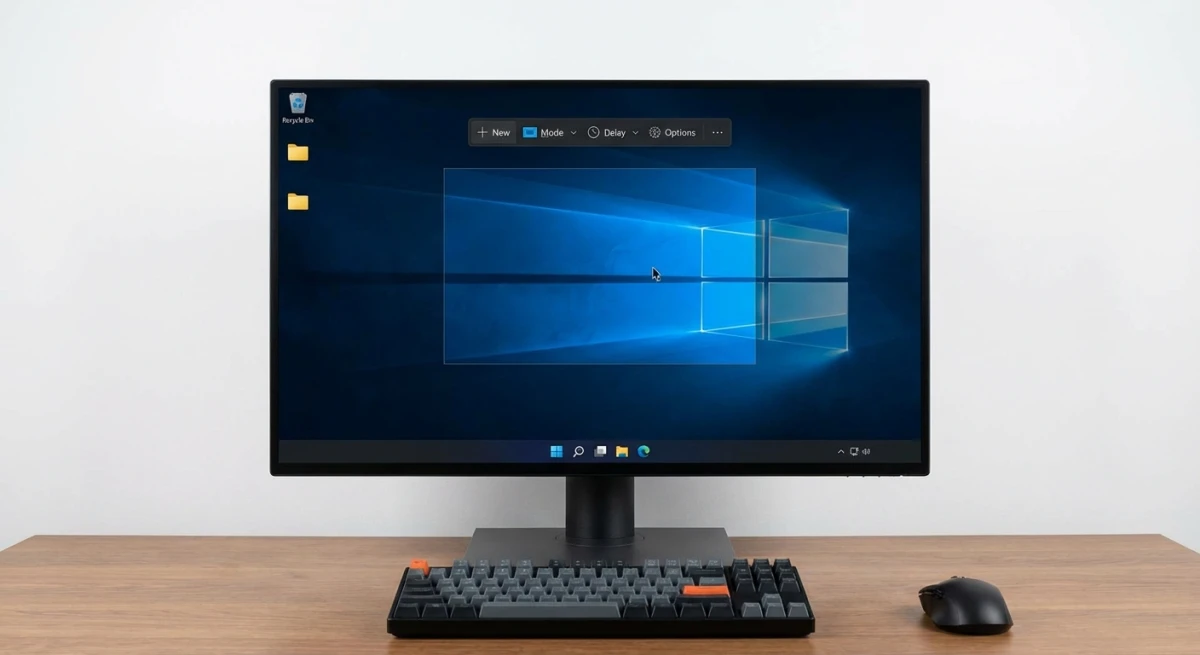
Access the Screenshot Toolbar
Press ⌘ + Shift + 5 to open the Screenshot toolbar at the bottom of your screen. You'll see capture mode buttons and an Options menu.
Capture Modes
The toolbar offers three capture modes:
- Capture Entire Screen — Takes a full screenshot immediately
- Capture Selected Window — Click any window to capture it
- Capture Selected Portion — Drag to define a custom area
Using the Timer for Self-Capture
Click Options and pick a timer (5 or 10 seconds). This gives you time to set up the meeting view before the capture fires—great when you want to screenshot yourself presenting.
Set Your Save Location
While you're in Options, you can choose where screenshots are saved:
- Desktop (default)
- Documents
- Clipboard (for immediate pasting)
- A custom folder
For tips on organizing your meeting screenshots, check out our guide on how to change screenshot location on Mac.
Method 3: Third-Party Screenshot Tools
Built-in tools work fine, but apps made for screenshots give you more control—especially if you capture Google Meet calls often.
Why use a third-party tool?
- Quick markup: Add arrows, highlights, and text right after capture
- Cloud sharing: Get a link in seconds instead of attaching files
- Search history: Find old screenshots by date or app
- Auto-naming: Files get clear names instead of timestamp strings
ScreenSnap Pro for Google Meet Screenshots
ScreenSnap Pro fits this workflow well. After a Google Meet capture screen, you can:
- Mark it up right away: Circle key points, add numbered callouts, or highlight data
- Pin to screen: Keep the screenshot visible while you keep talking
- Share via link: Send a cloud link to your team—no file attachments needed
- Add backgrounds: Place your screenshot on a clean gradient for docs or slides
You can mark up a shared slide and send it to your team before the meeting ends. The counter tool is handy for step-by-step notes.
Shottr — Free Markup Option
Shottr is a light, cheap ($8) screenshot app for Mac. It offers:
- Basic arrows, shapes, and text markup
- Scrolling capture for long chat threads
- OCR to copy text from screenshots
- No cloud sharing (files stay local)
It's a good pick if you want more than the built-in tool but don't need cloud links. Read our Shottr review for the full breakdown.
CleanShot X — Full-Featured Option
CleanShot X ($29) is the most packed option. It adds screen recording, GIFs, cloud storage, and a Quick Access Overlay on top of all the markup tools. If you record demos or GIFs during meetings too, it's worth a look.
Quick Tool Comparison
| Feature | Built-in | ScreenSnap Pro | Shottr | CleanShot X |
|---|---|---|---|---|
| Price | Free | $39 | $8 | $29 |
| Markup tools | ❌ (Preview only) | ✅ 15 tools | ✅ Basic | ✅ Full |
| Cloud sharing | ❌ | ✅ | ❌ | ✅ |
| GIF recording | ❌ | ✅ | ❌ | ✅ |
| Pin to screen | ❌ | ✅ | ❌ | ✅ |
Tired of plain screenshots? Try ScreenSnap Pro.
Beautiful backgrounds, pro annotations, GIF recording, and instant cloud sharing — all in one app. Pay $39 once, own it forever.
See what it doesMethod 4: Browser Extensions
Keyboard shortcuts and apps cover most needs, but some Chrome add-ons are built just for Google Meet screenshots.
Built-in Browser Screenshot
Most Chrome-based browsers have a built-in capture tool:
- Right-click on the page
- Click Inspect or press
⌘ + Option + I - Press
⌘ + Shift + Pand type "screenshot" - Pick "Capture full size screenshot" or "Capture screenshot"
This grabs the page content without browser bars—handy for clean slide captures.
Meet-Specific Extensions
Add-ons like "Screenshot for Google Meet" put a camera button right in the Meet UI. But keep this in mind:
- They need access to your meeting data
- They can break after Google Meet updates
- Keyboard shortcuts are faster and more stable
For most people, ⌘ + Shift + 4 + Spacebar is still the most reliable choice.
Google Meet Screenshot Tips by Meeting Type
Different calls need different capture methods. Here's what works best for each.
Presentations and Slide Decks
Use ⌘ + Shift + 4 to select just the slide area. This crops out the speaker grid and controls, giving you a clean image of the content.
Tip: If slides change fast, use ⌘ + Shift + 3 for speed—you can crop later.
Team Standups and Group Calls
Use ⌘ + Shift + 4 + Spacebar to capture the full browser window. This grabs the whole speaker grid so you can see who was there.
One-on-One Calls
For 1:1 calls, area select (⌘ + Shift + 4) works best. You can grab just the shared content or the full view, depending on what you need.
Client Meetings
Use a tool with instant cloud sharing so you can send captures to the client during the call. Mark up key points with arrows or highlights before sharing. This makes follow-ups much easier.
Training and Workshops
If you're capturing many slides in a row, set up a folder first (see below). Use ⌘ + Shift + 3 for speed, and add Google Meet annotations after the session using a markup tool.
Best Practices for Google Meet Screenshots
Taking the screenshot is step one. Here's how to make your captures more useful.
Ask Permission for Sensitive Content
Google Meet won't alert anyone, but courtesy matters. If you're grabbing someone's slides, money data, or personal info, ask first.
Annotate Immediately
Screenshots lose context fast. Add notes, arrows, or highlights right after capture while the info is fresh. See our guide on how to annotate screenshots on Mac for a full walkthrough.
Organize by Meeting or Project
Create a folder structure for meeting screenshots:
Screenshots/
├── Meetings/
│   ├── Team Standup/
│   ├── Client Calls/
│   └── Project Alpha/
This keeps your Desktop clean and makes screenshots easy to find later.
Share Securely
If your screenshot has private data:
- Use password-locked sharing links when you can
- Don't post meeting screenshots in public channels
- Blur names or personal data before sharing (learn how to blur info on Mac)
Troubleshooting Common Issues
Screenshots Not Working
If shortcuts aren't working, check your permissions:
- Open System Settings → Privacy & Security → Screen Recording
- Make sure your browser (Chrome, Safari, etc.) is listed and turned on
- Restart the browser after you change settings
For more fixes, see our guide: Mac Screenshot Not Working? 10 Fixes. Apple also covers taking screenshots on Mac in their support docs.
Capturing the Wrong Window
With multiple screens or windows open, ⌘ + Shift + 4 + Spacebar may highlight the wrong app. Click right on the Google Meet window, or use ⌘ + Shift + 4 to draw your own box.
Finding Your Screenshots
macOS saves screenshots to your Desktop by default. File names look like Screenshot 2026-02-04 at 10.30.15 AM.png. Find them by:
- Checking your Desktop
- Pressing
⌘ + Spaceand typing "screenshot" in Spotlight - Looking in your custom save folder if you changed it
Frequently Asked Questions
Capture Every Important Meeting Moment
Taking screenshots in Google Meet on Mac is simple once you know the shortcuts. For most calls, ⌘ + Shift + 4 + Spacebar gives you a clean window capture in one click.
If you capture meeting content often and need to mark it up or share it fast, ScreenSnap Pro can speed things up. Instant markup and cloud links make meeting docs much quicker to create.
Pick the method that fits your workflow and start saving those key moments—slides, decisions, and ideas that are worth keeping.
Morgan
Indie DeveloperIndie developer, founder of ScreenSnap Pro. A decade of shipping consumer Mac apps and developer tools. Read full bio
@m_0_r_g_a_n_