Automate Screenshots on Mac: 4 Methods for 2026
Automated screenshot capture on Mac lets you take screen grabs on a timer. No clicking needed. Monitor dashboards, track project progress, or run tests—all hands-free. For interactive captures with markup and sharing, pair these workflows with a tool like ScreenSnap Pro.
This guide shows four ways to automate screenshots on Mac. You'll learn Terminal commands, visual tools, and apps. Pick what works for you.
TL;DR: Use thescreencapturecommand withlaunchdfor solid timed captures. It's built into every Mac. Runs in the background. No apps to install.
Why Automate Screenshots on Mac?
Why would you want auto captures instead of taking them by hand? Here are common use cases:
Track dashboards and servers — Grab your server status page every 15 minutes. Spot trends in uptime over time.
Create time-lapse records — Capture daily design progress. No need to remember manual shots.
Run visual tests — Take screenshots during test runs. Spot bugs and layout shifts fast.
Log screen activity — Keep records for audits, training, or rules checks.
Need a quick one-off capture with markup and sharing? Manual tools work better. But for timed, hands-off captures, automation saves time.
Method 1: Terminal screencapture Command
The screencapture command comes with every Mac. It gives you full control over timed captures. Best for devs and power users who like command-line tools.
Per Apple's docs, screencapture has been around since early macOS days. It's still the best built-in tool for auto captures.
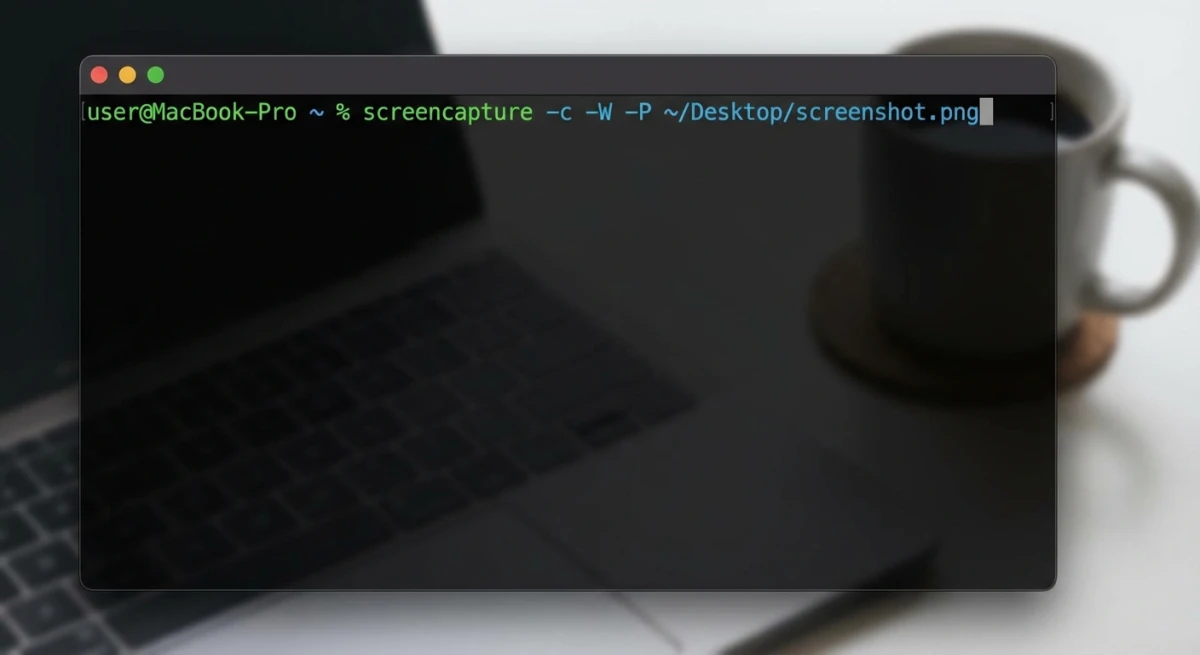
Basic Syntax
Open Terminal and run:
screencapture ~/Desktop/screenshot.pngThis grabs your whole screen and saves it to the Desktop.
Key Flags to Know
Here are the flags Mac users should know:
| Flag | What It Does | Example |
|---|---|---|
-T seconds | Wait before capture | screencapture -T 5 shot.png |
-R x,y,w,h | Grab a set region | screencapture -R 0,0,800,600 region.png |
-w | Pick a window | screencapture -w window.png |
-x | Silent (no sound) | screencapture -x silent.png |
-C | Show cursor | screencapture -C cursor.png |
-t format | Set file type | screencapture -t jpg photo.jpg |
-c | Copy to clipboard | screencapture -c |
-o | No window shadow | screencapture -o -w window.png |
Mix flags for more control. For example, -x -T 5 -o waits 5 seconds, stays quiet, and skips shadows.
Timed Screenshot Example
Take a shot after 10 seconds (time to set up your windows):
screencapture -T 10 -x ~/Desktop/delayed-shot.pngThe -x flag stops the shutter sound.
Grab a Set Region
For dashboard tracking, capture just the part you need:
screencapture -R 100,100,1200,800 ~/Desktop/dashboard.pngThis grabs a 1200×800 box starting at point (100, 100).
Loop for Steady Captures
This mac screenshot script grabs a shot every 30 seconds:
while true; do
    screencapture -x ~/Screenshots/$(date +%Y%m%d_%H%M%S).png
    sleep 30
done
Files get timestamp names. Press Ctrl+C to stop.
Pro tip: Make the folder first:
mkdir -p ~/ScreenshotsFor real scheduling, use launchd (shown below). Loops stop when you close Terminal.
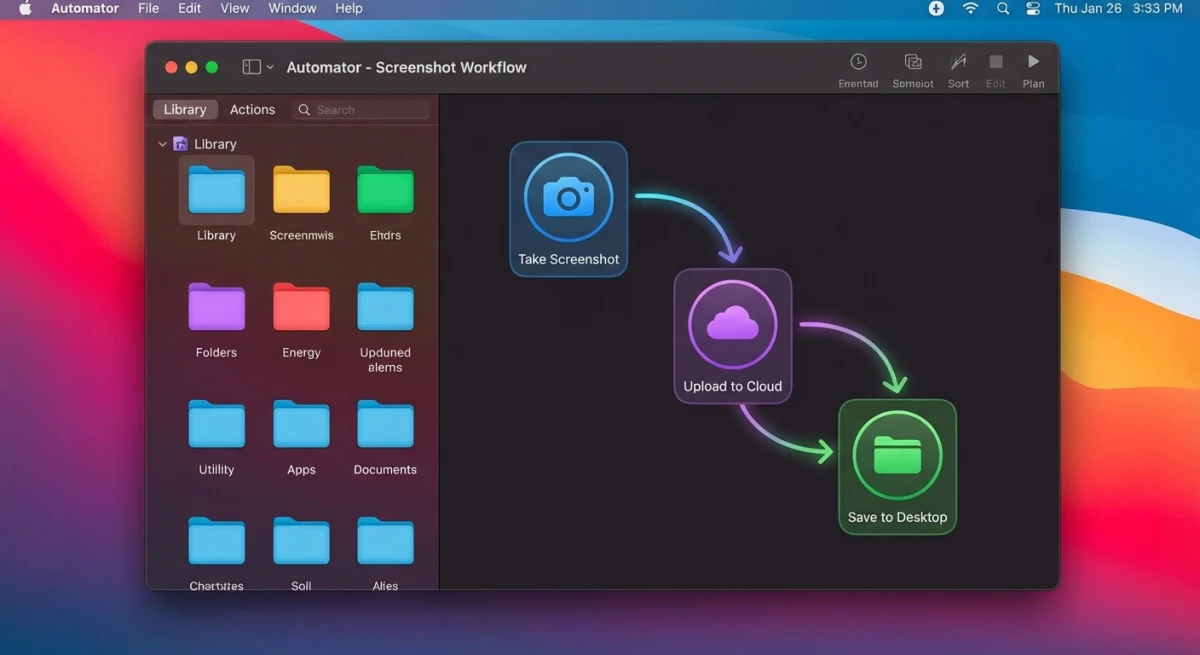
Method 2: Automator Workflows
Automator lets you build screenshot automation with a visual tool. No code needed. Great for users who prefer clicking over typing.
Why Use Automator?
Automator has been part of macOS since 2005. Apple now pushes Shortcuts as the new way. But Automator still works great for tasks like timed screenshots.
Key perks:
- Visual drag-and-drop — No Terminal needed
- Saves as an app — Double-click to run
- Works with Calendar — Schedule when it runs
- Free and built-in — Nothing to install
Step-by-Step: Create a Screenshot Workflow
Follow these steps to build your automator screenshot workflow:
1. Open Automator
Find it in your Apps folder. Or use Spotlight: press ⌘ + Space and type "Automator."
2. Pick the right type
Click New Document. Choose Application (not Workflow). Apps run on their own. Workflows need Automator open.
3. Add the screenshot action
In the left sidebar, search for "Take Screenshot." Drag it to the main area on the right.
4. Set capture options
Click the action to see settings:
- Full screen — Grabs everything
- Interactive — Lets you pick window or area
- Pick your save folder (like ~/Documents/Screenshots)
5. Add file naming (optional)
Search for "Rename Finder Items." Drag it below the screenshot action. Set it to add date and time to each file. This stops files from being overwritten.
6. Save your app
Press ⌘ + S. Name it something like "Auto Screenshot." Save it to your Apps folder.
How to Run on a Timer
Your Automator app sits ready to run. To make it run on a timer, use the Calendar app:
1. Open Calendar
2. Make a new event
Click the + or double-click a time slot. Name it "Screenshot Capture" or similar.
3. Set it to repeat
Click the event. Set Repeat to your needs:
- Every hour
- Every day at 9am
- Every 30 minutes (custom)
4. Add an alert
In the event settings, find Alert. Click it and pick:
- Custom
- Open file
- Browse to your Automator app
Set the alert to fire "At time of event."
5. Done
Now Calendar opens your app at the set times. Each run takes a screenshot.
Making It Better
Capture a set region: Automator's built-in action grabs the full screen or asks you to pick. For auto region capture, you'll need a shell script inside Automator. Add "Run Shell Script" action and use screencapture -R.
Add sound alerts: Drag in "Play Sound" action after the screenshot. You'll hear when a capture happens.
Chain actions: Add more steps after the screenshot. Copy to a folder, upload to cloud, or resize the image.
What Automator Can't Do
Automator works for simple timed tasks but has limits:
- Needs Calendar for timing — No built-in scheduler
- One event per time slot — Can't capture every minute easily
- Must be awake — Mac sleeps, captures stop
- No sub-minute timing — Calendar events are minute-based at best
For tight timing or long-running jobs, Terminal + launchd is better.
Method 3: Shortcuts App (macOS Monterey+)
The Shortcuts app came from iOS. It's now on Mac too. If you run macOS Monterey (12.0) or later, Shortcuts offers the easiest way to set up a scheduled screenshot mac workflow.
Apple built Shortcuts to unify automation across all devices. Per Apple's Shortcuts docs, the app can access system tools like screenshots. It's visual and needs no coding.
Why Shortcuts Over Automator?
Shortcuts is Apple's newer tool. Here's why you might pick it:
- Modern design — Clean, simple interface
- Built-in scheduling — No Calendar workarounds needed
- Cross-device — Same shortcuts work on Mac, iPhone, iPad
- Focus mode triggers — Run when Work Focus turns on
- Easier to share — Send shortcuts to others with one link
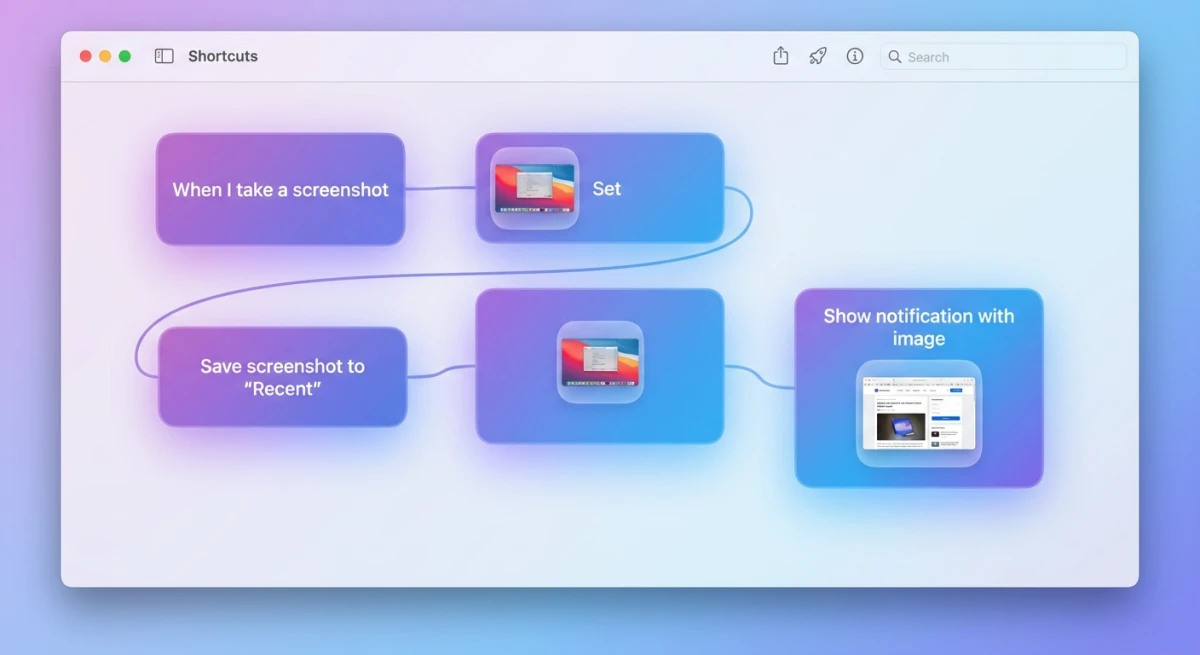
Step-by-Step: Build a Screenshot Shortcut
1. Open Shortcuts
Find it in your Apps folder or use Spotlight.
2. Start a new shortcut
Click the + button in the top bar.
3. Add the capture action
Click Add Action. Search for "Take Screenshot." Click to add it.
4. Set capture options
The action has settings:
- Full Screen — Grabs everything visible
- Interactive — Lets you pick area (not great for auto runs)
For auto captures, use Full Screen.
5. Save the file
Click + again. Search for "Save File." Add this action below the screenshot.
Pick where to save:
- Click the destination field
- Choose a folder like ~/Documents/Screenshots
- Turn OFF "Ask Where to Save" for true automation
6. Add smart file names
Want unique names per capture? Add a date step:
- Add "Format Date" action
- Set format to "yyyy-MM-dd_HH-mm-ss"
- Use this in your save filename
7. Name and save your shortcut
Click the name field at top. Call it "Auto Screenshot" or similar. It saves on its own.
Set Up Timed Runs
The best part of Shortcuts is built-in scheduling. No Calendar tricks needed.
1. Go to Automations tab
In Shortcuts, click Automation in the left sidebar.
2. Create a new automation
Click the + button.
3. Pick a trigger
Choose Time of Day for scheduled runs. Set:
- What time to run
- Which days (daily, weekdays, custom)
4. Select your shortcut
When asked what to do, pick your screenshot shortcut from the list.
5. Turn off "Ask Before Running"
This makes it fully hands-off. Your Mac takes the shot without asking.
Other Ways to Trigger
Beyond timers, Shortcuts can run on:
- Focus modes — Run when Work Focus turns on
- App opens — Run when you open Slack, Zoom, etc.
- Wi-Fi changes — Run when you join your office network
- Time leaves — Run when you leave a location
Example: Capture your screen when Work Focus starts. At day's end, you have a log of your work screen.
Shortcuts vs Automator: Quick Pick
| Feature | Shortcuts | Automator |
|---|---|---|
| Built-in timer | ✅ Yes | ❌ Needs Calendar |
| Modern UI | ✅ Yes | ❌ Dated |
| Cross-device | ✅ Yes | ❌ Mac only |
| Power user control | ❌ Less | ✅ More |
| macOS version | Monterey+ | Any |
Use Shortcuts if you're on Monterey or later. It's simpler. Use Automator if you need complex workflows or run older macOS.
Method 4: Third-Party Apps
Some apps focus on timed screenshot capture. They add features the built-in tools lack.
Auto Screenshot
- Price: Free on App Store
- What it does: Takes shots at set times. Saves to your pick of folders. Has hotkey support.
- Best for: Simple interval captures. No setup hassle.
Timing
- Price: Paid (time tracking app)
- What it does: Takes screenshots while tracking your work time. Shows what you did when.
- Best for: Freelancers billing by the hour. Managers tracking project time.
CleanShot X
- Price: $29 one-time
- What it does: Pro screenshot tool. Has scrolling capture, cloud upload, and a timer add-on.
- Best for: Pros who need markup tools and cloud sharing too.
Side-by-Side Look
| App | Timer Built In? | Free? | Markup Tools? |
|---|---|---|---|
| screencapture (Terminal) | Via launchd | ✅ | ❌ |
| Automator | Via Calendar | ✅ | ❌ |
| Shortcuts | ✅ | ✅ | ❌ |
| Auto Screenshot | ✅ | ✅ | ❌ |
| CleanShot X | Via add-on | ❌ | ✅ |
For most folks, built-in tools work fine. Apps add ease but often cost money.
Tired of plain screenshots? Try ScreenSnap Pro.
Beautiful backgrounds, pro annotations, GIF recording, and instant cloud sharing — all in one app. Pay $39 once, own it forever.
See what it doesRun Screenshots at Set Times with launchd
For solid background captures, launchd is the macOS way. It's more stable than loops. Survives reboots. (Skip cron—it's old on modern macOS.)
Create a launchd Plist
- Make a new file at
~/Library/LaunchAgents/com.user.screenshot.plist:
<?xml version="1.0" encoding="UTF-8"?>
<!DOCTYPE plist PUBLIC "-//Apple//DTD PLIST 1.0//EN" "http://www.apple.com/DTDs/PropertyList-1.0.dtd">
<plist version="1.0">
<dict>
    <key>Label</key>
    <string>com.user.screenshot</string>
    <key>ProgramArguments</key>
    <array>
        <string>/usr/sbin/screencapture</string>
        <string>-x</string>
        <string>/Users/YOURUSERNAME/Screenshots/auto.png</string>
    </array>
    <key>StartInterval</key>
    <integer>300</integer>
</dict>
</plist>
Swap YOURUSERNAME for your real username.
- Load the job:
launchctl load ~/Library/LaunchAgents/com.user.screenshot.plist- To stop:
launchctl unload ~/Library/LaunchAgents/com.user.screenshot.plistUse Unique File Names
To save each capture with its own name, make a shell script:
#!/bin/bash
# save as ~/Scripts/auto-screenshot.sh
screencapture -x ~/Screenshots/$(date +%Y%m%d_%H%M%S).png
Then point your plist to the script instead of screencapture directly.
This setup runs after reboots. Works in the background. No Terminal window needed.
Real-World Use Cases
Here's how auto screenshots help in real work:
Developer: Track CI/CD Dashboards
The problem: Builds fail overnight. By morning, you've missed the error page.
The fix: Capture your Jenkins or GitHub Actions page every hour:
screencapture -R 0,0,1920,1080 ~/Dashboard/ci-$(date +%Y%m%d_%H%M).pngAt day's end, flip through the shots. Spot failed builds you missed live. Over time, you'll see patterns—like builds that break after certain code pushes.
Pro tip: Set up a folder per week. Review on Fridays. Delete old weeks to save space.
Designer: Document Your Process
The problem: Clients ask how you got to the final design. You don't remember every step.
The fix: Set up daily captures of your Figma project. Build a visual history of changes.
This helps you:
- Show design growth in case studies
- Look back at choices made during long projects
- Make before/after slides for clients
Combine with OCR text extraction to make notes in your captures searchable.
Bonus: Use our image combiner tool to stitch captures into a timeline view.
QA Engineer: Catch Visual Bugs
The problem: A CSS change broke the layout. No one noticed for days.
The fix: Take screenshots during test runs. Compare against baseline images. Spot:
- Layout shifts from CSS changes
- Missing or moved UI parts
- Color and font changes
For deep testing, tools like Percy automate this. But basic screencapture works for quick checks.
Workflow idea:
- Run tests with auto captures every 30 seconds
- Use image diff tools to compare
- Flag any visual changes for review
Content Creator: Build Tutorials Faster
The problem: Writing a tech guide means lots of screenshots. You forget to capture key steps.
The fix: Set up 30-second interval captures while doing the task. Then pick the best frames for your guide.
When writing tech documentation, this saves hours. You focus on the task. The captures happen on their own.
Extra tip: Use our annotation tool to mark up the best frames after.
Support Team: Document Hard-to-Find Bugs
The problem: A user reports a bug. You try to recreate it. It happens randomly. No proof.
The fix: Set 1-minute captures while testing. When the bug shows up, you have a visual record.
This helps when:
- Bugs happen at random
- You need to show devs what went wrong
- Managers want proof before fixes
Remote Worker: Track Your Day
The problem: You work from home. Hard to recall what you did all day.
The fix: Light-touch auto captures (every 10-15 minutes) create a visual log. At day's end, you can:
- Fill in time sheets faster
- Remember tasks you forgot to log
- Spot time sinks (too much Twitter?)
Privacy note: Only do this on your own machine. Don't track others.
When Manual Screenshots Work Better
Auto captures aren't always the answer. Use manual shots when:
You need markup — Arrows, text, blur? Take a shot by hand. Tools like ScreenSnap Pro let you edit in seconds.
You need fast sharing — Auto saves files locally. For quick link sharing, manual tools with cloud upload work better.
Content is fleeting — An error pops up for one second. Timed shots might miss it. Manual is safer.
Output needs polish — Docs for clients should look good. Pretty backgrounds and styling tools beat raw auto-grabs.
Fix Common Problems
Shots Are Blank or Black
Why: Screen recording rights not granted.
Fix: Go to System Settings → Privacy & Security → Screen Recording. Turn on Terminal (or your app).
launchd Job Won't Run
Why: Plist file has bad rights or broken code.
Fix:
- Check rights:
chmod 644 ~/Library/LaunchAgents/com.user.screenshot.plist - Check syntax:
plutil ~/Library/LaunchAgents/com.user.screenshot.plist
Captures Stop When Mac Sleeps
Why: macOS pauses background tasks during sleep.
Fix: Keep your Mac awake. Use System Settings → Energy Saver to stop sleep. Or set wake times:
sudo pmset repeat wake MTWRFSU 09:00:00Frequently Asked Questions
Wrapping Up
Mac has solid tools for auto screenshots. From screencapture in Terminal to Automator and Shortcuts. For most needs, Terminal + launchd works without extra apps.
For one-off shots with markup, cloud sharing, or nice backgrounds, try ScreenSnap Pro. Use timed captures for logs and dashboards. Use manual tools when polish and fast sharing matter.
Pick the method that fits your skills. Then let your Mac capture screens on its own.
Morgan
Indie DeveloperIndie developer, founder of ScreenSnap Pro. A decade of shipping consumer Mac apps and developer tools. Read full bio
@m_0_r_g_a_n_