Canva Screenshot: How to Take, Edit & Use (2026)
A Canva screenshot workflow lets you capture your screen with a tool like ScreenSnap Pro, import it into Canva, and turn it into polished visuals for social media, slides, or portfolios. No Photoshop needed. Whether you're building device mockups, creating tutorial graphics, or designing app store previews, getting the screenshot right is half the battle.
This guide covers it all: taking sharp screenshots on Mac, editing them in Canva, building mockups, and exporting at the right size.
Why screenshots matter in Canva designs
Screenshots are everywhere in design work today. Marketers use them on landing pages. Creators embed them in social posts. Developers drop them into docs. Canva is where many of these visuals come together.
The problem? Most people take quick, raw screenshots and paste them straight into Canva. The result looks amateur — odd sizes, messy desktops in the background, and no visual flow.
A better approach starts before you open Canva. Taking a clean, well-framed screenshot means less cropping and editing later. Pair that with Canva's mockup and framing tools, and you get polished results in minutes.
How to take the perfect screenshot for Canva
Before importing anything into Canva, you need a clean capture. Here's how to get one on Mac.
Mac built-in screenshot methods
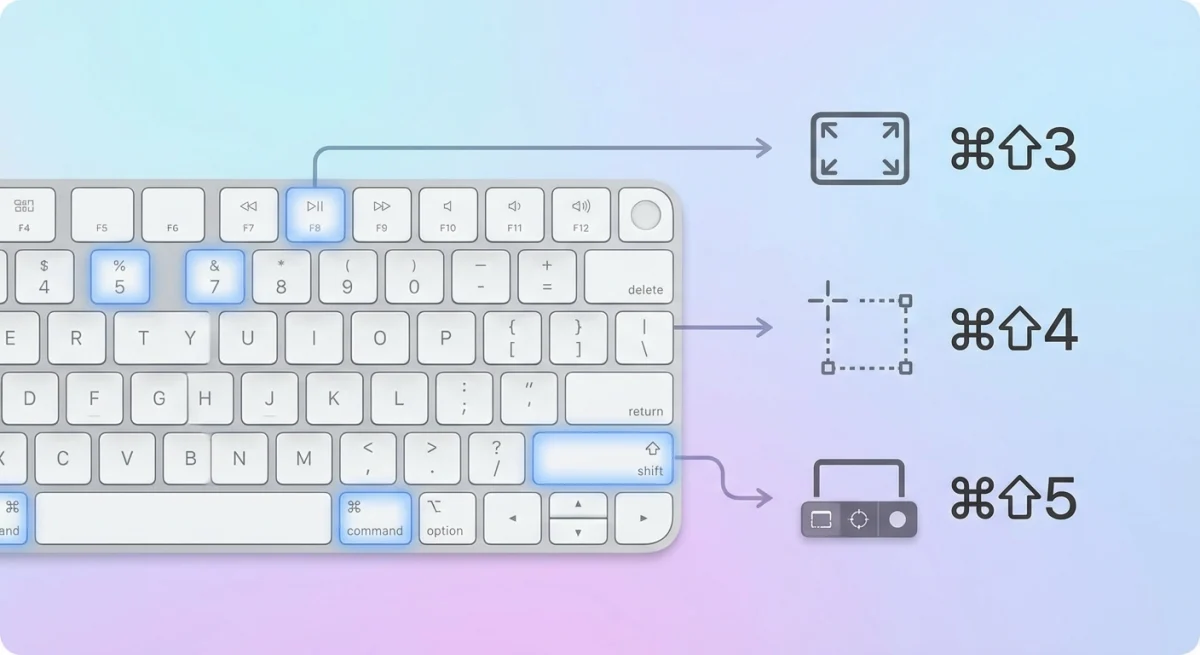
macOS includes three keyboard shortcuts for screenshots that cover most cases:
⌘ + Shift + 3— Captures your entire screen. Quick but often includes too much clutter.⌘ + Shift + 4— Lets you drag to select a region. Best for grabbing specific UI elements.⌘ + Shift + 5— Opens the Screenshot toolbar with options for full screen, window, or selection capture.
For Canva designs, ⌘ + Shift + 4 is usually your best bet. It gives you precise control over what gets captured, so you spend less time cropping in post.
Pro tip: Press Space after hitting ⌘ + Shift + 4 to switch to window capture mode. This grabs a single window with a clean drop shadow — perfect for mockups.
Getting better screenshots with dedicated tools
The built-in Mac screenshot tool works, but it has limitations. You can't add backgrounds, your desktop wallpaper bleeds through window captures, and there's no quick annotation before importing.
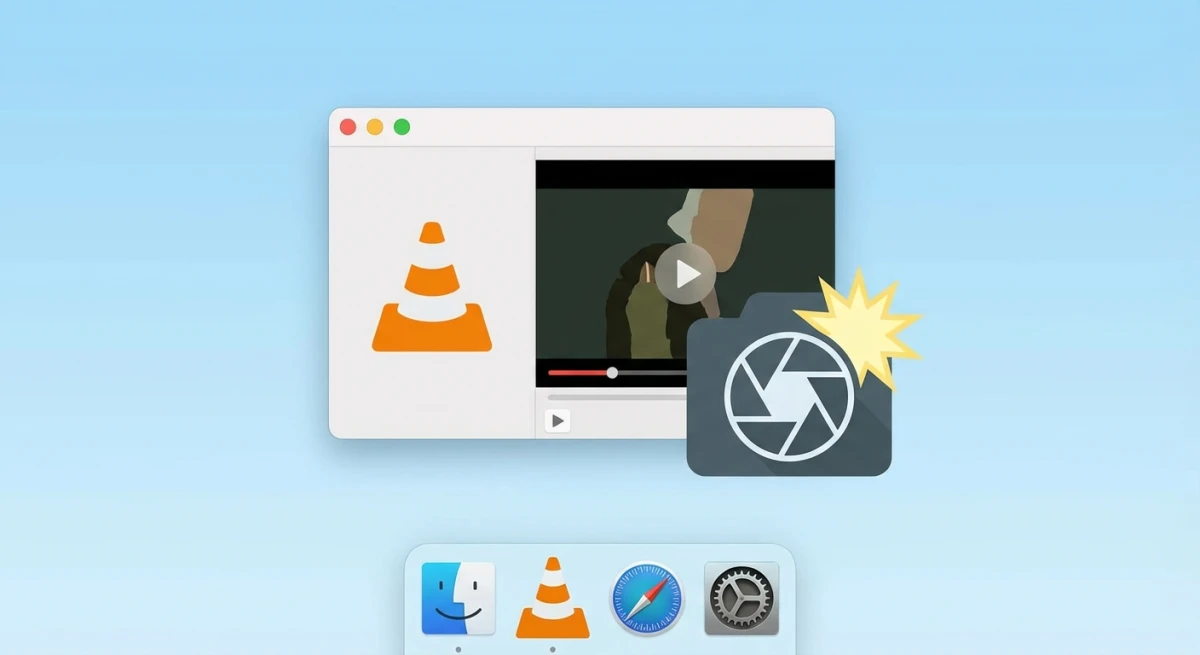
Dedicated screenshot apps solve these problems. ScreenSnap Pro, for example, lets you capture a window and apply one of 500+ wallpapers right away. Your screenshot looks polished before it reaches Canva. You can also annotate with arrows, text, and shapes right after capture.
Cleaner input means less editing. If your screenshot already has a nice background, you can skip the frame-and-mask step in Canva.
Screenshot quality checklist
Before importing into Canva, make sure your screenshot:
- Has no sensitive info visible — Check for personal emails, alerts, or browser tabs. Use a blur tool if needed.
- Is the right aspect ratio — Match your final design size when possible.
- Uses Retina capture — Mac Retina displays capture at 2x, giving you sharp images even when scaled down.
- Has a clean background — Either use window capture mode or add a background with a screenshot tool.
Editing screenshots in Canva
Once your screenshot is ready, bring it into Canva. Here's the step-by-step workflow.
Import and position your screenshot
- Open Canva and create a new design (or use a template).
- Click Uploads in the left sidebar.
- Drag your screenshot file in or click Upload files.
- Once uploaded, drag the image onto your canvas.
- Resize by dragging the corner handles while holding
Shiftto maintain ratios.
Sizing tip: If your screenshot is 2x Retina, it'll be larger than your canvas. Scale it down to fit — the extra pixels keep everything crisp.
Crop and adjust
Canva's built-in crop tool handles quick edits:
- Double-click the image on the canvas.
- Drag the crop handles to trim unwanted edges.
- Click Done to apply.
For more precise control, use the Adjust panel to tweak brightness, contrast, and color. Screenshots from dark mode apps often benefit from a slight brightness bump. You can also edit screenshots on Mac before importing for heavier edits.
Add frames and backgrounds
This is where Canva shines for screenshot slides:
- Go to Elements → search for "frame" or "mockup."
- Drag a frame onto your canvas (laptop screen, phone, browser window).
- Drag your screenshot into the frame — Canva auto-fits it.
You can also place your screenshot on a colored or gradient background. Click the canvas background, choose a color, and your screenshot floats on top with a polished look.
Text overlays and callouts
Adding context to screenshots makes them more useful:
- Headlines — Add a text box above or below with a short description.
- Numbered steps — Use Canva's numbered list elements to annotate steps.
- Arrows and shapes — Draw attention to specific UI elements.
- Blur effect — Apply Canva's blur to obscure sensitive areas you missed earlier.
Tired of plain screenshots? Try ScreenSnap Pro.
Beautiful backgrounds, pro annotations, GIF recording, and instant cloud sharing — all in one app. Pay $39 once, own it forever.
See what it doesCreating device mockups with screenshots in Canva
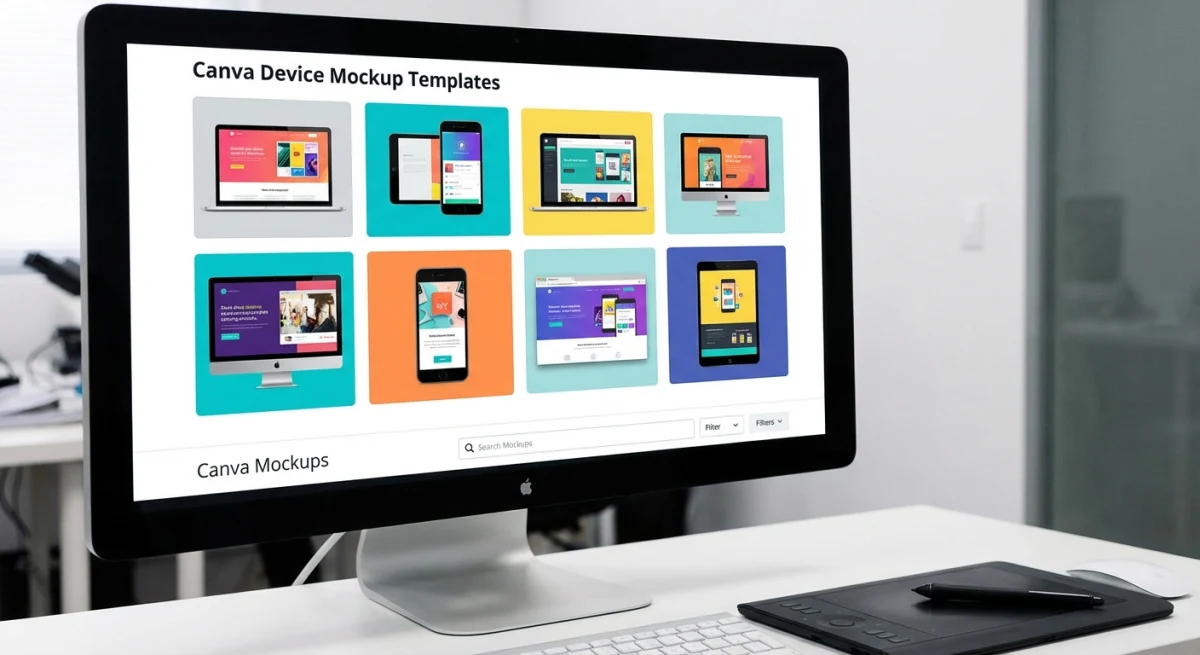
Device mockups transform flat screenshots into lifestyle visuals. They're essential for app store listings, portfolio pieces, and social media posts.
Phone mockups
- Search "phone mockup" in Canva's Elements tab.
- Choose a realistic device frame (iPhone, Samsung, generic).
- Drag your mobile screenshot into the frame.
- Adjust placing until the screenshot fills the screen naturally.
Best for: App screenshots, mobile UI showcases, Instagram story previews.
Browser mockups
- Search "browser frame" or "browser mockup" in Elements.
- Pick a Chrome-style or Safari-style frame.
- Drop your web screenshot inside.
- Add a fake URL bar text if needed (optional detail that adds realism).
Best for: SaaS landing pages, web app demos, portfolio pieces.
Or, you can use our free screenshot background generator to add beautiful device frames and backgrounds before importing to Canva.
Laptop mockups
- Search "laptop mockup" in Elements.
- Choose an angled or straight-on perspective.
- Place your screenshot in the screen area.
- Add a desk background or gradient for a lifestyle feel.
Best for: Product marketing, hero images, slides slides.
Combining multiple mockups
For comparison graphics or feature overviews, place multiple device mockups on one canvas:
- Use Canva's alignment tools (
Position→Align) to keep things even. - Group related elements (
⌘ + G) so they move together. - Maintain consistent spacing for a polished layout.
Exporting high-quality images from Canva
The export step is where many people lose image quality. Here's how to get it right.
Export format guide
| Format | Best for | Canva setting |
|---|---|---|
| PNG | Screenshots with text, UI elements | Download → PNG |
| JPG | Photos, large social images | Download → JPG (80-100% quality) |
| Print materials, slides | Download → PDF Print | |
| SVG | Scalable graphics (Canva Pro) | Download → SVG |
For screenshot-heavy designs, PNG is almost always the right choice. It preserves sharp text and UI edges that JPG compression blurs.
Resolution tips
- Social media: Export at the exact platform size (see below).
- Web/blog: 1200px wide is the sweet spot for most sites.
- Print: Use PDF Print at 300 DPI.
- Retina displays: Export at 2x your display size for crisp rendering.
If you need to convert between formats after exporting, there are free tools that handle it without quality loss.
Pro tips: screenshot workflow for social media content
Social media is where Canva screenshots really shine. Here's how to optimize your workflow.
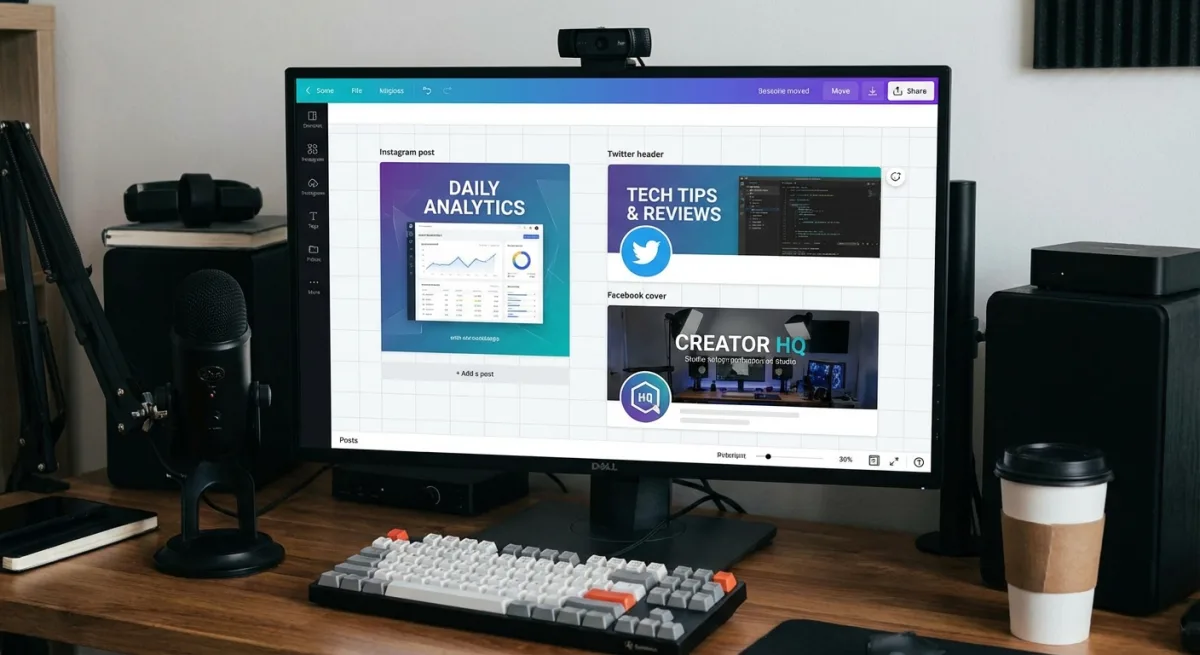
Optimal sizes by platform
| Platform | Image size | Canva template |
|---|---|---|
| Instagram post | 1080 × 1080 px | Instagram Post |
| Instagram Story | 1080 × 1920 px | Instagram Story |
| Twitter/X post | 1200 × 675 px | Twitter Post |
| LinkedIn post | 1200 × 627 px | LinkedIn Post |
| Facebook post | 1200 × 630 px | Facebook Post |
| Pinterest pin | 1000 × 1500 px | Pinterest Pin |
Start with the right Canva template for your platform, then place your screenshot inside. This avoids awkward cropping when the platform resizes your image.
Batch processing workflow
When you need to create multiple screenshot graphics (like for a product launch), use this efficient workflow:
- Capture all screenshots first — Take every screenshot you need before opening Canva.
- Upload in bulk — Drag all screenshots into Canva's Uploads at once.
- Create a master template — Design one graphic with your brand colors, fonts, and layout.
- Duplicate and swap — Use Canva's Duplicate page feature, then swap the screenshot on each page.
- Export all at once — Select all pages and download as a batch.
This approach can turn a 2-hour task into 20 minutes.
Making screenshots pop on social media
Flat screenshots get scrolled past. Here's how to make them stop thumbs:
- Add a bold headline above the screenshot explaining what it shows.
- Use a branded background color for a uniform look across posts.
- Add a subtle drop shadow to make the screenshot feel like it floats.
- Include your logo small in a corner for brand recall.
- Zoom into key areas — Don't show the full screen if only one section matters.
Common mistakes to avoid
Even experienced designers trip on these:
- Using low-res screenshots — Always capture at Retina (2x) on Mac. Standard captures look blurry in Canva designs.
- Forgetting to hide personal info — Check for email addresses, alerts, and browser bookmarks before capturing.
- Over-editing in Canva — If your screenshot needs heavy editing, fix it before importing. Canva is a design tool, not a photo editor.
- Ignoring aspect ratios — A 16:9 screenshot crammed into a 1:1 Instagram post looks stretched. Crop or add padding instead.
- Exporting as JPG for UI screenshots — JPG compression creates visible artifacts around text and UI edges. Use PNG.
Frequently Asked Questions
Morgan
Indie DeveloperIndie developer, founder of ScreenSnap Pro. A decade of shipping consumer Mac apps and developer tools. Read full bio
@m_0_r_g_a_n_