VLC Screenshot: How to Take Snapshots on Mac (2026)
A screenshot VLC capture (also called a snapshot) saves any video frame as a still image on your Mac. Whether you're grabbing a film still for a presentation or saving a tutorial frame for reference, VLC makes it easy with a single keyboard shortcut — and a general-purpose screenshot app like ScreenSnap Pro handles anything VLC can't.
Here are the three fastest ways to take a VLC snapshot on Mac, plus how to change where screenshots save, switch image formats, and capture frame-by-frame for pixel-perfect timing.
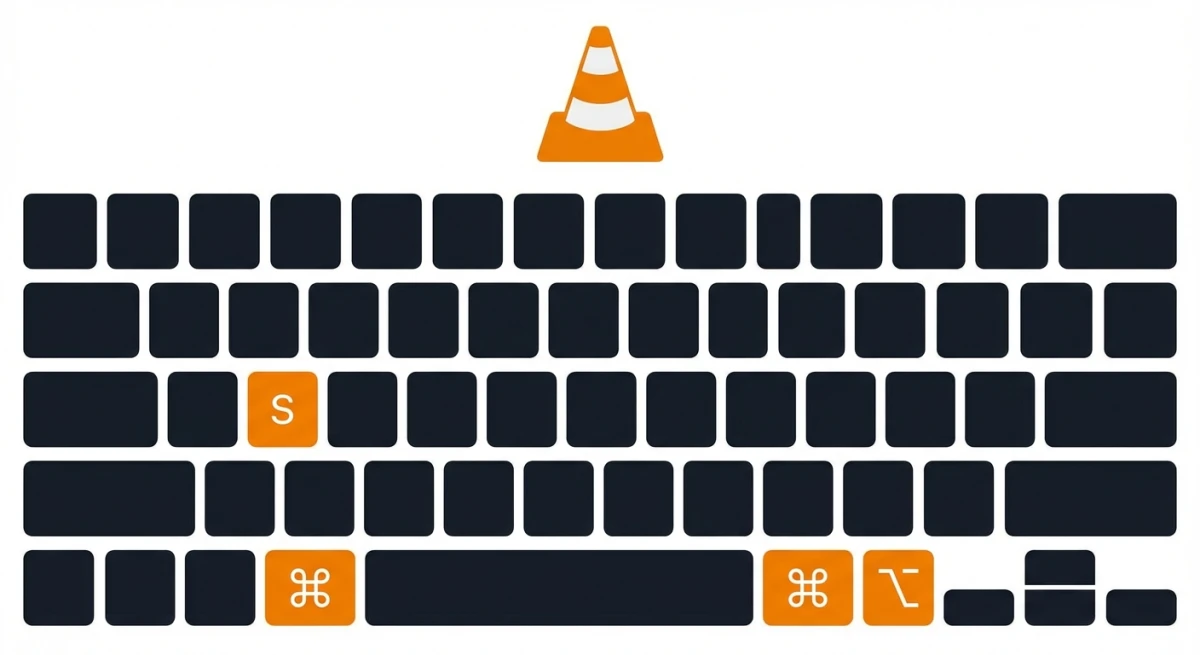
Quick Method: VLC Screenshot Shortcut (⌘+Option+S)
The fastest way to take a VLC screenshot on Mac is the keyboard shortcut:
- Open your video in VLC
- Pause or play to the frame you want
- Press
⌘ + Option + S
That's it. VLC briefly flashes a thumbnail preview in the top-left corner confirming the capture. The snapshot saves to your Desktop by default (as noted in VLC's official documentation).
This VLC screenshot shortcut works during both playback and pause. You can press it multiple times in quick succession to capture several frames — useful for picking the best still from a fast-moving scene.
Menu Method: Video → Take Snapshot
If you prefer using the menu bar instead of keyboard shortcuts:
- Play your video in VLC
- Click Video in the menu bar
- Select Take Snapshot
VLC captures the current frame instantly. You'll see the same thumbnail preview confirming the save.
This method is identical to the keyboard shortcut — same output, same save location. It's just easier to remember if you don't use VLC snapshots often.
Advanced Controls: The Camera Button
VLC has a hidden camera icon for taking snapshots with a single click:
- Go to View in the menu bar
- Click Advanced Controls
- A new row of buttons appears below the video
- Click the camera icon (leftmost button) to capture a snapshot
The advanced controls stay visible until you toggle them off. This is great if you're capturing multiple VLC snapshots during a longer video — no keyboard shortcut to remember, just click.
Where VLC Saves Screenshots on Mac
By default, VLC saves all snapshots to your Desktop. Each file is named with the video title plus a timestamp, like vlc-2026-02-09-14h30m15s.png.
To change the VLC screenshot location:
- Open VLC → Preferences (
⌘ + ,) - Click Video at the top
- Find the Snapshots section
- Click Browse next to "Directory" and choose your preferred folder
- Click Save
A dedicated screenshots folder keeps your Desktop clean. You can also customize the filename prefix in the same settings panel.
Tip: If your snapshots aren't appearing where you expect, double-check this preference. VLC sometimes resets it after updates.
Tired of plain screenshots? Try ScreenSnap Pro.
Beautiful backgrounds, pro annotations, GIF recording, and instant cloud sharing — all in one app. Pay $39 once, own it forever.
See what it doesChange VLC Snapshot Format (PNG, JPG, or TIFF)
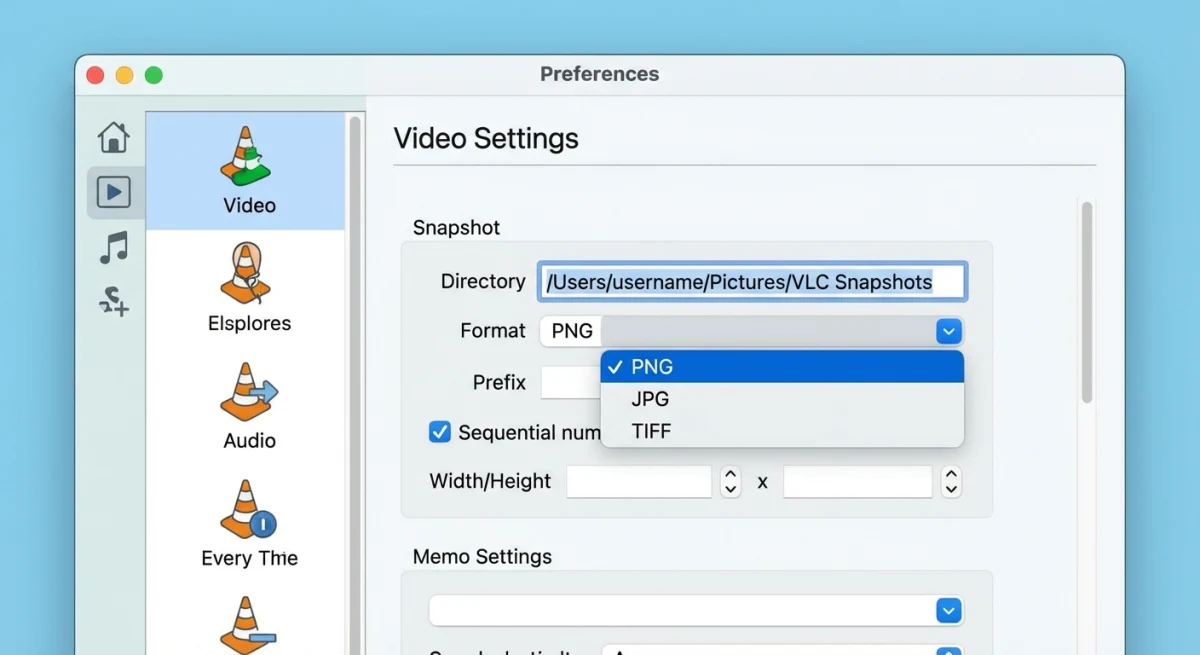
VLC defaults to PNG format, but you can switch to JPG or TIFF:
- Open Preferences (
⌘ + ,) - Click Video
- Under Snapshots, find the format dropdown
- Choose PNG (lossless, larger files), JPG (smaller, slight quality loss), or TIFF (large, uncompressed)
- Click Save
Which format should you pick?
| Format | Best For | File Size |
|---|---|---|
| PNG | Highest quality, editing later | ~2-5 MB |
| JPG | Sharing online, social media | ~200-500 KB |
| TIFF | Print, archival | ~5-15 MB |
For most people, PNG is the best default — lossless quality with reasonable file size. If you need to convert formats later, there are free tools for that.
Frame-by-Frame Captures for Perfect Timing
Sometimes you need an exact frame — not "close enough." VLC's frame-by-frame mode gives you precise control:
- Play the video and pause near your target scene
- Press
Eto advance one frame forward - Keep pressing
Euntil you find the perfect frame - Press
⌘ + Option + Sto capture that exact frame

This is essential for film students capturing specific scenes, content creators grabbing the perfect thumbnail, or anyone who needs a precise VLC capture frame rather than an approximate one.
Pro tip: Combine frame-by-frame with the Advanced Controls camera button for the smoothest workflow. Step through frames with E, click the camera when you see the right one.
Note that VLC doesn't have a "previous frame" shortcut on Mac. If you overshoot, you'll need to scrub back a few seconds and step forward again. For 30fps video, one second of footage contains 30 individual frames — so you may need several presses of E to find your target.
If you're working with a high-framerate video (60fps or higher), consider slowing playback to 0.5x speed first (Playback → Speed → Slower) to get closer to your target frame before switching to frame-by-frame mode.
Fixing Common VLC Screenshot Issues
Black Screenshot in Fullscreen
If your VLC snapshot comes out black while in fullscreen mode, exit fullscreen first (⌘ + F) and try again. This is a known VLC bug related to hardware-accelerated video output on Mac.
You can also fix it permanently:
- Go to Preferences → Video
- Change the Output module from "Automatic" to "OpenGL video output"
- Restart VLC
Screenshots Not Saving
If snapshots aren't appearing:
- Check the save directory in Preferences → Video → Snapshots
- Make sure VLC has write permissions to that folder
- Try resetting to Desktop as the save location
Low Resolution Snapshots
VLC snapshots capture at the video's native resolution, not your screen resolution. A 720p video produces a 1280×720 screenshot — there's no way to upscale it in VLC.
For higher-quality captures, consider taking a screenshot of the window itself at your display's resolution instead. On a Retina Mac, this gives you 2x the pixel density of the source video.
Wrong Aspect Ratio
If your snapshot looks stretched or squashed, the video itself may have non-square pixels (common with older DVDs and some TV recordings). VLC captures the raw frame data, so the aspect ratio in the file might not match what you see on screen.
To fix this, open the snapshot in Preview and use Tools → Adjust Size to correct the proportions manually. Alternatively, you can crop the screenshot to the portion you need.
When VLC Screenshots Aren't Enough
VLC's snapshot feature is solid for basic frame grabs, but it has limitations:
- No annotation tools — you can't add arrows, text, or highlights
- No beautification — raw captures with no backgrounds or padding
- Video resolution only — can't capture at your display's higher resolution
- No quick sharing — files save locally with no instant link
If you regularly capture video stills for presentations, documentation, or social media, a dedicated screenshot tool gives you more control. ScreenSnap Pro lets you capture any window — including VLC — with instant annotation tools, beautiful backgrounds, and one-click cloud sharing. It's a one-time purchase with no subscription.
Frequently Asked Questions
Morgan
Indie DeveloperIndie developer, founder of ScreenSnap Pro. A decade of shipping consumer Mac apps and developer tools. Read full bio
@m_0_r_g_a_n_