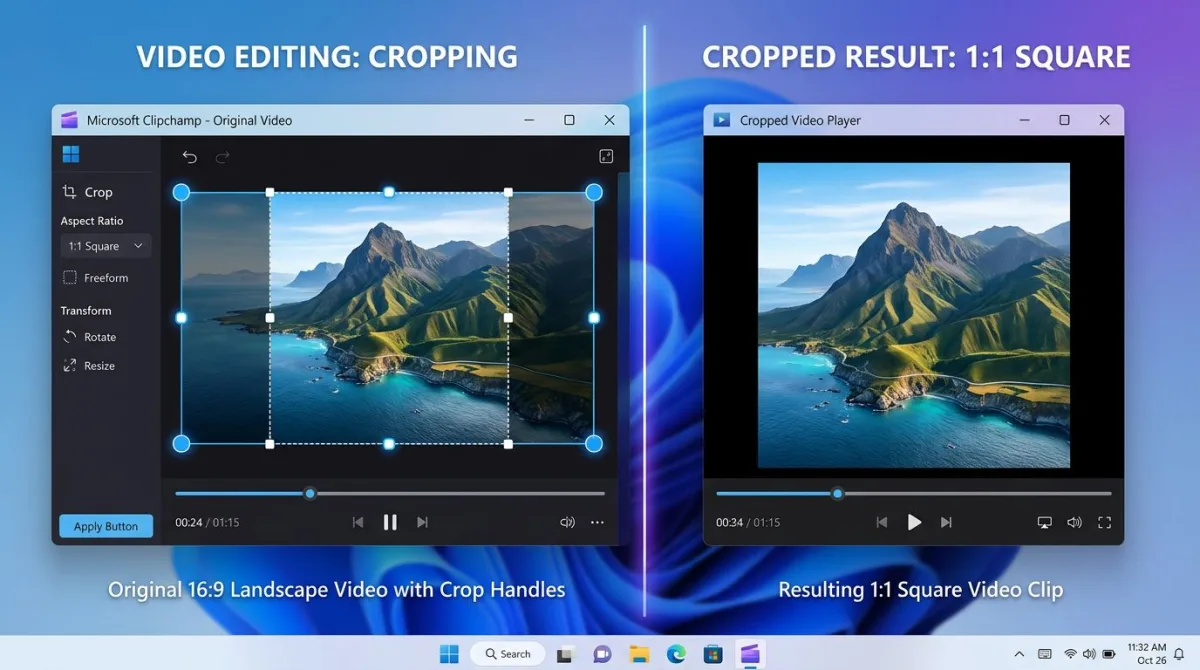
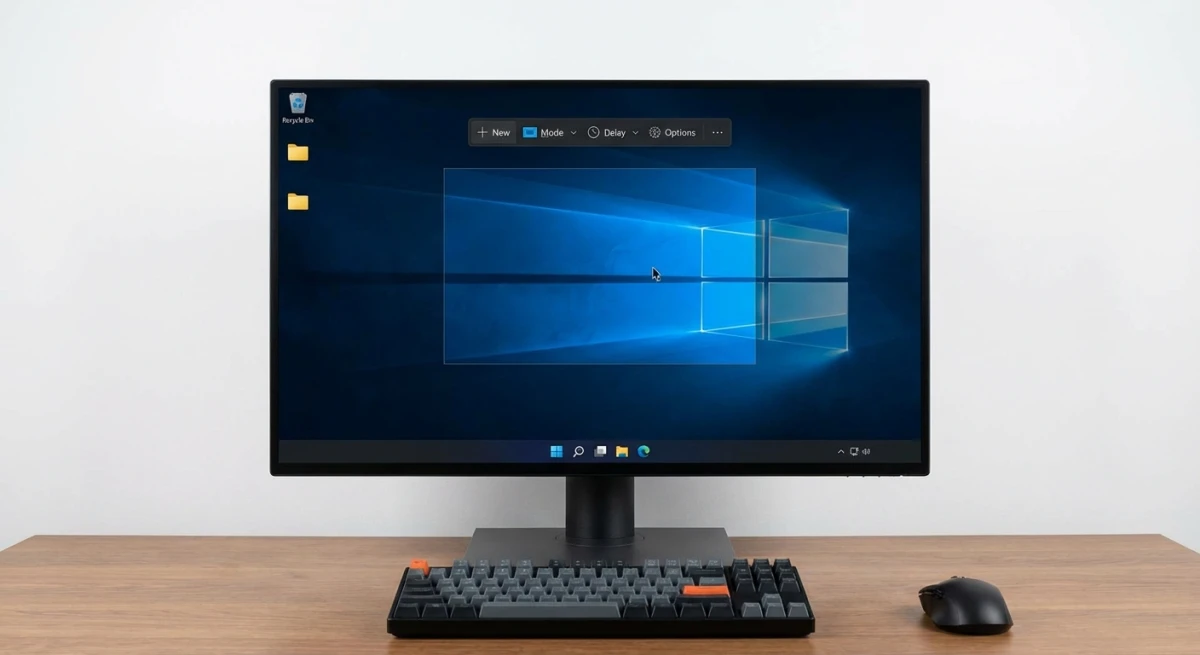
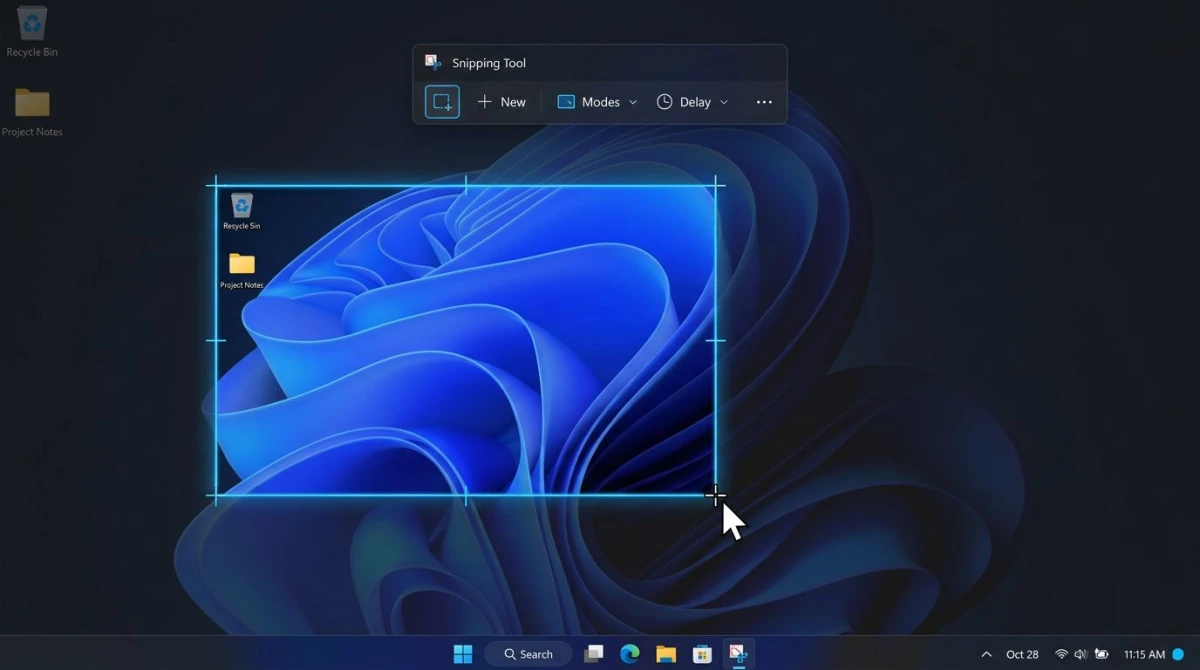
How to Crop a Screenshot: 5 Fast Ways (Windows, 2026)
To crop a screenshot on Windows, select the area you want to keep using a built-in tool like Snipping Tool, Paint, or Photos. Then save the trimmed result. The fastest approach is to capture only the region you need from the start. Press Win + Shift + S and no cropping is required afterward. Third-party apps like ScreenSnap Pro take this further by combining region capture, crop, and annotate in one window.
On a Mac instead? See our how to crop a screenshot on Mac guide.
Quick steps (Photos app):
- Right-click the screenshot and choose Open with → Photos.
- Click Crop (or press
Ctrl + R) in the toolbar. - Drag the corner handles to frame the area you want to keep.
- Click Save (or Save a copy to keep the original).
Took a full-screen screenshot but only need one corner of it? You have five solid options, from zero-effort capture tricks to full editing workflows. Here are all five methods, ranked by speed.
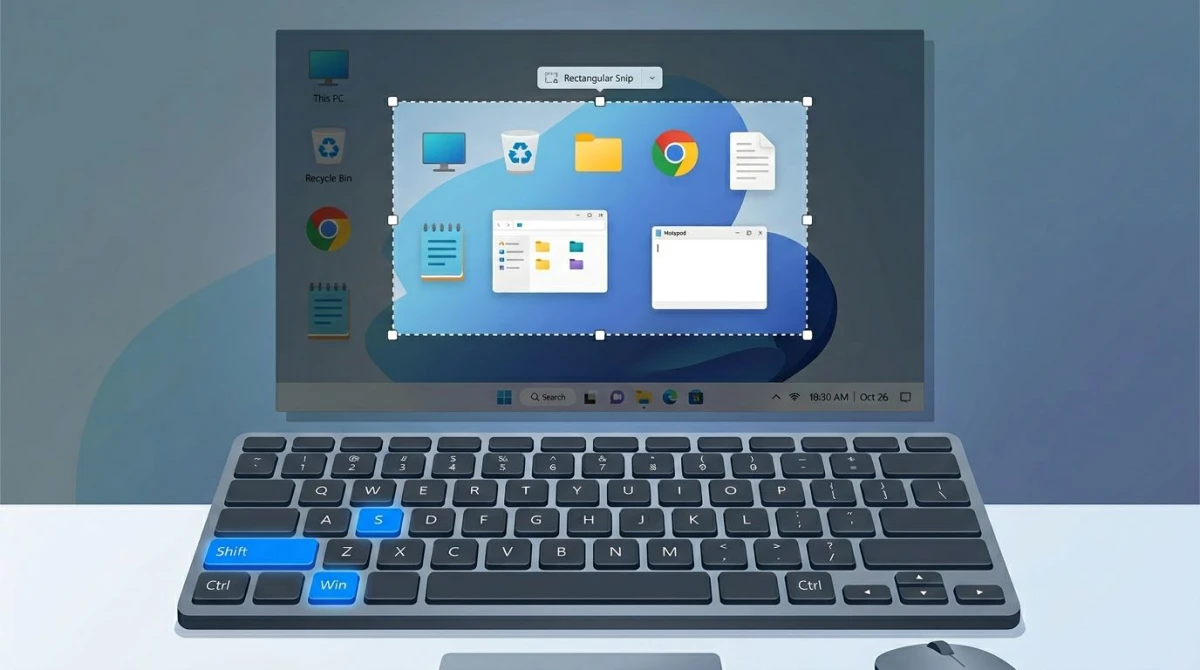
Method 1: Capture only what you need with `Win + Shift + S`
The fastest way to crop a screenshot on Windows is to skip cropping entirely. Instead of capturing the whole screen and trimming it later, grab only the region you need from the start.
This snipping tool shortcut works on both Windows 10 and Windows 11. It saves you an editing step every single time you take a screenshot.
How to use region capture
- Press
Win + Shift + Son your keyboard - Your screen dims and a small toolbar appears at the top
- Select Rectangular Snip (the default mode)
- Click and drag to draw a rectangle around the area you want
- Release the mouse button. The selection copies to your clipboard instantly
The captured region is now on your clipboard. Paste it into any app with Ctrl + V.
You can also click the notification that appears in the bottom-right corner. This opens the capture in the Snipping Tool editor, where you can annotate or save it as a file. For the rest of that editor, see how to use the Snipping Tool.
Other snip modes
The toolbar at the top offers four capture shapes:
- Rectangular Snip. Draw a rectangle (most common)
- Freeform Snip. Draw any shape with your mouse
- Window Snip. Click a window to capture it perfectly
- Full-screen Snip. Captures everything (same as
Print Screen)
Pro tip: Remap the Print Screen key
If you prefer a single key press, you can reassign Print Screen to open Snipping Tool directly:
- Open Settings > Accessibility > Keyboard
- Toggle on Use the Print Screen key to open Snipping Tool
Now pressing PrtScn launches the same region-capture toolbar. No three-key combo needed. This works on both Windows 10 and Windows 11.
When to use region capture vs. crop after
Region capture is best when you know exactly what you need before pressing the shortcut. If you're documenting a specific button, error message, or dialog box, this method is unbeatable.
Cropping after capture (Methods 2-4 below) is better when you need the full screen first. For example, you might want to show context around a UI element and then trim it down later.
Method 2: Crop a screenshot in Snipping Tool
Already have a screenshot saved as a file? Open it in the Snipping Tool editor to crop it down.
The Snipping Tool on Windows 10 and Windows 11 includes a built-in crop feature. It works on any image file, not only screenshots you captured with the tool itself.
Step-by-step instructions
- Right-click your screenshot file and choose Open with > Snipping Tool
- Click the Crop icon in the toolbar (the overlapping-corners icon)
- Drag the white corner handles to define the area you want to keep
- Click the checkmark to apply the crop
- Press
Ctrl + Sto save, orCtrl + Shift + Sto save a copy
The crop tool shows the pixel dimensions as you drag. This is helpful when you need a specific size for a bug report or documentation.
When to use this method
Snipping Tool's crop is ideal when you need quick edits without leaving Windows' built-in tools. It also supports basic annotation (pen, highlighter, ruler) if you want to mark up the result before saving.
One limitation: the Snipping Tool editor doesn't support layers or undo history. If you crop too aggressively, you'll need to re-open the original file and start over. Save a copy first with Ctrl + Shift + S if you want a safety net.
Snipping Tool differences between Windows 10 and 11
On Windows 11, Snipping Tool received a redesigned interface. It includes a dark mode option and built-in screen recording. The crop feature works the same on both versions. The toolbar layout differs slightly.
On Windows 10, the older "Snip & Sketch" app handles the same role. Microsoft merged both tools into the unified "Snipping Tool" in Windows 11. If you're on Windows 10 and don't see a crop option, update Snip & Sketch from the Microsoft Store.
Method 3: Crop a screenshot in Paint
Microsoft Paint has been the default image editor on Windows for decades. Its crop feature is straightforward. If you grew up editing screenshots in Paint, this method will feel familiar.
Step-by-step instructions
- Right-click your screenshot and choose Open with > Paint
- Click the Select tool in the toolbar (dotted rectangle)
- Click and drag over the area you want to keep
- Click Crop in the Image section of the ribbon (or press
Ctrl + Shift + X) - Save with
Ctrl + S
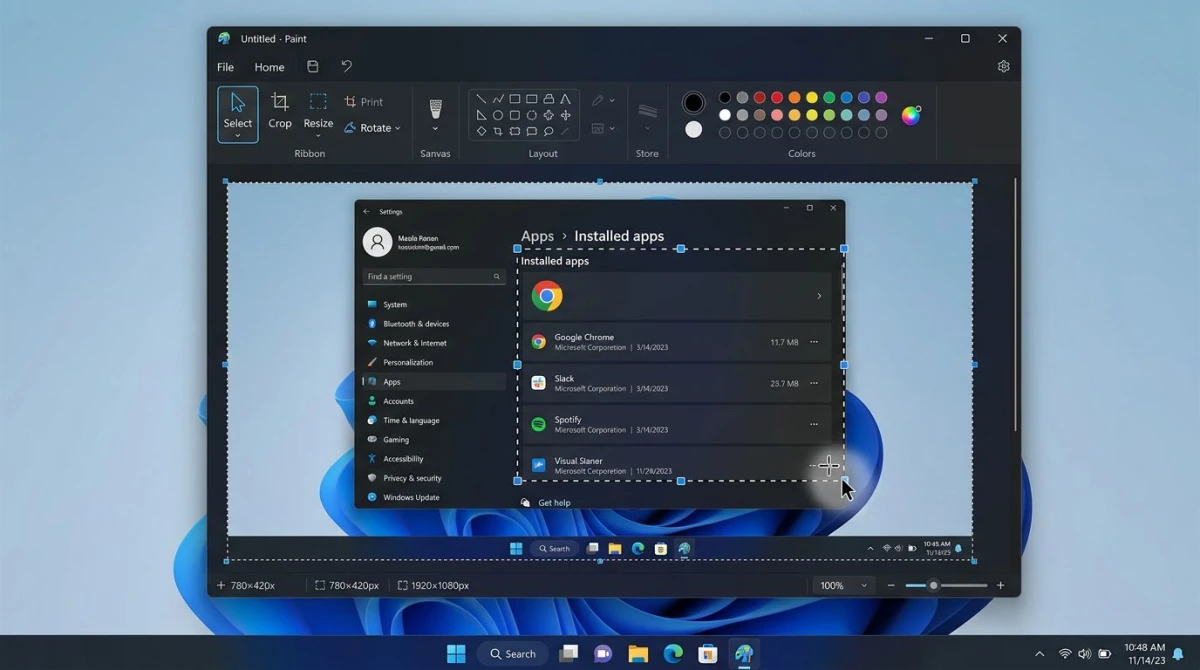
Freeform selection option
Paint also offers a Free-form selection tool. Click the small arrow under the Select icon to switch to it. This lets you draw an irregular shape around what you want to keep.
Keep in mind that the canvas stays rectangular even with freeform selection. The area outside your shape fills with white by default. This matters if you need transparent backgrounds.
Resize before or after cropping
If your screenshot is too large (for example, from a 4K display), you can resize it in Paint before cropping:
- Click Resize in the ribbon
- Choose Percentage or Pixels
- Enter your target dimensions
- Check Maintain aspect ratio to prevent distortion
This is handy when preparing screenshots for web use, where smaller file sizes matter. You can also convert image formats if you need a PNG instead of JPG.
Save format options in Paint
When saving your cropped screenshot, Paint lets you choose between PNG, JPG, BMP, GIF, and other formats via File > Save As.
For most screenshots, PNG preserves the sharpest text. JPG works better for photographs or screenshots with complex gradients where file size matters more than pixel-perfect quality.
Method 4: Crop a screenshot in the Photos app
The Windows Photos app is more than a gallery viewer. Its editing tools include a solid crop feature with aspect ratio presets. This is helpful when you need screenshots at specific sizes for presentations or social media.
Step-by-step instructions
- Double-click your screenshot to open it in Photos (the default viewer)
- Click the Edit button in the toolbar (or press
Ctrl + E) - The crop tool opens automatically. Drag the corner handles to adjust
- Use the Aspect ratio dropdown to lock to a specific ratio (16:9, 4:3, square, etc.)
- Click Save as copy to preserve the original, or Save to overwrite
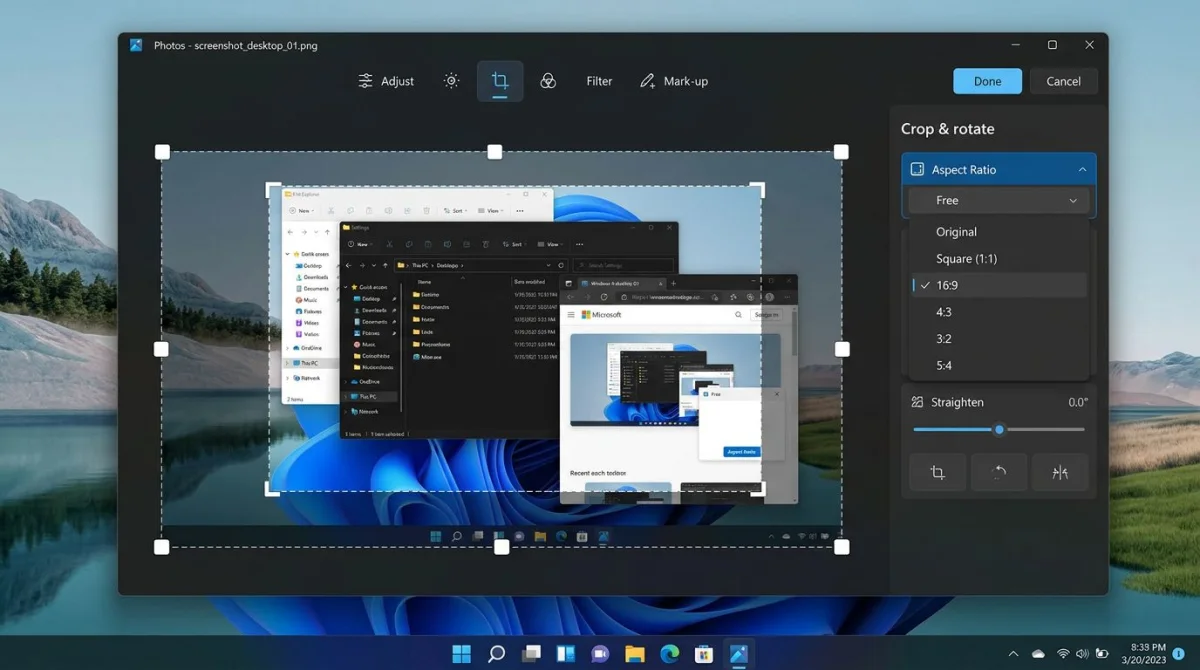
Aspect ratio presets
Photos offers several built-in ratios:
| Ratio | Best for |
|---|---|
| Free | Custom cropping (default) |
| 16:9 | Presentations, YouTube thumbnails |
| 4:3 | Standard photos, documentation |
| 1:1 | Social media profiles, icons |
| 3:2 | Classic photo proportions |
Straighten and rotate
If your screenshot is slightly tilted (common with phone photos of screens), Photos also includes a Straighten slider. Drag it to level the image before cropping.
Flip and mirror
Photos also lets you flip the image horizontally or vertically before cropping. This is occasionally useful when you need a mirrored version of a UI element for design mockups.
This method works well when you need a polished result and don't want to install extra software. For social media image sizes, the aspect ratio presets save time.
Photos vs. Paint: which is better for cropping?
Photos wins when you need specific aspect ratios or plan to straighten the image. Paint wins when you need pixel-level precision or want to select an exact region by dragging.
For most everyday cropping tasks, either tool gets the job done in under 30 seconds.

Tired of plain screenshots? Try ScreenSnap Pro.
Beautiful backgrounds, pro annotations, GIF recording, and instant cloud sharing, all in one app. Pay $34 once, own it forever.
See pricing and featuresMethod 5: Use a dedicated screenshot tool
If you crop screenshots regularly for documentation, support tickets, or design feedback, a dedicated tool can cut the process down to seconds. Tools like ScreenSnap Pro combine capture, cropping, and annotation in one workflow. You never need to open a separate editor.
How a dedicated tool differs
- Capture a region, window, or full screen
- The built-in editor opens instantly with your capture
- Crop, annotate with arrows, blur sensitive data, or add numbered steps
- Share via cloud link or save locally
The key difference from built-in tools: you crop during the capture, not after. There's no "open screenshot in another app, select an area, crop, then save" dance.
ScreenSnap Pro works on both Mac and Windows at $34 one-time (no subscription). Other popular options include ShareX (free, Windows-only) and Greenshot (free, open-source). The right choice depends on which features matter most to your workflow.
Keyboard shortcuts cheat sheet
Here's a quick reference for every screenshot and crop shortcut on Windows:
| Shortcut | What it does |
|---|---|
Win + Shift + S | Open Snipping Tool with region capture |
PrtScn | Full-screen screenshot (or open Snipping Tool if remapped) |
Alt + PrtScn | Screenshot of the active window only |
Win + PrtScn | Full-screen screenshot saved to Pictures > Screenshots |
Ctrl + Shift + X | Crop selection in Paint |
Ctrl + E | Open edit mode in Photos |
Ctrl + S | Save file |
Ctrl + Shift + S | Save as (new copy) |
Memorizing Win + Shift + S alone covers most screenshot needs on Windows. Pair it with Ctrl + V to paste anywhere. Slack, email, and Google Docs all accept pasted screenshots.
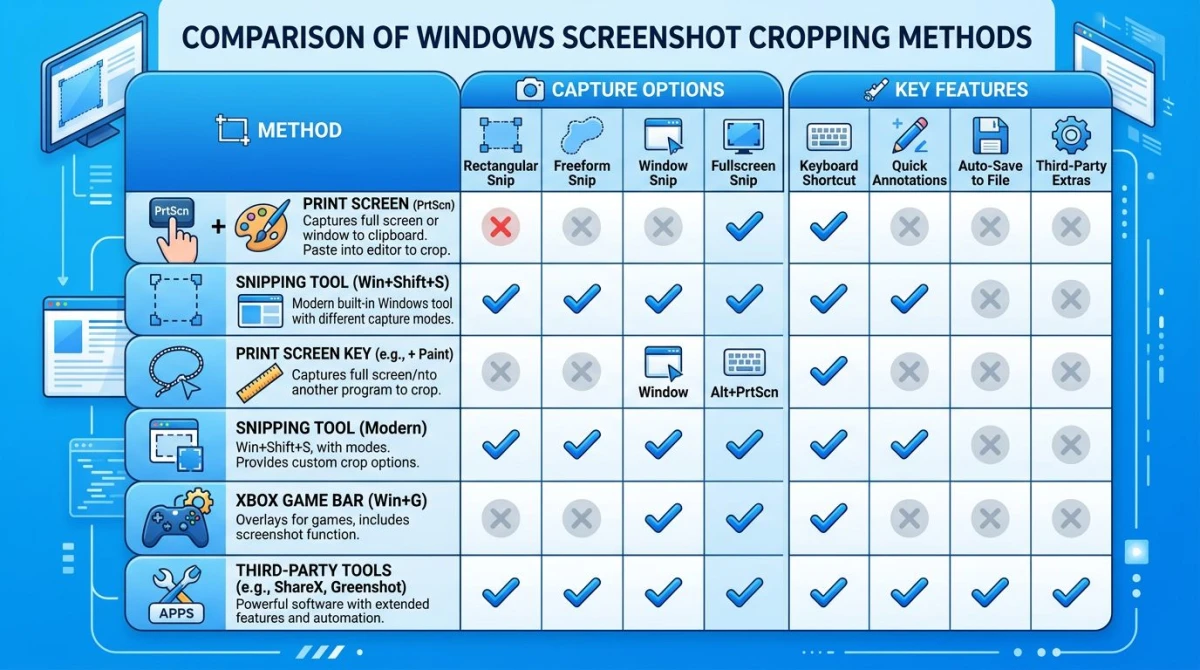
Which method should you use?
The best method depends on your situation:
- Fastest for new screenshots: Method 1 (
Win + Shift + S), which captures only the region you need, with no cropping required - Fastest for existing screenshots: Method 2 (Snipping Tool), where you open, crop, and save in three clicks
- Most familiar: Method 3 (Paint), since Paint is second nature if you've been using Windows for years
- Best for specific dimensions: Method 4 (Photos), whose aspect ratio presets make this ideal for social media or presentations
- Best for frequent use: Method 5 (dedicated tool), which captures, crops, and annotates in one step
For one-off cropping, stick with the built-in tools. If you crop screenshots multiple times a day for tutorials, bug reports, or team communication, a dedicated tool pays for itself fast.
Common cropping scenarios on Windows
Different situations call for different approaches. Here's which method works best for each.
Cropping screenshots for email and Slack
When you need to paste a cropped screenshot into an email or Slack message, Win + Shift + S is the clear winner. It copies the selection to your clipboard automatically, so you can paste with Ctrl + V without saving a file first.
Cropping screenshots for documentation
Documentation screenshots often need consistent dimensions and clear annotations. Use the Photos app to crop to a standard aspect ratio (16:9 for widescreen, 4:3 for standard).
Then annotate with arrows or callouts as needed.
Cropping screenshots for social media
Social platforms have specific image requirements. Instagram prefers 1:1 squares, while Twitter/X works best with 16:9.
The Photos app's aspect ratio presets match these requirements. You can also use a social media image resizer to get the exact dimensions each platform expects.
Batch cropping multiple screenshots
None of the built-in Windows tools support batch cropping. If you need to crop dozens of screenshots to the same dimensions, a third-party tool or a simple PowerShell script using ImageMagick is worth the setup time.
Tips for cleaner cropped screenshots
A few quick tricks to make your cropped screenshots look more professional.
Leave some padding. Don't crop right up against the edge of a button or text. Leave 10-20 pixels of breathing room so the subject doesn't feel cramped.
Use consistent dimensions. If you're preparing multiple screenshots for a document or presentation, crop them all to the same size. The Photos app's aspect ratio lock makes this easier.
Crop before resizing. If you need to resize images for the web, crop first and resize second. Cropping a large image preserves more detail than resizing first.
Consider the file format. PNG keeps text sharp. JPG works better for photos or screenshots with lots of color gradients.
Watch the file size. A cropped PNG from a 4K display can still be several megabytes. If you're sharing via email or chat, consider compressing the image after cropping.
Hide sensitive data before sharing. If your screenshot contains passwords, email addresses, or private messages, blur or pixelate that content before sending it along.
Frequently Asked Questions

Morgan
Indie DeveloperIndie developer, founder of ScreenSnap Pro. A decade of shipping consumer Mac apps and developer tools. Read full bio
@m_0_r_g_a_n_