Partial Screenshot on Windows: Select Any Area (2026)
A partial screenshot on Windows captures a specific area of your screen instead of the entire display. Press Win + Shift + S, drag to select what you need, and Windows copies it straight to your clipboard. No cropping, no extra steps. For richer area capture with annotation built in, tools like ScreenSnap Pro extend what Windows ships with.
This guide covers four ways to take a partial screenshot on Windows 10 and Windows 11. You'll learn the fastest keyboard shortcut, all Snipping Tool modes, the classic Alt + Print Screen method, and third-party tools that add annotation and cloud sharing.
Method 1: Win + Shift + S (fastest way to take a partial screenshot)
This keyboard shortcut is the quickest way to capture a partial screenshot on Windows. It works on Windows 10 (version 1809 and later) and Windows 11 with zero setup.
Step-by-step
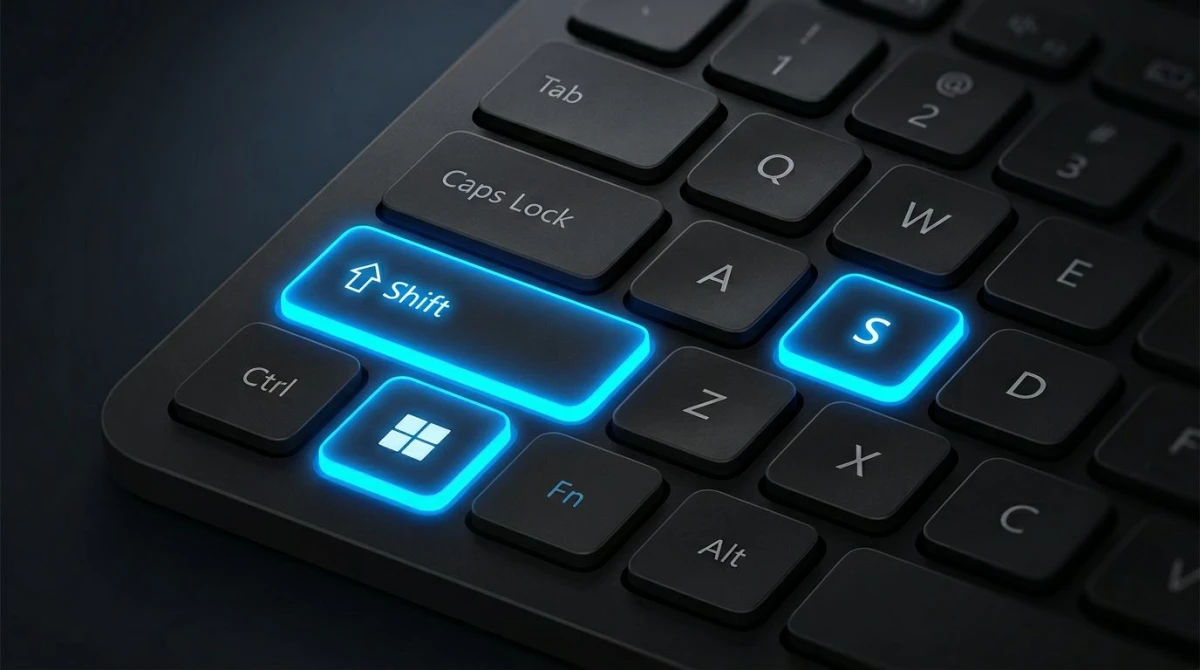
- Press
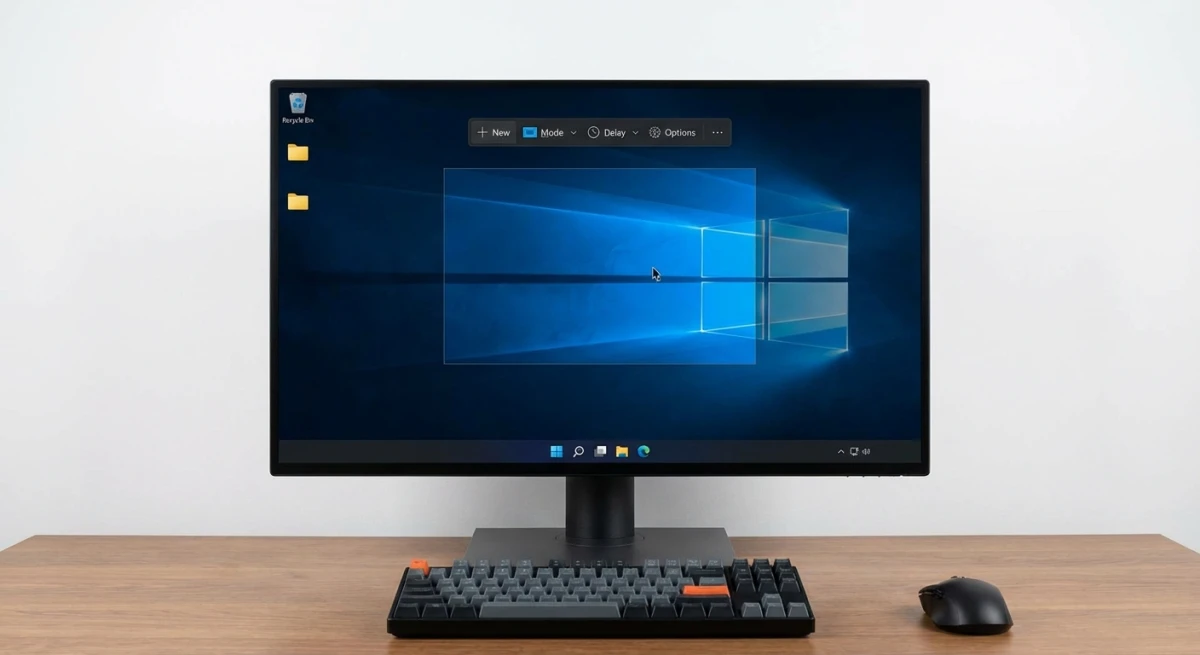
Win + Shift + S(all three keys at once) - Your screen dims and a small toolbar appears at the top
- Select Rectangular Snip from the toolbar (it's the default)
- Click and drag to draw a rectangle around the area you want
- Release the mouse button to capture
Windows copies the screenshot directly to your clipboard. Paste it anywhere with Ctrl + V, whether that's an email, a Slack message, a Word document, or an image editor.
A pop-up also shows up in the bottom-right corner. Click it to open the capture in Snipping Tool for quick edits like cropping, marking up, or highlighting.
Pro tips for Win + Shift + S
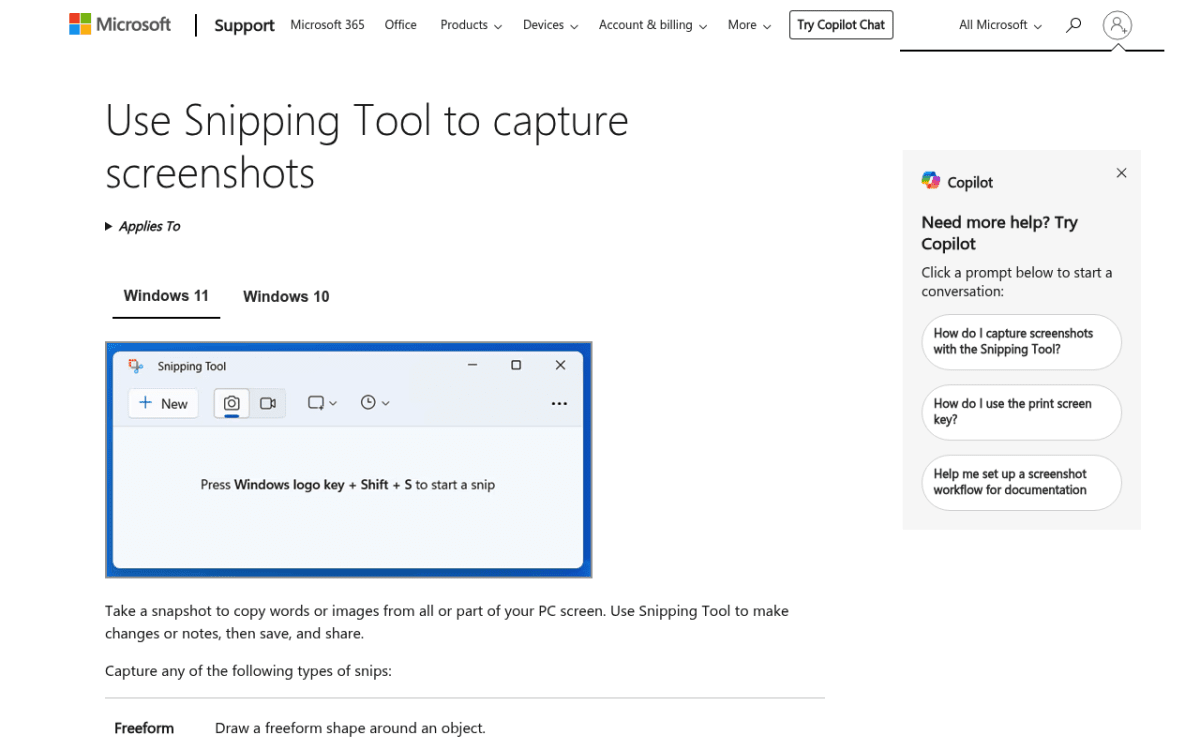
Switch snip modes on the fly. After pressing Win + Shift + S, the toolbar offers four options: Rectangular Snip, Freeform Snip, Window Snip, and Fullscreen Snip. Pick the one that fits your situation before you drag.
Cancel anytime. Press Esc to cancel the capture. The overlay disappears and nothing gets saved.
Auto-save location. Starting with Windows 11 23H2, Snipping Tool can auto-save captures to your Pictures > Screenshots folder. Open Snipping Tool settings to enable this if you want files saved automatically instead of clipboard-only.
Combine with Paint. After capturing, open Paint with Win + R > type mspaint > press Enter. Then paste with Ctrl + V. From there you can save as PNG, JPG, or BMP.
If you also use a Mac, the equivalent shortcut is Cmd + Shift + 4. Check out our guide on how to take a partial screenshot on Mac for a side-by-side comparison.
Method 2: Snipping Tool with all four capture modes
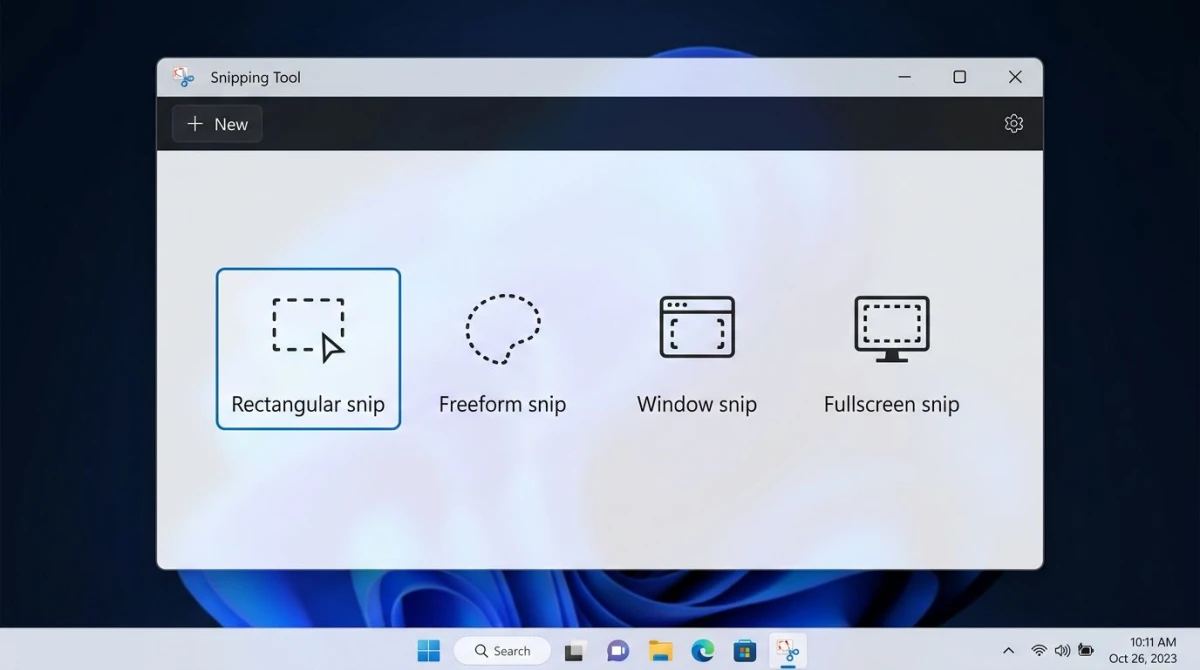
The Snipping Tool is a built-in Windows app that gives you more control over your print screen captures. On Windows 11, it replaced the older Snip & Sketch app. On Windows 10, you can still find Snipping Tool in the Start menu by searching for it.
How to open Snipping Tool
- Search "Snipping Tool" in the Start menu
- Or press
Win + Shift + Sto jump straight into capture mode - Or pin it to your taskbar for one-click access
The four snip modes
Snipping Tool offers four ways to capture part of your screen:
| Mode | What it captures | Best for |
|---|---|---|
| Rectangular Snip | A rectangle you draw | Most screenshots: error messages, UI sections, charts |
| Freeform Snip | Any shape you draw | Irregular areas, circling specific elements |
| Window Snip | An entire app window | Capturing one app without background clutter |
| Fullscreen Snip | The whole display | When you need everything on screen |
For partial screenshots, Rectangular Snip handles 90% of situations. Freeform Snip is helpful when you need to capture an oddly shaped area, like a dropdown menu that overlaps multiple windows.
Using the delay timer
Need to capture a menu or tooltip that disappears when you click away? Snipping Tool's delay feature solves this.
- Open Snipping Tool from the Start menu
- Click the clock icon or Delay dropdown
- Select a delay: 3, 5, or 10 seconds
- Click New
- Set up the screen element you want to capture during the countdown
- When the timer ends, draw your selection
This is great for capturing right-click menus, hover tooltips, or pop-ups that vanish the moment you try to screenshot them.
Snipping Tool on Windows 10 vs Windows 11
On Windows 10, you'll find two separate apps: the legacy Snipping Tool and the newer Snip & Sketch. Both work for taking partial screenshots. Snip & Sketch has the modern toolbar and notification workflow. Microsoft later combined them into one Snipping Tool on Windows 11.
On Windows 11, the updated Snipping Tool adds OCR text extraction, a screen recording mode, and better alerts. For a full walkthrough of every capture method on Microsoft's latest OS, see our Windows 11 screenshot guide. The core capture features (rectangular, freeform, window, and fullscreen snips) work the same across both versions.
Editing in Snipping Tool
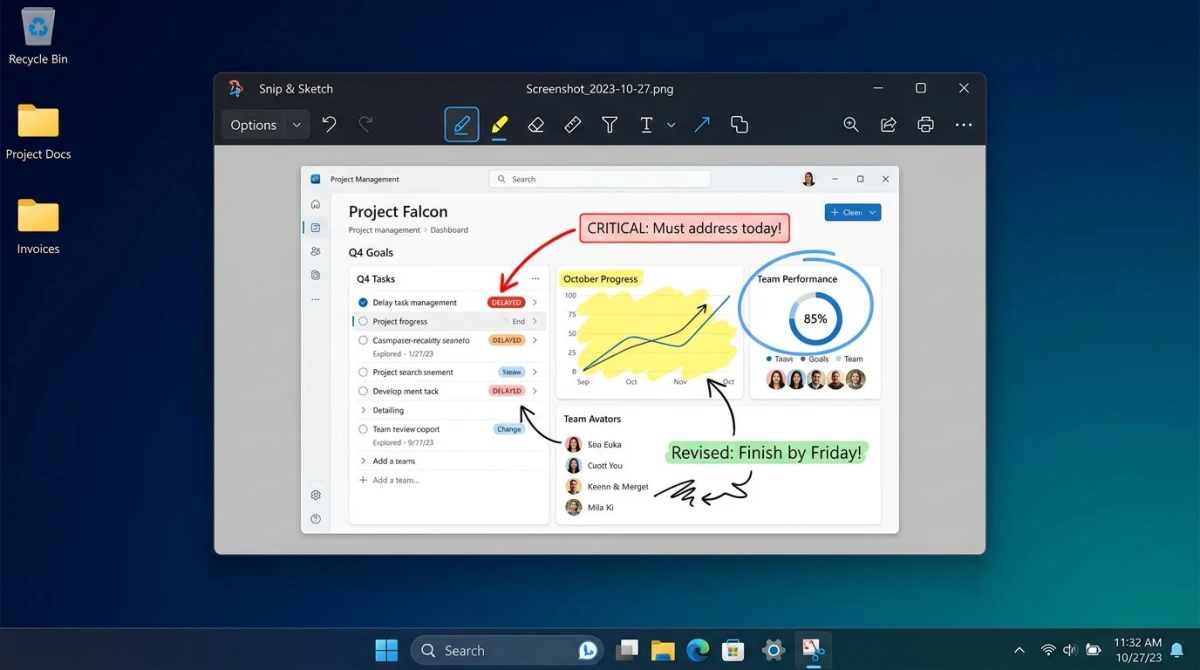
After capturing a snip, Snipping Tool opens an editing window where you can:
- Draw with a pen or highlighter
- Crop the image further
- Add shapes like rectangles and arrows
- Use the ruler for straight lines
- Extract text with the built-in OCR feature (Windows 11)
For more polished markup (blur, emoji stamps, numbered steps), you'll want a dedicated tool. More on that in Method 4.
If you're curious how Windows' built-in tool stacks up against premium options, our Snagit vs Snipping Tool comparison breaks down the differences.
Method 3: Alt + Print Screen (capture a single window)
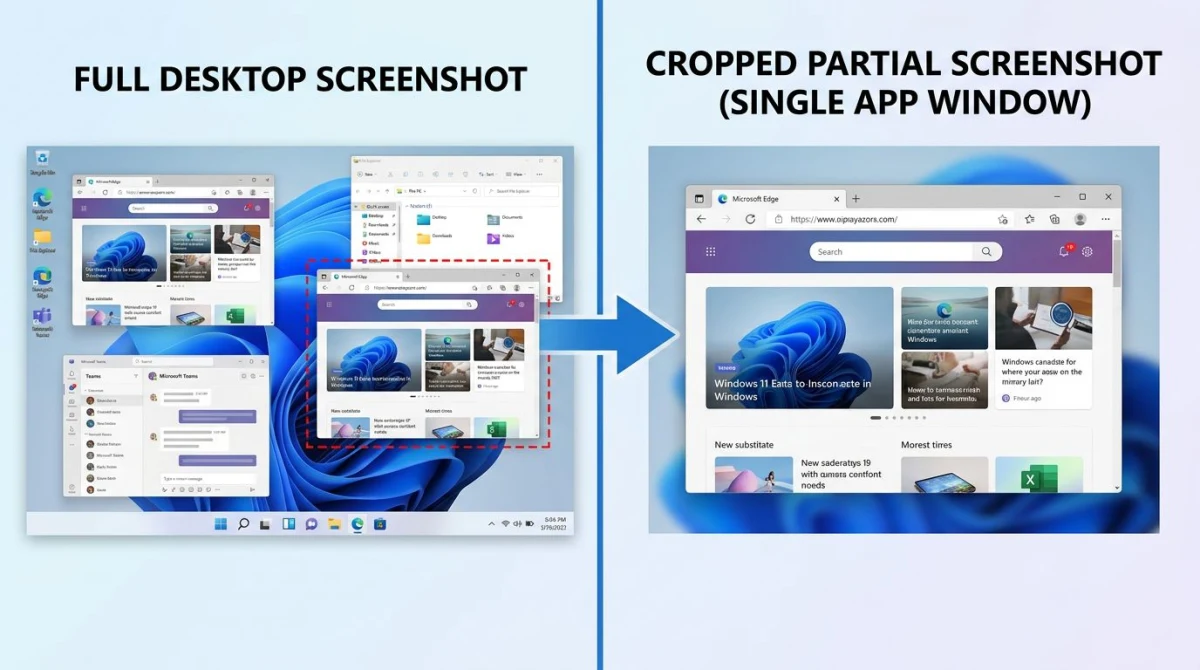
This old-school shortcut captures just the active window, with no selection needed. It's technically a "partial" screenshot because you get one window instead of the entire screen.
Step-by-step
- Click the window you want to capture (make it active)
- Press
Alt + PrtScn(orAlt + Print Screenon full-size keyboards) - The screenshot copies to your clipboard
- Paste with
Ctrl + Vinto any app
This method works on every version of Windows, including Windows 10 and older. It's fast because there's no selection step, but you can't choose a region within the window.
When to use Alt + Print Screen
- Bug reports. Capture the exact error dialog without extra desktop clutter. This pairs well with a bug report workflow where you need clean, focused screenshots.
- Documentation. Grab one app's interface for user guides or technical documentation.
- Quick sharing. Paste directly into chat apps without opening an editor first.
Limitations
Alt + Print Screen captures the entire window, including the title bar and borders. If you need just a section inside the window (like a single table or a toolbar), use Win + Shift + S with Rectangular Snip instead.
It also doesn't save a file automatically. The capture lives on your clipboard until you paste it or copy something else. If you want to screenshot on a Windows laptop and save directly to a file, press Win + PrtScn instead (this saves a full-screen capture to Pictures > Screenshots).
Method 4: Third-party tools for partial screenshots with more control
The built-in options work fine for quick captures. But if you take screenshots often for work, docs, tutorials, or social media, a dedicated tool saves a lot of time.
Here's what third-party screenshot apps add beyond what Windows offers:
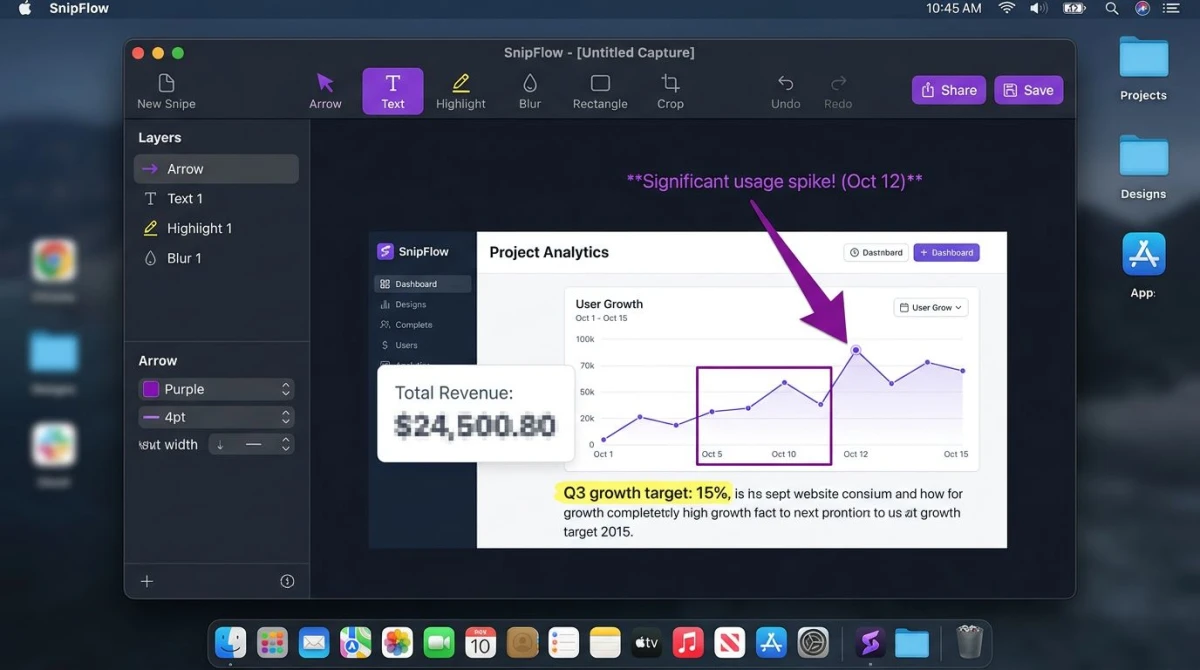
- Quick markup. Add arrows, text, blur out private info, and numbered steps right after capturing, with no separate editor needed.
- Cloud sharing. Get a shareable link in seconds instead of attaching files to emails.
- Nice backgrounds. Add gradient or solid-color backgrounds to make screenshots look great in slide decks and blog posts.
- Cross-platform support. Use the same tool and shortcuts on both Windows and Mac.
ScreenSnap Pro for Windows
ScreenSnap Pro is built for people who take partial screenshots daily. After pressing your capture shortcut, you select any region of the screen, and the annotation editor opens immediately.
From there, you can add arrows, shapes, text labels, blur out private info, and drop emoji or numbered step markers. You can also add a polished background with one click, then share via cloud link or save locally.
Here's what a typical workflow looks like:
- Press your capture shortcut to grab a region of the screen
- The editor opens right away with 17 tools ready to go
- Add an arrow to point out a bug, then blur out any passwords or personal data
- Pick one of 500+ wallpapers as a background to make the shot look clean
- Click share to get a cloud link, or save the file to your computer
The whole process takes about ten seconds. No switching between apps, no pasting into a separate editor.
ScreenSnap Pro also records your screen as video, captures your webcam and mic, records system audio, and exports GIFs. It works on both Mac and Windows with a $34 one-time purchase and no subscription. That makes it a solid pick if you're tired of clipboard-only captures and want to go from capture to share in seconds.
Other popular Windows screenshot tools
| Tool | Price | Best feature |
|---|---|---|
| ShareX | Free | Dozens of capture modes, highly customizable |
| Lightshot | Free | Fast selection and instant upload |
| Snagit | $39/year | Scrolling capture and video recording |
| Greenshot | Free | Lightweight with solid annotation |
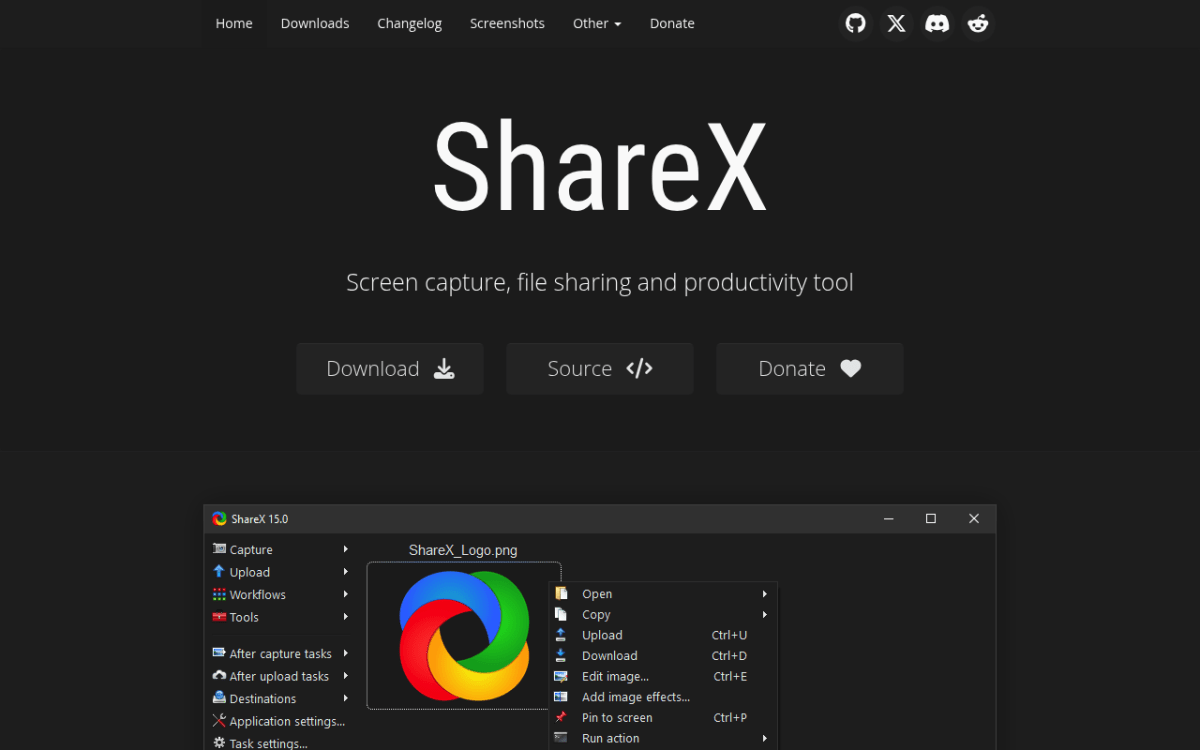
ShareX is the power-user favorite on Windows. It offers more capture modes than any other free tool, including scrolling capture and OCR. The tradeoff is a steeper learning curve and a cluttered settings interface.
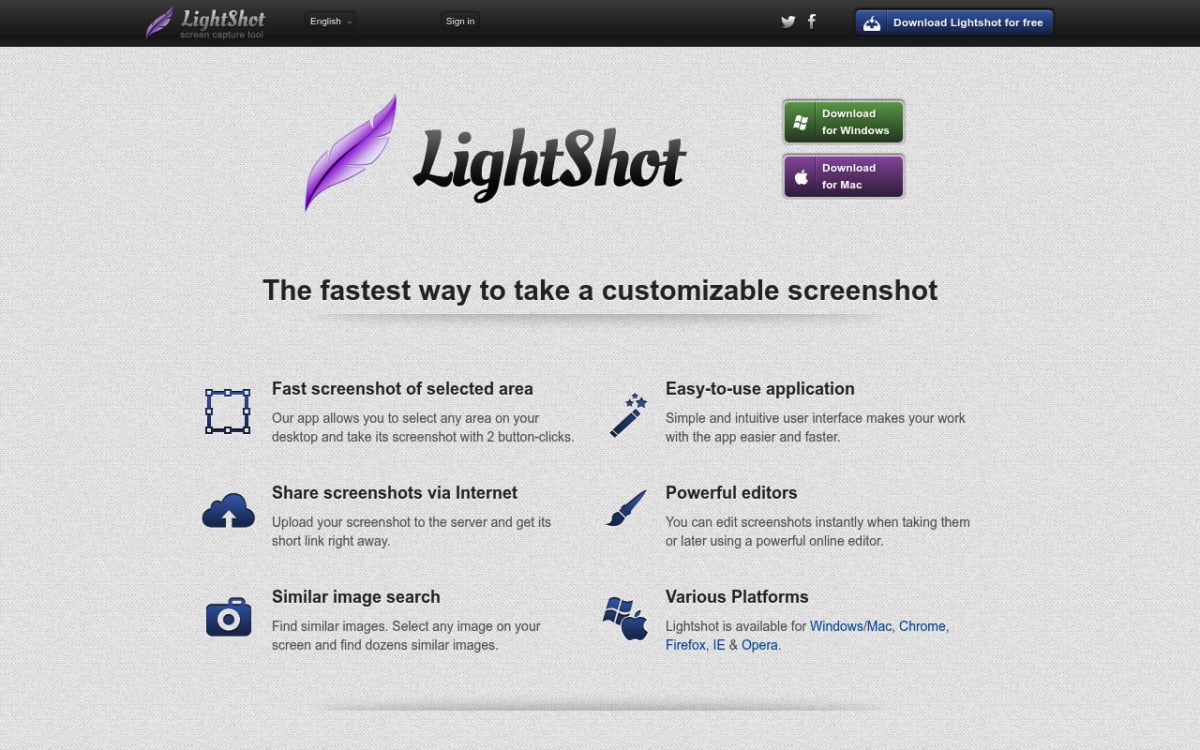
Lightshot is the opposite: minimal and fast. Press PrtScn, select an area, and upload to their servers in one click. It works well for quick sharing but lacks annotation depth.
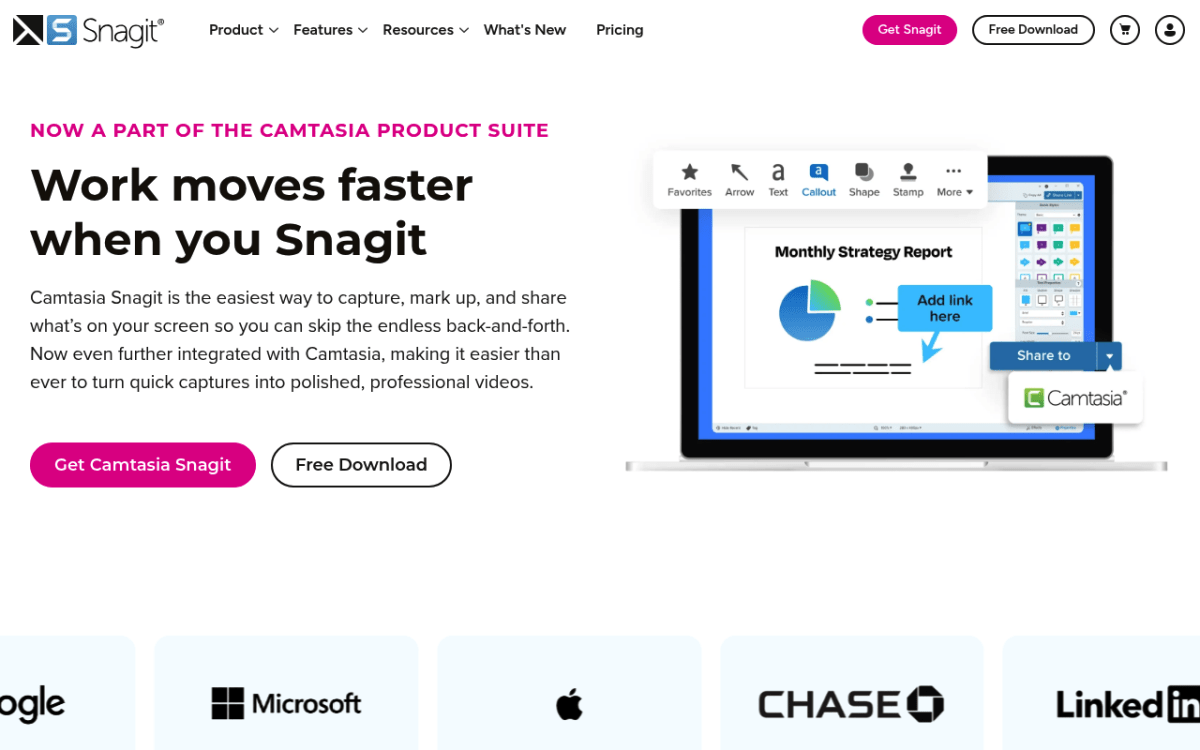
Snagit is the premium pick with features like scrolling capture and video clips. The $39/year subscription makes it a tough sell for casual users, but it's popular in offices and large teams.
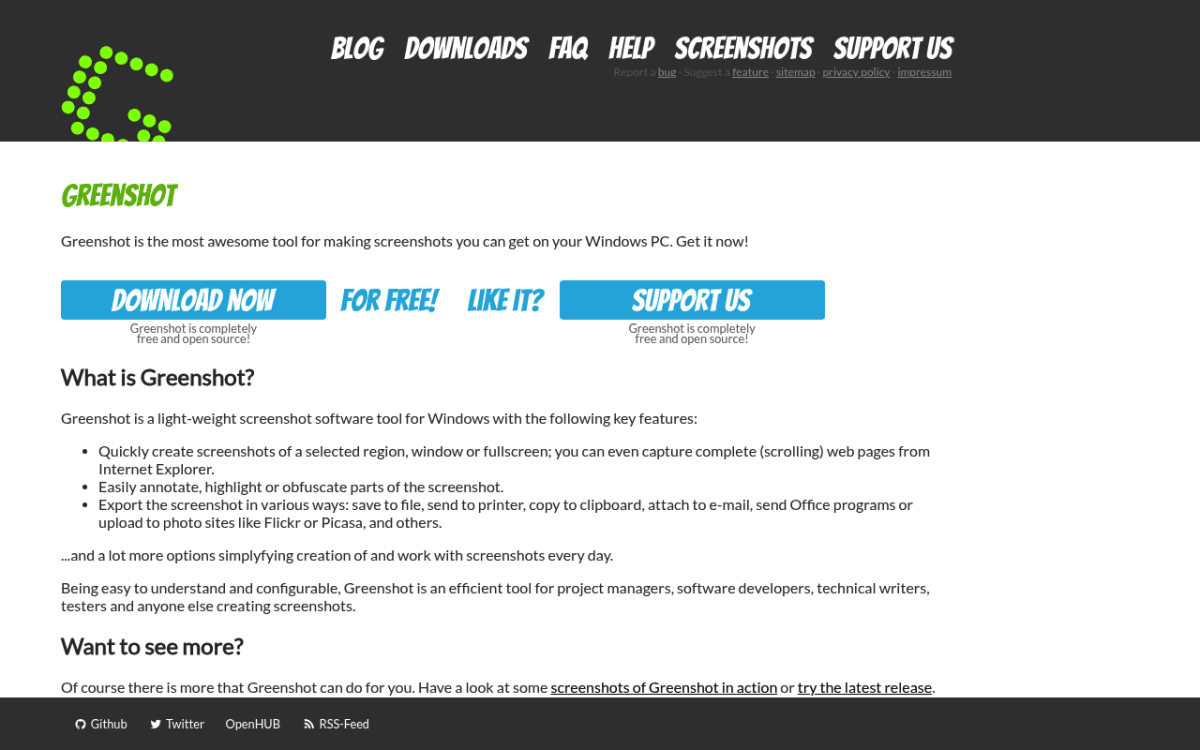
Greenshot is the lightweight free option: minimal install, decent annotation tools, and zero subscription nag. A good middle ground between ShareX's complexity and Lightshot's simplicity.
If you want a deeper comparison, see our roundup of the best screenshot tools for Windows to find the right fit for your workflow.
How to edit a partial screenshot after capturing
Capturing is half the job. Editing your screenshot before sharing makes it clearer and more polished.
Using the built-in tools
Snipping Tool editor (Windows 11). After capturing, click the notification or open Snipping Tool. You get pen, highlighter, eraser, ruler, shapes, and text extraction (OCR). Save as PNG, JPG, or GIF.
Paint. Paste your clipboard screenshot into Paint for basic cropping and resizing. It's already installed on every Windows PC.
Paint 3D. Offers more advanced editing: magic select for cutting objects, stickers, and 3D effects. Available on Windows 10.
Using third-party editors
For professional-grade edits, dedicated tools offer:
- Blur and hide private data (passwords, emails, personal info)
- Arrows and callouts that draw attention to specific elements
- Numbered steps for tutorial screenshots
- Text annotations with customizable fonts and colors
If you want to annotate screenshots professionally, dedicated tools combine capture and editing in one step. You never need to open a separate app.
Need to convert your screenshot to a different format? Our free image format converter handles PNG, JPG, WebP, and more right in your browser. And if you need to crop a screenshot on Windows after the fact, most image editors make it straightforward.

Tired of plain screenshots? Try ScreenSnap Pro.
Beautiful backgrounds, pro annotations, GIF recording, and instant cloud sharing, all in one app. Pay $34 once, own it forever.
See pricing and featuresQuick-reference: Windows partial screenshot shortcuts
Here's every keyboard shortcut for taking screenshots on Windows, organized by what they capture:
| Shortcut | What it captures | Saves to | Windows version |
|---|---|---|---|
Win + Shift + S | Selected area (your choice of mode) | Clipboard + notification | 10, 11 |
Alt + PrtScn | Active window only | Clipboard | All versions |
PrtScn | Entire screen | Clipboard | All versions |
Win + PrtScn | Entire screen | File (Pictures/Screenshots) | 8, 10, 11 |
Win + Alt + PrtScn | Active window (Game Bar) | File (Videos/Captures) | 10, 11 |
For most partial screenshot needs, Win + Shift + S with Rectangular Snip is the answer. It works on both Windows 10 and Windows 11, captures only what you select, and copies straight to clipboard. For a deeper dive into every combo, our Windows screenshot shortcuts guide covers Game Bar, Print Screen variations, and more.
If you work on a Mac too, check out our complete Mac screenshot shortcuts guide to build muscle memory across both platforms.
Troubleshooting: Win + Shift + S not working
Sometimes the Win + Shift + S shortcut stops responding. Here are the most common fixes:
1. Restart Snipping Tool
Press Ctrl + Shift + Esc to open Task Manager. Find "Snipping Tool" in the list, right-click, and select End task. Try the shortcut again.
2. Check keyboard settings
Some gaming keyboards or custom key-mapping software intercepts the Windows key. Check your keyboard software to make sure Win + Shift + S isn't remapped or disabled.
3. Reset Snipping Tool
Go to Settings > Apps > Installed apps. Find Snipping Tool, click the three dots, select Advanced options, then click Reset. This clears the app's cache without deleting your settings.
4. Update Windows
Open Settings > Windows Update and check for updates. Microsoft regularly patches Snipping Tool bugs. Running the latest version often fixes shortcut issues.
5. Use the alternative shortcut
If Win + Shift + S still doesn't work, try opening Snipping Tool directly from the Start menu and pressing Ctrl + N for a new capture. You get the same partial screenshot functionality through the app interface.
For persistent issues, Microsoft's official Snipping Tool guide covers additional troubleshooting steps.
Tips for better partial screenshots
A good capture starts before you press the shortcut. These tips help you get cleaner, more useful screenshots every time.
Clean up your desktop first. Close or minimize apps you don't need. A cluttered taskbar or stray windows in the background can sneak into your selection area. A clean desktop means less cropping later.
Use the right screen resolution. If you share screenshots in docs or presentations, capture at your display's native resolution. Scaling down a high-res shot looks sharper than scaling up a low-res one. On laptops, check your display settings to make sure you're not at a lower resolution than your screen supports.
Highlight what matters. After capturing, add a quick arrow or box around the key element. Readers scan screenshots fast, and without a visual cue they might miss the exact part you want them to see.
Blur out private info before sharing. Check every screenshot for passwords, email addresses, account numbers, or personal names. It only takes one slip to share something you didn't mean to. Tools like ScreenSnap Pro and ShareX have built-in blur tools that make this fast.
Name your files clearly. If you save a lot of screenshots, use names like login-error-2026-04.png instead of Screenshot 2026-04-17 143022.png. This makes them easy to find later and keeps your folders tidy.
Pick the right format. PNG keeps text sharp and works best for UI screenshots. JPG is smaller but can blur fine details. If you need to convert between formats, our free image format converter handles PNG, JPG, WebP, and more in your browser.
Which method should you use?
Choosing the right approach depends on how often you take screenshots and what you do with them afterward.
Casual use. Win + Shift + S covers 90% of partial screenshot needs. It's fast, built-in, and needs no extra software. Paste into chat, email, or documents. If you only take a few screenshots a week, this is all you need.
Bug reports and support tickets. Use Alt + PrtScn to grab the full window showing the error. This gives support teams the context they need without extra desktop clutter. Pair it with a paste into your ticket system or email, and you're done in seconds.
Documentation and tutorials. Open Snipping Tool directly for its delay timer and basic markup. This works well when you need to capture tricky UI elements like dropdown menus or hover states. The built-in pen and shapes tools are enough for simple callouts.
Remote work and team chat. When you share your screen in Slack, Teams, or Discord throughout the day, Win + Shift + S is the fastest loop: capture, paste, send. If you add markup often (like arrows or blur), a tool like ScreenSnap Pro cuts out the extra steps.
Professional workflows. If you take screenshots daily for client presentations, social media, or technical documentation, a dedicated screenshot tool closes the gap between capturing and sharing. You can mark up, add backgrounds, and share from one place.
Content creation. Bloggers, course makers, and social media managers often need screenshots with polished backgrounds and clear callouts. Built-in tools can't add gradient backgrounds or branded frames. A third-party tool handles this in one step instead of three.
Frequently Asked Questions
Wrap up
For most people, Win + Shift + S is the only shortcut you need to remember. It handles partial screenshots on Windows 10 and 11, copies straight to clipboard, and opens Snipping Tool for quick edits.
If you need more (instant annotations, cloud sharing, beautiful backgrounds), a tool like ScreenSnap Pro gives you everything in one workflow for a one-time $34 purchase. It works on Windows and Mac, so you get the same shortcuts and features on both platforms.
Looking for screenshot help on other devices? Check out our guides on screenshots on Mac, YouTube screenshots, or screenshotting in Excel.

Morgan
Indie DeveloperIndie developer, founder of ScreenSnap Pro. A decade of shipping consumer Mac apps and developer tools. Read full bio
@m_0_r_g_a_n_