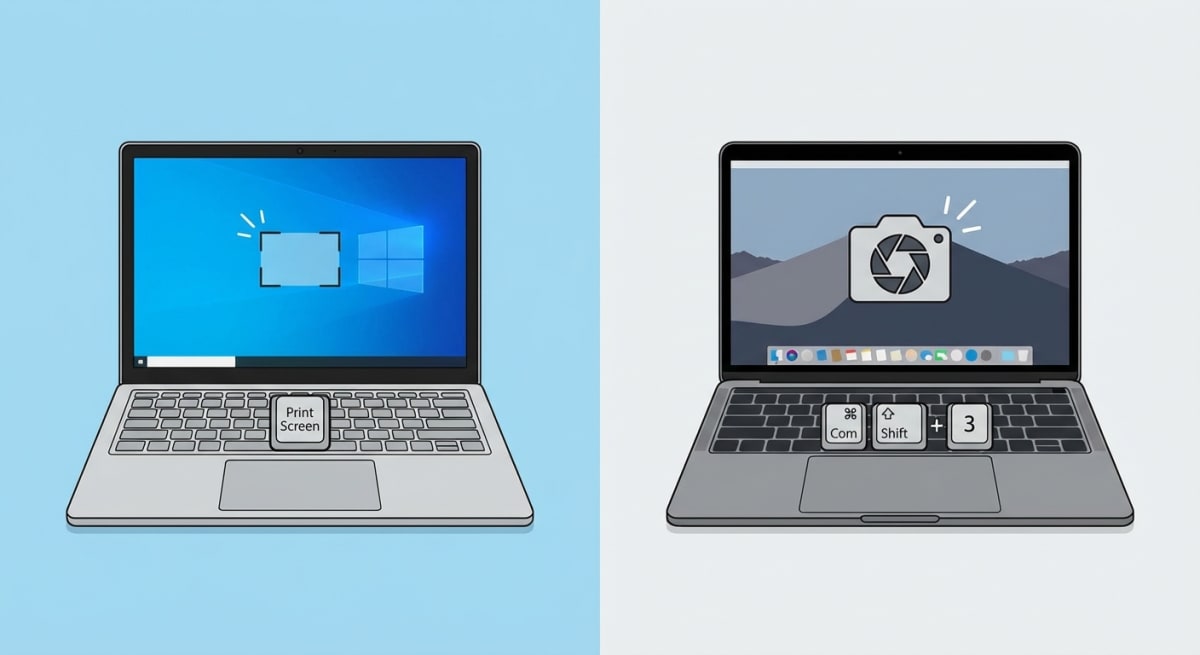
Windows Screenshot Shortcuts — All Methods (2026)
Every Windows screenshot shortcut you need is already built into your PC. Whether you're running Windows 10 or 11, you can capture your full screen, a single window, or a custom area — all with a quick key combo. For more flexibility (annotation, instant sharing, GIF recording), tools like ScreenSnap Pro layer on top of the built-in shortcuts.
The fastest way to take a screenshot on Windows is Win + Shift + S. It opens a snipping overlay that lets you select exactly what to capture. But that's just one of many options, and the best choice depends on what you're trying to do.
Quick reference table — all shortcuts at a glance
Here's every built-in screenshot Windows 11 and Windows 10 shortcut in one place:
| Shortcut | What It Does | Saves To |
|---|---|---|
PrtScn | Copies full screen to clipboard | Clipboard |
Win + PrtScn | Saves full screen as file | Screenshots folder |
Alt + PrtScn | Copies active window to clipboard | Clipboard |
Win + Shift + S | Opens Snipping Tool overlay | Clipboard (with edit option) |
Win + G | Opens Xbox Game Bar | Videos/Captures folder |
Win + Alt + PrtScn | Game Bar screenshot | Videos/Captures folder |
Fn + PrtScn | Full screen (laptops) | Clipboard |
Pro tip: On many laptops from Dell, HP, and Lenovo, you need to hold Fn along with PrtScn because the Print Screen key shares a function row spot. If PrtScn alone doesn't work, try adding Fn.
PrtScn key — full screen screenshot
The PrtScn (Print Screen) key is the oldest print screen Windows method. It captures your entire screen and copies it to the clipboard.

How to use PrtScn
- Press
PrtScnon your keyboard (top-right area, nearScroll Lock). - The screen is now copied to your clipboard.
- Open any app (Paint, Word, Slack) and press
Ctrl + Vto paste. - Save the file from there.
The screen won't flash or give you any visual feedback — it silently copies to the clipboard. If nothing happens when you paste, try Fn + PrtScn instead.
PrtScn on laptops (Dell, HP, Lenovo)
Finding the Print Screen key on a laptop can be tricky. Here's where to look:
- Dell laptops: Usually labeled
PrtScnon theF10key. PressFn + F10. - HP laptops: Often
PrtScnon theF13or as a standalone key. Some models needFn + PrtScn. - Lenovo ThinkPad: Check the
F12area or useFn + PrtScn. - Surface devices: Press
Fn + Spaceif there's no PrtScn key.
If you're wondering how to screenshot on Dell or how to screenshot on HP — this is it. The shortcut is the same as any Windows PC, you just might need the Fn key.
Windows 11 PrtScn change
In current builds of Windows 11, Microsoft changed the default behavior of PrtScn. Instead of copying the full screen, it now opens the Snipping Tool overlay — the same as pressing Win + Shift + S.
To switch back to the old behavior:
- Open Settings → Accessibility → Keyboard.
- Find Use the Print Screen key to open Snipping Tool.
- Toggle it off.
This change caused confusion for many users. If your PrtScn key suddenly started opening a snipping overlay, now you know why.
Win + Shift + S — Snipping Tool overlay (recommended)
This is the best snipping tool shortcut and the method we recommend for most users. It gives you four capture modes in one shortcut.

How to use Win + Shift + S
- Press
Win + Shift + S. - The screen dims and a toolbar appears at the top.
- Choose your capture mode:
- Rectangle — drag to select a custom area
- Freeform — draw any shape to capture
- Window — click a window to capture it
- Full Screen — captures everything
- The screenshot copies to your clipboard.
- A notification appears — click it to open the Snipping Tool editor.
Editing your snip
After capturing, click the notification toast to open the editor. You get these tools:
- Pen and highlighter for markup
- Ruler and protractor for straight lines
- Crop to trim the capture
- Text to add labels
- Save as PNG, JPG, or GIF
This is far more useful than the plain PrtScn key because you can edit and save from one place. No need to open Paint.
Snipping Tool delay (timed capture)
Need to capture a dropdown menu or tooltip that disappears when you press keys?
- Open the Snipping Tool app from the Start menu.
- Click the clock icon next to the "New" button.
- Set a delay of 3, 5, or 10 seconds.
- Click New and arrange your screen during the countdown.
This is similar to timed screenshots on Mac, where you can set a delay before capture.
Win + PrtScn — auto-save to Screenshots folder
If you want a screenshot saved as a file without any extra steps, Win + PrtScn is the fastest path.
- Press
Win + PrtScnat the same time. - Your screen flashes briefly (this confirms the capture).
- The screenshot saves automatically to
C:\Users\[Name]\Pictures\Screenshots.
No clipboard, no pasting, no saving dialog — just a PNG file ready to go. This is perfect for taking many screenshots in a row.
Where do Windows screenshots go?
The Windows 10 screenshot location (and Windows 11) depends on which method you used:
| Method | Save Location |
|---|---|
PrtScn | Clipboard only (paste to save) |
Win + PrtScn | Pictures\Screenshots folder |
Win + Shift + S | Clipboard (click notification to save) |
| Snipping Tool | Choose location when saving |
| Xbox Game Bar | Videos\Captures folder |
If you can't find your screenshots, open File Explorer and search for screenshot in the Pictures folder. On Mac, screenshots save to the Desktop by default — check our guide on where Mac screenshots go if you use both platforms.
Tired of plain screenshots? Try ScreenSnap Pro.
Beautiful backgrounds, pro annotations, GIF recording, and instant cloud sharing — all in one app. Pay $29 once, own it forever.
See what it doesAlt + PrtScn — active window only
Want to capture just one window without the taskbar and desktop?
- Click the window you want to capture (make it active).
- Press
Alt + PrtScn. - The active window copies to your clipboard.
- Paste it into any app with
Ctrl + V.
This skips your wallpaper, taskbar, and any other open windows. It's the Windows version of capturing a specific window on Mac with ⌘ + Shift + 4 + Space.
Snipping Tool deep dive (Windows 11)
The Snipping Tool Windows 11 version is a major upgrade over the old Snipping Tool from Windows 7/10. Microsoft merged it with Snip & Sketch to create one unified tool.
What's new in Snipping Tool (2026)
- Screen recording — record your screen without third-party apps
- Text extraction (OCR) — copy text from images and screenshots
- Auto-save — screenshots save to a temp folder automatically
- Redact text — blur out emails and phone numbers in one click
- Tabs — edit multiple screenshots side by side
Screen recording with Snipping Tool
Yes, Snipping Tool now records your screen:
- Open Snipping Tool from the Start menu.
- Switch from Snip mode to Record mode (toggle at the top).
- Click New and select the area to record.
- Click Start to begin recording.
- Click Stop when done — saves as MP4.
It records without audio by default. Check the microphone icon to add voiceover.
Text actions (OCR)
After taking a screenshot, click the Text Actions button in the Snipping Tool editor. It scans the image and lets you:
- Copy all detected text
- Redact sensitive info (emails, phone numbers)
- Select specific text to copy
This is similar to the OCR text extraction feature available in Mac screenshot tools. If you work with screenshots that contain text you need to copy, this saves a lot of retyping.
Xbox Game Bar (Win + G) for gaming screenshots
The Xbox Game Bar is built into Windows 10 and 11 for capturing games, but it works in any app.

How to take a Game Bar screenshot
- Press
Win + Gto open the Game Bar overlay. - Click the camera icon in the Capture widget.
- Or press
Win + Alt + PrtScnfor a quick capture without opening the full overlay.
Screenshots save to C:\Users\[Name]\Videos\Captures as PNG files.
Game Bar settings
- Win + Alt + R — start/stop screen recording
- Win + Alt + PrtScn — screenshot without opening Game Bar
- Win + Alt + G — record last 30 seconds (background recording must be on)
To enable background recording, go to Settings → Gaming → Captures and toggle on Record what happened.
Note: Game Bar won't capture the Windows desktop or File Explorer. It only works inside apps and games.
Best third-party screenshot tools for Windows
Windows' built-in tools cover the basics, but third-party apps add power features like scrolling capture, cloud sharing, and advanced annotation.
ShareX (free, open source)
ShareX is the most powerful free screenshot tool for Windows:
- Scrolling capture for long pages
- GIF and video recording
- 40+ upload destinations (Imgur, Google Drive, Dropbox)
- OCR, color picker, and ruler
- Fully customizable workflows
ShareX is a favorite among developers and power users. It's comparable to what ScreenSnap Pro offers on Mac — if you use both platforms, you'd want ShareX on Windows and ScreenSnap Pro on your Mac.
For Mac users who miss ShareX, check our guide on ShareX alternatives for Mac.
Greenshot (free)
Greenshot is a lightweight, no-frills screenshot tool:
- Region, window, and full screen capture
- Built-in image editor with arrows, text, and blur
- Direct export to printer, clipboard, or file
- Plugin support for Imgur, Office, and more
Greenshot is ideal if you want something simpler than ShareX but more capable than the built-in tools. See our Snagit vs Greenshot comparison for a detailed breakdown.
Lightshot (free)
Lightshot focuses on speed and sharing:
- Two-click capture and share
- Instant upload with shareable link
- Built-in search for similar images
- Simple editor with text, arrows, and shapes
Lightshot is the most beginner-friendly option. Press PrtScn, select an area, and share the link. That's it.
Snagit (paid — $63)
Snagit from TechSmith is the premium choice:
- Scrolling capture across any app
- Step-by-step capture for tutorials
- Video recording with webcam overlay
- Template library for documentation
- OCR text extraction
At $63 one-time plus an annual maintenance fee, Snagit targets professionals who need polished output. For a comparison with Windows' built-in option, see our Snagit vs Snipping Tool review.
Which third-party tool should you pick?
- Need maximum power? Go with ShareX. It does everything, but the learning curve is steep.
- Want something simple? Greenshot is clean and fast. No clutter, no fuss.
- Just need to share fast? Lightshot gives you a link in two clicks.
- Building docs or tutorials? Snagit's step-by-step mode and templates are worth the price.
For most people, the built-in Snipping Tool plus one third-party app covers every need. Start with ShareX (it's free) and see if you need anything else.
Windows vs Mac screenshot shortcuts compared
If you switch between Windows and Mac, here's a side-by-side of every shortcut:
| Action | Windows | Mac |
|---|---|---|
| Full screen to clipboard | PrtScn | ⌘ + Ctrl + Shift + 3 |
| Full screen to file | Win + PrtScn | ⌘ + Shift + 3 |
| Selected area | Win + Shift + S | ⌘ + Shift + 4 |
| Single window | Alt + PrtScn | ⌘ + Shift + 4 + Space |
| Screenshot app | Snipping Tool | ⌘ + Shift + 5 |
| Scrolling capture | ShareX (third-party) | Third-party tools |
| Delayed capture | Snipping Tool (3/5/10s) | Timer in Screenshot app |
| Screenshot location | Pictures\Screenshots | Desktop (default) |
Both platforms handle basic screenshots well. Windows has more built-in capture modes (Game Bar, Snipping Tool recording). Mac offers more keyboard shortcut options and better third-party tools for annotation and sharing.
If you use a Mac as your main machine and need a professional screenshot workflow, ScreenSnap Pro gives you instant cloud sharing, 150+ wallpapers, and annotation tools — all for a one-time $29 payment.
Frequently Asked Questions
Morgan
Indie DeveloperIndie developer, founder of ScreenSnap Pro. A decade of shipping consumer Mac apps and developer tools. Read full bio
@m_0_r_g_a_n_