Screenshot with Mouse Cursor on Mac: 4 Methods (2026)
Taking a screenshot with the mouse pointer on Mac isn't easy — macOS hides the cursor by default. If you make tutorials, write docs, or file bug reports, you need that cursor in the shot — which is why dedicated tools like ScreenSnap Pro make it a one-click toggle.
Here are four ways to get a screenshot with your cursor showing. We'll cover built-in tools and apps that make it simple.
Why you need the screenshot mouse pointer visible
Most Mac screenshot shortcuts hide the cursor automatically. That's fine for general captures, but certain situations demand a visible pointer:
- Tutorials and how-to guides — readers need to see where to click
- Bug reports — showing exactly which element triggers the issue
- Documentation — illustrating workflows with step-by-step clicks
- Presentations — guiding viewers through interface demos
Without the cursor, your screenshots lose critical context. A reader staring at a menu screenshot has no idea which option you're pointing at.
This matters a lot for tech writing. Apple's own Human Interface Guidelines stress the need for clear visual cues. Your cursor is one of the best cues you can give readers.
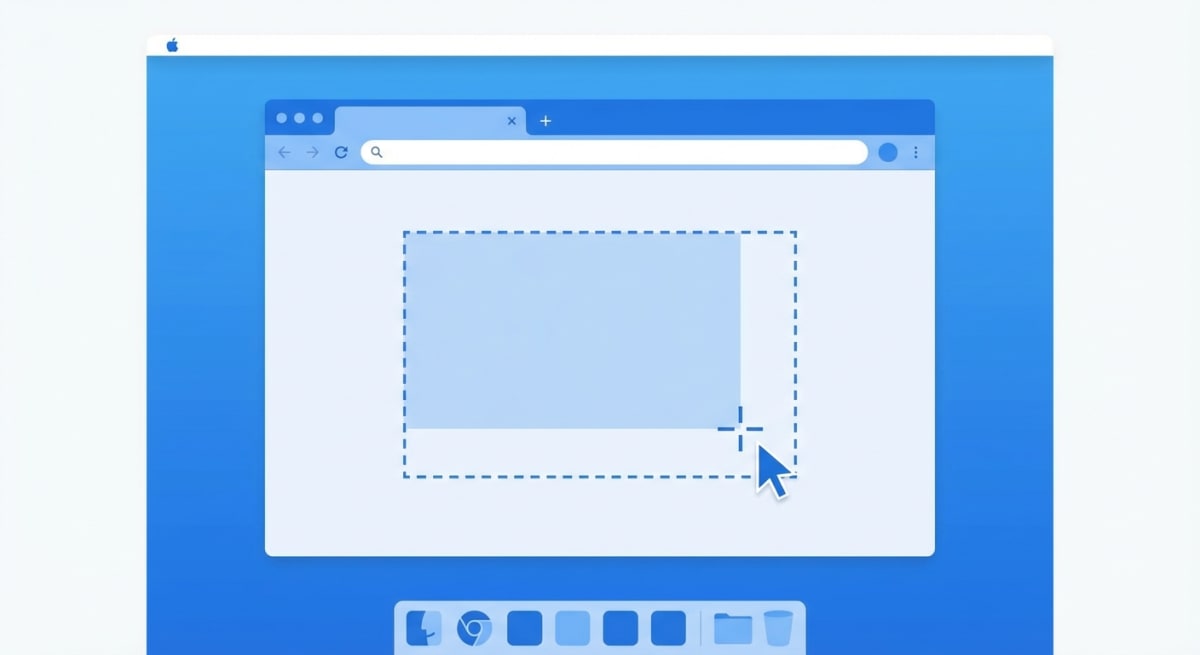
Method 1: Screenshot app (⌘+Shift+5)
The fastest built-in option uses the macOS Screenshot app. This works on macOS Mojave (10.14) and later — which covers most Macs in use today. On an older version? Skip to Method 2 or 3.
- Press
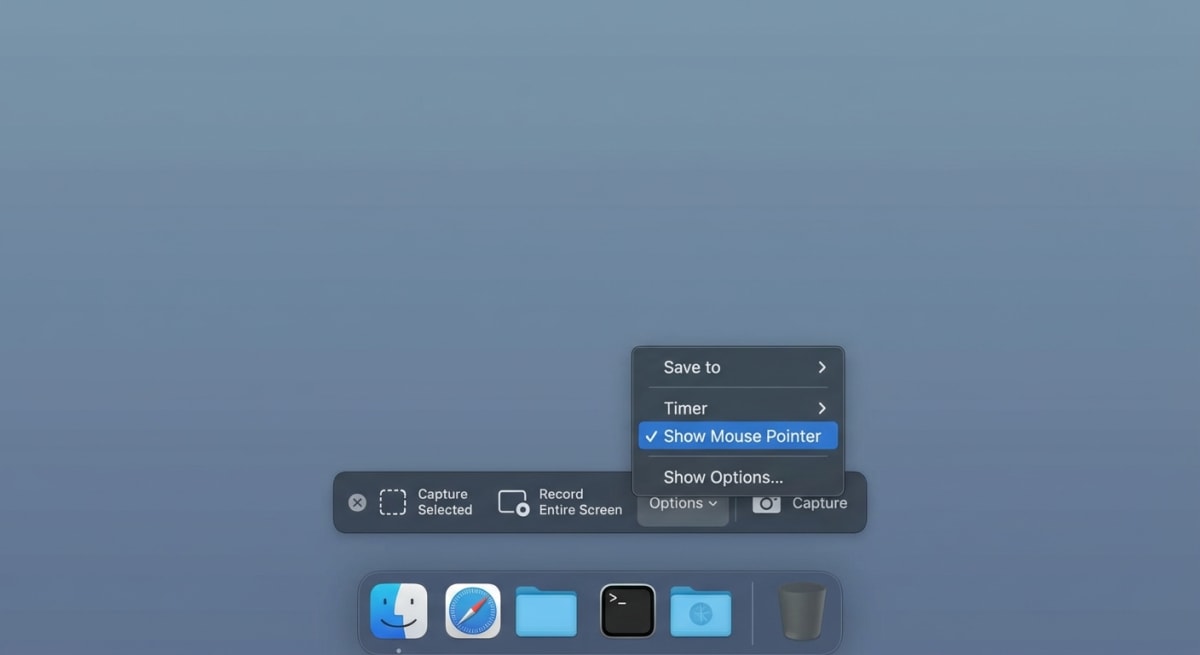
⌘ + Shift + 5to open the Screenshot toolbar - Click Options in the toolbar
- Check Show Mouse Pointer
- Take your screenshot with
⌘ + Shift + 3(full screen) or⌘ + Shift + 4(selection)
The cursor will now appear in every screenshot you take until you turn the setting off.
One caveat: This setting can reset after macOS updates. If your cursor suddenly disappears from screenshots again, re-enable it through the same Options menu.
Keep in mind this setting is global. Once on, every screenshot shows the cursor until you turn it off. If you only need the cursor now and then, you'll have to toggle it each time.
Pro tip: You can also change your screenshot save location and set a timer delay from this same Options menu. A 5 or 10-second timer gives you time to position the cursor precisely before capture.
Method 2: Preview app
Preview always shows the cursor in its screenshots. You don't need to change any settings.
- Open Preview (search in Spotlight or find it in Applications)
- Go to File → Take Screenshot → From Entire Screen
- A 10-second countdown starts
- Move your cursor to the right spot before time runs out

The screenshot opens right in Preview. From there you can edit and mark it up without opening another app.
Preview also lets you capture a specific window or the full screen from the same menu. Choose File → Take Screenshot → From Window and click the window you want. The cursor shows up in both modes.
What to know: The 10-second delay can be tricky. Menus and tooltips often close before the timer ends, so this method works best for static screens. There's also no way to select a custom area — you get the full screen or a single window.
Still, Preview is a great pick when you want a fast cursor screenshot with zero setup. It's already on your Mac, and it just works.
Tired of plain screenshots? Try ScreenSnap Pro.
Beautiful backgrounds, pro annotations, GIF recording, and instant cloud sharing — all in one app. Pay $29 once, own it forever.
See what it doesMethod 3: Terminal command (screencapture)
If you like the command line, screencapture gives you full control from Terminal.
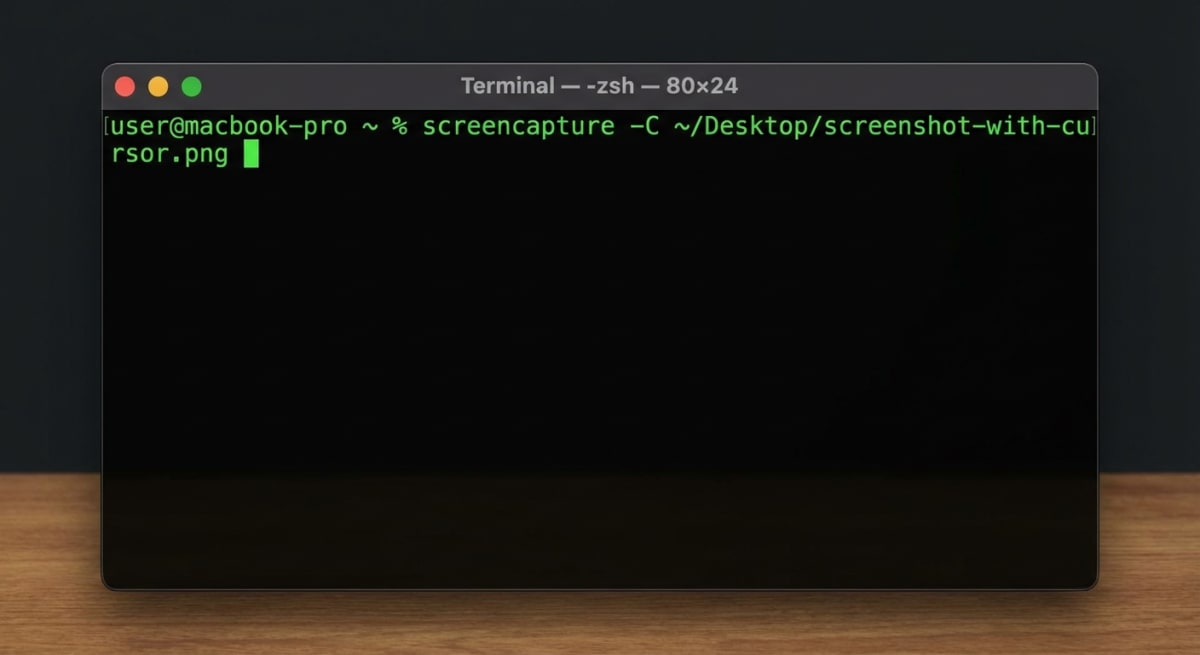
Run this command to take a full-screen screenshot with the cursor:
screencapture -C ~/Desktop/cursor-screenshot.pngThe -C flag tells macOS to include the mouse cursor in the capture. Without this flag, the cursor is hidden — same as the default behavior with keyboard shortcuts.
You can verify the command worked by opening the resulting file and checking for the cursor. If it's missing, make sure you're using an uppercase -C (lowercase -c copies to clipboard instead).
Useful flag combinations
| Command | What it does |
|---|---|
screencapture -C -T 3 screenshot.png | 3-second delay with cursor |
screencapture -C -i screenshot.png | Interactive selection with cursor |
screencapture -C -w screenshot.png | Window capture with cursor |
screencapture -C -c | Capture with cursor to clipboard |
You can also make an Automator action or shell script to take cursor screenshots on a timer. This is great for tracking dashboard changes or logging UI states.
Mixing flags for your workflow
The real power of screencapture is mixing flags. For example, to grab a window with the cursor after a 3-second delay and copy it to the clipboard:
screencapture -C -w -T 3 -cThis is great for docs where you need to capture dropdown menus or hover states with the cursor showing.
For more Terminal tips, Apple's screencapture man page covers every available flag.
Method 4: Third-party screenshot apps
Built-in tools work, but they have limits. A good screenshot app gives you more control over the cursor and everything else.
ScreenSnap Pro shows the cursor by default — no menus to dig through. You can also turn cursor capture on or off per screenshot. That's useful when you switch between tutorial shots (cursor on) and clean marketing shots (cursor off).
Other options worth a look:
- CleanShot X — cursor toggle in settings, paid subscription
- Shottr — free and light, has a cursor option
- Snagit — built for teams, cursor capture included, starts at $63+
These apps do more than just show the cursor. ScreenSnap Pro gives you markup tools, pretty backgrounds, and GIF recording. Apps like CleanShot X and Snagit add extras like cloud sharing and scrolling capture. None of these features come built into macOS.
The real win is that you set it up once. No need to flip a setting each time or type a command. For anyone who takes lots of screenshots each day, that saves real time.
Third-party apps also handle edge cases better. Custom cursor sizes, high-DPI displays, and multi-monitor setups all work more smoothly. Built-in tools can trip up on these.
How to choose between third-party apps
Price models vary a lot. CleanShot X charges a subscription, which adds up over time. Snagit has a one-time cost but it's steep. Shottr is free but limited in features.
ScreenSnap Pro sits in a sweet spot: one-time purchase, no subscription, and it covers the screenshot mouse pointer capture plus GIF recording. If you only need cursor screenshots occasionally, Shottr works. If you take screenshots daily for work, a more complete tool pays for itself.
Think about your workflow. Do you need annotations right after capture? Cloud sharing? GIF recording for quick demos? Match the tool to what you actually do, not what sounds impressive on a feature list.
If you want a simple screenshot tool that just works, check out ScreenSnap Pro. Pay once, own it forever.
Pro tips for tutorial screenshots
Getting the cursor in your screenshot is step one. Making those screenshots actually useful for readers takes a bit more thought.

Position the cursor deliberately. Point it at exactly the element you're referencing. A cursor floating in empty space adds nothing.
Use numbered annotations. Pair your cursor screenshots with step numbers using an annotation tool so readers follow the sequence.
Consider cursor size. If your cursor is hard to spot, enlarge it temporarily: System Settings → Accessibility → Display → Pointer Size. Note that macOS may not capture the enlarged size accurately in built-in tools.
Crop tight. Don't show the entire screen when you only need a menu. Crop your screenshots to focus attention on the relevant area.
Blur sensitive info. Tutorial screenshots often show personal data. Use a blur tool to redact anything private before sharing.
Add context with backgrounds. For polished tutorial screenshots, add a gradient background to make your cursor screenshots stand out. This works especially well for documentation and blog posts where you want screenshots to feel professional rather than raw.
Keep cursor spots steady. If you're making a step-by-step guide, put the cursor in a similar spot across all your screenshots. This makes it much easier for readers to follow along.
Test across displays. If you use an external monitor, take a test screenshot on each display. Some apps render the cursor differently at various DPI levels. Retina displays sometimes produce a cursor that looks tiny on non-Retina screens, so verify before publishing.
Match cursor style to content. For technical docs, the standard arrow cursor works best. If you're showing a text editing workflow, make sure the I-beam cursor is visible. The cursor type tells readers what kind of interaction is happening — clicking vs. typing vs. hovering.
Save originals. Always keep the uncropped, unannotated version of your cursor screenshots. You might need to re-crop or re-annotate later, and starting from the original is much easier than working from an already-edited file.
Which method should you pick?
| Method | Best for | Cursor control | Capture types |
|---|---|---|---|
| Screenshot app (⌘+Shift+5) | Quick one-off captures | Toggle on/off | Full, selection, window |
| Preview | Simple full-screen grabs | Always on | Full screen only |
| Terminal (screencapture) | Automation and scripts | Flag-based | All types |
| Third-party apps | Regular screenshot work | Per-capture toggle | All types + extras |
For occasional cursor screenshots, the Screenshot app method works fine. If you create tutorials or documentation regularly, a dedicated app saves time and gives you better results.
Most people start with Method 1 and move to a third-party app once they see how often they need cursor shots. Terminal fills a niche — if you need cursor screenshots on a set schedule with no manual work, it can't be beat.
Pick one method and stick with it. You don't want to hunt through settings every time you need a cursor screenshot.
Frequently Asked Questions
Morgan
Indie DeveloperIndie developer, founder of ScreenSnap Pro. A decade of shipping consumer Mac apps and developer tools. Read full bio
@m_0_r_g_a_n_