How to Screenshot on Linux (2026) — Every Method
Taking a screenshot on Linux is easy once you know which tool your desktop uses. Every major Linux distro ships with a built-in capture tool. Press PrtSc and it grabs your full screen on most setups. (If you also work across Mac or Windows machines, ScreenSnap Pro covers both with a single workflow.)
But Linux gives you more options than any other OS. You can use keyboard shortcuts, CLI tools, or full apps with arrows and blur. This guide covers every method across GNOME, KDE, and the command line.
Built-in screenshot shortcuts
These keyboard shortcuts work on most Linux desktops out of the box:
| Shortcut | What It Does | Works On |
|---|---|---|
PrtSc | Full screen screenshot | GNOME, KDE, XFCE, Cinnamon |
Shift + PrtSc | Select area to capture | GNOME (older), KDE |
Alt + PrtSc | Active window only | GNOME, KDE |
Super + PrtSc | Full screen to file | Some distros |
Super + Shift + PrtSc | Area selection to file | Some distros |
Note: GNOME 42+ (Ubuntu 22.04+) changed the PrtSc behavior. It now opens a screenshot tool overlay instead of saving right away. More on that below.
Some keyboards lack a PrtSc key. This is common on compact laptops. Check your function row — it's often Fn + F12 or Fn + Insert.
GNOME Screenshot tool (Ubuntu, Fedora)
GNOME is the default desktop on Ubuntu, Fedora, and many other popular distros. Its screenshot tool has changed a lot in recent versions.
GNOME 42+ (modern Ubuntu)
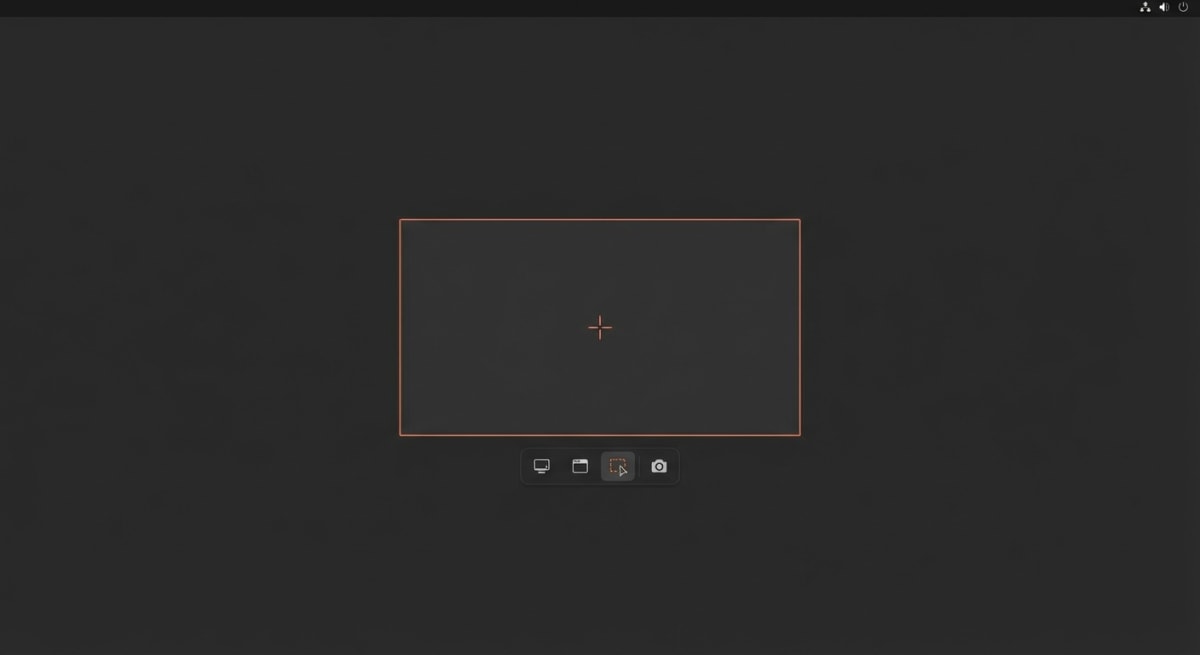
Press PrtSc and you get a screenshot overlay with three modes:
- Selection — drag to capture a custom area
- Screen — capture the full display
- Window — click a window to capture it
The overlay also has a screen recording toggle. Flip it on to record your screen as a video. No extra app needed.
After capturing, the screenshot copies to your clipboard and saves to ~/Pictures/Screenshots/. A toast notification lets you open it right away.
GNOME Screenshot (legacy)
Older GNOME versions (before 42) used the gnome-screenshot app:
# Full screen
gnome-screenshot

# Active window
gnome-screenshot -w

# Select area
gnome-screenshot -a

# With 5-second delay
gnome-screenshot -d 5
If you're on an older Ubuntu or Debian install, these commands still work. On newer versions, GNOME has replaced this with the built-in overlay.
Where GNOME saves screenshots
- Default location:
~/Pictures/Screenshots/ - Clipboard: Screenshots also copy to the clipboard for quick pasting
- File format: PNG by default
To change the save location, use dconf-editor or run:
gsettings set org.gnome.gnome-screenshot auto-save-directory '/home/user/custom-folder'KDE Spectacle (Kubuntu, KDE Neon)
KDE's built-in screenshot tool is called Spectacle. It offers more than GNOME's tool. You get a full settings panel and extra capture modes.
How to use Spectacle
Press PrtSc on any KDE desktop to open Spectacle. You get these options:
- Full Screen — captures all monitors
- Current Screen — captures the active monitor only
- Active Window — captures the focused window
- Region — drag to select a custom area
- Window Under Cursor — hover and click to capture
Spectacle features
- Timer delay (1-99 seconds)
- Include mouse cursor toggle
- Include window borders toggle
- On-click actions — save, copy, annotate, or share
- Built-in annotation — basic arrows, text, and shapes (added in recent versions)
- Export to file, clipboard, or directly to apps
Spectacle is the most complete built-in Linux screenshot tool on any desktop. Launch it from the terminal with:
spectacleFlameshot — best third-party screenshot tool for Linux
Flameshot is the go-to screenshot tool for Linux power users. It's free and open-source. It also has the best markup tools of any Linux screenshot app.

Install Flameshot
# Ubuntu/Debian
sudo apt install flameshot

# Fedora
sudo dnf install flameshot

# Arch
sudo pacman -S flameshot
How to use Flameshot
# Open the capture overlay
flameshot gui

# Full screen capture
flameshot full

# Capture and save to specific path
flameshot full -p ~/Screenshots/

# Delayed capture (3 seconds)
flameshot gui -d 3000
After selecting an area, Flameshot shows a toolbar with:
- Arrow and line tools
- Rectangle and circle shapes
- Freehand drawing
- Text labels
- Blur/pixelate for hiding private data
- Counter (numbered badges)
- Color picker
- Undo/redo
Flameshot is the closest Linux match to Mac markup tools like ScreenSnap Pro. You mark up right after capture. No need to open a separate editor.
Set Flameshot as your default screenshot tool
On GNOME, you can remap PrtSc to Flameshot:
# Remove default GNOME screenshot shortcut first
# Then add custom shortcut in Settings → Keyboard → Custom Shortcuts
# Name: Flameshot
# Command: flameshot gui
# Shortcut: PrtSc
Shutter — feature-rich screenshot editor
Shutter is an older but powerful screenshot app. It has a full image editor built in.
Install Shutter
# Ubuntu/Debian
sudo apt install shutter

# Fedora (via RPM Fusion)
sudo dnf install shutter
What Shutter offers
- Full screen, window, and area capture
- Built-in editor with arrows, shapes, text, blur, and crop
- Timed captures with delays
- Plugins for borders, watermarks, and effects
- Upload to Imgur and other image hosts
- Session history — browse all past captures
Limits: Shutter's development has slowed. It doesn't work on Wayland (see below).
It also needs Perl libraries. These can be tricky on newer distros.
Best for: X11 users who want a full-featured editor and don't mind an older interface.
Tired of plain screenshots? Try ScreenSnap Pro.
Beautiful backgrounds, pro annotations, GIF recording, and instant cloud sharing — all in one app. Pay $29 once, own it forever.
See what it doesKsnip — best Wayland-native screenshot tool with annotations
Ksnip is a free screenshot tool that works on both X11 and Wayland. It fills a gap others miss: full markup with native Wayland capture.
Install Ksnip
# Ubuntu/Debian
sudo apt install ksnip

# Fedora
sudo dnf install ksnip

# Arch
sudo pacman -S ksnip

# Snap (works on any distro)
sudo snap install ksnip
What makes Ksnip stand out
Ksnip gives you the markup depth of Flameshot plus proper Wayland support. Here's what you get:
- Area, window, and full screen capture on both X11 and Wayland
- Arrow and line tools with customizable tips
- Text with background — readable labels that don't get lost
- Numbered markers for step-by-step guides
- Blur and pixelate to hide private data
- Stickers and emojis for a lighter touch
- Crop and scale before saving
- Custom save paths and auto-naming patterns
Ksnip vs Flameshot
Both are excellent. The difference comes down to your display server:
| Feature | Ksnip | Flameshot |
|---|---|---|
| Wayland support | ✅ Full | ⚠️ Partial |
| Annotation tools | ✅ Full | ✅ Full |
| Tray icon | ✅ | ✅ |
| Global shortcuts | ✅ | ✅ |
| Upload integration | Imgur, FTP | Imgur |
| Interface | Separate window | Inline overlay |
On Wayland with markup needs? Ksnip is the better pick. On X11 and prefer the inline overlay style? Stick with Flameshot.
Set up Ksnip for daily use
Open Ksnip's settings to customize your workflow:
- Set a global hotkey — go to Settings → Hotkeys and bind
PrtScto your preferred capture mode - Choose a save location — Settings → Saver lets you set a default folder and naming pattern
- Enable tray icon — keeps Ksnip running in the background for instant captures
Command line screenshot tools
Linux has powerful CLI screenshot tools. They're great for scripts and quick tasks. They also work in remote sessions with no GUI.
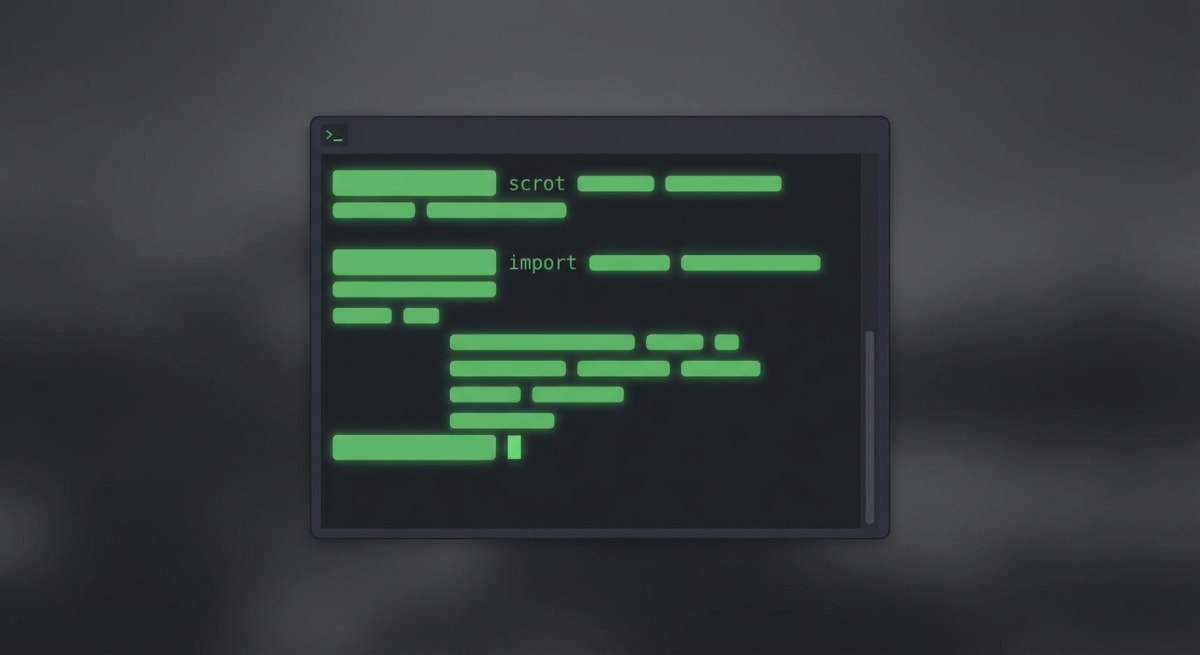
scrot (X11)
The classic CLI screenshot tool. Simple and fast.
# Install
sudo apt install scrot

# Full screen
scrot screenshot.png

# Select area (click and drag)
scrot -s screenshot.png

# Active window
scrot -u screenshot.png

# Delayed (5 seconds)
scrot -d 5 screenshot.png

# Execute command after capture
scrot screenshot.png -e 'mv $f ~/Screenshots/'
import (ImageMagick)
Part of the ImageMagick suite. Great for scripted captures.
# Install
sudo apt install imagemagick

# Full screen
import -window root screenshot.png

# Select area (click and drag)
import screenshot.png

# Specific window by ID
import -window 0x3a00004 screenshot.png

# Resize on capture
import -window root -resize 50% small-screenshot.png
grim + slurp (Wayland)
X15 tools don't work on Wayland. Use grim for capture and slurp to select an area:
# Install (Sway/wlroots compositors)
sudo apt install grim slurp

# Full screen
grim screenshot.png

# Select area
grim -g "$(slurp)" screenshot.png

# Specific output (monitor)
grim -o DP-1 screenshot.png

# Copy to clipboard
grim - | wl-copy
xclip — copy screenshots to clipboard
# Capture and copy to clipboard (X11)
scrot /tmp/screenshot.png && xclip -selection clipboard -t image/png /tmp/screenshot.png

# Wayland equivalent
grim - | wl-copy
Need to extract text from a screenshot? Pipe the image through tesseract for OCR.
Wayland vs X11: what changes for screenshots
Wayland is replacing X11 as the default display server. Ubuntu, Fedora, and GNOME all use it by default now.
This matters for screenshots. Wayland changes how screen capture works. Many older tools break.
What breaks on Wayland
- scrot — doesn't work (X11 only)
- import (ImageMagick) — doesn't work
- Shutter — doesn't work
- xdotool — can't capture windows
- Any tool using X11 APIs for screen capture
What works on Wayland
| Tool | Wayland Support |
|---|---|
| GNOME Screenshot (42+) | ✅ Native |
| KDE Spectacle | ✅ Native |
| Flameshot | ⚠️ Partial (basic capture works, some features limited) |
| grim + slurp | ✅ Native |
| wf-recorder | ✅ Screen recording |
| OBS Studio | ✅ Via PipeWire |
How to check if you're on Wayland
echo $XDG_SESSION_TYPE
# Output: wayland or x11
If you're on Wayland and your screenshot tool doesn't work, try the GNOME/KDE built-in tools first. For CLI use, switch to grim + slurp.
The XWayland workaround
Some X15 tools run on Wayland through XWayland. This is a compatibility layer. But it can only capture XWayland windows — not native Wayland apps. The result? Partial or blank screenshots for many apps.
Bottom line: On Wayland, use native Wayland tools. Don't fight the compatibility layer.
Fixing common Wayland screenshot problems
Blank or black screenshots? Your tool likely uses X11 APIs. Switch to grim or use the GNOME/KDE built-in tool.
Flameshot not showing the overlay? On GNOME Wayland, run Flameshot through the D-Bus portal:
# Use the portal-based capture on GNOME Wayland
flameshot gui
# If that fails, try launching with env variable:
env XDG_CURRENT_DESKTOP=sway flameshot gui
No clipboard support? Make sure wl-clipboard is installed:
sudo apt install wl-clipboard
# Then copy screenshots with:
grim - | wl-copy
Screenshot tool can't see other windows? Wayland blocks apps from seeing other windows by default. Your tool needs the XDG Desktop Portal for capture access. Most modern tools handle this. Older ones don't.
Fractional scaling looks wrong? On HiDPI Wayland displays, screenshots may look the wrong size. Use grim with the -s flag to fix it:
# Capture at 2x scale
grim -s 2 screenshot.png
Best Linux screenshot tools compared
| Tool | Type | Annotation | Wayland | Price | Best For |
|---|---|---|---|---|---|
| GNOME Screenshot | Built-in | ❌ | ✅ | Free | Ubuntu/Fedora defaults |
| KDE Spectacle | Built-in | ✅ Basic | ✅ | Free | KDE desktops |
| Flameshot | Third-party | ✅ Full | ⚠️ Partial | Free | Best all-around |
| Shutter | Third-party | ✅ Full | ❌ | Free | X11 power users |
| Ksnip | Third-party | ✅ Full | ✅ | Free | Wayland + annotations |
| scrot | CLI | ❌ | ❌ | Free | Scripts (X11) |
| grim + slurp | CLI | ❌ | ✅ | Free | Scripts (Wayland) |
| import | CLI | ❌ | ❌ | Free | ImageMagick workflows |
Which tool should you pick?
- Ubuntu/Fedora (GNOME): The built-in tool handles basics. Add Flameshot when you need annotation.
- KDE: Spectacle is solid. Add Flameshot for better markup tools.
- Wayland users: Stick with native tools (GNOME built-in, Spectacle, grim). Avoid X11-only apps.
- CLI/scripting: Use
scroton X11,grimon Wayland. - Full annotation suite: Flameshot is the best free option on Linux.
Linux vs Mac vs Windows screenshots
If you work across platforms, here's how Linux compares:
| Feature | Linux | Mac | Windows |
|---|---|---|---|
| Full screen shortcut | PrtSc | ⌘ + Shift + 3 | Win + PrtScn |
| Area selection | Shift + PrtSc | ⌘ + Shift + 4 | Win + Shift + S |
| Window capture | Alt + PrtSc | ⌘ + Shift + 4 + Space | Alt + PrtScn |
| Built-in annotation | Flameshot (third-party) | Markup in Preview | Snipping Tool |
| Scrolling screenshot | No built-in | Third-party | ShareX |
| CLI tools | scrot, grim, import | screencapture | None |
| Save location | ~/Pictures/Screenshots/ | Desktop | Pictures\Screenshots |
Linux wins on CLI tools. Mac has the best built-in keyboard shortcuts. Windows has the best built-in markup via Snipping Tool.
Want pro-level tools on Mac? ScreenSnap Pro adds instant markup, beautiful backgrounds, and cloud sharing. All for a one-time $29 payment.
Tips and tricks for better Linux screenshots
These quick tips save time and make your captures look better.
Automate screenshots with cron
Need screen captures on a timer? Schedule them with cron:
# Capture every 5 minutes (X11)
*/5 * * * * DISPLAY=:0 scrot /home/user/Screenshots/auto-%Y%m%d-%H%M%S.png

# Capture every 5 minutes (Wayland — Sway)
*/5 * * * * WAYLAND_DISPLAY=wayland-1 grim /home/user/Screenshots/auto-$(date +\%Y\%m\%d-\%H\%M\%S).png
Add shadows and borders
Raw screenshots can look flat. Add a shadow with ImageMagick:
convert screenshot.png \( +clone -background black -shadow 60x8+0+0 \) +swap -background white -layers merge +repage polished.pngThis adds a soft shadow behind your screenshot. Great for blog posts and docs.
Convert format on the fly
Most tools save PNG by default. Convert to JPG or WebP to save space:
# PNG to WebP (great for web)
cwebp screenshot.png -o screenshot.webp

# PNG to JPG (smaller file, some quality loss)
convert screenshot.png -quality 85 screenshot.jpg
Work with image formats often? Our free image format converter does this in the browser.
Capture with a delay
Delayed captures let you set up menus or tooltips first. Then the screenshot fires:
# Flameshot with 3-second delay
flameshot gui -d 3000

# scrot with 5-second delay
scrot -d 5 screenshot.png

# GNOME built-in: press PrtSc, then use the timer option in the overlay
Bind custom shortcuts
Most Linux desktops let you map any key to a command. Set up shortcuts that fit your workflow:
- GNOME: Settings → Keyboard → Custom Shortcuts
- KDE: System Settings → Shortcuts → Custom Shortcuts
- i3/Sway: Add a
bindsymline to your config file
Example for i3:
# Add to ~/.config/i3/config
bindsym Print exec flameshot gui
bindsym Shift+Print exec flameshot full -p ~/Screenshots/
Frequently Asked Questions
Morgan
Indie DeveloperIndie developer, founder of ScreenSnap Pro. A decade of shipping consumer Mac apps and developer tools. Read full bio
@m_0_r_g_a_n_