How to Convert PDF to JPG Free (5 Methods, 2026)
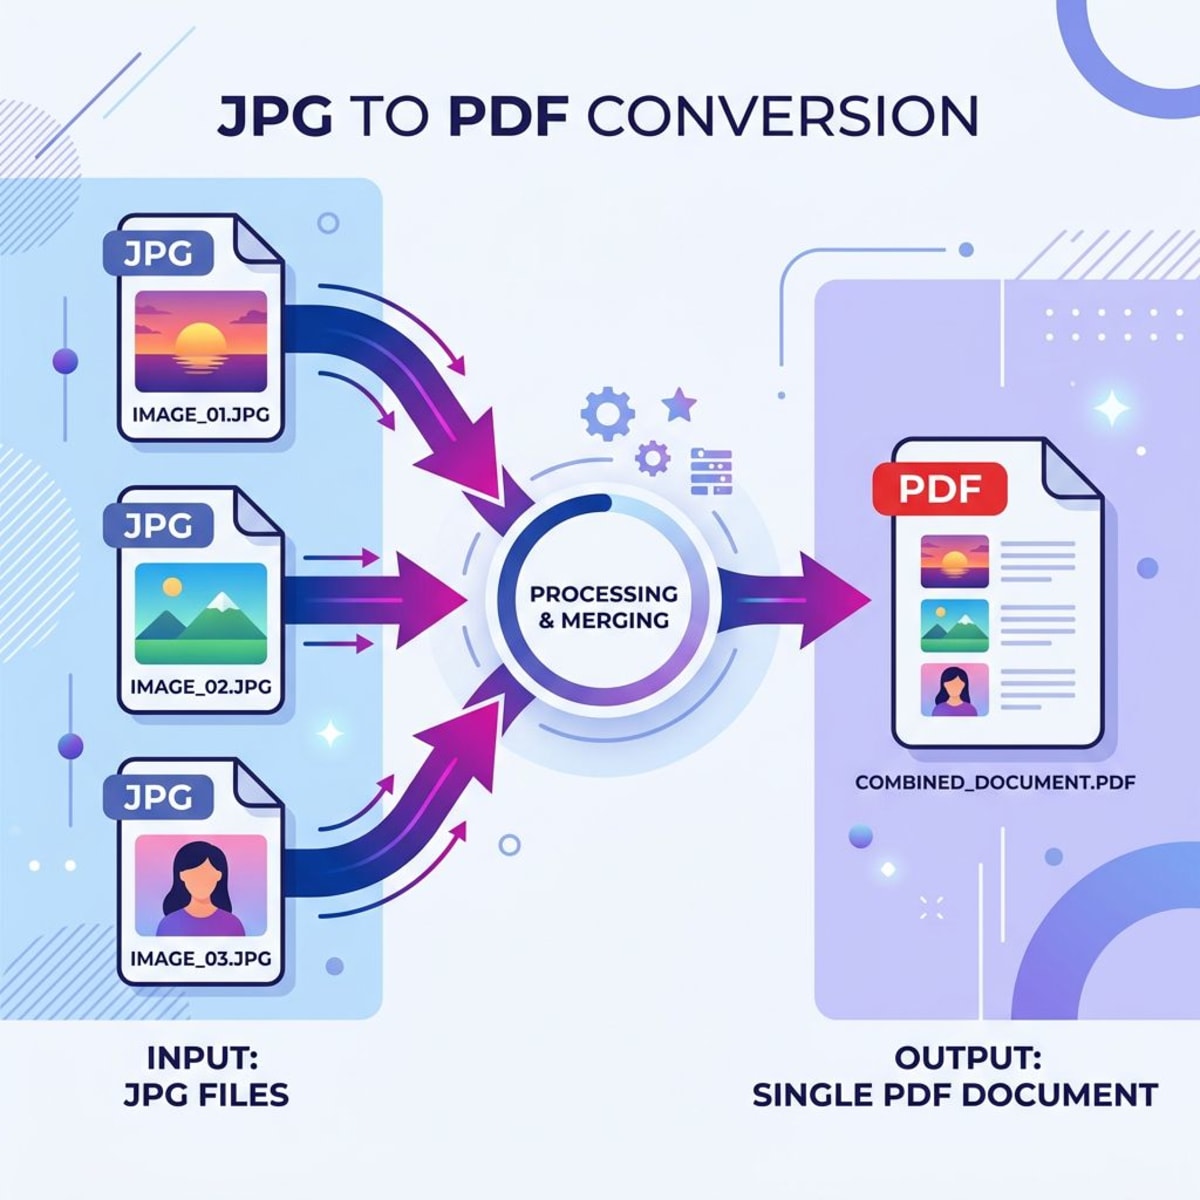
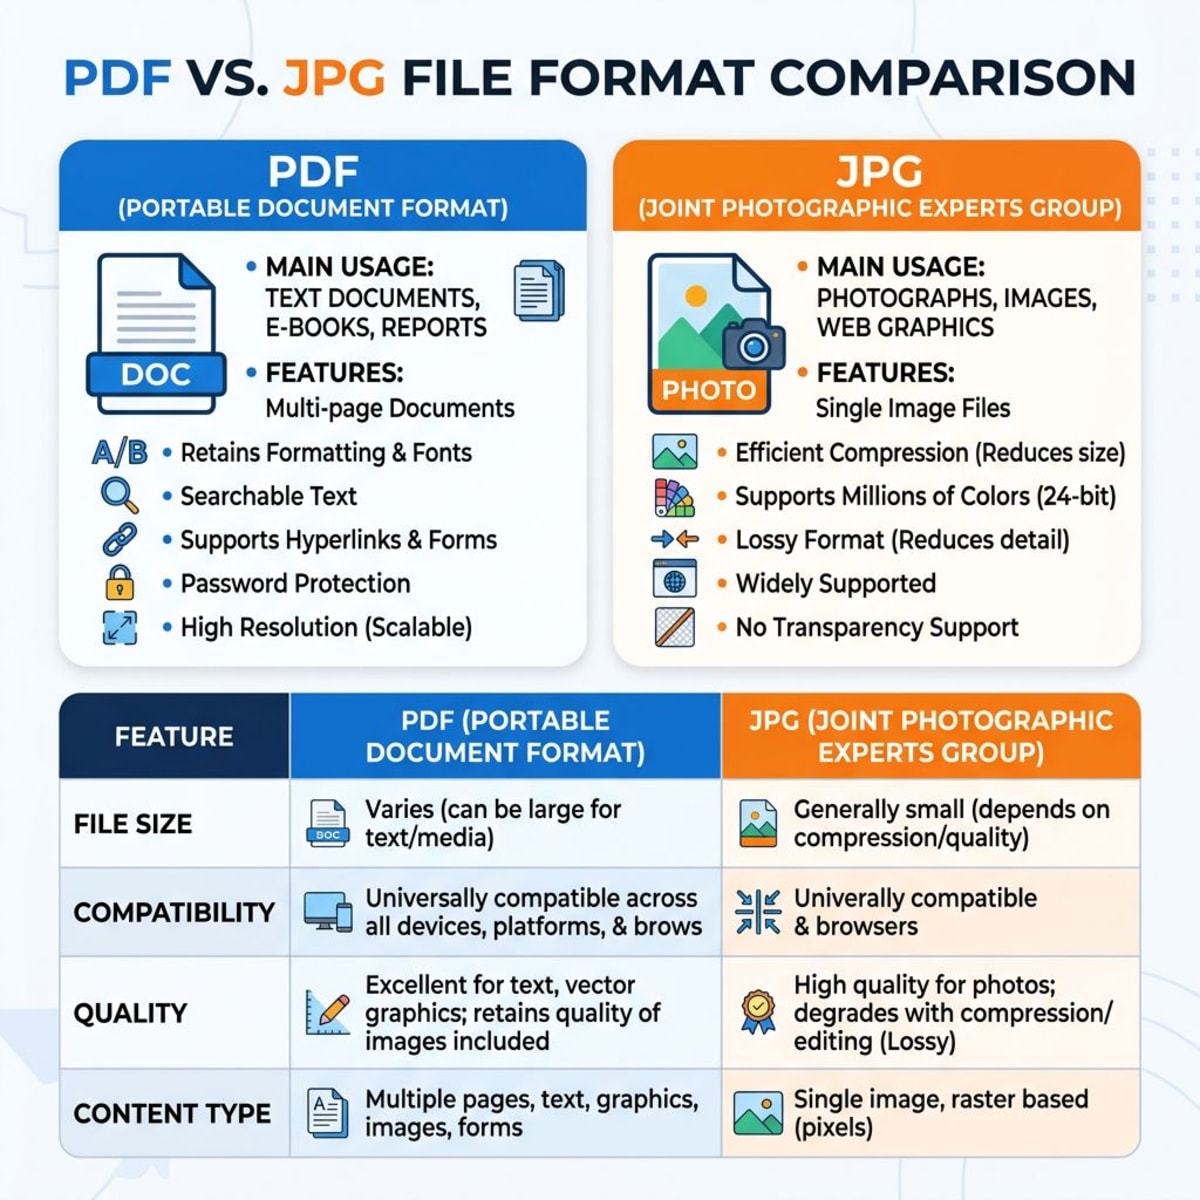
Converting a PDF to JPG turns each page into a standalone image file you can embed in presentations, upload to websites, or share without needing a PDF reader. Whether you need a quick online conversion, a built-in Mac or Windows method, or a command-line approach for bulk files, there's a free pdf to jpg option that fits.
Below you'll find five methods — from zero-install browser tools to developer-friendly CLI commands — plus tips on batch conversion and preserving image quality.
Why convert PDF to JPG?
PDFs are great for documents, but they aren't always the most convenient format. Here's when converting a PDF to a picture makes sense:
- Embedding in presentations. Google Slides and PowerPoint handle JPG natively — no plugins needed.
- Uploading to social media. Platforms like Instagram, Twitter, and LinkedIn accept images, not PDFs.
- Reducing file size. A single-page JPG is often smaller than the equivalent PDF, especially for photo-heavy documents.
- Compatibility. Every device, browser, and messaging app can display a JPG. Not all can render a PDF inline.
- Quick previews. Need a thumbnail of a report cover or invoice? A JPG is easier to work with than a multi-page PDF.
If you're going the other direction — turning images into PDFs — check out our guide on how to convert screenshots to PDF on Mac.
Method 1: Free online PDF to JPG converter (no signup)
The fastest way to convert PDF to JPG is with an online tool. Our free PDF to Image converter runs entirely in your browser — no uploads to a server, no account required.
How to use it
- Open the PDF to Image tool.
- Drag and drop your PDF (or click to browse).
- Choose JPG as the output format.
- Set your preferred quality (higher = larger file, sharper image).
- Click Convert and download your images.
Why this method works well
- Privacy-first. Your file never leaves your browser — all processing happens locally.
- No file size limits. Unlike many online pdf to jpg converters, there's no cap on pages or megabytes.
- No watermarks. The output is clean and ready to use.
- Works on any device. Mac, Windows, Linux, phone — if you have a browser, you're set.
This is the best option if you need a quick, free conversion without installing anything.
Method 2: Mac Preview (built-in)
Every Mac ships with Preview, and it can save PDF pages as JPG without any extra software. If you use a Mac regularly, you might also want to explore our full Mac Preview app guide for more tricks.
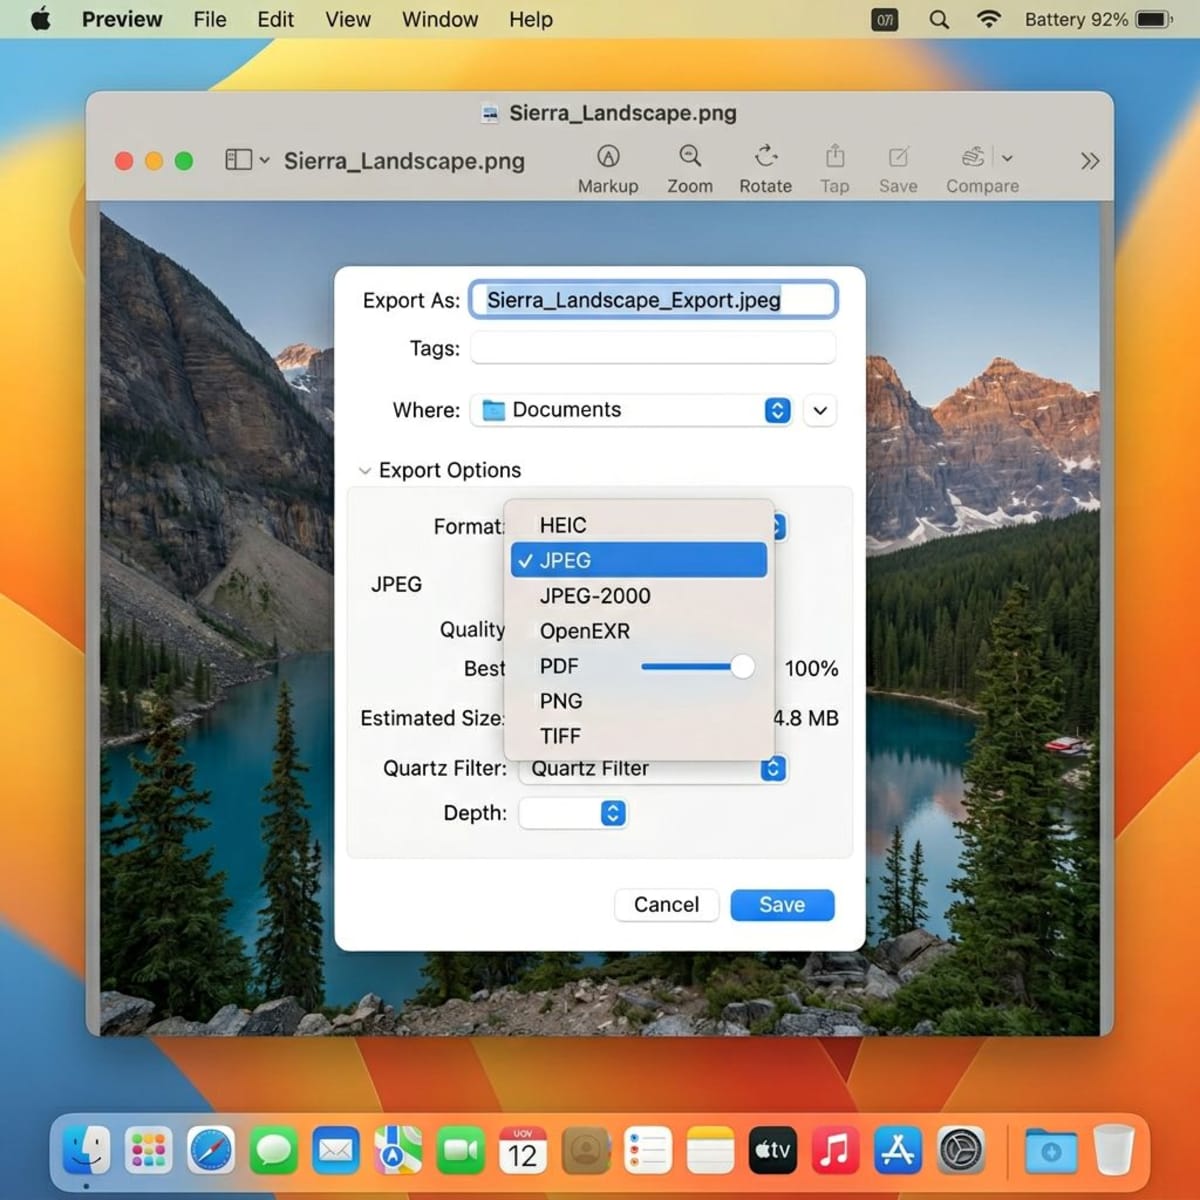
Steps to convert PDF to JPG on Mac
- Right-click your PDF and choose Open With > Preview.
- Go to File > Export in the menu bar.
- In the Format dropdown, select JPEG.
- Adjust the Quality slider (higher means better image, larger file).
- Click Save.
Exporting multiple pages
Preview exports one page at a time by default. To convert all pages:
- Open the PDF in Preview.
- Click View > Thumbnails to show the sidebar.
- Select all thumbnails with
⌘ + A. - Go to File > Export Selected Images.
- Choose JPEG as the format and pick a destination folder.
This gives you one JPG per page — named sequentially.
Adjust resolution in Preview
For higher quality output, you can increase the resolution before exporting. Go to Tools > Adjust Size and bump the DPI to 200 or 300 before saving as JPG. Apple's Preview documentation has more details on supported formats.
Method 3: Convert PDF to JPG on Windows
Windows doesn't have a single built-in tool as clean as Mac Preview, but you can still convert pdf to jpeg without installing third-party apps.
Using Microsoft Photos (Windows 10/11)
- Open the PDF in Microsoft Edge (it handles PDFs natively).
- Navigate to the page you want to save.
- Press
Ctrl + Pto open Print. - Change the printer to Microsoft Print to PDF — wait, that creates another PDF.
- Instead, use the Snipping Tool (
Win + Shift + S) to capture the page as an image. - Open the capture in Paint and save as JPG.
Using PowerPoint (hidden trick)
Microsoft PowerPoint can actually import PDF pages as images:
- Open PowerPoint and create a new blank presentation.
- Go to Insert > Images > This Device.
- Change the file type filter to All Files and select your PDF.
- PowerPoint imports each page as a separate slide image.
- Right-click each image and choose Save as Picture → select JPG.
This method preserves layout better than the Snipping Tool approach, especially for documents with complex formatting.
A faster approach for Windows
The methods above work for one or two pages, but they're tedious for longer documents. For multi-page PDFs on Windows, use Method 1 (our free online tool) or Method 4 (Adobe Acrobat online) — both work in any browser without installing anything.
Tired of plain screenshots? Try ScreenSnap Pro.
Beautiful backgrounds, pro annotations, GIF recording, and instant cloud sharing — all in one app. Pay $29 once, own it forever.
See what it doesMethod 4: Adobe Acrobat online (free tier)
Adobe offers a free online pdf to jpg converter at acrobat.adobe.com. It converts each page into a separate JPG file.
How it works
- Go to Adobe's PDF to JPG tool.
- Upload your PDF (drag and drop or browse).
- Wait for processing — Adobe handles the conversion server-side.
- Download the ZIP file containing your JPG images.
Limitations
- Free tier caps. Adobe limits free users to a handful of conversions per day.
- Account required. You need to sign in with an Adobe, Google, or Apple account.
- Server-side processing. Your file is uploaded to Adobe's servers, which may be a concern for sensitive documents.
- File size limits. Free accounts are capped at 100 MB per file.
For quick one-off conversions, Adobe works well. For sensitive or frequent conversions, a local tool is more practical.
Method 5: Command line with ImageMagick
If you're comfortable with the terminal, ImageMagick paired with Ghostscript gives you the most control over PDF to image conversion. This method works on Mac, Windows, and Linux.
Install the tools
Mac (Homebrew):
brew install imagemagick ghostscriptUbuntu/Debian:
sudo apt install imagemagick ghostscriptWindows (Chocolatey):
choco install imagemagick ghostscriptConvert a PDF to JPG
magick -density 300 input.pdf -quality 90 output-%03d.jpgThis creates one JPG per page (output-000.jpg, output-001.jpg, etc.) at 300 DPI with 90% quality.
Key flags explained
| Flag | What it does |
|---|---|
-density 300 | Sets render resolution (DPI). Higher = sharper but larger files |
-quality 90 | JPG compression level (1-100). 85-95 is the sweet spot |
-resize 1920x | Scales output to specific width (maintaining aspect ratio) |
-alpha remove | Removes transparency (fills with white — important for PDFs with transparent backgrounds) |
Example: high-quality, web-ready conversion
magick -density 200 input.pdf -resize 1920x -quality 85 -alpha remove page-%02d.jpgThis produces web-ready images at 1920px width — a good balance between quality and file size.
How to convert PDF to PNG instead
Sometimes PNG is the better choice — especially for documents with text, diagrams, or transparent elements. PNG uses lossless compression, so text stays crisp. Check our PNG vs JPG comparison if you're not sure which format to pick.
When to use PNG over JPG
- Text-heavy documents. JPG compression can blur sharp text edges.
- Diagrams and charts. Clean lines look better in PNG.
- Transparency needed. PNG supports transparent backgrounds; JPG doesn't.
How to convert
All five methods above work for PNG too — change the output format:
- Online tool: Select PNG in the format dropdown on our PDF to Image converter.
- Mac Preview: Choose PNG in the Export dialog.
- ImageMagick: Change the file extension to
.png:
magick -density 300 input.pdf output-%03d.pngIf you need to convert between different image formats after the fact, our free image format converter handles that too.
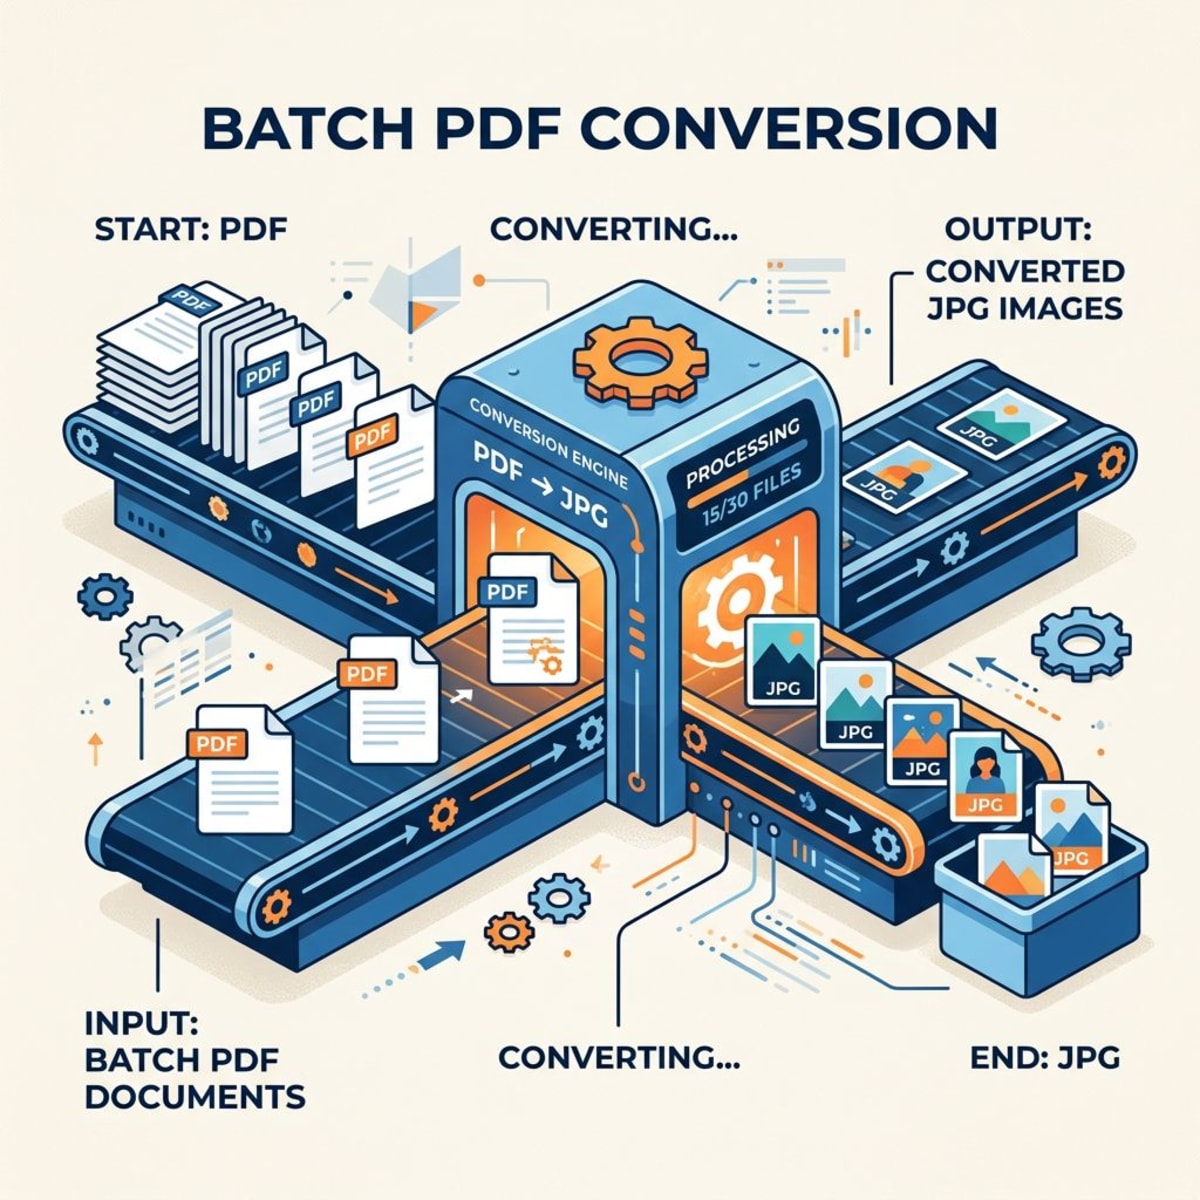
Batch PDF to image conversion
Got a folder full of PDFs to convert? Here's how to handle them efficiently.
Batch convert with ImageMagick
for file in *.pdf; do
  magick -density 200 "$file" -quality 85 "${file%.pdf}-%02d.jpg"
done
This loops through every PDF in the current folder and creates numbered JPGs for each.
Batch convert with our online tool
Our PDF to Image tool supports multi-page PDFs natively. Each page becomes a separate downloadable image — no extra scripts needed.
Mac Automator workflow
For Mac users who want a right-click conversion option:
- Open Automator and create a Quick Action.
- Set "Workflow receives" to PDF files in Finder.
- Add a Run Shell Script action.
- Paste the ImageMagick command above.
- Save the workflow.
Now you can right-click any PDF in Finder and convert it to JPG images from the context menu. For more image conversion tools on Mac, see our image format converter roundup.
Tips for preserving image quality
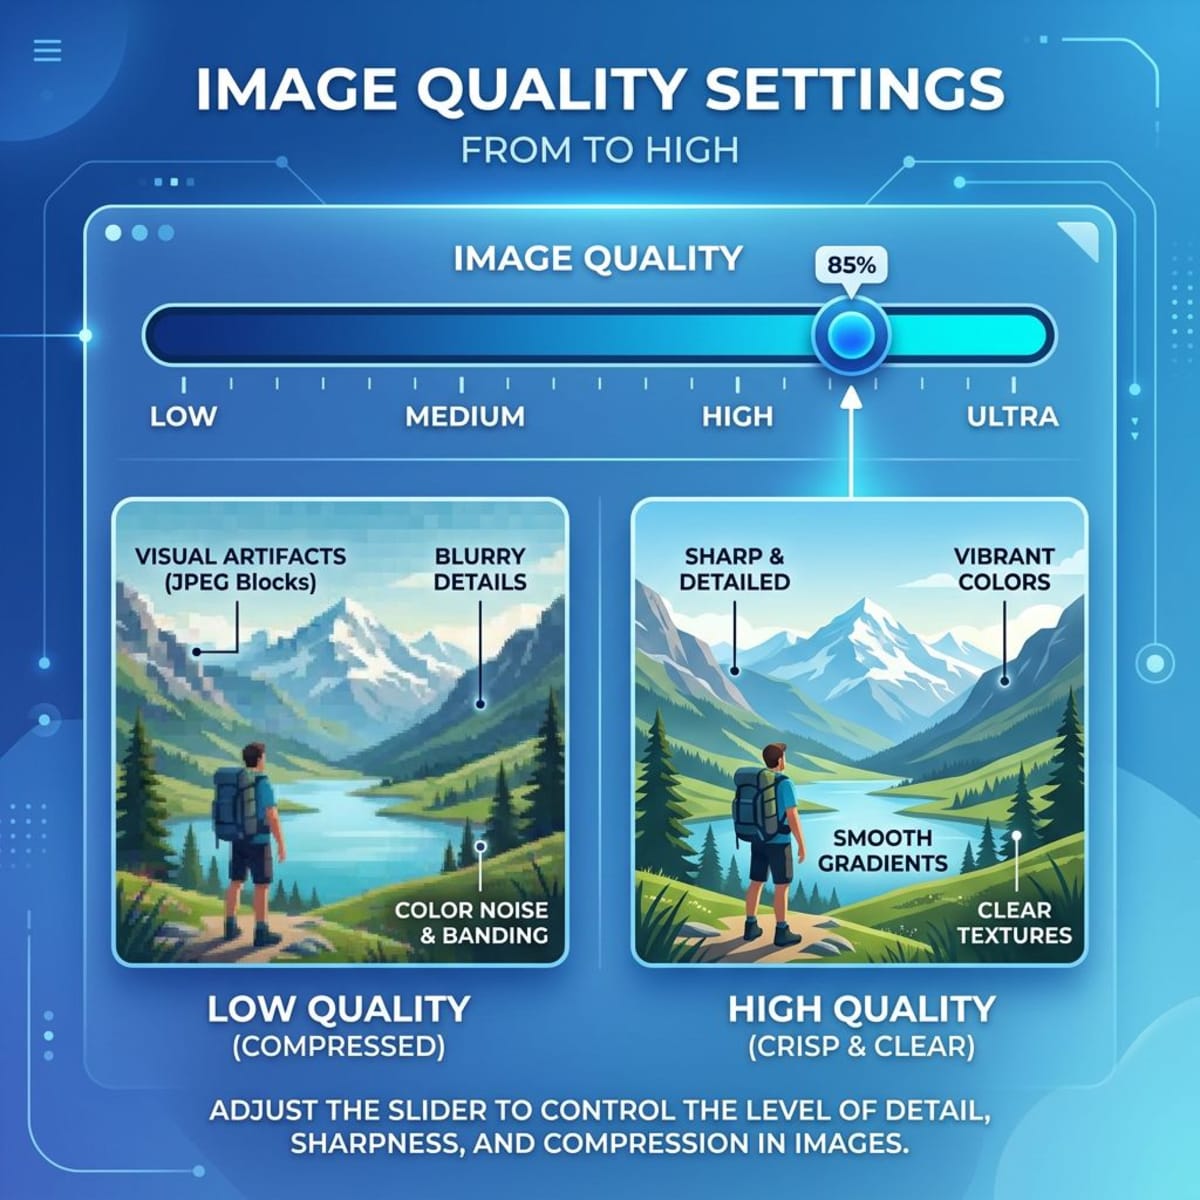
Converting PDF to JPG always involves some quality tradeoffs. Here's how to minimize them.
Choose the right DPI
| Use Case | Recommended DPI | Notes |
|---|---|---|
| Web/screen | 150 | Smallest files, good for thumbnails |
| General use | 200 | Balance of quality and size |
| Print/archive | 300 | Professional quality |
| Large format print | 600 | Maximum detail |
Set appropriate JPG quality
JPG quality between 85-95 gives you visually lossless results for most documents. Below 80, you'll start seeing compression artifacts — especially around text.
Handle text-heavy PDFs carefully
For PDFs that are mostly text (contracts, reports, articles):
- Use PNG instead of JPG to avoid compression blur.
- Set DPI to at least 200.
- If you must use JPG, keep quality at 95+.
Check the output
Always open your converted images and zoom in to verify quality. Areas to check:
- Small text readability.
- Thin lines in diagrams.
- Gradients (watch for banding).
For documents where you need to copy the text rather than just view it, consider using an OCR tool to extract text from the image instead.
Watch out for transparent backgrounds
Many PDFs have transparent backgrounds that look white on screen but convert to black in JPG (since JPG doesn't support transparency). If your converted images have black backgrounds, add the -alpha remove -background white flags in ImageMagick, or use PNG format instead.
Keep your originals
Never delete the source PDF after conversion. JPGs are lossy — you can't get the original quality back from a JPG. Store both the PDF and the converted images.
Frequently Asked Questions
Morgan
Indie DeveloperIndie developer, founder of ScreenSnap Pro. A decade of shipping consumer Mac apps and developer tools. Read full bio
@m_0_r_g_a_n_