QuickTime to GIF: 3 Ways to Convert on Mac (2026)
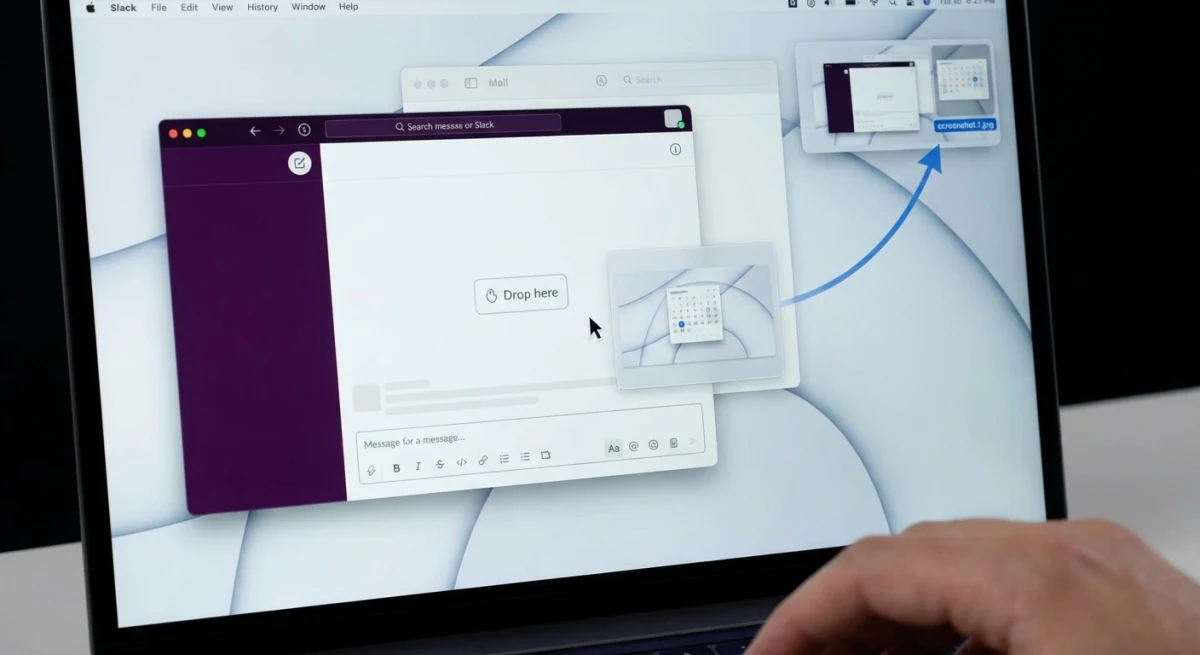
You just recorded your screen with QuickTime. Now you need a GIF for a Slack message, GitHub README, or bug report. But QuickTime only saves as MOV. There's no "Export as GIF" option. (To skip the conversion entirely, an app like ScreenSnap Pro records straight to GIF.)
Don't worry. Converting a QuickTime recording to GIF takes under a minute with the right tool. Here are three ways to do it — from the simplest to the most powerful.
Why QuickTime can't export GIFs
QuickTime Player is Apple's built-in screen recorder. It's free, simple, and already on your Mac. Press ⌘ + Shift + 5, record, done.
But QuickTime saves recordings as .mov files. It has no GIF export option. Apple built QuickTime for video playback and basic recording, not for making GIFs.
That means you need a separate tool to turn your .mov file into a .gif. Here are your three best options.
Method 1: Gifski (best quality, easiest)
Gifski is a free Mac app that makes high-quality GIFs. It's the best option for most people.
How to use it
- Download Gifski from the Mac App Store (free).
- Open the app.
- Drag your QuickTime
.movfile onto the Gifski window. - Set your options:
- FPS — 10-15 is good for most screen recordings. Higher = smoother but bigger files.
- Width — 600-800px works for web and chat. Smaller = smaller file.
- Quality — 80-90% gives a good balance.
- Click Convert.
- Pick where to save the GIF. Done.
Why Gifski is the best option
Gifski uses a special algorithm that makes smaller files with better colors than most GIF tools. Regular GIF encoders are stuck with 256 colors per frame. Gifski picks the best 256 colors for each frame. The result: sharper GIFs with less banding.
It's also dead simple. Drag, set, convert. No command line. No uploads. No accounts.
Best for: Anyone who wants a quick, high-quality GIF without fuss.
Method 2: ffmpeg (best for automation)
ffmpeg is a free command-line tool that handles almost any video or image format. It's the best choice if you convert recordings often or want to script the process.
Install ffmpeg
brew install ffmpegIf you don't have Homebrew, get it from brew.sh first.
Basic conversion
ffmpeg -i recording.mov output.gifThis works but the output is huge and ugly. Here's a better command:
High-quality conversion
ffmpeg -i recording.mov -vf "fps=12,scale=800:-1:flags=lanczos,split[s0][s1];[s0]palettegen[p];[s1][p]paletteuse" -loop 0 output.gifWhat each part does:
fps=12— 12 frames per second (good balance of smooth and small)scale=800:-1— resize to 800px wide, keep aspect ratiopalettegen+paletteuse— makes a custom color palette per frame (much better quality)-loop 0— loop forever
Trim before converting
Don't convert the whole recording if you only need a few seconds:
ffmpeg -i recording.mov -ss 00:00:02 -t 5 -vf "fps=12,scale=600:-1:flags=lanczos,split[s0][s1];[s0]palettegen[p];[s1][p]paletteuse" -loop 0 output.gif-ss 00:00:02— start at 2 seconds-t 5— grab 5 seconds
Make a shell alias
If you do this often, add an alias to your ~/.zshrc:
alias mov2gif='f() { ffmpeg -i "$1" -vf "fps=12,scale=800:-1:flags=lanczos,split[s0][s1];[s0]palettegen[p];[s1][p]paletteuse" -loop 0 "${1%.mov}.gif"; }; f'Then just run mov2gif recording.mov and you get recording.gif.
Best for: Developers who like Terminal and want to batch-convert or automate.
Method 3: Online tools (no install)
If you don't want to install anything, web tools handle the conversion in your browser.
Ezgif
Ezgif is free, fast, and adds no watermark.
- Go to ezgif.com/video-to-gif.
- Upload your
.movfile (max 100MB). - Set frame rate, size, and start/end time.
- Click Convert to GIF.
- Download the result.
Ezgif also lets you optimize the GIF after conversion — crop, resize, adjust speed, and strip frames to shrink the file.
CloudConvert
CloudConvert handles MOV to GIF with more format options and higher size limits (1GB on free tier).
- Go to cloudconvert.com/mov-to-gif.
- Upload your file.
- Adjust settings if needed.
- Convert and download.
Privacy note: Both tools upload your file to their servers. Don't use them for private or sensitive recordings. For those, stick with Gifski or ffmpeg — they run on your Mac.
Best for: Quick one-off conversions when you can't install software.
Tired of plain screenshots? Try ScreenSnap Pro.
Beautiful backgrounds, pro annotations, GIF recording, and instant cloud sharing — all in one app. Pay $39 once, own it forever.
See what it doesMethod comparison
| Feature | Gifski | ffmpeg | Online tools |
|---|---|---|---|
| Price | Free | Free | Free |
| Install needed | Yes (App Store) | Yes (Homebrew) | No |
| Quality | Excellent | Excellent (with palette) | Good |
| Batch convert | No | Yes (scriptable) | No |
| Privacy | Local only | Local only | Files uploaded |
| Ease of use | Drag and drop | Command line | Browser upload |
| Max file size | No limit | No limit | 100MB-1GB |
| Trim/crop | Trim only | Full control | Basic |
Our pick: Gifski for most people. ffmpeg for developers who automate. Online tools for quick one-offs.
Better approach: record directly as GIF
All three methods above have the same problem: you record with QuickTime, then convert. That's two steps when you could do it in one.
Tools like ScreenSnap Pro record your screen directly as a GIF. No MOV file. No conversion step. You hit record, do your thing, stop, and have a GIF right away.
This is the better workflow for:
- Bug reports — record the bug, get a GIF, paste into Jira or GitHub
- Quick demos — show a feature in 5 seconds, share via link
- Slack and chat — GIFs play inline, no video player needed
- Documentation — embed in README files or help docs
ScreenSnap Pro also lets you add annotations after capture, add backgrounds for polished results, and share via cloud link. It's $39 one-time — no subscription.
For a full look at GIF recording options, check our guide on how to record GIFs on Mac or browse the best GIF screen capture tools.
Tips for smaller, better GIFs
GIFs get big fast. A 10-second recording at full resolution can hit 50MB+. Here's how to keep them small:
Before recording
- Plan your recording. Know exactly what you'll show. Shorter recordings = smaller files.
- Close extra windows. Less movement on screen = fewer unique frames = smaller GIF.
- Use a small recording area. Don't capture the full screen if you only need one window.
During conversion
- Drop the frame rate. 10-15 FPS is plenty for screen recordings. 30 FPS doubles the file size with little visible gain.
- Resize to 600-800px wide. Full resolution (1920px+) is overkill for a GIF. Most viewers see them at half that size.
- Trim the fat. Cut the first and last seconds where you start/stop recording. Those frames are wasted.
After conversion
- Run it through an optimizer. Ezgif's GIF optimizer strips unused data. Our GIF compressor does the same thing.
- Consider WebP instead. Animated WebP files are 25-50% smaller than GIFs. Most browsers support them. See our image format converter guide.
Size targets
| Use case | Target size | How to get there |
|---|---|---|
| Slack/chat | Under 5MB | 600px wide, 10 FPS, 5-8 seconds |
| GitHub README | Under 10MB | 800px wide, 12 FPS, 10 seconds |
| Blog post | Under 3MB | 500px wide, 10 FPS, 5 seconds |
| Documentation | Under 8MB | 700px wide, 12 FPS, 10 seconds |
When to use GIF vs. video
GIFs aren't always the right choice. Here's a quick guide:
Use GIF when:
- The clip is under 15 seconds
- You need it to play inline (Slack, GitHub, email)
- No audio is needed
- The viewer shouldn't need to press play
Use video (MOV/MP4) when:
- The clip is over 15 seconds
- You need audio
- File size matters a lot (MP4 is much smaller than GIF for long clips)
- The viewer has a video player available
For more on working with MOV files, see our full guide on converting MOV to GIF on Mac.
Frequently Asked Questions
Morgan
Indie DeveloperIndie developer, founder of ScreenSnap Pro. A decade of shipping consumer Mac apps and developer tools. Read full bio
@m_0_r_g_a_n_