How to Record Google Meet on Windows (2026)
# How to Record a Google Meet Meeting on Windows (2026): 5 Methods
You want to record a Google Meet call on Windows. You hit the three-dot menu. The "Record meeting" button is missing or grayed out. Now what?
The short answer: Google only ships its built-in recorder to paid Workspace plans. Free Gmail accounts, basic Business Starter plans, and meeting participants can't use it at all. So most people need a workaround — and the good news is that Windows has several free ones that work on any Meet call, on any plan, as host or guest.
This guide covers all five ways to record google meet on Windows in 2026. We'll start with Google's own tool (for paid users), move through three free methods built into or made for Windows, and finish with Chrome extensions. You can pick the one that fits your plan and your patience level.
The problem with Google Meet's built-in recorder
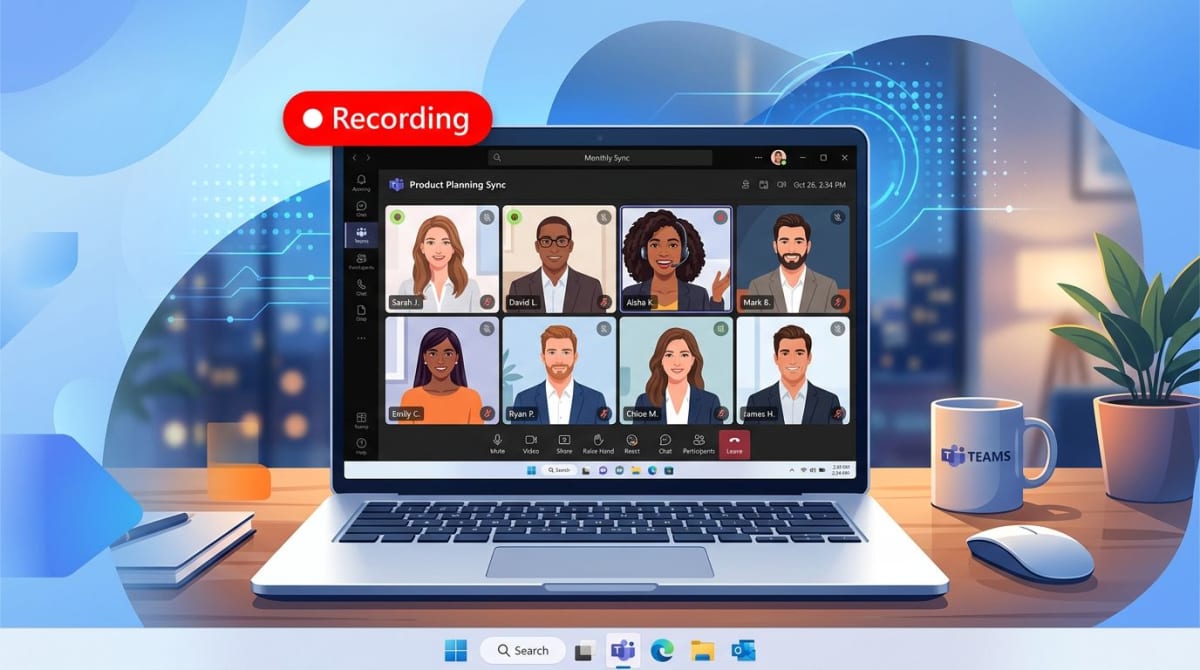
Google Meet's native recording feature looks simple on paper. Click three dots, hit "Record meeting," done. In practice, almost no one can use it.
Recording is locked behind these paid Google Workspace plans: Business Standard, Business Plus, Enterprise Starter, Enterprise Standard, Enterprise Plus, Essentials, Enterprise Essentials, Teaching and Learning Upgrade, and Education Plus. If you're on a free Gmail account, the basic Business Starter plan, or any personal tier — no recording button.
There's a second catch. Even on paid plans, only hosts and co-hosts can start a recording. Participants can't. If your boss runs the meeting and forgot to hit record, you're out of luck with the built-in tool. You'll need one of the methods below.
A third issue: recordings save to the organizer's Google Drive, not yours. Getting a copy means asking them to share the file. That's fine inside a company, but awkward for external calls, interviews, or client demos.
For anyone on a free plan or attending someone else's meeting, a third-party recorder is the only real option. Here are the five best ones for Windows.
Method 1 — Google Meet built-in (paid plans only)
If you're on a qualifying Workspace plan and you're the host, this is the cleanest path. No extra software, no setup.
Here's how to record google meet with the built-in tool:
- Start or join the meeting as host or co-host.
- Click the three-dot menu in the bottom right.
- Select Record meeting from the list.
- Click Start recording in the pop-up, then Start again to confirm.
- All participants see a red dot and hear a voice announcement that recording has started.
- When you're done, open the same menu and choose Stop recording.
- The file lands in the organizer's Google Drive under "Meet Recordings," usually within 10 to 20 minutes.
The recording includes the active speaker, any presented screen, and captions if they were on. It does not include private chat messages or breakout room audio.
For the full list of supported plans and limits, see the Google Meet Help Center.
If you're not on one of those plans — or you're just a guest — skip to Method 2.
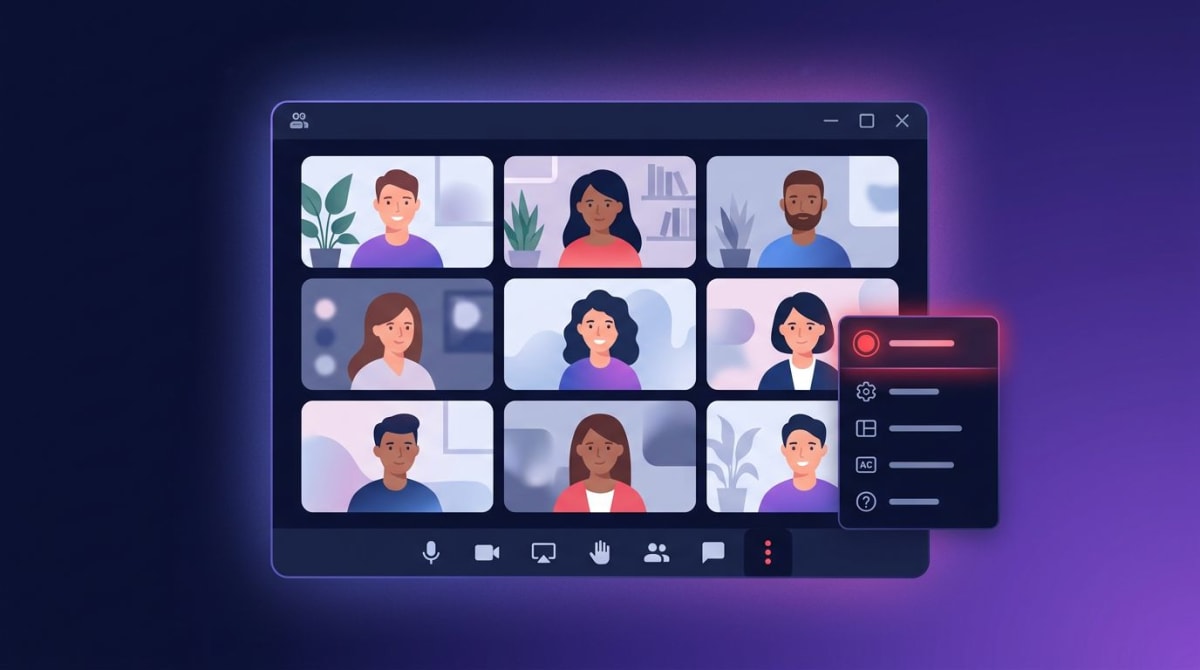
Method 2 — Xbox Game Bar (free, built into Windows)
Every Windows 10 and Windows 11 PC ships with Xbox Game Bar. It was designed for recording games, but it works on any app window — including Chrome, Edge, and the Google Meet desktop app.
Game Bar is free. It's already installed. And it records video with system audio in one click. The tradeoffs: it can only record one window at a time, and older versions don't capture webcam overlay.
How to record google meet with Xbox Game Bar:
- Join the Meet call in your browser or the desktop app.
- Click into the Meet window so it's the active window.
- Press Win + G to open Game Bar.
- In the Capture widget, click the round record button (or press Win + Alt + R).
- A small timer appears in the corner. Game Bar is now recording.
- To stop, press Win + Alt + R again or click the stop button in the capture bar.
- Find your file in
C:\Users\[you]\Videos\Capturesas an MP4.
A few quick fixes if things go sideways:
- No record button? Open Settings, search "Game Bar," and flip it on.
- No audio? Check Settings > Gaming > Captures > Audio to record, and make sure "System" is on.
- Recording stops when you click another window? That's a Game Bar limitation. Keep Meet in focus, or use Method 3 or 4.
For a deeper walkthrough of Game Bar and its quirks, see our guide on how to screen record on Windows.
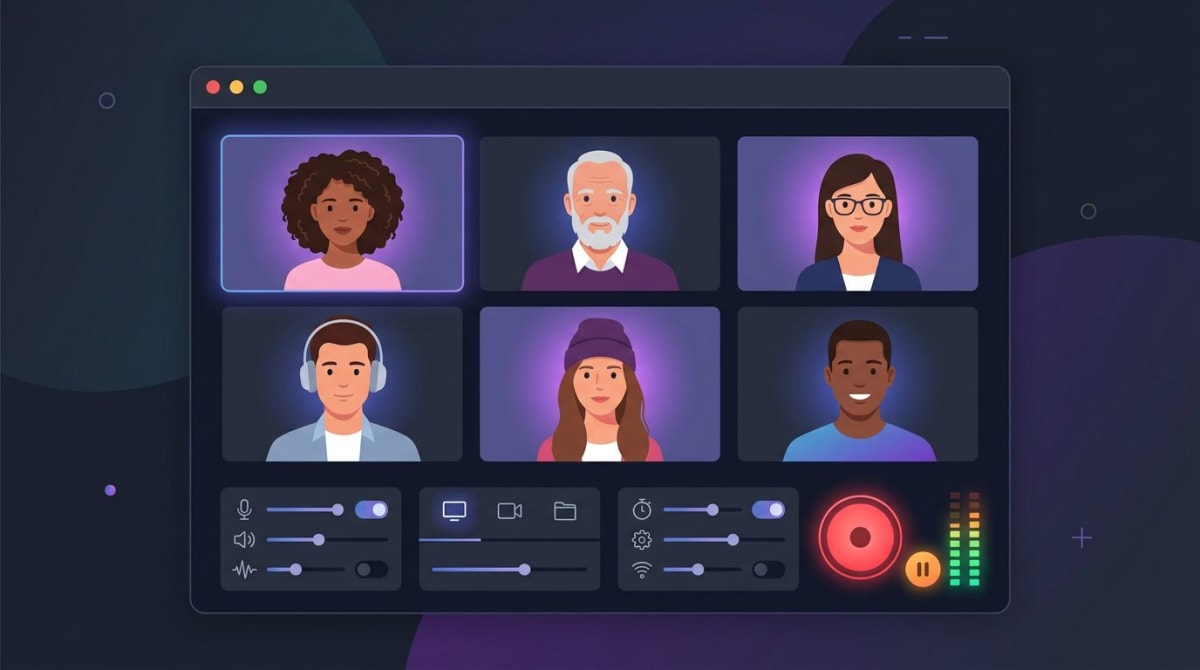
Method 3 — OBS Studio
OBS Studio is free, open-source, and wildly powerful. If you want to record the full desktop, add webcam overlays, mix multiple audio sources, or live-stream the meeting, OBS is the tool.
The setup is longer than Game Bar, but once it's done, you can record any Meet call in two clicks.
Basic setup for Google Meet on Windows:
- Download OBS Studio from the official site and install it.
- Open OBS. Under Sources, click the plus icon and add Display Capture (to record your whole screen) or Window Capture (to record only the Chrome tab with Meet).
- Add another source: Audio Output Capture for desktop audio (the other people's voices).
- Add Audio Input Capture for your microphone.
- Optional: add Video Capture Device for your webcam overlay.
- Go to Settings > Output and set the recording format to MP4 and the save path somewhere easy to find.
- Join the Meet call. Back in OBS, click Start Recording.
- When the call ends, click Stop Recording in OBS.
OBS gives you the cleanest quality of any free option, and it captures everyone's audio through a single system-audio source. The downside: the interface has a learning curve, and one misconfigured audio source can mean a silent recording. Do a 30-second test call with a friend before you record anything important. If the OBS workflow feels heavy for your use case, see our picks for the best free screen recorders for Windows — or lighter OBS alternatives that are simpler to set up.
If OBS feels like overkill, Methods 4 and 5 hide the complexity.
Method 4 — ScreenSnap Pro (easiest)
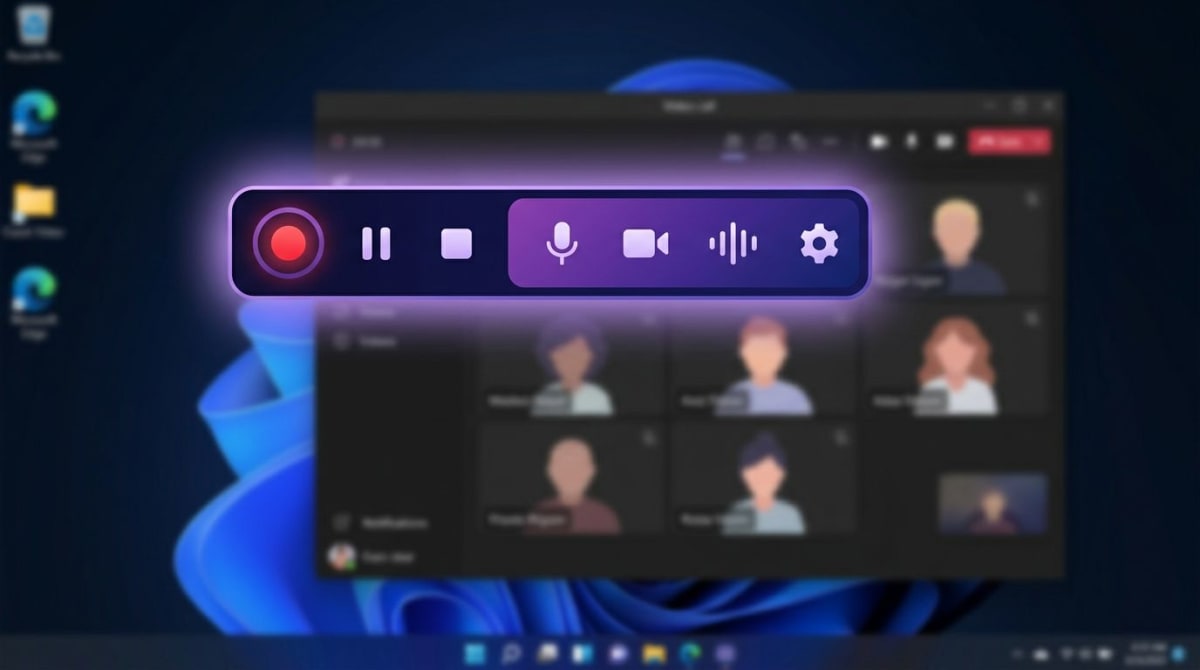
If you just want to record a Meet call without fighting a game overlay or a broadcasting studio, ScreenSnap Pro is built for this. It's a lightweight screen recorder for Windows and Mac that captures screen, webcam, microphone, and system audio with one shortcut.
Unlike OBS, there's no scene setup. Unlike Game Bar, you're not locked to one window. And unlike Loom, you get a local MP4 file you own — no cloud link required.
How to record google meet with ScreenSnap Pro:
- Install ScreenSnap Pro and launch it.
- Join your Meet call in Chrome or Edge.
- Press the record shortcut (default: Ctrl + Shift + 5).
- Choose your capture area — full screen, the browser window, or a custom region.
- Toggle Mic, System Audio, and Webcam to on. Position your webcam bubble wherever you like.
- Click Start. A three-second countdown gives you time to tab back to Meet.
- When the meeting ends, click the stop button in the overlay or hit the shortcut again.
- Trim the start and end in the quick-edit preview, then save as MP4 or upload for a shareable link.
ScreenSnap Pro records system audio and mic as a single merged track, so you don't end up with misaligned voices. The webcam overlay stays visible in the final video even if you don't have the Meet grid visible. And because it's a one-time $29 purchase with no subscription, there's no cloud lock-in.
It's also handy beyond Meet. You can use it for Zoom, Teams, Slack Huddles, or any other call — and for GIFs, bug reports, and tutorials. See our guide to recording screen with audio on Windows for the broader workflow.
Tired of plain screenshots? Try ScreenSnap Pro.
Beautiful backgrounds, pro annotations, GIF recording, and instant cloud sharing — all in one app. Pay $29 once, own it forever.
See what it doesMethod 5 — Chrome extensions (Loom, Vidyard)
Chrome extensions sit right inside the browser, so they're the fastest option if you live in the tab. The two most popular are Loom and Vidyard. Both have free tiers.
Loom gives you a one-click record button in the Chrome toolbar. You pick screen + cam or screen-only, hit record, and you're rolling. When you stop, Loom uploads the video to its cloud and gives you a shareable link. The free plan caps recordings at 5 minutes, which is short for most meetings. The starter plan lifts it and runs about $15/month.
Vidyard works almost the same way. Its free tier allows longer recordings (up to 60 minutes) but caps you at 25 videos total. Both store videos on their servers, not your hard drive.
Quick steps for Loom:
- Install the Loom Chrome extension and sign in.
- Join the Meet call in the same browser.
- Click the Loom icon in the toolbar.
- Pick Screen and cam, then select the Meet tab or full screen.
- Hit Start recording. Stop from the mini-toolbar on the left when done.
- Loom opens a new tab with your finished video and a share link.
Extensions are great for quick shares. They're a weaker fit for long meetings, private recordings, or anything you need offline. If you only need a short clip for Slack, you can convert the video to a GIF and skip the cloud. For a broader look at recorder options without a subscription, see our Loom alternatives for Windows roundup.
Recording with both webcams visible
A common gripe: you start recording, and the final file only shows the active speaker. That's because Meet's default view switches based on who's talking.
Two fixes:
Switch to Tiled layout before you record. In Meet, click the three-dot menu > Change layout > Tiled. This shows every webcam in a grid, and the recorder captures whatever is on screen.
Use a side-by-side setup in OBS or ScreenSnap Pro. Size the capture region to cover the full Meet window so both tiles are in frame. Add your own webcam as a picture-in-picture overlay to get three feeds in the file: you, them, and any shared screen.
For interviews where quality matters, ask the other person to turn on HD video (Meet > Settings > Video > Send resolution: 720p) before you hit record.
How to record Google Meet as a participant
Participants have no built-in recording option, even on paid plans. But any of Methods 2 through 5 work on your own machine — they record your screen, not the Meet session itself, so the host can't block them.
A few tips when you're recording someone else's meeting:
- Announce it. A quick "Mind if I record this for notes?" at the top of the call avoids awkward talks later.
- Mute yourself if you're only taking notes. Background noise on your side ends up in the file.
- Pin the speaker. Right-click any participant and choose Pin so they stay in frame.
- Use a wired connection if you can. Recording while streaming Meet is bandwidth-heavy.
Audio quality tips for Meet recordings
Video you can fix in post. Audio you can't. Here's how to make your Meet recording sound clean:
- Use a headset, not speakers. Speakers create echo — your mic picks up the other voice and records it twice.
- Record system audio, not just mic. In OBS, Game Bar, and ScreenSnap Pro, enable the "system" or "desktop audio" source. Without it, you only capture your own voice.
- Set mic input to around 75%. Open Windows Settings > System > Sound > Input and test-talk to check the meter.
- Close Spotify, YouTube, and Discord. Anything playing audio during the call ends up in the file.
A 30-second test recording before the real meeting is the best habit you can build.
Legal and etiquette notes
Recording a conversation is also a legal question, and rules vary.
United States: Most states are "one-party consent" — one person on the call must agree (you, for example). Eleven states including California, Florida, and Illinois require all parties to consent.
European Union and UK: GDPR treats recordings as personal data. You usually need consent before recording identifiable voices or faces.
Canada: One-party consent federally, but some provinces are stricter.
Beyond the law, there's etiquette. People talk more openly when they're not on the record. Ask first, even when you don't have to. Delete recordings once they've served their purpose, and never share a private call without permission.
FAQ
Wrapping up
Google's own recorder is great — if you have a paid Workspace plan and you're the host. For everyone else, Windows already has the tools. Xbox Game Bar is the zero-setup starting point. OBS Studio is the free power option. ScreenSnap Pro is the fastest all-in-one if you record calls often and want a clean, local MP4 with webcam and system audio in one shortcut.
Whichever method you pick, do a 30-second test before the real meeting. Confirm the audio works, the window is in frame, and the save path is where you expect.
Morgan
Indie DeveloperIndie developer, founder of ScreenSnap Pro. A decade of shipping consumer Mac apps and developer tools. Read full bio
@m_0_r_g_a_n_