Make a GIF from a Video on Windows (2026): 6 Methods
Making a GIF from a video on Windows takes about thirty seconds once you pick the right tool. You can use a free online converter, a desktop app like ScreenToGif, VLC, FFmpeg, or even PowerPoint. The best method depends on file size, quality, and how much control you want.
This guide walks through six ways to turn an MP4, MOV, or MKV file into a GIF on Windows. We cover fast online tools, power-user command lines, and a shortcut that skips conversion entirely. Pick the method that fits your workflow.
Why Turn a Video Into a GIF?
GIFs solve problems that video files can't. A short looping GIF plays inline in Slack, Discord, GitHub, and email. No download, no player, no click to start. That makes GIFs the fastest way to share a demo, bug report, or quick tutorial.
Here's when a GIF beats a video:
- Chat apps and forums — autoplay without opening a player
- Bug reports on GitHub — reviewers see the issue in one glance
- Docs and wikis — embeds run on any browser, even old ones
- Email and newsletters — plays in most clients that block video
- Social posts — Twitter and Reddit handle GIFs well
A GIF also trims fluff. You keep only the five to ten seconds that matter. The viewer gets the point fast.
Quick Comparison: 6 Ways to Make a GIF From a Video on Windows
| Method | Cost | Skill Level | Best For | Watermark |
|---|---|---|---|---|
| Online converters | Free | Beginner | One-off GIFs under 100MB | None |
| ScreenToGif / Gifski | Free | Beginner | Frequent GIF work | None |
| VLC | Free | Intermediate | Offline, big files | None |
| FFmpeg | Free | Advanced | Best quality, batch jobs | None |
| ScreenSnap Pro | $29 once | Beginner | Skip the video step | None |
| PowerPoint | Paid (Office) | Beginner | Users who already have it | None |
Every method here is watermark-free. Some add a "try pro" banner if you hit a limit, but the picks below all save clean files on the free tier.
Method 1: Online Converters (CloudConvert, Ezgif)
Online tools are the fastest path from video to GIF. No install, no learning curve. You drop a file in a browser and download the GIF a minute later.
CloudConvert and Ezgif are the two best picks. CloudConvert handles big files and many formats. Ezgif is the power tool for tuning — you can set frame rate, size, and loop count before the convert.
How to use Ezgif to turn a video into a GIF
- Go to ezgif.com/video-to-gif
- Click Choose File and pick your MP4, MOV, or WebM
- Click Upload video
- Set Start time and End time (keep clips under 10 seconds for smaller files)
- Pick a Size (480 or 600 pixels wide works well)
- Set Frame rate — 15 FPS is a good balance
- Click Convert to GIF
- Click Save to download
Limits to know
Ezgif caps uploads at 100MB. CloudConvert free accounts get 25 conversions per day. Both tools upload your file to their servers, so skip them for anything private. For sensitive footage, jump to the desktop or CLI methods below.
Method 2: Free Desktop Apps (ScreenToGif, Gifski)
Desktop apps beat online tools when you work with GIFs often. No upload wait, no file size cap, full offline use.
ScreenToGif
ScreenToGif is the gold standard for Windows. It's free, open-source, and packed with a frame editor that most paid tools skip.
Here's how to convert a video:
- Open ScreenToGif (grab it from screentogif.com)
- Click Editor on the launch screen
- Click File → Load Media and pick your video
- Set the frame rate (10-15 FPS for small files, 24 FPS for smooth playback)
- Use the timeline to trim, delete, or reorder frames
- Click File → Save As and pick Gif
The frame editor is the real win. You can crop, resize, add text, draw on frames, and fine-tune before you save. No other free tool gives you that level of control.
Gifski
Gifski is a lightweight app that focuses on one thing — top-quality GIF output. It runs on Windows through a command-line build or a third-party GUI. Gifski uses smart color palettes, so the output looks clean even at low file sizes.
Use Gifski when you care most about how the GIF looks. Use ScreenToGif when you want to edit frames.
If you already recorded your screen as a video, our GIF screen capture on Windows guide covers the full recording workflow too.
Method 3: VLC (Free and Powerful)
VLC is the free video player most Windows users already have. It can also export short video clips as a frame-by-frame image series, which you then stitch into a GIF.
VLC alone won't save a GIF file. You need a helper tool to combine the frames. Still, it's a solid offline option for users who don't want to install anything new.
How to prep a video for GIF export in VLC
- Open your video in VLC Media Player
- Go to Tools → Preferences and switch to All view at the bottom
- Under Video → Filters, enable Scene video filter
- Under Scene filter, set a folder for output images
- Play the clip and let VLC save frame images
- Import the frames into ScreenToGif or make a GIF online to build the final file
VLC gives you fine frame control, but it takes more steps than Ezgif. Use it when your file is too big for online tools and you don't want to install a full converter.
Method 4: FFmpeg (For Power Users)
FFmpeg is the open-source tool that powers half the video apps you already use. It runs from the command line and gives you full control over every frame.
FFmpeg is the fastest way to turn a video into a GIF if you don't mind typing a command. It also makes the smallest, cleanest GIFs because you can tune every setting.
Install FFmpeg on Windows
- Go to ffmpeg.org/download.html and pick the Windows build
- Unzip the folder (try
C:\ffmpeg) - Add
C:\ffmpeg\binto your Path in Windows system settings - Open a new Command Prompt and type
ffmpeg -versionto confirm
Convert a video to a GIF with FFmpeg
Open Command Prompt or PowerShell in the folder with your video. Then run:
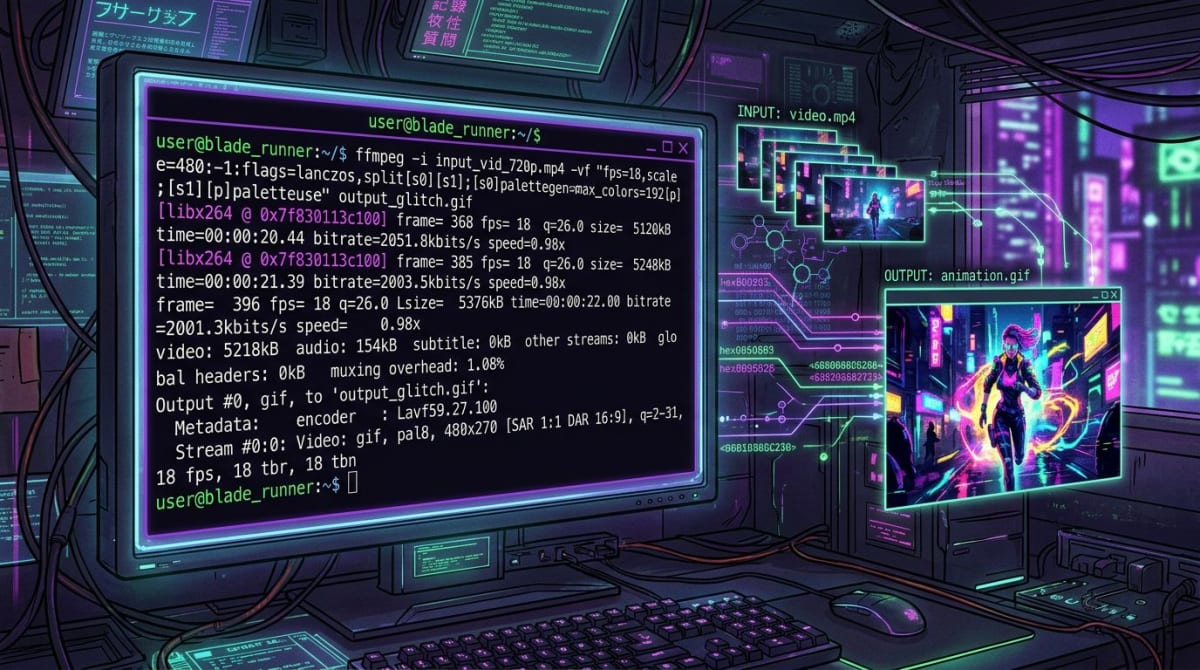
ffmpeg -i input.mp4 -vf "fps=15,scale=480:-1:flags=lanczos" -loop 0 output.gifHere's what each part does:
-i input.mp4— your source videofps=15— frame rate (lower means smaller file)scale=480:-1— width in pixels, height auto-scalesflags=lanczos— high-quality scaling-loop 0— loop foreveroutput.gif— your new GIF
Get cleaner colors with a two-pass palette
GIFs only support 256 colors. The trick for better output is to build a custom palette first:
ffmpeg -i input.mp4 -vf "fps=15,scale=480:-1:flags=lanczos,palettegen" palette.png

ffmpeg -i input.mp4 -i palette.png -filter_complex "fps=15,scale=480:-1:flags=lanczos[x];[x][1:v]paletteuse" output.gif
This two-pass method cuts color banding and makes the GIF look sharper. It's the same trick most high-end GIF tools use behind the scenes.
Tired of plain screenshots? Try ScreenSnap Pro.
Beautiful backgrounds, pro annotations, GIF recording, and instant cloud sharing — all in one app. Pay $29 once, own it forever.
See what it doesMethod 5: ScreenSnap Pro (Record Screen → GIF Directly)
Here's a secret most guides skip — if you're making a GIF to show what's on your screen, you don't need a video file at all. Record straight to GIF and skip the convert step.
ScreenSnap Pro records your Windows screen as a GIF file right out of the gate. No MP4 middle step. No re-encoding. You pick a region, hit record, stop, and you have a GIF ready to drop in Slack or GitHub.

How to record a GIF with ScreenSnap Pro
- Open ScreenSnap Pro and click the GIF button in the toolbar
- Drag to pick the screen area you want to record
- Click Record (or hit the hotkey)
- Click Stop when you're done
- Save or share — ScreenSnap Pro gives you a link in one click
ScreenSnap Pro costs $29 once, with no subscription. The license covers two computers (Mac or Windows), and you get 150+ gradient backgrounds and 15 annotation tools on top of GIF recording. If you also need to record your screen as video on Windows, the same app handles that too.
This method is a win when your goal is to show something rather than convert an existing file. For an MP4 you already have, stick with Methods 1-4.
Method 6: PowerPoint (Yes, Really)
Here's one most people miss — Microsoft PowerPoint can save a slide deck or a short clip as a GIF. It's not ideal for a pre-recorded video, but it works in a pinch if you have Microsoft Office on your PC.
How to use PowerPoint to make a GIF
- Open PowerPoint and start a new blank deck
- Insert your video on Slide 1 (Insert → Video → This Device)
- Right-click the video and pick Trim to keep only the part you want
- Click File → Export → Create an Animated GIF
- Pick Quality (Medium works for most cases)
- Click Create GIF and pick a save location
The file takes a minute or two to export. PowerPoint-made GIFs are a bit larger than FFmpeg output, but they're fine for quick shares. Use this method when you can't install new apps — some work laptops lock you out of downloads.
Best Quality vs File Size Settings
GIFs trade quality for size. Tweak these three knobs to find a mix that fits your needs.
Width in pixels
Smaller is always lighter. Try these starting points:
- 320 pixels wide — chat reactions, tiny previews
- 480 pixels wide — tutorials, demos (sweet spot)
- 640 pixels wide — detail shots where text must stay readable
- 800+ pixels wide — only when you need it, file size balloons fast
Frame rate (FPS)
Lower FPS means fewer frames and a smaller file. Match FPS to motion:
- 10 FPS — typing demos, slow UI changes
- 15 FPS — most tutorials (a good default)
- 20-24 FPS — gameplay clips, fast motion
Length in seconds
Cut the clip to what matters. A 5-second GIF is often half the size of a 10-second one, and viewers watch the short one twice.
Aim for under 3MB if you share in chat or on GitHub. Aim for under 8MB if you embed in blogs or docs. Above 8MB, switch back to a video file.
How to Resize and Crop GIFs After
Made your GIF but the file is too big or the frame is off? You have two solid fixes.
Resize to cut file size
Scaling down is the fastest way to shrink a GIF. Drop from 600 to 480 pixels wide and you often cut size by 30 percent. Ezgif has a built-in resize tool, or you can re-run FFmpeg with a smaller scale value.
Crop to focus the view
Trim dead space around the action. Our free crop GIF guide walks through the cleanest way to cut frames without breaking the animation. For a quick web fix, try our GIF compressor too — it shrinks files without the crop step.
If a GIF still won't fit your needs, our reduce GIF file size guide covers five tricks that pair well with crop and resize.
Troubleshooting Common GIF Problems
Colors look wrong or washed out
GIFs cap at 256 colors. Output looks muddy when the source has rich color gradients. Fix it by:
- Using FFmpeg's two-pass palette method (shown above)
- Lowering frame rate so each frame gets a better palette mapping
- Trying Gifski, which does smart color sampling by default
File is too big
Most GIFs get big for the same reasons. Check these first:
- Width — drop from 720 or 640 down to 480 pixels
- FPS — cut from 24 to 15 (a 37 percent size drop)
- Length — trim dead seconds at the start and end
- Motion — static shots compress much better than fast motion
A 10-second 480p GIF at 15 FPS usually lands between 2 and 5 MB. If yours is much bigger, one of those knobs is off.
GIF looks choppy
Choppy playback means frames are dropping. Fixes:
- Raise FPS from 10 to 15 or 20
- Check your source video isn't already low frame rate
- Avoid saving at ultra-low quality levels
GIF won't loop
If your GIF plays once and stops, the loop count is set to 1. In FFmpeg, set -loop 0 for infinite loops. In online tools, check the "loop" setting before you save.
GIF size balloons on upload
Some chat apps (Slack, Discord) re-encode GIFs on upload and make them bigger. Work around this by uploading to a host like Imgur or Giphy first, then sharing the link.
Frequently Asked Questions
Pick the Method That Fits Your Workflow
The right way to make a GIF depends on what you're after.
- Fast, no install — go with Ezgif or CloudConvert
- Frequent GIF work — install ScreenToGif
- Best quality and tiny files — learn FFmpeg
- Recording your screen — skip the video step with ScreenSnap Pro
- No new apps allowed — PowerPoint works
GIFs feel old-school, but they still rule short demos in chat and docs. Pick a tool, tune your width and FPS, and you'll have a clean looping file in under a minute. If your work mostly starts with a screen capture, a direct recorder like ScreenSnap Pro skips the middle step and gets you to a shareable GIF the fastest.
Morgan
Indie DeveloperIndie developer, founder of ScreenSnap Pro. A decade of shipping consumer Mac apps and developer tools. Read full bio
@m_0_r_g_a_n_