How to Make a Tutorial Video (2026)
To make a tutorial video, plan and script what you want to teach, record your screen with voice narration, and add annotations like arrows and highlights to guide the viewer. Then trim out mistakes in an editor, export the file, and share it with a cloud link. The whole process can take less than an hour for a short video.
That short answer hides a lot of useful detail. A good tutorial video does more than show a screen. It teaches one thing clearly, keeps the viewer on track, and looks polished enough to trust. This guide walks through every step, from the first outline to the final share link.
You do not need a studio or a film crew. Most great tutorial videos are made with a screen recorder, a decent microphone, and a few minutes of planning. We will cover the free tools and the paid ones, plus a comparison table so you can pick what fits your budget.
Whether you are a teacher, a marketer, a technical writer, or a creator, the workflow is the same. Let's break this down into clear, repeatable steps.
Why a clear plan beats a fancy camera
Most weak tutorial videos fail for the same reason. The creator hit record without knowing what they wanted to say. They wander, repeat themselves, and lose the viewer in the first 30 seconds.
The good news is that planning fixes this. A little prep work upfront saves hours of re-recording and editing later. It also makes your video shorter, which viewers love.
Before you open any software, answer three questions:
- Who is this for? A video for total beginners looks different from one for power users. Match your pace and your vocabulary to the audience.
- What is the one thing they will learn? Pick a single, clear outcome. "How to export a PDF" is a good scope. "Everything about our app" is not.
- How will they use it? A quick reference clip can be silent. A full lesson needs narration and structure.
Keep your answers somewhere visible while you record. They act as guardrails when you start to drift.
Step 1: Plan and script your tutorial video
This is the step most people skip, and it is the one that matters most. A script does not have to be a word-for-word screenplay. It can be a simple outline of the steps you will show, in order.
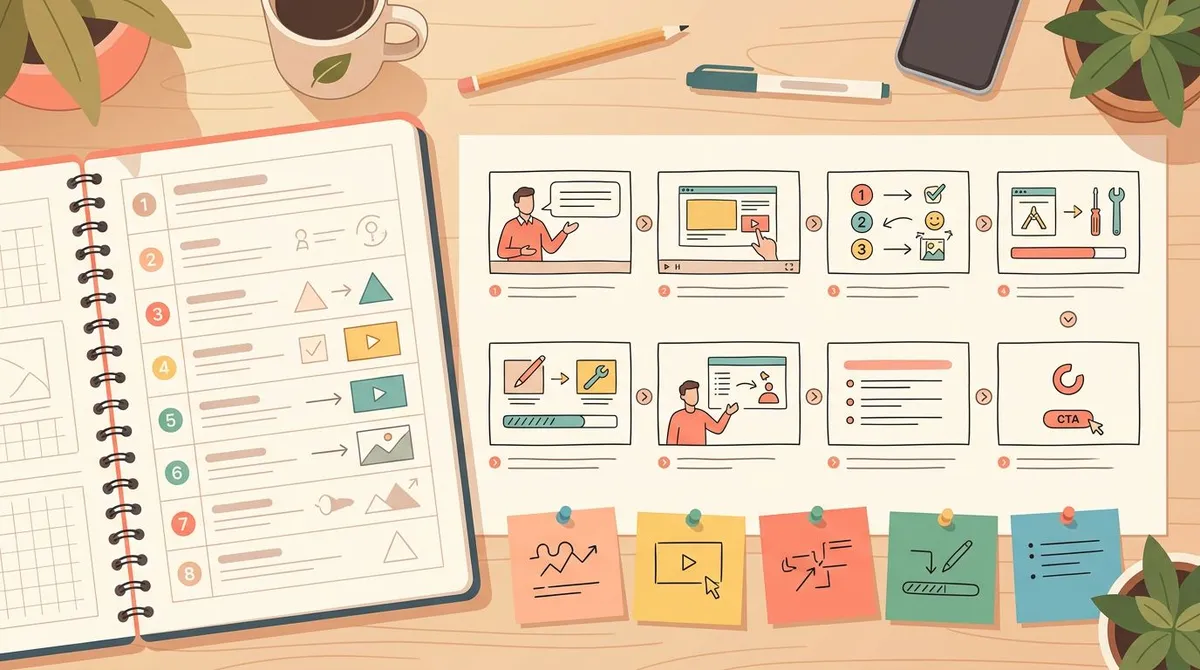
Start by listing every action the viewer needs to take. For a software walkthrough, that might be: open the app, click the menu, choose the setting, save the change. Write each action as a short line.
Next, group those actions into a logical flow. Tutorials work best when each step builds on the last. If a step needs setup, put that setup first so the viewer is never confused.
Now write a loose script for your narration. You do not need fancy language. Write the way you talk, then read it out loud. If a sentence is hard to say, rewrite it shorter.
A storyboard helps for longer videos. Sketch a rough frame for each major step so you know what should be on screen. This is the same skill that goes into a written walkthrough, and our guide on how to create step-by-step instructions with screenshots covers that planning mindset in more depth.
Pro tip: Keep your script in a second window or on paper, not on the screen you are recording. You do not want your notes showing up in the final video.
Step 2: Set up a clean recording environment
A clean screen is the fastest way to make a tutorial look professional. Clutter distracts the viewer and can leak private information you did not mean to share.
Before you record, do a quick sweep:
- Clear your desktop. Hide stray files, folders, and icons. A tidy background keeps the focus on your content.
- Close extra apps and tabs. Notifications and pop-ups ruin a clean take. Turn on Do Not Disturb mode so no alerts appear mid-recording.
- Check your screen resolution. Record at 1920x1080 (1080p) when you can. It is sharp on most screens and is the standard for video platforms.
- Pick the right zoom level. Increase the font size or zoom in your app so small text is readable when the video plays back at a smaller size.
Audio matters as much as video. A clear voice on a plain screen beats a fuzzy voice on a beautiful one. Find a quiet room with soft surfaces, since bare walls bounce sound and cause echo.
If you own an external microphone or a headset, use it. Even a basic USB mic sounds far better than a laptop's built-in one. Test your levels with a short clip before the real take.
There are a few cheap fixes for echoey rooms. Record in a smaller space, since large open rooms bounce sound around. Hang a blanket on a nearby wall, or record in a closet full of clothes, which soaks up the harsh reflections. Position the mic close to your mouth, but slightly off to the side so your breaths do not pop.
Lighting matters too if you plan to show your webcam. Face a window or a lamp so the light falls on your face, not behind you. A backlit face turns into a dark silhouette, which looks unprofessional even when everything else is clean. You do not need a ring light, just a light source in front of you rather than behind.
Step 3: Record your screen, webcam, and audio
Now for the main event. The core of almost every tutorial video is a screen recording, often paired with your voice and sometimes your face.
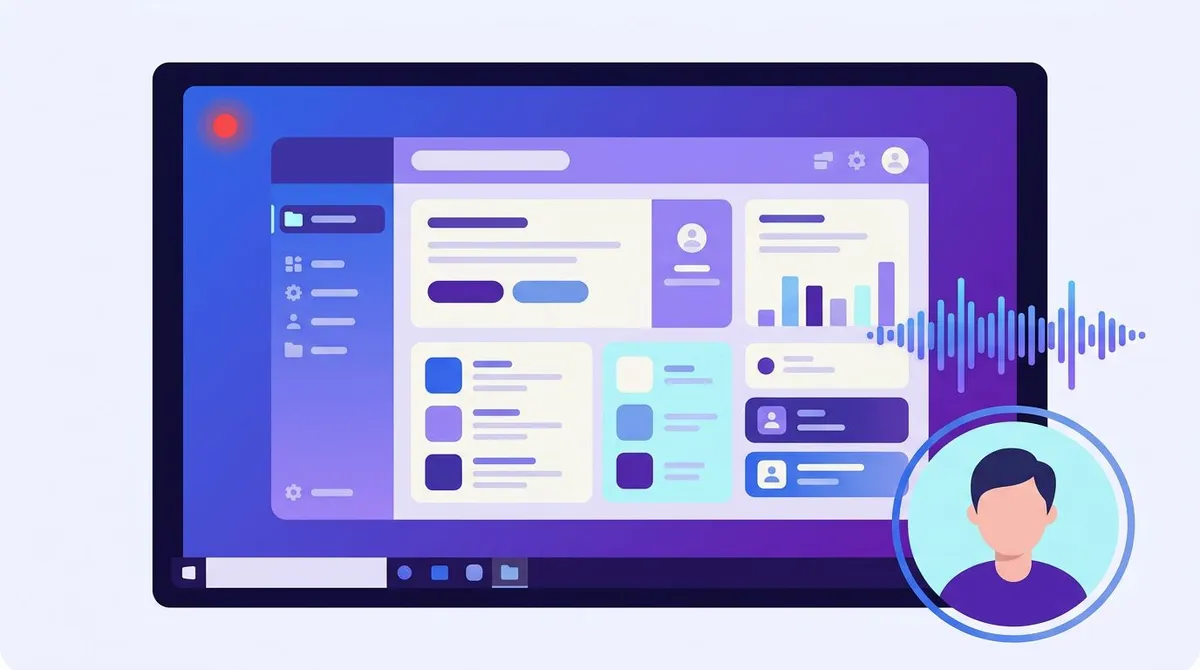
First, choose your capture area. Most screen recorders let you pick one of three options:
- Full screen is best when you move between several windows or need to show the whole desktop.
- A single window keeps the frame tidy and is great for app walkthroughs.
- A custom region lets you crop to just the part that matters, which hides clutter and keeps file sizes down.
Next, decide on your audio sources. For most tutorials you want your microphone so viewers hear your narration. If you are demoing a video player or a sound feature, also capture system audio so they hear what the app plays.
Adding your webcam as a small picture-in-picture bubble builds trust and connection. People pay more attention when they can see a real person guiding them. It is optional, but it works well for training and course content.
This is where a capable screen recorder earns its place. ScreenSnap Pro records your screen, webcam, microphone, and system audio together, on both Mac and Windows. It is a one-time $34 purchase rather than a subscription, which suits creators who record often.
When you record, go slow. Pause for a beat after each action so the viewer can follow. If you make a mistake, do not stop. Pause, take a breath, and redo that step. You will trim the slip out later.
For a deeper walkthrough of capturing voiceover with your screen, our guide on how to screen record with audio on Mac covers mic and system-audio setup step by step.
Step 4: Record clean narration
Your narration is the voice of your tutorial. It carries the meaning while the screen shows the action. Clear audio is what separates a pro video from a hobby one.
You have two main paths for narration. You can record your voice live while you capture the screen, or you can record the screen first and add a voiceover after. Both work well.
Recording live is faster and feels more natural. Your words match the action because they happen together. This is the easiest method for most short tutorials.
Recording voiceover after gives you more control. You record a clean screen flow first, then narrate over it while reading your script. This avoids long pauses and "um" moments, but it takes an extra pass.
A few habits make any narration sound better:
- Speak a little slower than feels normal. Nerves make us rush.
- Smile while you talk. It warms up your tone, even if no one sees your face.
- Keep a glass of water nearby and take small sips between sections.
- Leave a short silent gap before and after each step so editing is clean.
If you flub a line, just pause and say it again. The clean version is what you keep. Editing out the bad take is quick.
One more habit worth building: write your script in short, spoken-style sentences. Long, formal sentences are hard to read aloud and harder to follow when heard. Read each line out loud during planning, and trim any word you stumble over. The way you write for the eye is not the way you write for the ear.
If recording your own voice makes you nervous, you are not alone. The trick is to record a throwaway take first, just to warm up. Nobody keeps the first take. By the second or third pass, your pace settles and your voice relaxes. That practice run also helps you spot any steps your script glossed over.
Step 5: Annotate and emphasize key actions
Annotations are where a plain recording becomes a real teaching tool. They point the viewer's eye to exactly what matters, so nobody gets lost.
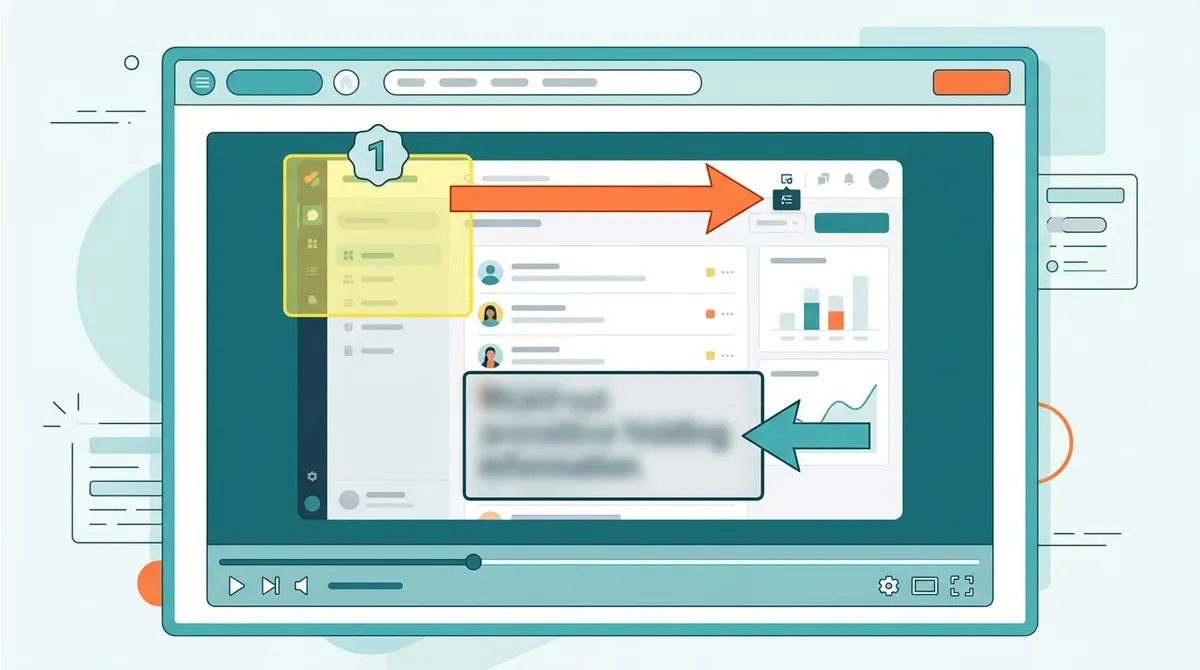
Think of annotations as a visual narrator. While your voice explains, the markup confirms. This double signal helps viewers remember the steps far better than words alone.
The most useful annotation tools for tutorials are:
- Arrows point straight at the button or field you mean. No guessing.
- Highlights and boxes draw a frame around an area so it stands out from the busy screen.
- Zoom and magnify enlarge small details like a tiny checkbox or a menu item.
- Step counters add numbered badges, so a multi-step flow reads in clear order.
- Blur and pixelate hide private data like emails, account numbers, or names.
That last one matters more than people expect. Tutorials often show real accounts and dashboards. Blurring sensitive details before you publish protects you and the people in your data. If you need to clean up a still image instead, our free blur image tool hides sensitive info in seconds.
This annotation step is the same skill behind clear written guides. The arrows, callouts, and step numbers that make a screenshot guide easy to follow do the same job in video. ScreenSnap Pro ships 17 annotation tools, including arrows, highlights, blur, and a step counter, so you can mark up captures without jumping to another app.
For software demos especially, the right markup turns a confusing flow into an obvious one. Our guide on technical documentation screenshots shows how the same callouts support written docs alongside your video.

Tired of plain screenshots? Try ScreenSnap Pro.
Beautiful backgrounds, pro annotations, GIF recording, and instant cloud sharing, all in one app. Pay $34 once, own it forever.
See pricing and featuresStep 6: Make a quick GIF for short steps
Not every tutorial needs to be a full video with sound. For a short, repeatable action, an animated GIF is often the better choice. It loops on its own, needs no play button, and plays right inside a doc or chat.
GIFs shine for things like "click here, then drag this." They are small, silent, and instant. A reader sees the motion without leaving the page or putting on headphones.
Use a GIF when:
- The action takes only a few seconds.
- There is no audio worth narrating.
- You are embedding it in a help doc, a README, or a Slack message.
Use a full video instead when you need narration, multiple steps, or longer context. Many help centers mix both: a short GIF for the quick wins and a full video for the deep lessons.
If you work on a Mac, our guide on how to record GIFs on Mac walks through five ways to capture a clean, shareable loop. ScreenSnap Pro can record straight to GIF, so there is no video-to-GIF conversion step in between.
Step 7: Edit out the rough parts
Even a careful recording has rough edges. A pause before you start, a mistake you redid, a long stretch where nothing happens. Light editing cleans all of that up.
You do not need a Hollywood editor. For most tutorials, three simple cuts do the job:
- Trim the start and end. Cut the dead air before your first word and after your last. Get to the point fast.
- Cut your mistakes. Remove the flubbed takes you redid. This is where pausing on errors pays off.
- Tighten long gaps. Speed up or trim any slow patch where you are clicking around or loading.
One honest note: ScreenSnap Pro is a capture and annotation tool, not a video editor. It records and marks up beautifully, but for trimming and cutting you will pair it with an editor. That is normal. Most pros use one app to record and another to edit.
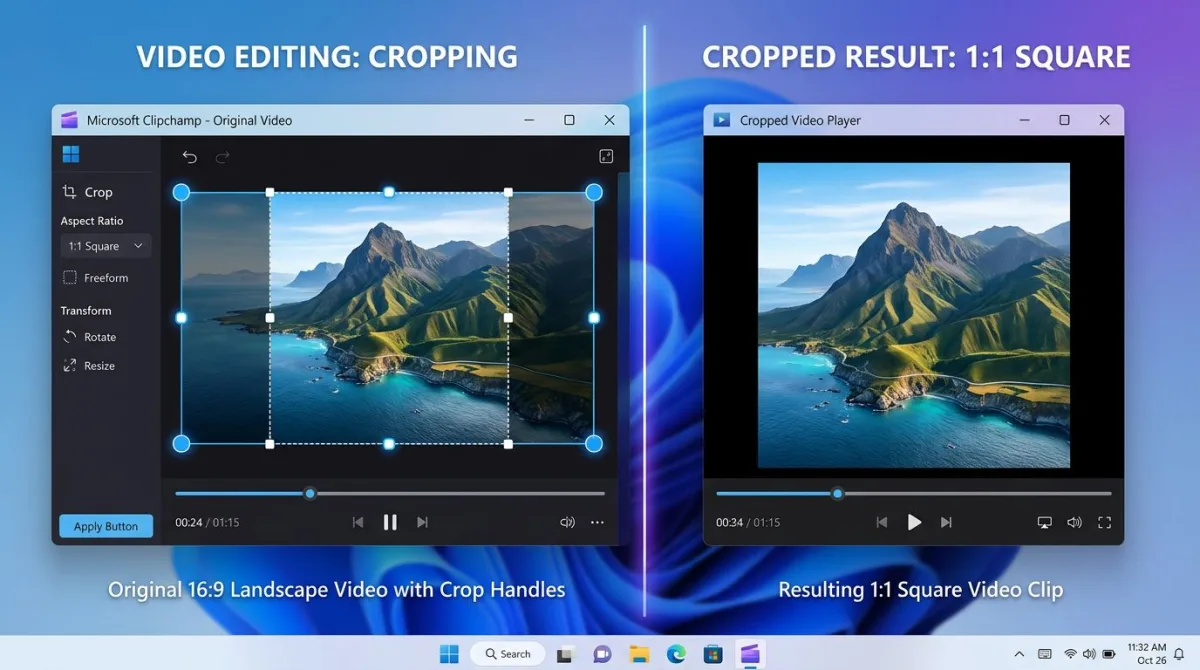
Free editors handle this fine. On a Mac, iMovie trims and cuts without any cost. On Windows, Clipchamp is built in and does the same. If you record often on a Mac, our guide on the best way to edit screen recordings compares the main options.
Keep your edits light. The goal is a clean, tight video, not a cinematic masterpiece. Over-editing wastes time and can make a simple tutorial feel fussy.
Step 8: Export and share your tutorial video
Your video is recorded, annotated, and trimmed. Now you need to get it out into the world in a format people can actually open.

For export settings, the safe defaults are:
- Format: MP4. It plays on every device and platform. Use it unless you have a reason not to.
- Resolution: 1080p. It matches what you recorded and looks crisp without huge file sizes.
- Frame rate: 30 fps. Smooth enough for screen content. Save 60 fps for fast motion. If a clip was recorded at the wrong rate, our free FPS converter changes it in the browser.
Once you have a file, you have to share it. You have a few paths, depending on who needs to see it.
A cloud share link is the fastest for one-to-one or team sharing. You upload once and send a link. No huge email attachments, no "file too large" errors. This is ideal for client walkthroughs and internal training.
A video platform like YouTube or Vimeo is best for public tutorials and content you want found in search. They host the file, handle every device, and give you an embed code for your site.
Embedding in docs keeps the video next to the written steps. A help article with a short video and clear text serves both the readers who skim and the ones who watch.
Whichever path you pick, add a clear title and a short description. For public videos, this helps people find your content in search. For private links, it reminds the viewer what they are about to watch. A line like "How to export a PDF in under a minute" sets the right expectation.
Captions are worth the small effort too. Many people watch with the sound off, especially on phones and at work. Captions also make your tutorial usable for viewers who are deaf or hard of hearing. Most platforms can auto-generate them, and you can fix any errors in a minute.
If you share screen captures often, a tool with built-in cloud links saves real time. Our guide to cloud screenshot sharing covers how instant links cut the back-and-forth of attachments.
Types of tutorial videos and 5 ideas to start
"Tutorial video" covers a wide range of formats. Knowing the type you are making helps you pick the right length, tools, and style.
The most common types are:
- Screencasts. A recording of your screen with narration. The workhorse of software tutorials.
- Talking-head videos. You on camera, explaining a concept. Good for theory and intros.
- Step-by-step walkthroughs. A numbered, click-by-click guide through one task.
- Microvideos. Under a minute, focused on a single tiny action. Perfect as GIFs or short clips.
- Training videos. Longer, structured lessons for onboarding or courses.
Stuck on what to make first? Here are five tutorial video ideas that work for almost any product or skill:
- A "getting started" walkthrough. Show a brand-new user the first five minutes of your product. This is the most-watched video most teams ever make.
- A fix for your top support question. Whatever people ask most, answer it once on video. Then link it everywhere.
- A hidden feature demo. Show a useful trick most users miss. These are great for social media and newsletters.
- A before-and-after. Show a messy starting point, then the clean result your process creates. Outcomes sell.
- A quick GIF series. Turn your five most common micro-tasks into looping GIFs for your docs and chat replies.
Pick one and make it this week. A done tutorial beats a perfect plan you never record.
Once you have a few videos, think about how they fit together. A short "getting started" clip can link to deeper feature videos, which link to advanced tips. This kind of small library answers questions before your audience even asks them, and it cuts down on repeat support requests.
Tutorial videos also work hard outside your help center. Drop a short clip into an email and watch your click rate rise. Embed one on a landing page to show, not tell, what your product does. Post a 30-second feature demo on social media to catch attention in a crowded feed. The same recording can serve many channels with light trimming.
Comparison: tutorial video tools at a glance
The right tool depends on your budget, your platform, and how often you record. Here is how the popular options stack up for tutorial work.
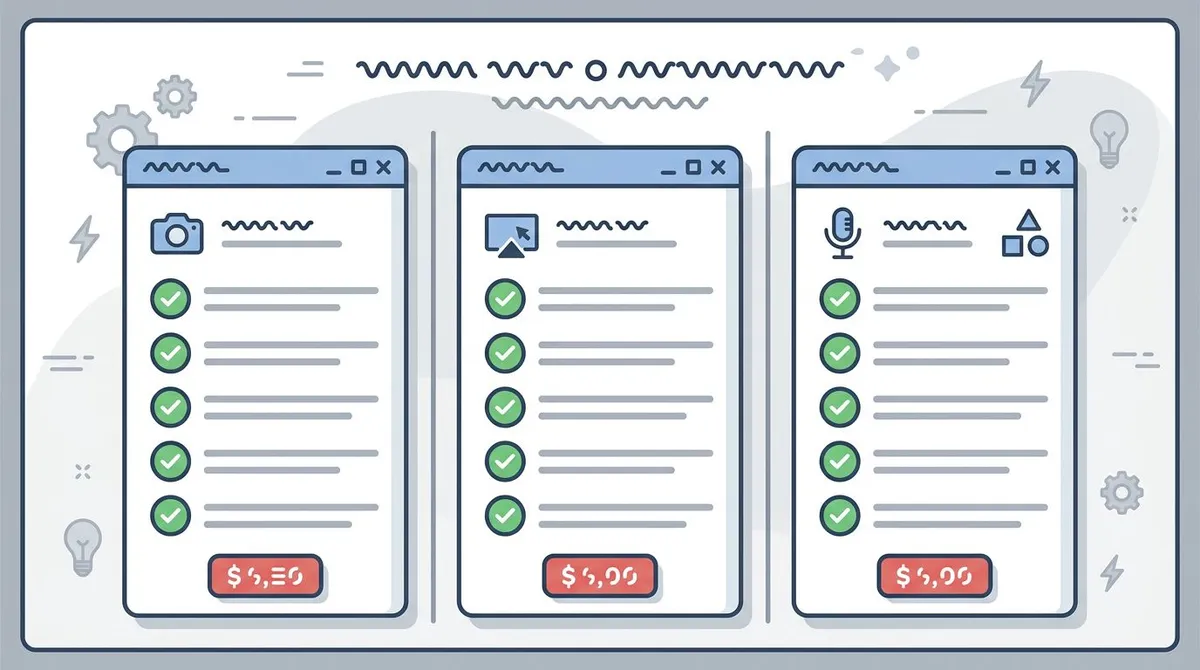
| Tool | Best for | Recording + webcam | Annotation | Pricing |
|---|---|---|---|---|
| ScreenSnap Pro | Capture + markup, then edit elsewhere | Yes (screen, webcam, mic, system audio) | 17 tools, including blur and step counter | $34 one-time |
| OBS Studio | Free, advanced capture | Yes | No built-in markup | Free |
| Camtasia | All-in-one record and edit | Yes | Strong, built-in | Subscription / one-time license |
| Loom | Fast async sharing | Yes | Light | Free tier + subscription |
| iMovie / Clipchamp | Free trimming and cutting | No (editor only) | Basic text | Free (built in) |
A few takeaways from the table:
OBS Studio is free and powerful, but it has a learning curve and no built-in annotation. You will add markup in another tool.
Camtasia bundles recording and editing in one app, which is convenient, but it costs more and can feel heavy for short clips.
If you mainly need to capture, annotate, and share, a focused tool like ScreenSnap Pro covers that workflow at a one-time price, then you trim in a free editor when needed. There is no single "best" tool, only the best fit for your task.
For more on dedicated markup apps, our roundup of the best image annotation tools compares options for cleaning up your captures.
Common mistakes to avoid
A few simple slip-ups trip up most first-time tutorial makers. Knowing them ahead of time saves you a re-record.
- Skipping the script. The number-one cause of rambling videos. A two-minute outline saves a twenty-minute mess.
- Recording too long. Aim for under five minutes when you can. Split a big topic into a short series instead of one marathon.
- Forgetting to hide private data. Always blur emails, names, and account numbers before you publish.
- Bad audio. Viewers forgive shaky video far faster than crackly sound. Fix your mic first.
- No clear next step. End by telling the viewer what to do next, whether that is trying it themselves or watching the next video.
Run through this list before you publish. Each one is a quick check that protects the work you already did.
Two more traps catch people who are trying to look professional. The first is over-narrating. You do not need to describe every click out loud. If the arrow points at the Save button while you say "save it," that is enough. Trust your visuals to carry some of the load.
The second is chasing perfection. Your tutorial does not need a custom intro, background music, or fancy transitions to be useful. Viewers want the answer, fast. A plain, clear video that ships today helps more people than a polished one that sits unfinished for a month.
Frequently Asked Questions
Putting it all together
Making a tutorial video comes down to a simple loop: plan it, record it, mark it up, trim it, and share it. None of those steps need a studio or a big budget. They need a clear scope and a little patience.
Start small. Pick one task your audience asks about, write a short outline, and record a clean take. Add a few arrows and highlights so nobody gets lost, trim the rough edges, and send the link.
If your workflow centers on capturing and annotating screen content, a focused tool helps. ScreenSnap Pro records screen, webcam, and audio, ships 17 annotation tools, and exports to video or GIF, all for a one-time $34 on Mac and Windows. Pair it with a free editor for trimming, and you have the full tutorial pipeline covered.
Your first tutorial will not be perfect, and that is fine. The best way to get good at this is to make one, share it, and make the next one a little better.

Morgan
Indie DeveloperIndie developer, founder of ScreenSnap Pro. A decade of shipping consumer Mac apps and developer tools. Read full bio
@m_0_r_g_a_n_