How to Record a Video Call (2026 Guide)
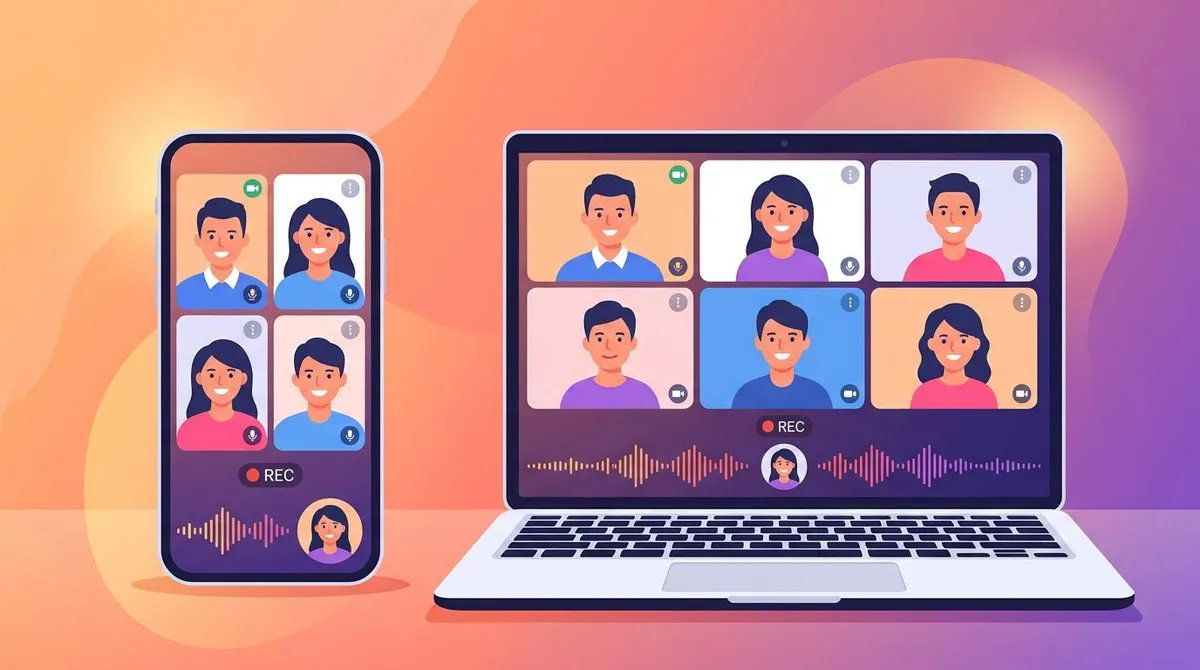
Need to keep a copy of an important call? Learning how to record a video call comes down to one simple idea: a screen recorder captures whatever is on your screen, so it works on every app. Zoom, Teams, Google Meet, WhatsApp, Discord, FaceTime: one method covers them all. Press record, take the call, and stop. You get a video file with the picture and the audio.
This guide gives you that universal method first, then a short, practical section for each major app. We will also cover the legal side (always check consent rules before you hit record), how to capture clean audio, and a comparison table so you can pick the right approach in seconds.
The quick answer for how to record a video call
The fastest way to record a video call on Mac or Windows is to use a screen recorder. It captures the whole screen plus the audio, no matter which calling app you use. Most built-in app recorders are locked to the host, but a screen recorder is not. You stay in full control of the file.
That single fact is why this guide leads with the screen recorder. You do not need a different trick for every app. Learn it once, and you can record a Zoom call today and a Discord call tomorrow with the same steps.
First, the rules: consent and the law
Before you record anyone, check the consent rules where you live. Recording laws are not the same everywhere, and getting this wrong can cause real trouble.
In the United States, states fall into two camps. One-party consent states let you record a call as long as one person on it (you count) agrees. Two-party (or all-party) consent states require everyone on the call to agree first. California, Florida, and Washington are common all-party states. The U.S. Reporters Committee keeps a state-by-state recording law guide that is worth a quick read.
The safe move is simple: ask first. A quick "Mind if I record this for my notes?" at the start of the call covers you in almost every case. Many apps also show a banner or chime when their own recorder runs, but a third-party screen recorder will not trigger that notice. That makes asking out loud even more important.
For business calls, also check your company policy and any regional rules like GDPR in Europe. When in doubt, get a clear yes on the recording before you start.
A few practical tips keep you on the right side of consent. Say the request out loud at the top of the call so it lands in the recording itself. That gives you a timestamped record of the yes. If the call is internal, a one-line note in the meeting invite ("this session will be recorded") sets the expectation before anyone joins. And if someone says no, respect it: take written notes instead. Consent is not just a legal box to tick. It is also how you keep trust with the people on the other end of the call.

The universal method: one recorder for every app
Here is the core method that works on any calling app. The steps are the same whether you are on a Mac or a Windows PC.
- Open your screen recorder and pick the screen or window you want to capture.
- Turn on system audio so you record the other person's voice.
- Turn on your microphone so your own voice is captured too.
- Add your webcam if you want your face in a corner (optional).
- Start the call, then press record. A short countdown gives you time to switch back.
- Stop when you are done. Your video saves as an MP4 or MOV file, ready to share.
That is the whole flow. The trick that makes it work on every app is capturing system audio plus your microphone at the same time. Without both, you get a silent video or only hear one side.
This is where a dedicated tool earns its keep. ScreenSnap Pro is a screen recorder with audio that records any on-screen call with system audio, mic, and webcam together in one click, on both Mac and Windows. It is a one-time $34 purchase with no subscription, and the output has no watermark. You record the call, and the file is yours.
If you only need the screen and a quick clip, the built-in options can work too. On Windows, the Xbox Game Bar records most apps. On Mac, the built-in tools handle video but make recording with audio trickier, which is the most common pain point people hit.
Why audio is the part that trips people up
A video call has two audio sources: the people on the call (system audio) and you (your mic). Many free recorders only grab one. If your recording is silent or only has your voice, audio routing is almost always the cause.
On Windows, you may need to allow computer audio capture in the recorder settings. On Mac, the system blocks apps from grabbing internal audio by default, so the recorder needs the right permission or a small audio driver. Sort this out before an important call, not during it.
The good news is that a tool built for this handles both sources at once. You pick the screen, flip on system audio and mic, and the recorder mixes them into one clean track. The difference shows up when you play the file back: both voices sit at a sensible level, and there is no awkward gap where half the conversation went missing. If you have ever ended a call only to find the recording had no sound, this is the setting that was off.
How to record a Zoom call
If you are the Zoom host, Zoom's own recorder is the cleanest path. It saves separate audio and video tracks. The catch is that only the host (or someone the host promotes) can use it. Guests are locked out.
As a participant, screen-record the Zoom window instead. Start the recorder, join the call, and capture system audio plus your mic. You can read Zoom's own notes on local recording for the host-side flow.
For the full step-by-step, including how to record without host permission, see our deep dive on recording a Zoom meeting.
How to record a Microsoft Teams meeting
Teams has a built-in recorder that saves to OneDrive or SharePoint, but it needs the right license and admin settings, and again it favors organizers. Microsoft explains the requirements in its guide to recording a meeting in Teams.
If you cannot use the built-in option (or you want a local file you own outright), screen-record the Teams window. Our full walkthrough covers both routes in how to record a Teams meeting.
How to record a Google Meet call
Google Meet's built-in recording is a premium feature. It only works on paid Workspace plans, and the recording goes to the organizer's Google Drive. Free Gmail accounts cannot record inside Meet at all. Google's Meet recording help page lists the exact plans that qualify.
A screen recorder sidesteps all of that. It works on any plan, free or paid, and saves the file straight to your computer. See the step-by-step in how to record a Google Meet.

Tired of plain screenshots? Try ScreenSnap Pro.
Beautiful backgrounds, pro annotations, GIF recording, and instant cloud sharing, all in one app. Pay $34 once, own it forever.
See pricing and featuresHow to record a WhatsApp video call
WhatsApp has no built-in recorder at all. The only way to keep a copy of a WhatsApp video call is to screen-record it. On a computer, run WhatsApp Desktop or WhatsApp Web, then record the window with system audio and your mic.
Because WhatsApp gives no warning to the other side, the consent rule matters even more here. Ask before you record. Full instructions are in our guide to recording a WhatsApp video call.
How to record a Discord call
Discord also has no native call recorder. Some people use bots, but bots can break, get a server flagged, or miss screen share. A screen recorder is the reliable choice and captures both voice chat and any shared screen.
Turn on system audio to catch everyone in the channel, and your mic to catch yourself. The complete method is in how to record a Discord call.
Recording a video call on your phone
You do not always have a laptop handy. Both major phone platforms have a built-in screen recorder.
- iPhone: Add Screen Recording to Control Center in Settings, then swipe down and tap the record button. To capture call audio, long-press the button and turn on the microphone. Note that some apps block internal audio capture for privacy.
- Android: Swipe down to the Quick Settings panel and tap Screen Record. Choose whether to record device audio, mic, or both before you start.
Phone recording is handy for quick clips, but the audio is less reliable than a computer setup. For anything important, record on your Mac or PC where you control each audio source. If you also want stills, see our guide on how to screenshot a video call on Mac.
Native recorder vs screen recorder: a quick comparison
Each app's built-in recorder has limits. A screen recorder is the one tool that clears all of them. Here is how they stack up.
| App | Built-in recorder? | Who can use it | Screen recorder works? |
|---|---|---|---|
| Zoom | Yes | Host only | Yes, anyone |
| Microsoft Teams | Yes | Needs license/admin | Yes, anyone |
| Google Meet | Yes (paid plans) | Workspace only | Yes, any plan |
| No | N/A | Yes, anyone | |
| Discord | No (bots only) | N/A | Yes, anyone |
| FaceTime | No | N/A | Yes, anyone |
The pattern is clear. Built-in recorders are restricted, plan-gated, or missing entirely. A screen recorder treats every call the same way: capture the screen, capture the audio, save the file. That is why it is the method this whole guide is built around.
Getting clean audio every time
Audio is the difference between a usable recording and a useless one. A few habits keep yours clean.
- Use headphones. Without them, your speakers play the other person's voice back into your mic, causing echo.
- Test both sources first. Record ten seconds, play it back, and confirm you hear both sides before the real call.
- Close noisy apps. Music players, notifications, and other tabs can leak into a system-audio recording.
- Check your levels. If one side is too quiet, adjust your mic or system volume before recording, not after.
A quick test recording before any important call is the single best habit you can build. It catches silent-video and one-sided-audio problems while there is still time to fix them.
Editing and sharing your recording
Once the call is recorded, you usually want to trim the dead time at the start and end, then share it. A clean MP4 or MOV file plays everywhere and uploads to any platform.
If you want to point out a moment in the call (a slide, a number, a decision), a screenshot with annotation is often clearer than sending the whole video. Tools like ScreenSnap Pro let you grab a frame, add an arrow or highlight, and share a link without leaving the app. With cloud upload, you get an instant link instead of a giant file attachment.
For longer recordings you plan to publish, a light edit goes a long way. Trim, add a title card, and export. Your viewers will thank you for cutting the awkward "can you hear me?" intro.
Think about file size before you send. A one-hour call at high resolution can run into the gigabytes, which is too big for most chat apps and email. Exporting at 1080p instead of 4K, or trimming to the part that matters, keeps the file shareable. A shareable link beats a heavy attachment every time, especially when the recipient is on a phone or a slow connection.
It also helps to name the file clearly and store it somewhere you will find it later. "Client call 2026-06-29" beats "recording-final-2." If you record calls often, a simple folder per project saves you hunting through a pile of look-alike clips a month from now.
Frequently asked questions
The bottom line
Recording a video call is not really five different skills: it is one. A screen recorder captures any app, on Mac or Windows, with the picture and both sides of the audio in a single file you own. Built-in recorders are restricted or missing; the screen recorder is the constant that works everywhere.
Get consent, set up your audio once, run a quick test, and you are ready for any call. If you want a single tool that records every calling app with system audio, mic, and webcam in one click (no watermark, no subscription), ScreenSnap Pro handles it for a one-time $34 on both Mac and Windows.

Morgan
Indie DeveloperIndie developer, founder of ScreenSnap Pro. A decade of shipping consumer Mac apps and developer tools. Read full bio
@m_0_r_g_a_n_