How to Screenshot Video Calls on Mac (Zoom, Meet, Teams)
Taking a screenshot during a video call on Mac is easy. Capture presentation slides, whiteboard discussions, or memorable group moments. Built-in Mac shortcuts let you capture Zoom, Google Meet, or Microsoft Teams calls in seconds. No interruption needed — and a dedicated capture app like ScreenSnap Pro makes the whole flow even smoother.
This guide covers it all. You'll learn quick shortcuts, markup tips, and ways to share like a pro.
Why Screenshot Video Calls?
Before jumping into the how-to, here's why capturing video call screenshots is actually useful:
- Save presentation slides without asking the presenter to share them afterward
- Save key decisions made during meetings so you can look back
- Capture whiteboard sessions or shared documents before they disappear
- Create training materials from recorded tutorials or demos
- Keep visual notes that are easier to remember than text alone
The good news? Your Mac has everything built in. No extra apps required. We'll also cover tools that make the process even smoother. Apple's official screenshot documentation covers the basics. We'll go deeper with video call-specific tips.
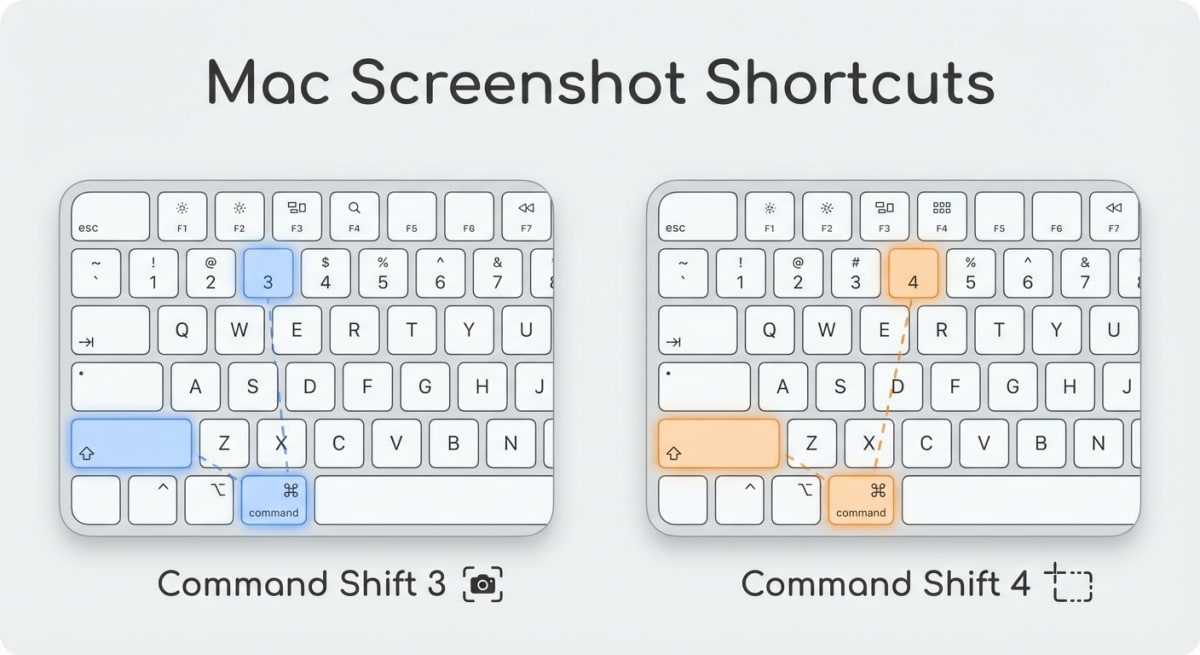
The Quick Answer: Mac Screenshot Shortcuts
If you're in a hurry, here are the three shortcuts you need:
| Shortcut | What It Does |
|---|---|
⌘ + Shift + 3 | Capture entire screen |
⌘ + Shift + 4 | Capture selected area |
⌘ + Shift + 4 + Space | Capture specific window |
For most Zoom meeting screenshots or Google Meet screenshots, ⌘ + Shift + 4 is your best friend. It lets you grab exactly what you need. No dock or menu bar clutter.
For a complete breakdown of every screenshot option, check out our Mac screenshot shortcuts guide.
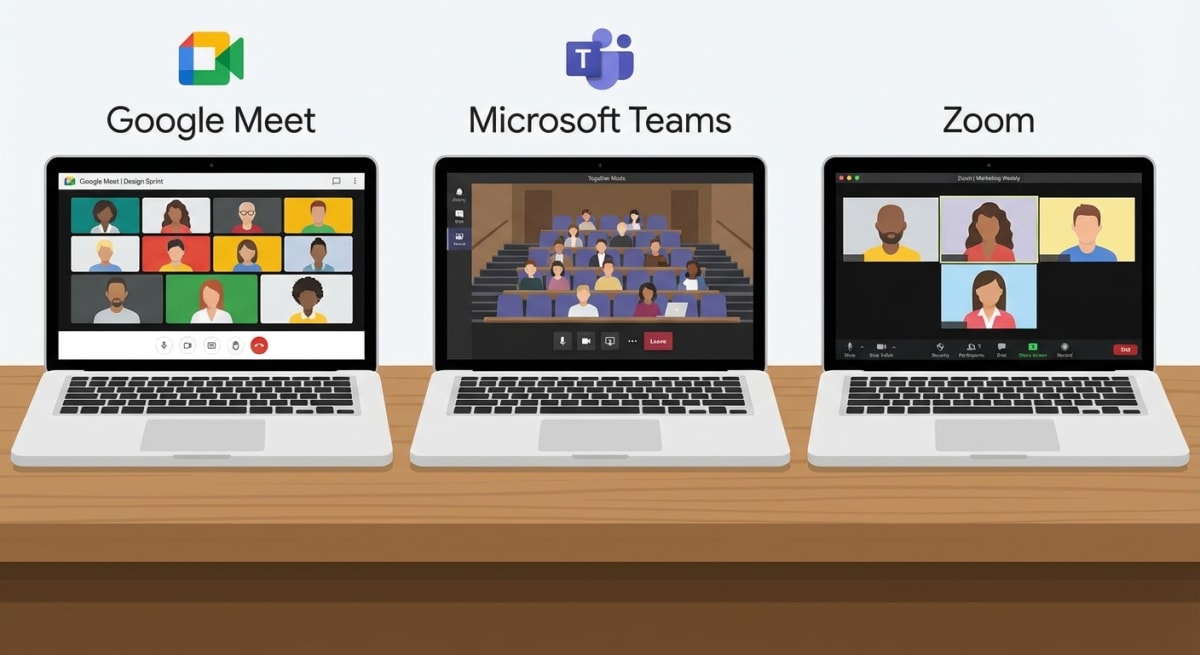
How to Screenshot Zoom Calls on Mac
Zoom is the most popular video conferencing tool, so let's start here.
Method 1: Using Mac's Built-In Shortcuts
- Join your Zoom meeting as usual
- When you see content worth capturing, press
⌘ + Shift + 4 - Your cursor changes to a crosshair—drag to select the area
- Release to capture the screenshot
- Find it on your Desktop (or wherever you've set screenshots to save)
Pro tip: Press ⌘ + Shift + 4, then hit Spacebar. This switches to window capture mode. Click the Zoom window. Done—no trimming needed.
Method 2: Zoom's Built-In Screenshot Tool
Zoom actually has a native screenshot feature, but it's disabled by default:
- Open Zoom and click the gear icon (Settings)
- Go to Keyboard Shortcuts
- Find the Chat section and enable Screenshot
- Now you can use Zoom's own capture tool during calls
The main plus? Zoom adds the screenshot right into chat. But Mac's built-in shortcuts are faster. They're more flexible too.
Does Zoom Notify Others When You Screenshot?
No. Zoom has no notification system for screenshots. Taking a screenshot on Zoom is silent. Other participants won't know. Unlike Instagram or Snapchat, nothing alerts anyone.
That said, be polite. Let others know if you're capturing private info. This is key for work calls.
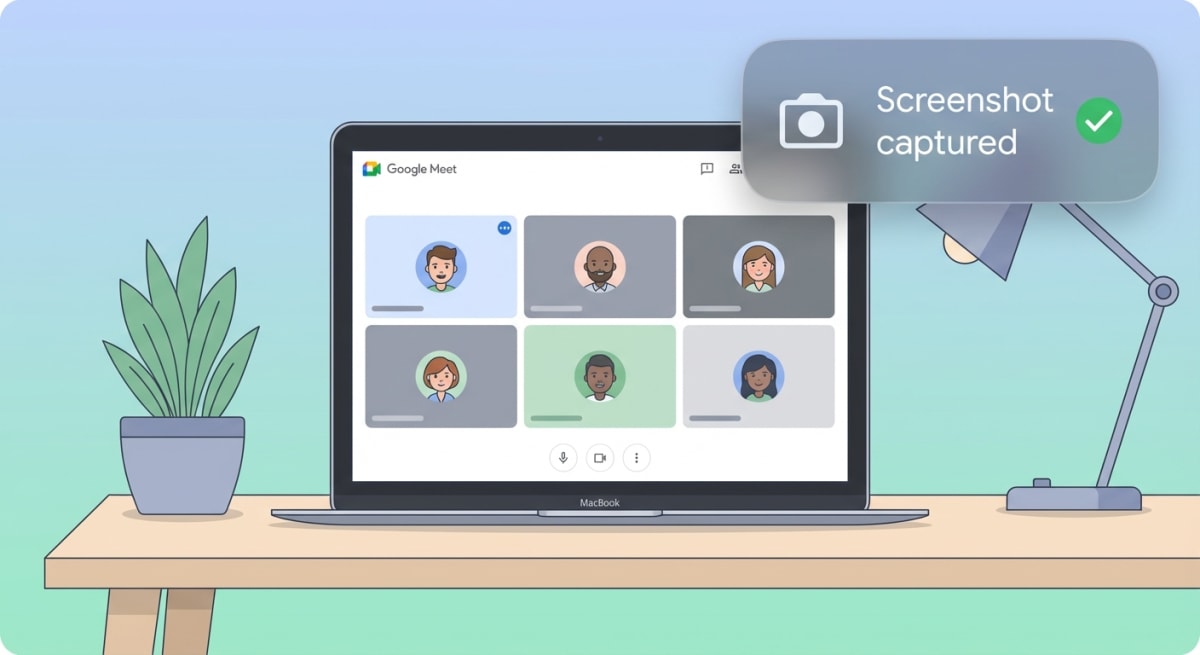
How to Screenshot Google Meet on Mac
Google Meet works just as smoothly with Mac's screenshot tools.
Capture a Google Meet Screenshot
- Open Google Meet in your browser and join the call
- Press
⌘ + Shift + 4to activate selection mode - Drag to select the Meet window or the specific area you want
- Release to capture
Meet runs in your browser. You can also use ⌘ + Shift + 4 + Space. Then click the browser window to grab the entire tab.
Screenshot Google Meet Presentations
When someone shares their screen in Google Meet:
- Wait for the shared content to display clearly
- Press
⌘ + Shift + 3to capture your full screen, or - Use
⌘ + Shift + 4to select just the presentation area
This is great for slides, documents, and design mockups. Need to crop your captures afterward? Check our guide on how to crop screenshots on Mac.
How to Screenshot Microsoft Teams on Mac
Screenshot Teams calls work the same as other video call apps on Mac.
Teams Screenshot Steps
- Open Microsoft Teams and join your meeting
- Press
⌘ + Shift + 4for selective capture - Drag across the Teams window to select
- Release to save the screenshot
Teams Window Capture
For cleaner captures without the browser chrome or desktop clutter:
- Press
⌘ + Shift + 4 - Press
Spacebarto switch to window mode - Click on the Teams window
- The screenshot saves with a subtle shadow effect
Does Teams Notify Screenshots?
Like Zoom, Microsoft Teams does not notify participants. No screenshot detection exists. Teams focuses on productivity features instead.
But your company may have rules. Check with IT if you're unsure about capturing meeting content.
Advanced Screenshot Tricks for Video Calls
Want better captures? These tips take your video call screenshots to the next level.
Capture with Timer
Need a moment to position the screen before capturing? Use the built-in timer:
- Press
⌘ + Shift + 5to open the screenshot toolbar - Click Options
- Select 5 Seconds or 10 Seconds timer
- Click Capture
This gives you time to:
- Switch to the video call
- Hover over a menu
- Wait for a slide to change
Capture the Touch Bar (MacBook Pro)
If you have a MacBook Pro with Touch Bar and want to include it:
- Press
⌘ + Shift + 6to capture just the Touch Bar - Or use
⌘ + Shift + 5and include the Touch Bar area in your selection
Great for showing app buttons. Helpful for screen sharing how-tos.
Screenshot Multiple Monitors
Running your video call on one screen while presenting on another? Mac handles this well:
⌘ + Shift + 3captures all connected displays as separate files⌘ + Shift + 4lets you drag across any connected screen- Each screenshot saves as a separate file with the same timestamp
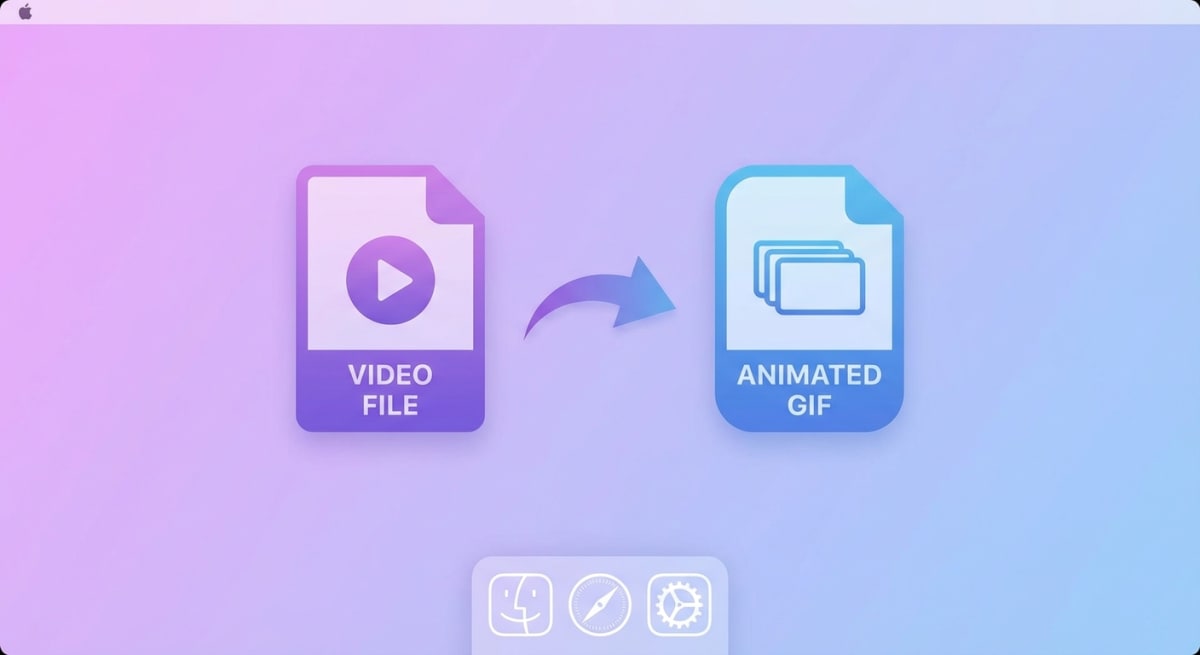
Record a Video Clip Instead
Sometimes a screenshot isn't enough. Need more context? Record a quick video clip instead:
- Press
⌘ + Shift + 5 - Select Record Selected Portion or Record Entire Screen
- Click Record
- Press the Stop button in the menu bar when done
The recording saves as a .mov file on your Desktop.
Tired of plain screenshots? Try ScreenSnap Pro.
Beautiful backgrounds, pro annotations, GIF recording, and instant cloud sharing — all in one app. Pay $29 once, own it forever.
See what it doesAnnotate Your Video Call Screenshots
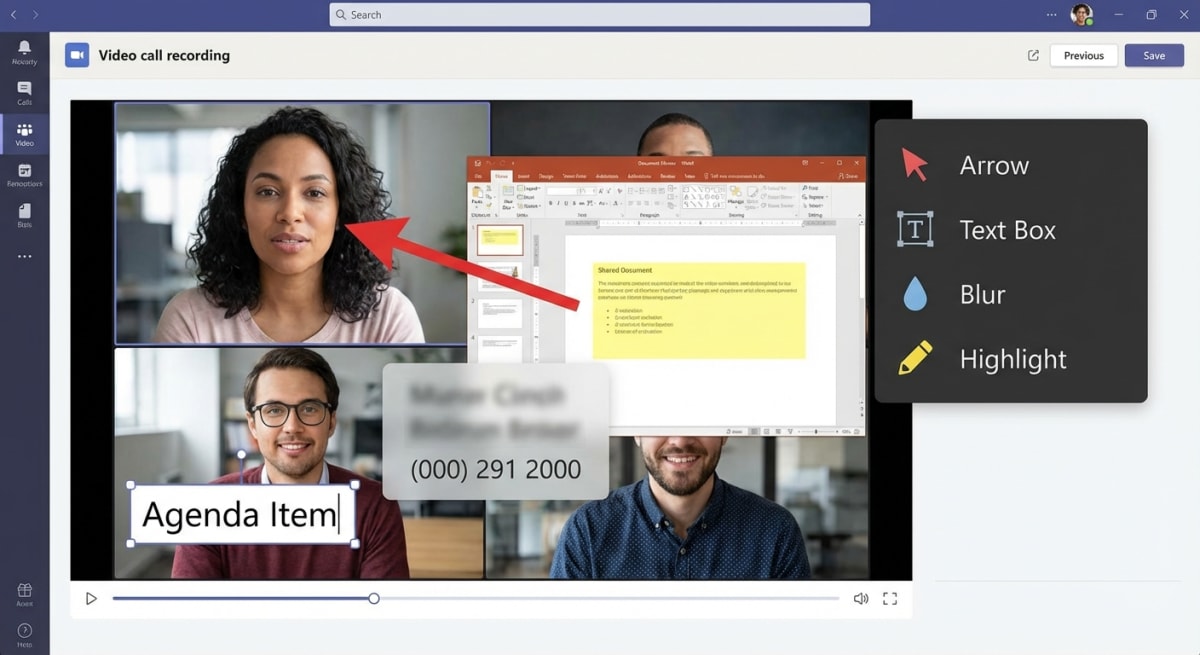
A plain screenshot is useful. But an annotated video call screenshot tells the full story. Highlight key points. Add arrows. Blur private info. These touches make captures look polished.
Using Mac's Markup Tool
After taking a screenshot:
- Click the thumbnail that appears in the corner of your screen
- This opens the Markup editor
- Add arrows, shapes, text, or highlights
- Click Done to save
This works for quick notes. The tools are basic though.
Professional Annotation with ScreenSnap Pro
Capture and mark up screenshots often? Pro tools save you time. ScreenSnap Pro offers:
- 15 annotation tools including arrows, blur, highlighter, and numbered steps
- Beautiful backgrounds for polished screenshots
- Instant cloud sharing without dealing with file attachments
- OCR text extraction to copy text from your screenshots
Want more markup options? See our guide on how to annotate screenshots on Mac.
Share Video Call Screenshots Instantly
Done capturing and adding notes? Time to share with teammates. Here's how to speed up that process.
Quick Share Options
- Drag and drop into Slack, Discord, or email
- Copy to clipboard with
⌘ + Control + Shift + 4(captures directly to clipboard) - AirDrop to nearby Apple devices
- iCloud Drive for automatic sync across devices
Cloud Sharing for Teams
Share screenshots often? Cloud tools remove the "see attached" hassle. Upload once. Share a link. Others see the latest version. No downloads needed.
Learn more about efficient sharing workflows in our cloud screenshot sharing guide.
Comparing Screenshot Methods: Which Works Best?
Different needs call for different methods. Here's a quick comparison:
| Method | Best For | Pros | Cons |
|---|---|---|---|
⌘ + Shift + 3 | Full screen captures | Fastest, no targeting needed | Captures everything, including dock |
⌘ + Shift + 4 | Selected areas | Precise, flexible | Requires accurate dragging |
⌘ + Shift + 4 + Space | Window captures | Clean borders, shadow effect | Only captures visible window |
⌘ + Shift + 5 | Complex captures | Timer, options, recording | Extra clicks required |
| ScreenSnap Pro | Professional work | Annotations, cloud, backgrounds | Third-party app |
For most capture video call scenarios, ⌘ + Shift + 4 works best. Fast. Precise. No setup required.
Best Practices for Video Call Screenshots
1. Respect Privacy
Think about what you're capturing. And who:
- Ask first before capturing private talks
- Blur faces or names when sharing outside your team
- Check company rules about saving meeting content
2. Organize Your Screenshots
Keep your files in order:
- Use folders organized by project, client, or date
- Rename files with descriptive names (e.g.,
Q1-planning-final-slide.png) - Use apps that sort captures for you
3. Capture at the Right Moment
Timing matters for clear screenshots:
- Wait for slides to fully load before capturing
- Avoid blurry faces during screen share transitions
- Capture grid view for group photos (Zoom's gallery view works well)
4. Edit Before Sharing
Quick edits make screenshots look sharp:
- Crop unnecessary elements
- Highlight the important parts
- Add context with text labels
- Blur private details
Troubleshooting Common Issues
Screenshots Not Saving
If your screenshots disappear after capture:
- Check your screenshot location. Open Terminal and type
defaults read com.apple.screencapture location - Look in that folder. Screenshots might be hiding there.
- Reset to Desktop:
defaults write com.apple.screencapture location ~/Desktop
For more solutions, see our Mac screenshot not working troubleshooting guide.
Video Call Window Not Capturing Properly
If screenshots show a black screen instead of the video call:
- Some apps use GPU features that can block captures
- Try
⌘ + Shift + 3(full screen) instead of window capture - In Zoom: Settings > Video > Advanced → turn off hardware acceleration
Quality Issues
For sharper screenshots:
- Zoom in on the content before you capture
- Press
⌘ + Shift + 5to open options and check quality - Try a pro screenshot tool for better results
Frequently Asked Questions
Wrap Up
Taking screenshots during video calls on Mac is easy. Just learn the shortcuts. Capturing a Zoom meeting screenshot? A Google Meet screenshot? A screenshot on Teams? The process is identical:
- Use
⌘ + Shift + 4for selective captures (most common) - Add
Spacebarfor clean window captures - Annotate to highlight key points
- Share via cloud links for the smoothest workflow
For the odd screenshot, Mac's built-in tools work great. Capture and share often? A pro tool helps. ScreenSnap Pro speeds up the whole process. Capture to share in seconds.
Ready to level up your screenshot game? Try ScreenSnap Pro free. See the difference for yourself.
Morgan
Indie DeveloperIndie developer, founder of ScreenSnap Pro. A decade of shipping consumer Mac apps and developer tools. Read full bio
@m_0_r_g_a_n_