How to Record a Zoom Meeting on Windows (2026)
TL;DR: To record a Zoom meeting on Windows, press Win + Alt + R to use the built-in Xbox Game Bar. If you are the host, Zoom's own recorder works fine. If you need to record as a participant without host permission, use a third-party screen recorder like OBS Studio (free) or ScreenSnap Pro ($39 one-time). Skip to Method 2 for the fastest free option.Need to record a Zoom meeting on Windows? Zoom has a built-in recorder, but only the host (or a participant the host has promoted) can use it. If you are a guest who needs a copy for notes, training, or to share with a teammate who missed the call, you need a different tool.
This guide walks through five ways to record a Zoom meeting on Windows. Some are free and built-in. Some are paid. All of them actually work in 2026. We will also cover the legal side of recording calls, best quality settings, and how to edit the video after. If you are new to screen recording on Windows in general, our guide on how to screen record on Windows covers the basics first.
Quick comparison: which method should you use?
Each method has different strengths. Here is a side-by-side view so you can pick the one that fits your needs.
| Method | Host permission needed? | Audio | Cost | Best for |
|---|---|---|---|---|
| Zoom built-in recorder | Yes (host only) | Yes (clean) | Free | Hosts recording their own meetings |
| Xbox Game Bar | No | Yes (with setup) | Free (built-in) | Quick participant recordings |
| Third-party recorder | No | Yes (full control) | Free or $39 | Training, tutorials, best quality |
| PowerPoint | No | Yes | Microsoft 365 | Presenters already in PowerPoint |
| Online recorder | No | Limited | Free (browser) | One-off quick clips, no install |
If you just need the fastest path, press Win + Alt + R and start the meeting. Xbox Game Bar handles most cases. For higher quality or longer recordings, jump to Method 3.
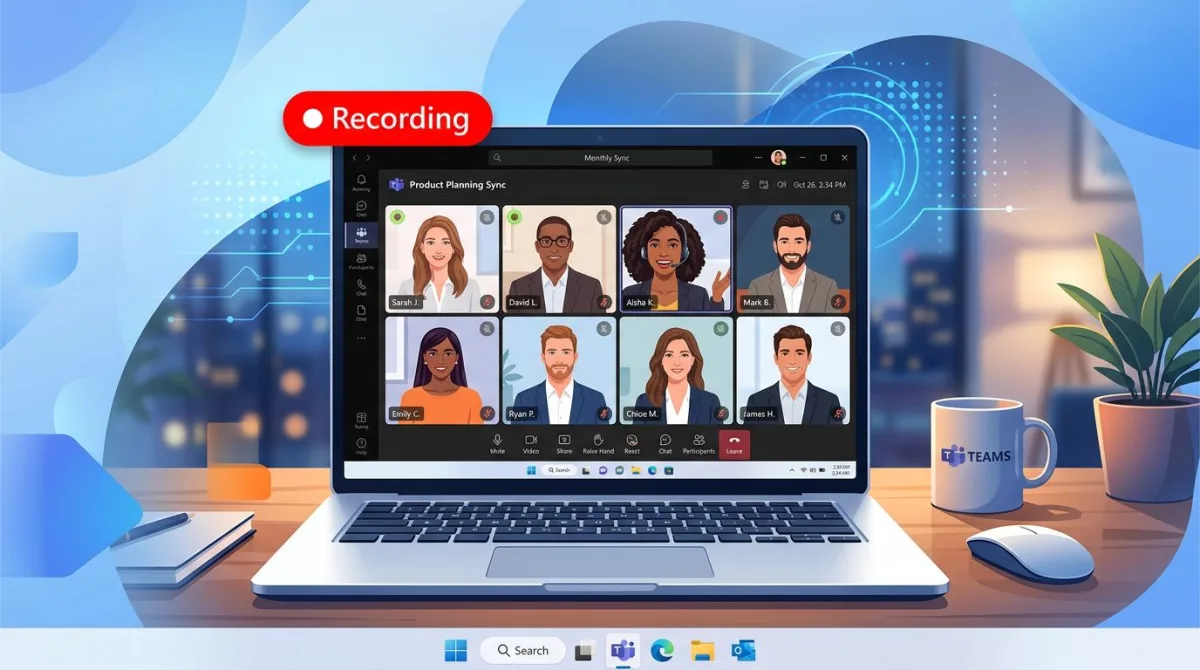
Method 1: Zoom's built-in recorder (host-only)
If you are the meeting host, Zoom's built-in recorder is the cleanest option. It saves a separate audio track, a video file, and a chat log. No extra software needed.
Who can use it: The host, the co-host, or any participant the host grants recording rights to during the meeting.
How to record in Zoom on Windows
- Start or join the meeting as the host.
- Click the Record button in the toolbar at the bottom of the Zoom window.
- Choose Record on this Computer (local) or Record to the Cloud (paid plans only).
- A small "Recording..." tag appears at the top of the window. Other people see a red dot, and Zoom announces the recording out loud.
- Click Pause/Stop Recording when you are done.
- End the meeting. Zoom converts the file and saves it to
C:\Users\[YourName]\Documents\Zoom\by default.
How to let a participant record
- As the host, find the participant in the Participants panel.
- Hover over their name, click More, and choose Allow Record.
- The participant can now click Record in their own toolbar.
Heads up: Zoom notifies everyone on the call when recording starts. You cannot hide the recording indicator, and the host is the only one who can silently record without permission. For official steps, Zoom's own local recording help article is a good reference.
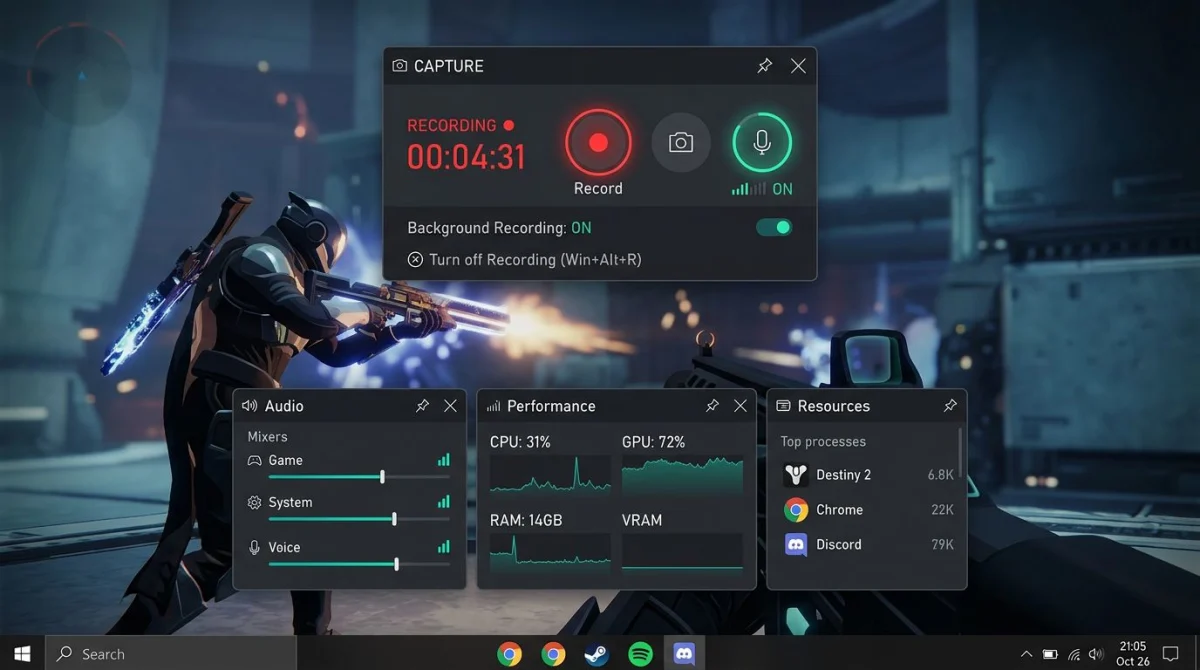
Method 2: Xbox Game Bar (Win + G) for participants
Xbox Game Bar is built into Windows 10 and Windows 11. Despite the name, it records any app, not just games. It is the fastest way to record a Zoom meeting as a participant without host permission.
Audio support: Records the active app's sound plus your microphone. It does not capture the full desktop, only a single window, which is fine for Zoom.
How to record Zoom with Xbox Game Bar
- Open Zoom and join the meeting. Make the Zoom window the active window.
- Press
Win + Gto open Xbox Game Bar. - Click the Capture widget (camera icon). If it is not visible, click the widget menu and enable Capture.
- Click the microphone icon to toggle mic input on or off. You can also press
Win + Alt + Mas a shortcut. - Press
Win + Alt + Rto start recording. A small timer appears in the corner. - Press
Win + Alt + Ragain to stop. Your video saves toVideos > Capturesas an MP4.
Configure audio for a clean recording
Out of the box, Xbox Game Bar records app audio and microphone, which is perfect for Zoom. If you hear no sound in the playback, check these:
- Right-click the speaker icon in the taskbar and open Sound settings. Make sure Zoom is not muted in the Volume mixer.
- In Xbox Game Bar, click the gear icon and set Audio to record to "Game" (the active app).
- Set Audio quality to 192 kbps for clearer speech.
Xbox Game Bar limits
- It records one window at a time, so if you alt-tab, the recording stops.
- Maximum recording length is 4 hours by default.
- You cannot add a webcam overlay or pause mid-recording.
For a deeper look at Game Bar settings, Microsoft's guide on using Xbox Game Bar to record clips covers the advanced options.
Method 3: Third-party screen recorder (OBS or ScreenSnap Pro)
For better quality, longer recordings, or a webcam bubble on top of the shared screen, use a dedicated tool. The two best options on Windows are OBS Studio (free, steep learning curve) and ScreenSnap Pro (paid, simpler).
Option A: OBS Studio (free)
OBS is a free, open-source screen recorder. It records any source, mixes multiple audio inputs, and supports long sessions without file-size limits.
- Download OBS Studio from obsproject.com and install it.
- In the Sources panel, click
+and add Display Capture (full screen) or Window Capture (just the Zoom window). - Click
+again and add Audio Output Capture to record system sound (Zoom call audio). - Add Audio Input Capture for your microphone.
- Click Start Recording in the bottom right. Click Stop Recording when done.
- Go to File > Show Recordings to find the MP4 file.
The trade-off: OBS has dozens of settings, and the default output folder is buried. Plan 15 to 20 minutes the first time to set it up.
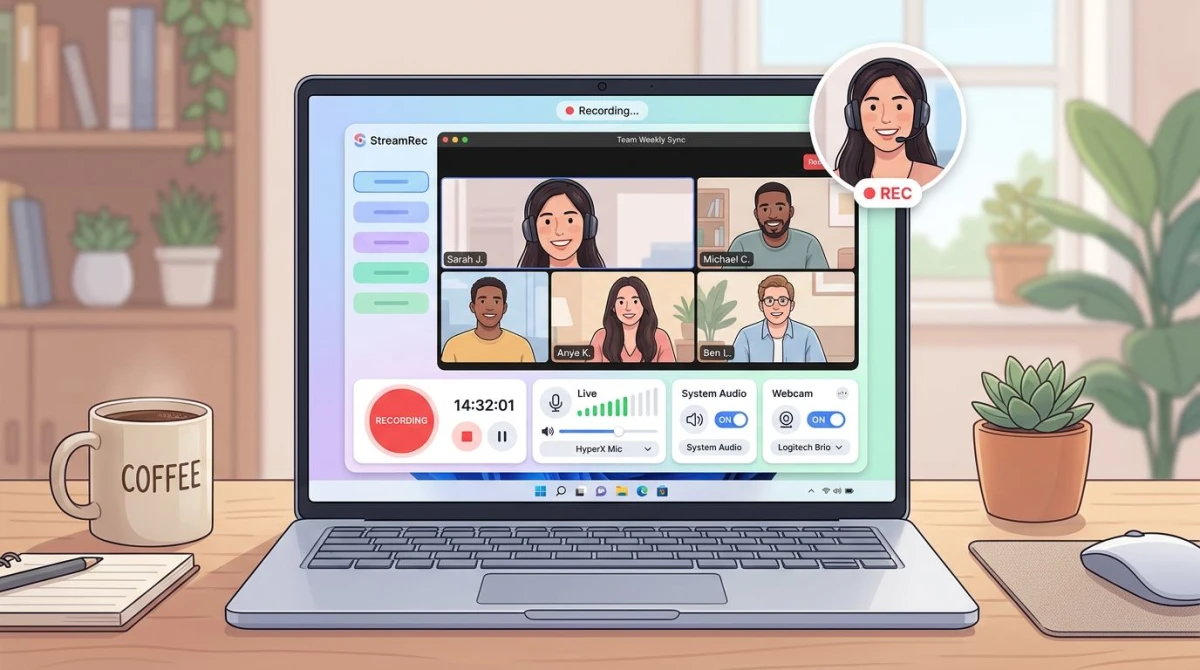
Option B: ScreenSnap Pro ($39 one-time)
If OBS feels like overkill, ScreenSnap Pro records screen, webcam, mic, and system audio with one click. It is $39 once, with no subscription. The license covers 2 computers (Windows and Mac).
Here is the flow:
- Open ScreenSnap Pro and click the record icon.
- Choose a region, window, or full screen. Pick the Zoom window.
- Toggle System Audio and Microphone on. Add webcam if you want a picture-in-picture of yourself.
- Click Start. A small toolbar lets you pause, stop, or annotate.
- Click Stop when the meeting ends. Trim the start and end in the built-in editor and export as MP4 or GIF.
The output has no watermark, so you can share it on Slack, Loom replacements, or a shared drive without the app branding its work. For context on how it compares to subscription tools, see Loom alternatives for Windows.
Which should you pick?
Use OBS if you already know it or need advanced features like scene switching, chroma key, or streaming. Use ScreenSnap Pro if you want to record and share a meeting in under 2 minutes with no learning curve. For a broader list of options, check our roundup of the best free screen recorders on Windows.
Method 4: PowerPoint's built-in screen recording
This one surprises people. If you have Microsoft 365 or PowerPoint 2016+, you can record your screen from inside PowerPoint. It is not promoted as a general-purpose tool, but it works.
How to record Zoom with PowerPoint
- Open PowerPoint and start a new blank presentation.
- Go to the Insert tab and click Screen Recording.
- PowerPoint minimizes and shows a small control dock at the top of your screen.
- Click Select Area and draw a box around the Zoom window.
- Toggle Audio (on by default) and Record Pointer as needed.
- Click Record. A 3-second countdown starts.
- When the meeting ends, press
Win + Shift + Qto stop. The recording drops into your PowerPoint slide. - Right-click the video in the slide and choose Save Media as to export the MP4.
Trade-offs: You have to export the video out of PowerPoint, and you cannot record longer meetings reliably because of memory limits. Fine for 10 to 20 minutes; risky for a 2-hour all-hands.
Method 5: Online screen recorders (no install)
If you cannot install software (work laptop, locked-down machine), a browser-based recorder is the backup plan. Loom, Veed, and RecordCast all have free tiers that work in Chrome or Edge.
The general flow:
- Go to the online recorder's website and click Start recording.
- Grant the browser permission to share your screen and mic.
- Select the Zoom window when prompted.
- Click Start.
- When the meeting ends, stop the recording. The video uploads to the service's cloud, and you get a shareable link or MP4 download.
Trade-offs: Free tiers cap recording length, add a watermark, or require account signup. If your meeting runs long, a browser recorder is not the right fit.
Tired of plain screenshots? Try ScreenSnap Pro.
Beautiful backgrounds, pro annotations, GIF recording, and instant cloud sharing — all in one app. Pay $39 once, own it forever.
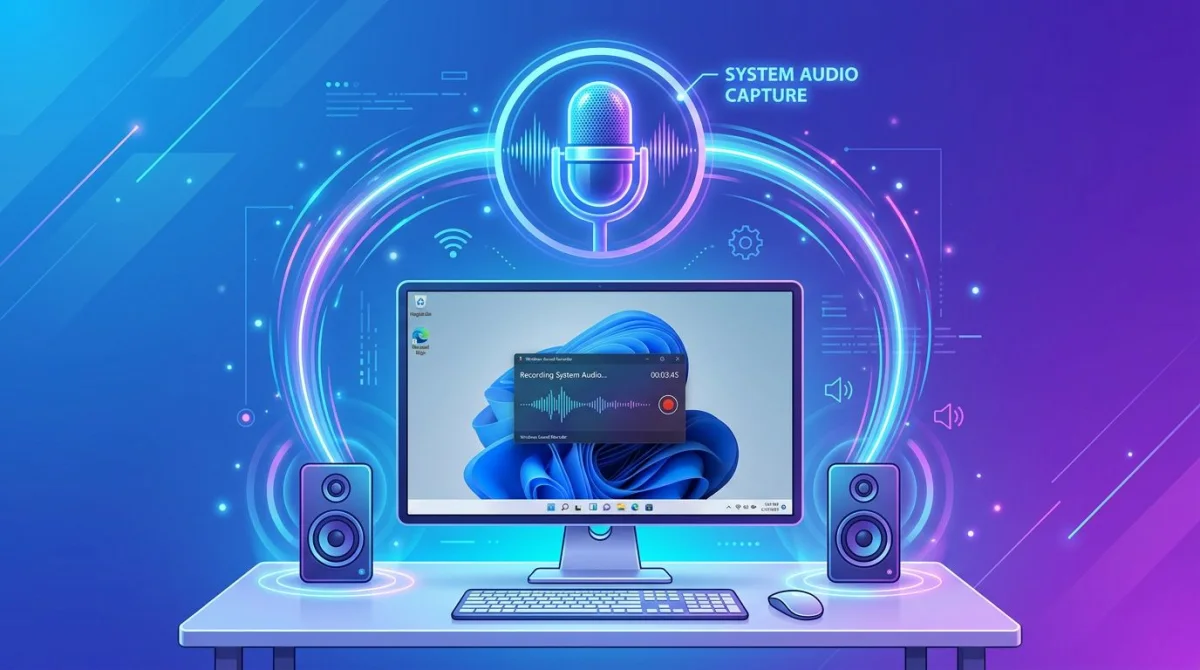
See what it doesHow to record Zoom with audio (system sound + mic)
Recording audio cleanly is the hardest part of recording a Zoom call. Here is how each method handles it:
- Zoom built-in: Records everyone's voices cleanly on separate tracks if you enable "Record a separate audio file for each participant" in Settings.
- Xbox Game Bar: Records the active app's output and your mic. Good enough for 90% of cases.
- OBS: Full control. Add one "Audio Output Capture" source for Zoom sound and one "Audio Input Capture" for your mic. Balance levels in the mixer.
- ScreenSnap Pro: Toggle system audio and mic. Done.
- PowerPoint: Records whatever Windows is playing plus your mic.
For a deeper walkthrough of capturing system sound on Windows (not just for Zoom), see our guide on how to screen record with audio on Windows.
Common audio gotchas:
- If your mic is muted in Zoom, your voice will still record if you mic is unmuted in Windows. This is usually what you want for a voiceover later.
- If other participants sound quiet, raise Zoom's output volume in the Windows Volume Mixer, not the recorder.
- Bluetooth headsets sometimes cut system audio quality to "hands-free" mode. Use wired headphones or your laptop speakers for the best sound.
How to record Zoom as a participant without host permission
This is the most common search behind "how to record a zoom meeting" — you are a participant, not the host, and you want a copy. Here is the short version:
- Use any method in this guide except Method 1. Zoom's own recorder locks out non-hosts.
- Xbox Game Bar (
Win + Alt + R) is the fastest. It does not ask Zoom for permission. It just records what is on your screen. - Ask the other participants first. Recording someone without consent is legal in some US states (one-party consent) and illegal in others (all-party consent). We will cover this below.
Zoom does not notify anyone when you use a third-party recorder like Xbox Game Bar or OBS. The red "Recording" banner only appears when the Zoom-native recorder is running.
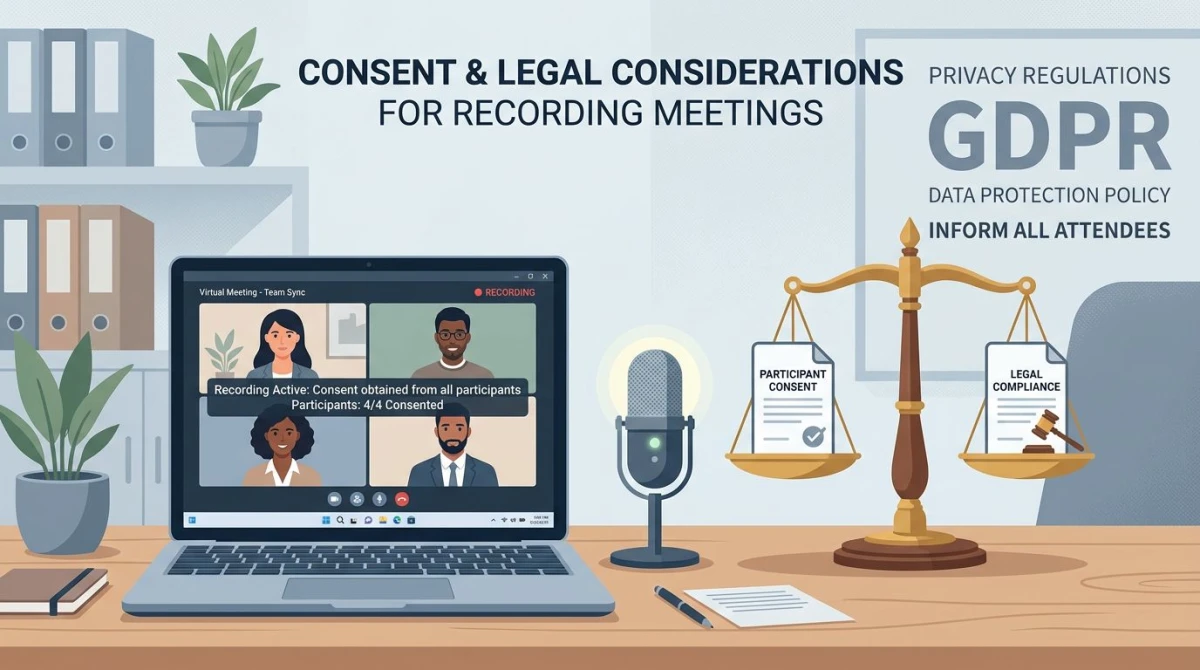
Legal and ethical considerations
Recording a meeting without consent can get you sued or fired, even if you never share the video. The rules depend on where you live and where the other participants live.
US federal and state rules
- Federal law (18 USC 2511): One-party consent. If one person on the call (you) knows about the recording, it is legal federally.
- One-party consent states: 38 states including Texas and New York. You can record if you are part of the call.
- Two-party consent states: California, Illinois, Massachusetts, Pennsylvania, Washington, and others. Everyone on the call must agree.
- Work rules: Your employer may ban recording regardless of state law. Check the handbook.
A safer default
Regardless of the legal line, it is a good idea to:
- Announce you are recording at the start of the call.
- Ask if anyone objects. If they do, stop.
- Keep the file private. Do not post it on YouTube or Slack channels without permission.
- Delete it once you no longer need it.
This is not legal advice. If the call involves sensitive business or client information, talk to a lawyer before recording.
Best settings for meeting recordings
A Zoom call is mostly voice and slides. You do not need a 4K, 60 fps recording. Here are the settings that give you a crisp, shareable file without a huge disk footprint:
| Setting | Recommended | Why |
|---|---|---|
| Resolution | 1080p (1920x1080) | Sharp enough for faces and shared screens |
| Frame rate | 30 fps | Slides and video talk fine at 30; 60 fps wastes space |
| Bitrate | 5,000 to 8,000 kbps | Balance of quality and file size |
| Format | MP4 (H.264) | Plays everywhere, easy to edit |
| Audio | 192 kbps, stereo | Clear voice without padding the file |
A 1-hour recording at these settings lands around 1.5 to 2 GB. If you need to share the file, compress it first or upload it to cloud storage.
How to edit and trim your Zoom recording
You rarely need the full raw file. Trimming the boring intro and the "ok, so we can stop now" outro is usually enough.
Free options built into Windows
- Photos app: Right-click the MP4, choose Open with > Photos, then click Edit & Create > Trim. Drag the handles, save a copy. Takes 30 seconds.
- Clipchamp: Comes free with Windows 11. More features than Photos, including text overlays and filters.
If you recorded with ScreenSnap Pro
The built-in editor lets you trim the start and end, add arrows or text, and export to MP4 or GIF. No round-trip to a separate editor. If the meeting produced useful screenshots along the way, you can also annotate those screenshots in the same app.
For longer edits — like cutting a 10-minute tangent from the middle — use DaVinci Resolve or Shotcut. Both are free and handle 1080p MP4 files on any modern Windows laptop.
Frequently Asked Questions
Wrapping up
You now have five ways to record a Zoom meeting on Windows. The right choice depends on your role in the call:
- Host? Use Zoom's own recorder. It is the cleanest.
- Participant with a quick need?
Win + Alt + Rand Xbox Game Bar. - Training or client call you want to keep? A third-party recorder like OBS (free) or ScreenSnap Pro ($39 one-time, no watermark, webcam overlay, built-in editor).
- No install allowed? Online recorder, but watch the time cap.
Whichever method you pick, ask the other people on the call before you hit record. It keeps things friendly, and in some states it keeps you out of court.
If you record meetings often, ScreenSnap Pro rolls screen, webcam, mic, and system audio into one button, ships with 15 annotation tools, and costs $39 once — no subscription.
Morgan
Indie DeveloperIndie developer, founder of ScreenSnap Pro. A decade of shipping consumer Mac apps and developer tools. Read full bio
@m_0_r_g_a_n_