How to Make Image Transparent (2026) | Free Methods
Making an image transparent means one of two things: removing its background so it fits into any design, or changing the opacity so you can see through it. Need a clear logo for your website? Or a faded overlay for a slide deck? This guide covers every method on Mac, Windows, and free online tools — handy if you're cleaning up screenshots from an app like ScreenSnap Pro for a presentation.
Two types of image transparency
Before you start, it helps to know what "transparent" really means for images. There are two types, and knowing the gap between them saves you time.
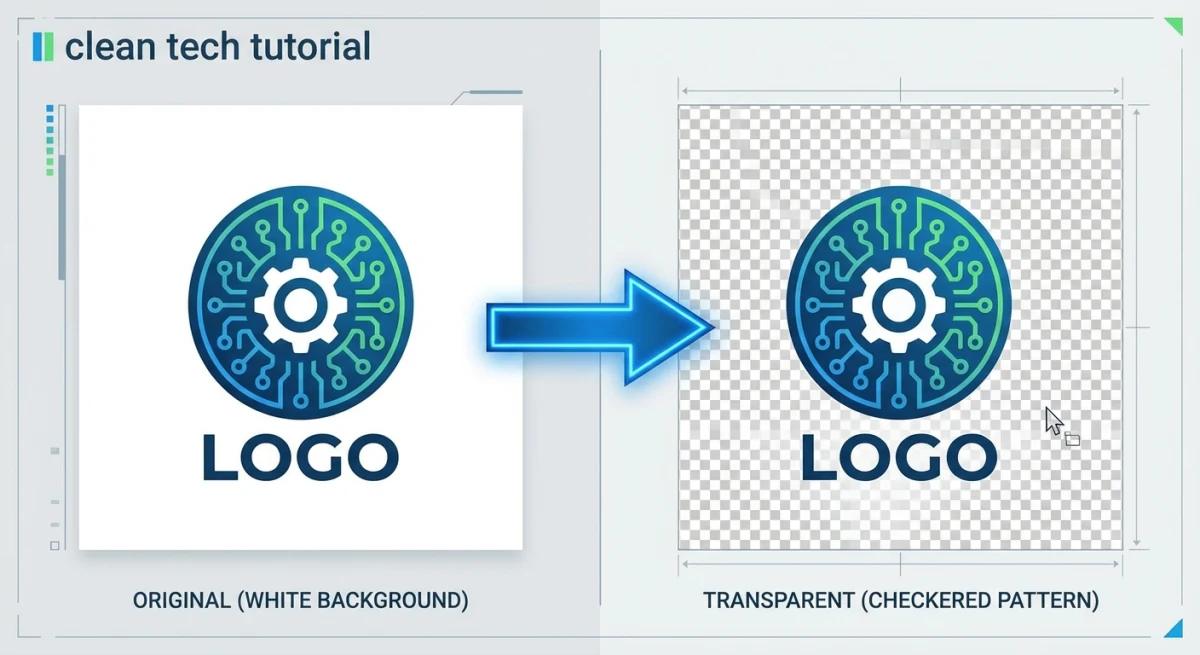
Background removal strips the background away, leaving your subject on a clear (checkered) canvas. This is what you need for logos, product photos, and graphics that must sit on different colored backgrounds.
Opacity adjustment makes the whole image see-through. Think of it like tinting a window — everything shows through, just softer. This works for watermarks, slide overlays, and layered design effects.
Most people searching for "how to make image transparent" want background removal. But we'll cover both so you have the complete picture.
How to make an image transparent online (free & fast)
The fastest way to make a background transparent is with an online tool. Nothing to install, nothing to learn.
ScreenSnap Pro's free Transparent Background Maker handles this in seconds:
- Upload your image (PNG, JPG, or WebP)
- The tool automatically detects and removes the background
- Download your transparent PNG
It works best with photos that have a clear subject — portraits, product shots, logos on solid backgrounds. For complex scenes where the subject and background share the same color, you may need a more precise tool like GIMP or Photoshop.
Method 1: online tools (remove.bg, Canva, and more)
Several free online tools can make backgrounds transparent using AI detection. Our background remover uses AI to strip backgrounds in one click, right in your browser.
remove.bg
remove.bg is one of the most popular background removal tools:
- Go to remove.bg and upload your image
- The AI detects and removes the background
- Download the result (the free version gives a lower-res output)
Pros: Fast, accurate, works on complex photos.
Cons: Free version caps at 625×400px. Full size needs credits ($1-2 per image).
Canva
If you already use Canva, their background remover is built right in:
- Upload your image to a Canva design
- Click the image, then select Edit Image → BG Remover
- Download as PNG with transparent background
Pros: Built into Canva's design flow.
Cons: Needs a Canva Pro plan for the BG Remover tool.
Adobe Express
Adobe Express offers a free background removal tool:
- Upload your image
- Adobe's AI removes the background on its own
- Download or keep editing in Adobe Express
Pros: Top-notch AI from Adobe, free tier on hand.
Cons: Needs an Adobe account.
Method 2: Mac Preview (instant alpha)
Mac users have a built-in tool that most people miss. Preview's Instant Alpha lets you remove backgrounds without any downloads.
- Open your image in Preview (right-click → Open With → Preview)
- Click the Markup Toolbar button (pencil icon) or press
⌘ + Shift + A - Select the Instant Alpha tool from the toolbar (it looks like a magic wand)
- Click and drag over the background area you want to remove
- As you drag, Preview highlights the selected area in pink
- Press Delete to remove the selected area
- Save as PNG to preserve transparency (File → Export → Format: PNG)
Pro tip: Instant Alpha works by picking connected areas of the same color. For backgrounds with gradients or mixed colors, you may need to repeat the step a few times to get a clean result.
Preview has a lot more hidden power beyond transparency — check out our complete Mac Preview app guide for editing tricks most people miss. And if you're working with screenshots you've already captured, Preview keeps everything in one app.
Method 3: Windows Paint 3D
Windows users can make backgrounds transparent with Paint 3D, which comes pre-loaded on Windows 10 and 11:
- Open your image in Paint 3D
- Click Magic Select on the toolbar
- Drag the selection box around your subject and click Next
- Paint 3D detects the subject on its own — use Add or Remove to refine
- Click Done to extract the subject
- Select all remaining background (press
Ctrl + A) and delete it - Go to Menu → Save As → Image → check Transparency → save as PNG
Note: Microsoft retired Paint 3D and pulled it from the Microsoft Store in November 2024. If you have it installed, it still works. If not, use the standard Paint app in Windows 11 — it now has a background removal tool under Image → Remove Background with the same AI-based detection.
Method 4: GIMP (free and precise)
GIMP is a free image editor for Mac, Windows, and Linux. It gives you the most control over how you handle clear areas.
Add an alpha channel
Your image needs an alpha channel before it can have any clear areas. Think of it as flipping the switch that allows see-through pixels:
- Open your image in GIMP
- Go to Layer → Transparency → Add Alpha Channel
If "Add Alpha Channel" is grayed out, your image already has one — you're good to go.
Remove background with fuzzy select
This works like a magic wand that selects areas by color:
- Pick the Fuzzy Select Tool or press
U - Click on the background
- Drag the Threshold slider up to grab more of the background color
- Hold Shift and click other background areas to add them
- Press Delete to clear the selected areas
- Save as PNG: File → Export As → pick PNG
Remove background with color-to-alpha
Got a logo or graphic on a plain white or solid-color background? This is the quickest GIMP method:
- Go to Colors → Color to Alpha
- Pick the background color (white is the default)
- Click OK — GIMP turns that color into clear space across the whole image
- Save as PNG
This works great for logos, icons, and any graphic with a flat background.
Tired of plain screenshots? Try ScreenSnap Pro.
Beautiful backgrounds, pro annotations, GIF recording, and instant cloud sharing — all in one app. Pay $39 once, own it forever.
See what it doesMethod 5: PowerPoint and Google Slides
Need a transparent image for a slide deck? Both PowerPoint and Google Slides have built-in tools for this.
PowerPoint
- Insert your image into a slide
- Select the image and go to Picture Format → Remove Background
- PowerPoint highlights areas it will remove in purple
- Use Mark Areas to Keep and Mark Areas to Remove to refine
- Click Keep Changes
- Right-click the image → Save as Picture → save as PNG
For opacity adjustment in PowerPoint:
- Select the image
- Go to Picture Format → Transparency
- Choose a preset or click Picture Transparency Options for a custom value
Google Slides
Google Slides lacks a background remover, but it handles opacity:
- Insert your image
- Select it and click Format Options (or right-click → Format Options)
- Expand Adjustments
- Drag the Transparency slider to adjust opacity
For background removal in Google Slides, strip the background first with an online tool, then drop in the transparent PNG.
Method 6: Photoshop (professional workflow)
Adobe Photoshop is a common choice for pros who need pixel-perfect results.
Quick selection + layer mask
- Open your image and double-click the background layer to unlock it
- Grab the Quick Selection Tool (
W) and paint over your subject - Click Select and Mask in the top bar
- Use the Refine Edge Brush to clean up tricky edges (hair, fur, leaves)
- Set Output to Layer Mask and click OK
- Save: File → Export As → PNG with transparency checked
One-click AI removal
Photoshop's Remove Background button handles most photos in a single click:
- Open your image
- In the Properties panel, click Remove Background
- Photoshop builds a layer mask on its own
- Touch up any rough spots, then save as PNG
Cost: Photoshop needs a Creative Cloud plan ($22.99/month). If you only need this now and then, the free tools above work great.
Making logos transparent
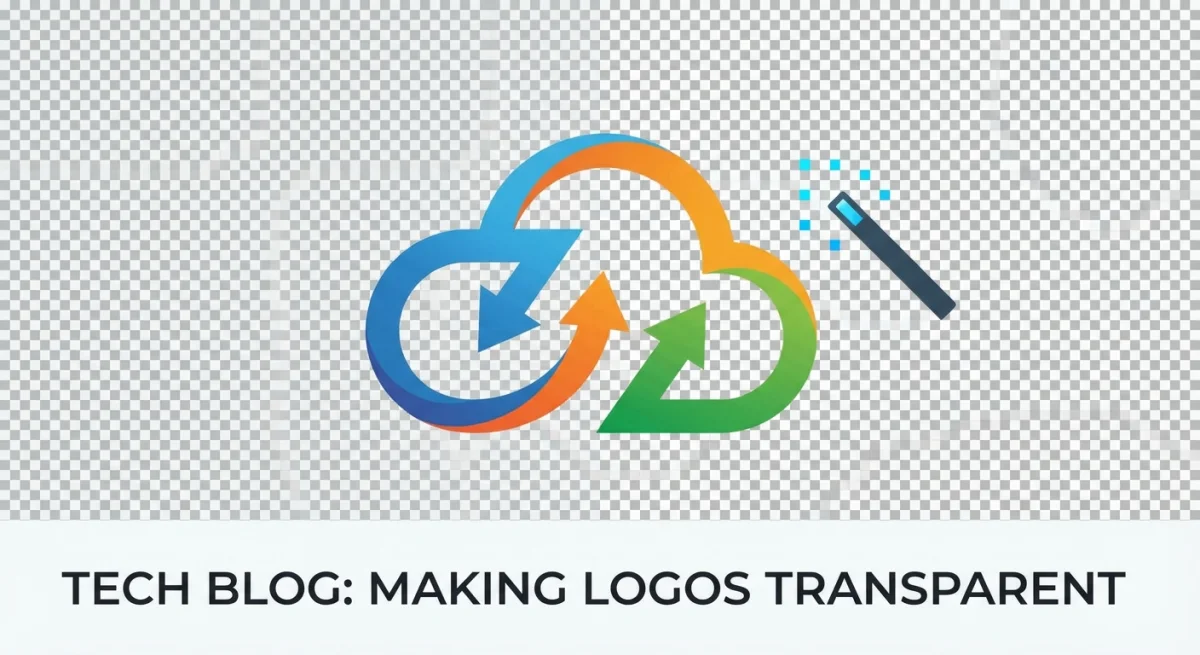
Making a logo transparent is one of the most common tasks. Here's the best approach for each logo type.
Logos on white backgrounds
If your logo has a solid white background, GIMP's Color to Alpha method works perfectly:
- Open the logo in GIMP
- Add an alpha channel (Layer → Transparency → Add Alpha Channel)
- Go to Colors → Color to Alpha → select white
- Export as PNG
Logos on colored backgrounds
For logos on non-white solid backgrounds, use the same Color to Alpha method but pick the real background color with the eyedropper.
Logos with complex backgrounds
If the logo sits on a photo or gradient, use remove.bg or our Transparent Background Maker for AI-based removal.
Pro tip: Once you have a transparent logo, save it as a PNG and keep it in your assets folder. You'll reuse it in slide decks, websites, and marketing pieces without redoing this work.
Adjusting image opacity
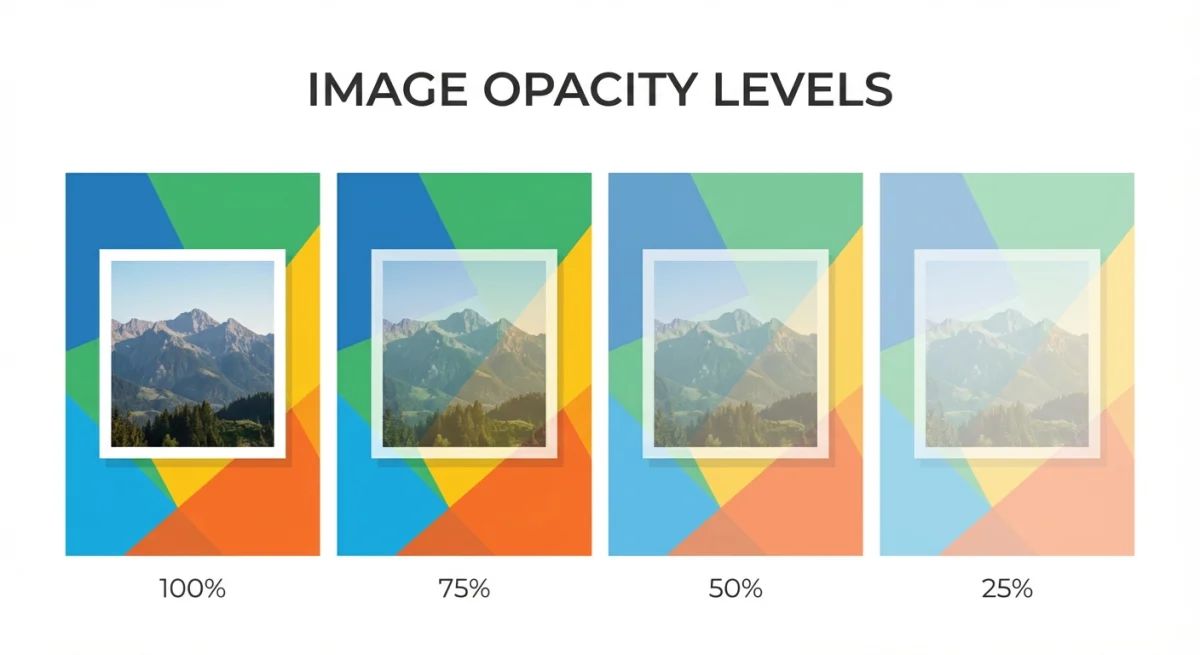
Sometimes you don't want to remove the background — you want the whole image to be see-through. This is common for watermarks, overlays, and layered designs. (On the flip side, if you need to remove a watermark from an image, check out our best watermark remover tools roundup.)
CSS opacity (for web)
The easiest way to change opacity on a website:
img {
  opacity: 0.5; /* 50% transparent */
}
GIMP opacity
- Open your image in GIMP
- Go to Layer → Transparency → Add Alpha Channel
- Select all (
Ctrl + Aor⌘ + A) - Go to Filters → Light and Shadow → or adjust layer opacity in the Layers panel
- Set the Layer Opacity slider to your desired level
- Flatten and export as PNG
Online opacity tools
A few free tools let you change image opacity without any software. Search for "change opacity of image online" — tools like LunaPic and OnlineImageTools do this fast.
If you need to mark up screenshots with faded overlays, or blur private info in photos, a tool like ScreenSnap Pro handles both with easy opacity controls.
Saving transparent images correctly
This is where most people trip up. You can spend 10 minutes on a perfect transparent background, then lose it all by saving in the wrong format.
Formats that support transparency
| Format | Transparency | Best for |
|---|---|---|
| PNG | ✅ Full alpha | Logos, graphics, screenshots |
| WebP | ✅ Full alpha | Web images (smaller file size) |
| GIF | ⚠️ Binary only | Simple graphics (no semi-transparency) |
| SVG | ✅ Full alpha | Vector graphics, icons |
| TIFF | ✅ Full alpha | Print, archival |
Formats that DON'T support transparency
| Format | What happens |
|---|---|
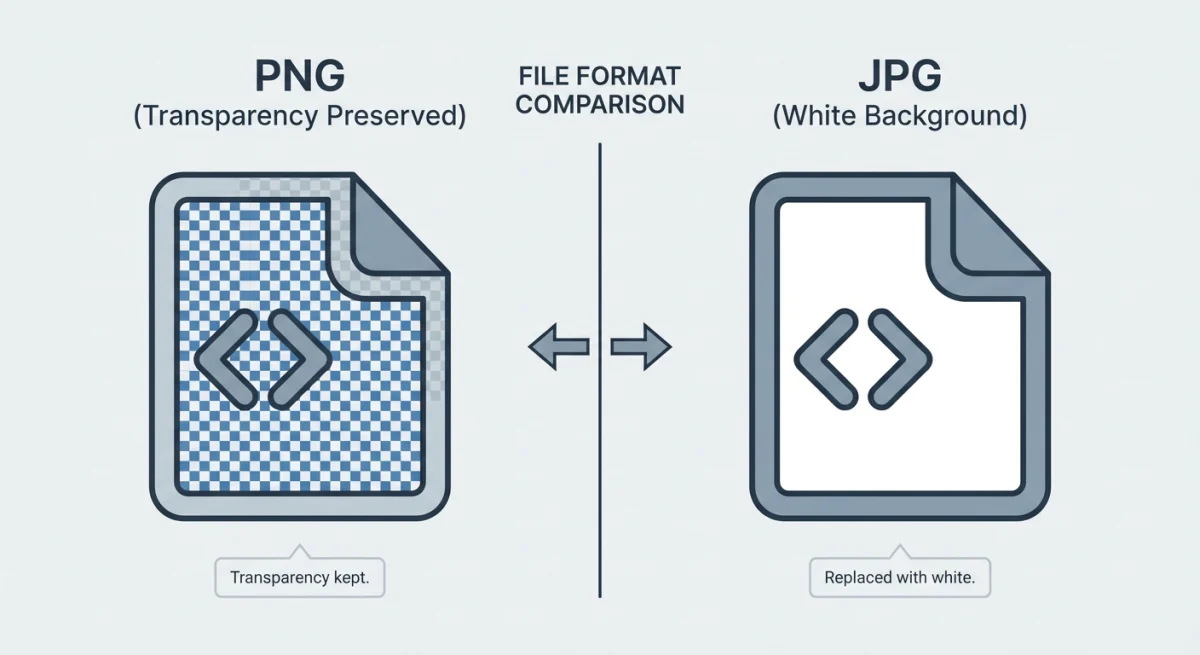
| JPG/JPEG | Transparent areas become white |
| BMP | No transparency support |
The golden rule: Always save transparent images as PNG. If you need smaller files for the web, WebP is a great pick. Never save as JPG if you need clear areas — your checkered background will turn white. Saved as JPG by mistake? Here's how to convert JPG to PNG and start over.
Need to switch between formats? Our free Image Format Converter handles PNG, JPG, WebP, and more with no quality loss.
Batch making images transparent
If you have dozens of product photos or icons that need clear backgrounds, doing them one by one is painful. Here are your best batch options.
remove.bg API
remove.bg offers an API for bulk background removal. You can process hundreds of images at once:
curl -H "X-Api-Key: YOUR_API_KEY" \
  -F "image_file=@photo.jpg" \
  -f https://api.remove.bg/v1.0/removebg \
  -o output.png
Photoshop batch actions
- Record an action that removes the background and exports as PNG
- Go to File → Automate → Batch
- Pick your action and input folder
- Let Photoshop run through all the images on its own
GIMP Script-Fu
GIMP supports scripting through Script-Fu and Python-Fu for batch jobs, though the learning curve is steeper than Photoshop actions.
For most people, an online batch tool or the remove.bg API is the simplest way to handle large volumes.
Troubleshooting common transparency problems
Even with the right tools, things can go wrong. Here are the most common problems and quick fixes.
Transparent areas turn white or black after saving
This almost always means you saved in the wrong format. JPG and BMP can't hold clear areas, so your editor fills them with a solid color (often white). Re-export your file as PNG or WebP to keep the see-through parts intact.
In GIMP, make sure you use File → Export As (not "Save As"), and pick PNG from the format dropdown. In Photoshop, use File → Export As and check the transparency box.
The background remover leaves rough, jagged edges
AI tools sometimes struggle with fine details like hair, fur, or thin branches. Try these fixes:
- Zoom in and use a manual eraser or refine brush to clean up edges
- In Photoshop, use Select and Mask → Refine Edge Brush for a cleaner cutout
- In GIMP, try the Foreground Select Tool instead of Fuzzy Select — it deals with complex edges better
- Lower the threshold on selection tools so they grab less of the area around the subject
If the edges still look off, add a 1-2px feather to your selection before deleting. This softens the border and helps it blend on any background.
The alpha channel is missing
Some file formats (like JPG) lack an alpha channel, so GIMP can't make anything clear until you add one. Go to Layer → Transparency → Add Alpha Channel. If this option is grayed out, you already have one.
Flat images from Photoshop or merged layers can also lose their alpha channel. Always keep a layered copy of your file before you flatten it.
Transparency looks fine in the editor but breaks on the web
A few things could cause this:
- Your CMS or image tool might be changing PNG files to JPG on upload. Check your platform's media settings.
- Some email clients strip clear areas and fill them with white. For emails, place your image on the desired background color before you export.
- Older browsers may not show WebP clear areas the right way. Stick with PNG if you need wide support.
Colors shift after removing the background
When your subject has colors close to the background (like a white shirt on a white wall), removal tools can cut into the subject by mistake. To avoid this:
- Use a tool with manual fine-tuning (Photoshop or GIMP) rather than a one-click remover
- In GIMP's Color to Alpha, lower the threshold so it only targets the exact background shade
- Shoot future photos against a high-contrast background (green or blue screens exist for a reason)
Frequently Asked Questions
Morgan
Indie DeveloperIndie developer, founder of ScreenSnap Pro. A decade of shipping consumer Mac apps and developer tools. Read full bio
@m_0_r_g_a_n_