Best Screenshot Chrome Extensions (2026) | 7 Top Picks
A screenshot Chrome extension captures web pages right from your browser. Grab the whole page, a selected area, or just what's visible. No need to switch apps. For captures outside Chrome — desktop apps, menus, system dialogs — a native tool like ScreenSnap Pro covers what extensions can't.
Need to save a bug report? Document a long article? Create a tutorial? The right tool makes it easy.
But the Chrome Web Store has dozens of options. Which one should you pick? This guide compares the 7 best screenshot extensions for 2026. We cover free tools and pro options with annotation features.
Quick Comparison: Best Chrome Screenshot Extensions
Here's how the top tools stack up:
| Extension | Best For | Full Page | Annotation | Cloud Storage | Price |
|---|---|---|---|---|---|
| GoFullPage | Full page captures | ✅ | Basic (paid) | ❌ | Free / $1/mo |
| FireShot | PDF exports | ✅ | ✅ | ❌ | Free / $60 lifetime |
| Awesome Screenshot | All-in-one | ✅ | ✅ | ✅ | Free / $6/mo |
| Nimbus Screenshot | Heavy annotation | ✅ | ✅ | ✅ | Free / $7/mo |
| Lightshot | Quick sharing | ❌ | Basic | ✅ | Free |
| Screenshot Tool | Minimal captures | ✅ | ❌ | ❌ | Free |
| Chrome DevTools | Developers | ✅ | ❌ | ❌ | Built-in |
Pro tip: Do you capture things outside Chrome? Desktop apps, menus, or system dialogs? A native Mac screenshot app might work better than a browser extension.
1. GoFullPage — Best for Full Page Screenshots (Free)
GoFullPage is the most popular Chrome screenshot extension. Over 5 million users trust it.
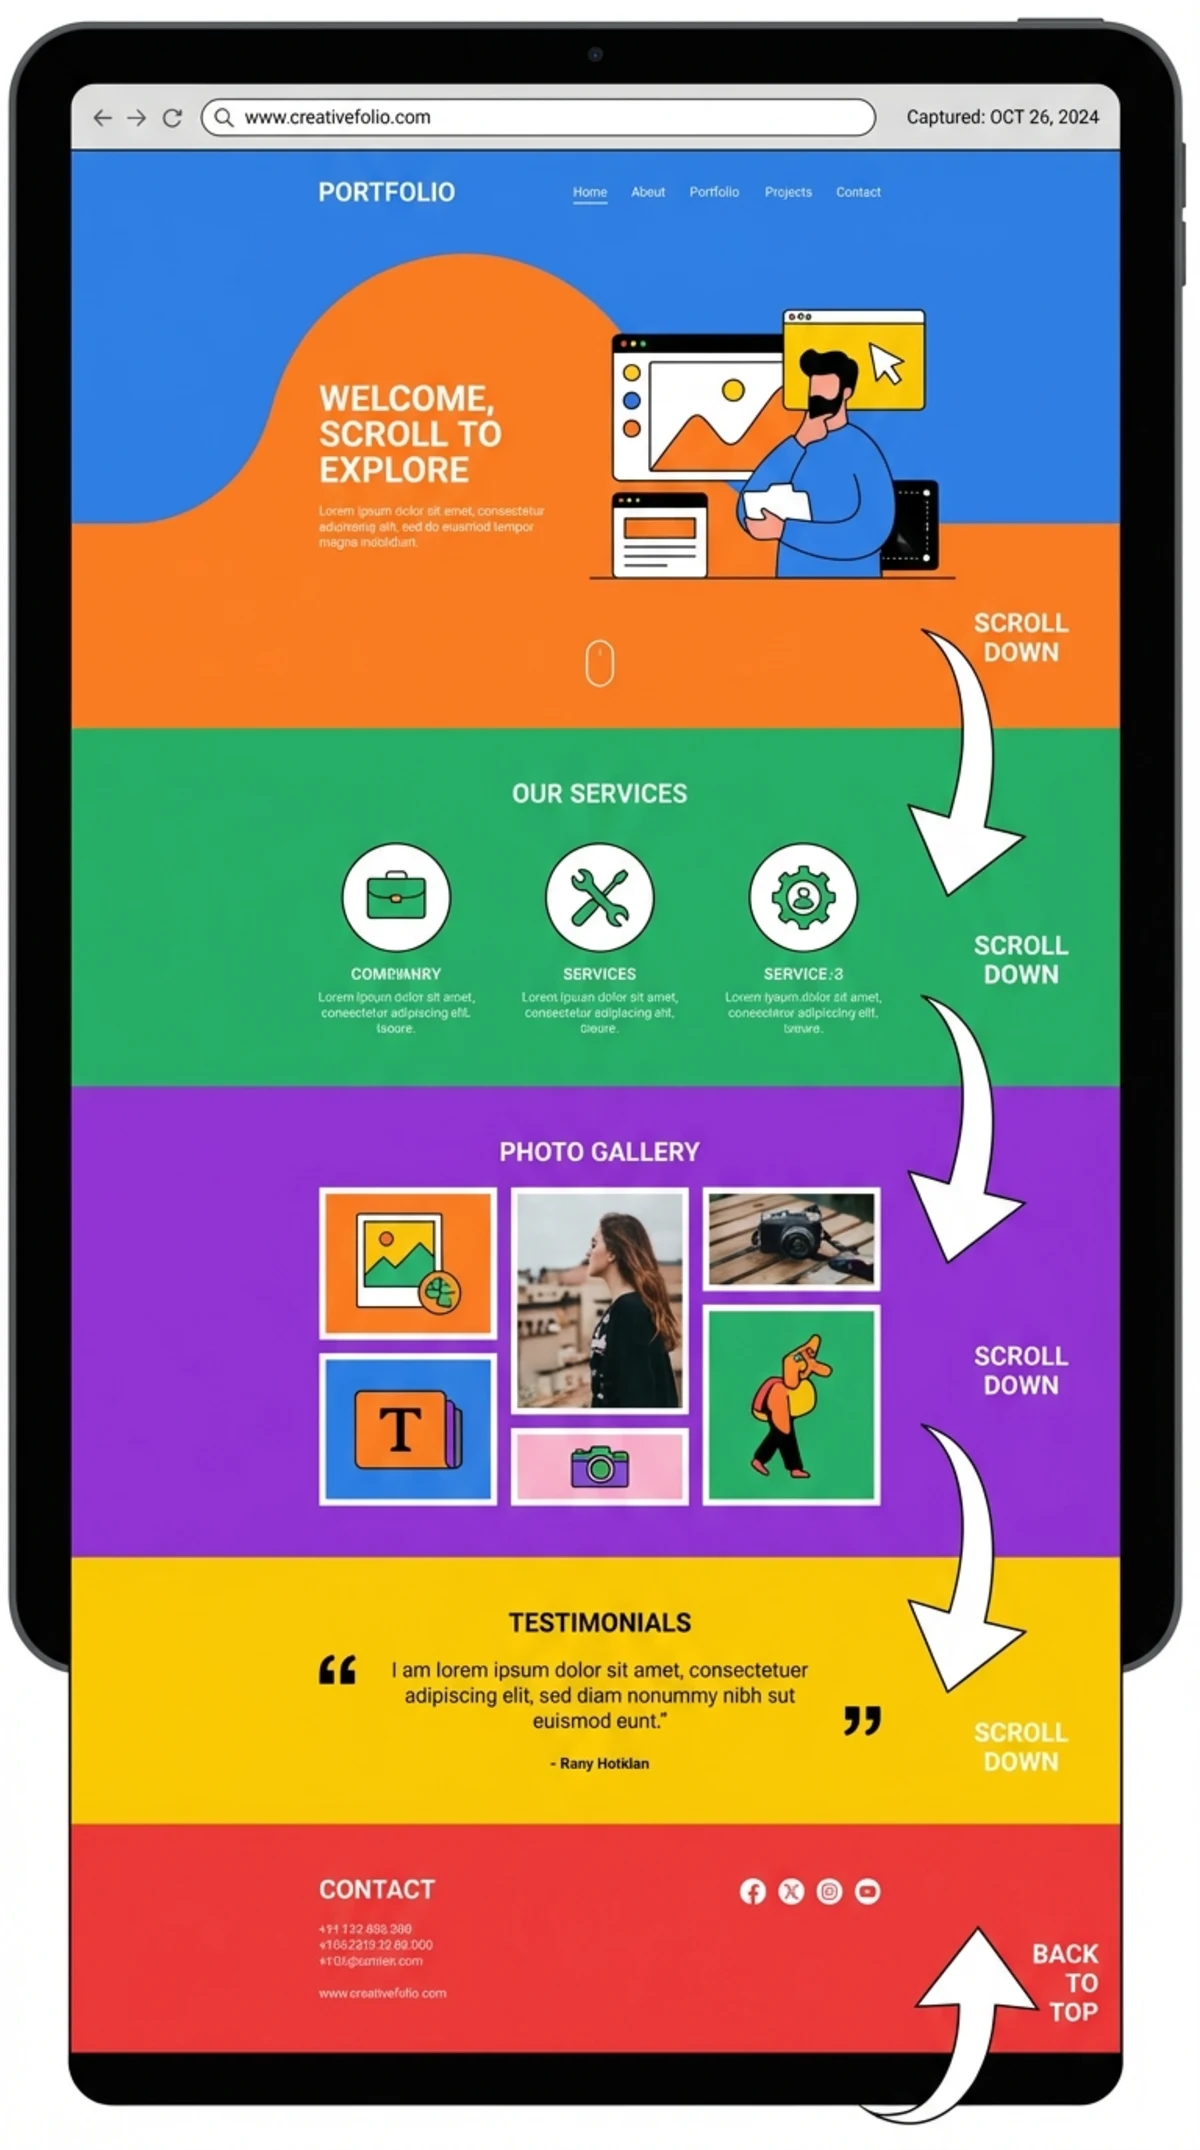
One click captures the entire page. You can also press Alt+Shift+P. The extension scrolls through and stitches everything into one image.
It handles tricky layouts well:
- Nested scroll areas
- Iframes
- Lazy-loaded content (images that load as you scroll)
Many other tools struggle with these. GoFullPage doesn't.
What we like:
- Basic captures are free
- No bloat or extra permissions
- Export to PNG, JPEG, or PDF
- Open source on GitHub
Downsides:
- Annotation costs $1/month
- No cloud storage—saves locally only
- Can't capture partial regions
Best for: Developers and researchers who need scrolling screenshots of long pages. Simple and free.
2. FireShot — Best for Professionals
FireShot has been around for 15+ years. Power users love it for export options and batch captures.
FireShot works offline. Your screenshots stay on your computer. Nothing uploads unless you choose to share.
It works across browsers too:
- Chrome
- Firefox
- Edge
- Opera
- Other Chromium-based browsers
Great for teams using different browsers.
Key features:
- Capture full pages, visible areas, or selections
- Built-in editor with arrows, shapes, and text
- Export to PDF with clickable links
- Batch capture multiple tabs at once
- Works 100% offline
Pricing:
- Free: Basic captures only
- Pro: $60 one-time (no subscription)
Best for: People creating docs, legal archives, or training materials. Pay once, use forever.
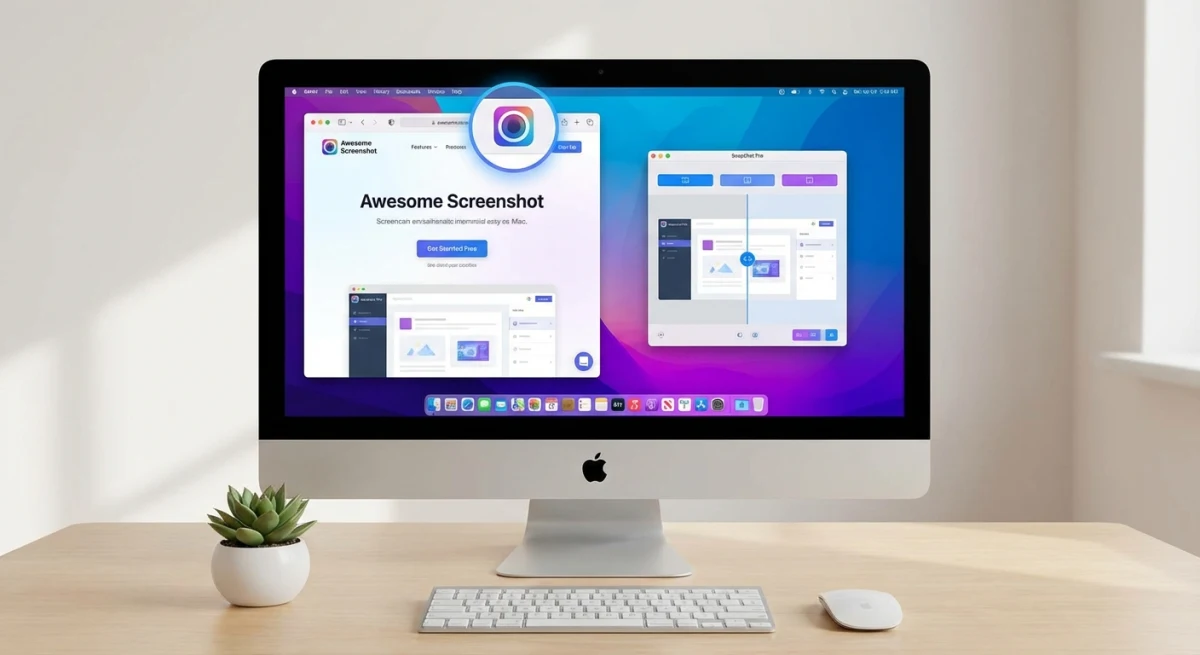
3. Awesome Screenshot — Best All-in-One Tool
Awesome Screenshot does screenshots AND screen recording. Perfect for switching between images and videos.
It launched in 2007 and has grown a lot. Now it's a full capture and editing suite.
Mac users can also get a desktop app. It costs extra though.
Key features:
- Full page, visible, and selection modes
- Screen recording with webcam overlay
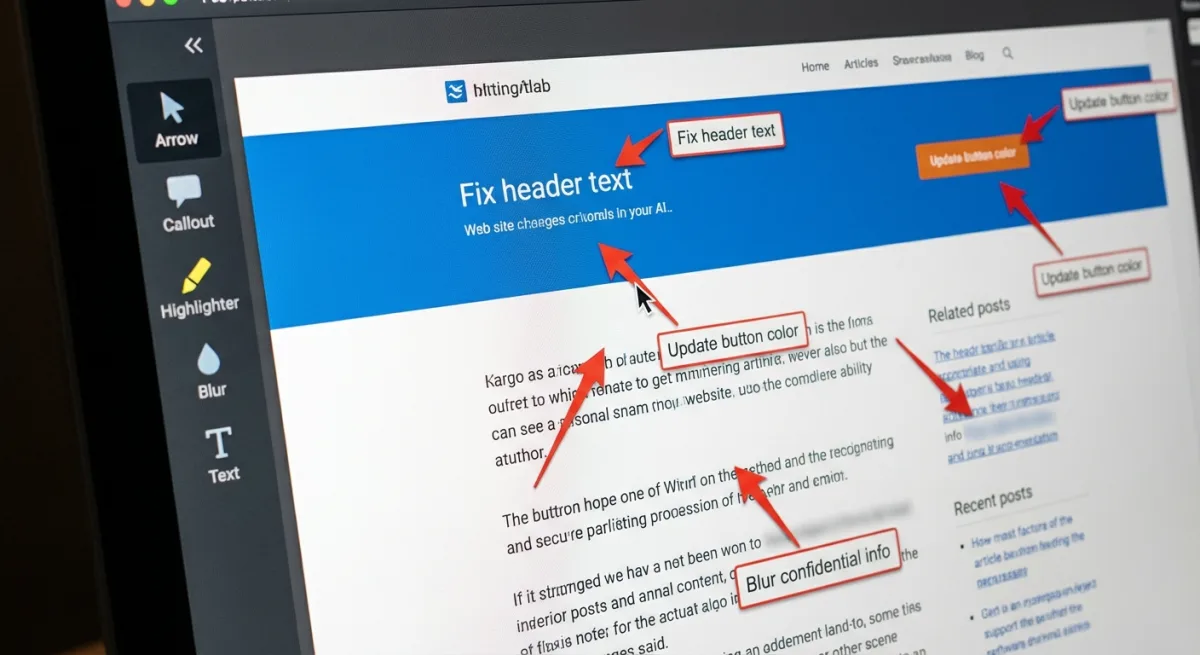
- Annotation tools: arrows, text, shapes, blur, highlights
- Cloud storage for easy sharing
- Works with Slack, Trello, Jira, and Asana
Pricing:
- Free: Limited captures per month
- Basic: $6/month (billed yearly)
- Pro: $8/month with advanced features
Best for: Teams who use project tools. Logging bugs for Jira? See our guide on how to attach screenshots to Jira.
4. Nimbus Screenshot — Best for Annotation
Nimbus Screenshot excels at editing after you capture. If you spend more time marking up images than taking them, this is your tool.
It's part of the Nimbus family, which also includes Nimbus Note for docs. The focus here is markup. Its editor rivals standalone image tools.
Annotation tools:
- Arrows, lines, and shapes in custom colors
- Text with custom fonts and sizes
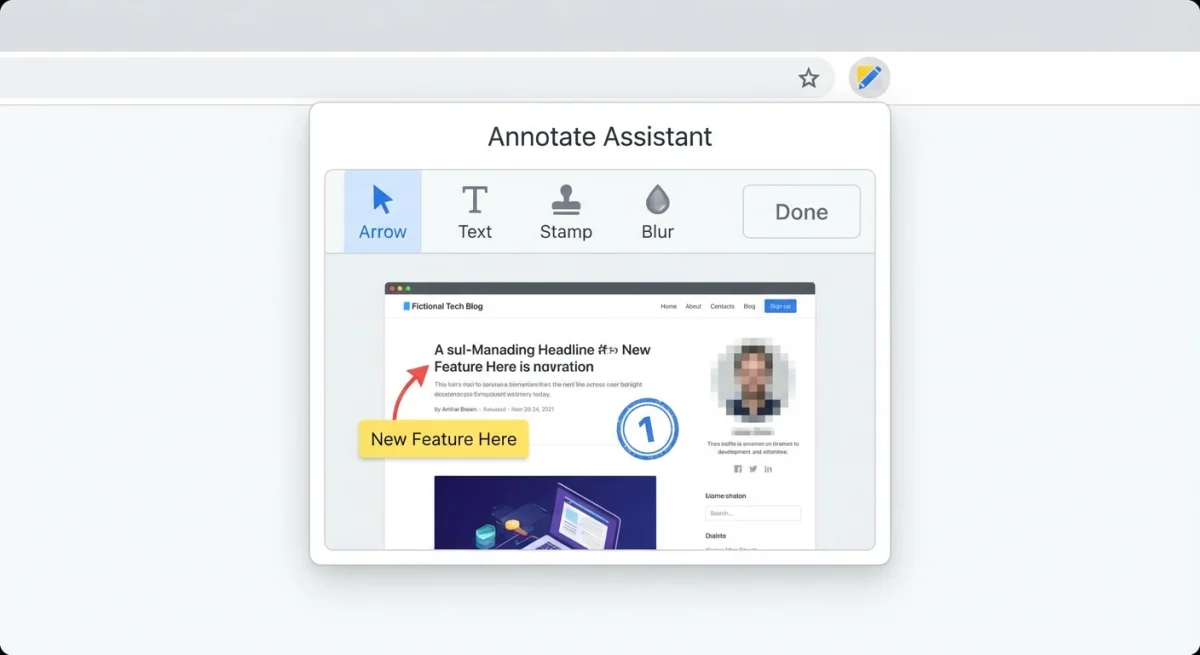
- Number stamps for step-by-step guides
- Blur and pixelate for private data
- Crop, resize, and watermark
The number stamps are a standout. Drop a circled "1," "2," "3" onto your screenshot. Readers follow along fast. Most other tools make you draw these by hand.
More features:
- Full page, visible area, and selected region capture
- Screen recording with audio narration
- Cloud storage via Nimbus Note
- Delayed capture with a built-in timer
- Direct sharing to Slack, Google Drive, and Dropbox
Nimbus stores your captures in its cloud. You get a share link in one click. Handy for team reviews.
Pricing:
- Free: Basic features with watermark on recordings
- Pro: $7/month (removes watermark, adds priority support)
Best for: Tutorial creators and technical documentation. Number stamps make steps clear. If you write how-to guides, this is the tool to try.
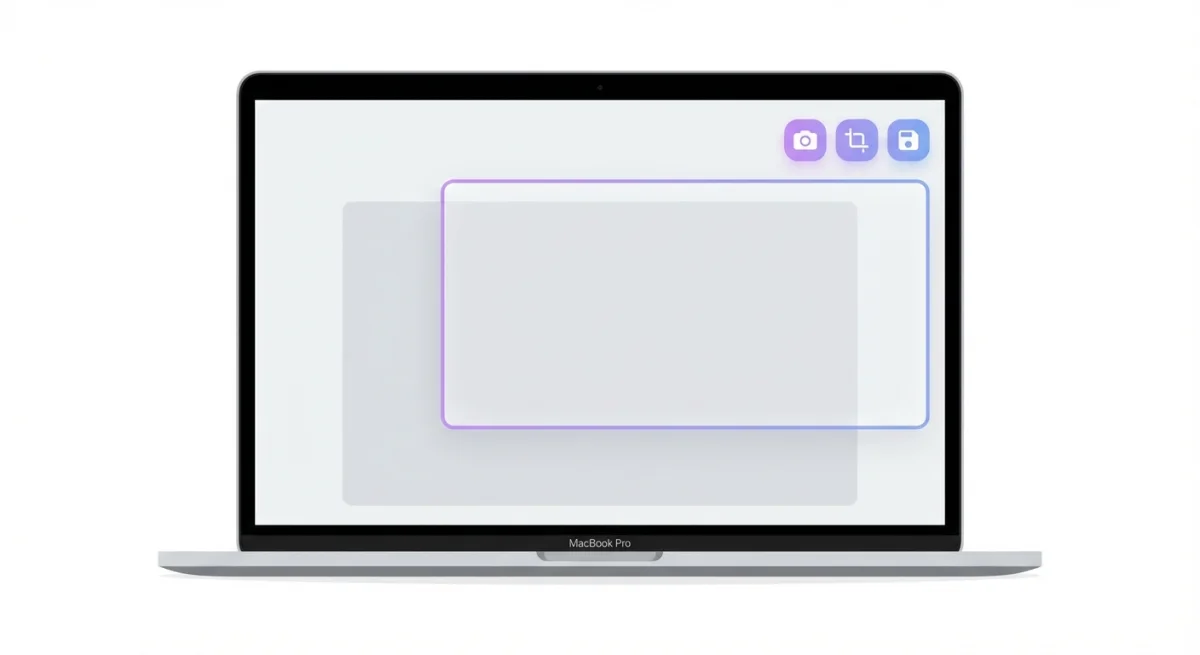
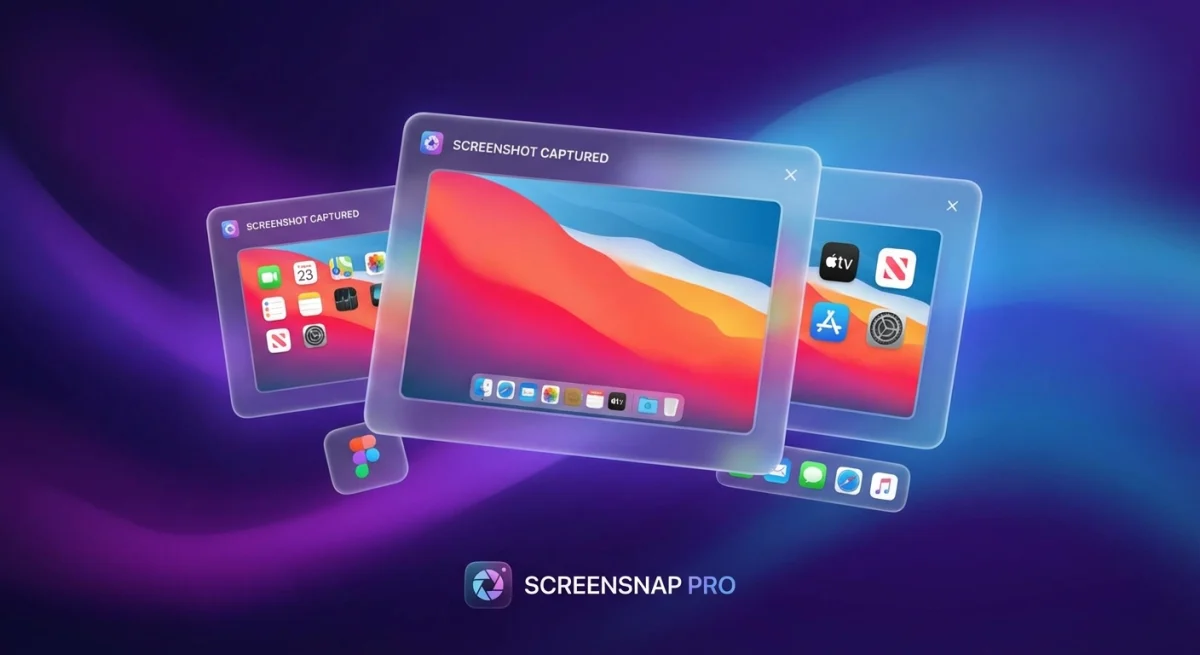
Tired of plain screenshots? Try ScreenSnap Pro.
Beautiful backgrounds, pro annotations, GIF recording, and instant cloud sharing — all in one app. Pay $39 once, own it forever.
See what it does5. Lightshot — Best for Quick Sharing
Lightshot focuses on speed. Install it, hit the shortcut, drag a box, share. Done in 5 seconds.
Gamers and chat support teams love it. You get quick visual context for Discord, Slack, or social media. It creates short prnt.sc links that are easy to paste anywhere.
The workflow is dead simple. Press the shortcut, drag over the area you want, and the capture floats on screen. Add a quick arrow or text label if needed. Hit the upload button and your link is on the clipboard.
Why it's fast:
- Instant upload to prnt.sc servers
- Simple drag-to-select area capture
- Basic annotation tools (arrows, text, shapes, pencil)
- Google reverse image search built in
- Works on Windows, Mac, and Linux (not just Chrome)
Downsides:
- No full-page capture at all
- Very few editing options compared to Awesome Screenshot or Nimbus
- Privacy concern: uploads go to public servers by default
- No cloud dashboard to manage old screenshots
If privacy matters, think twice. Your screenshots live on public servers unless you change settings. Anyone with the link can view them.
Pricing: Free
Best for: Quick, throwaway screenshots for chat. Want more privacy? See our Lightshot alternative for Mac guide.
6. Screenshot Tool — Best Minimal Option
Don't need fancy features? Screenshot Tool keeps it simple. Capture and save. That's it.
It weighs almost nothing. Your browser won't slow down. There's no account to create and no settings to tweak. Install it and start capturing.
Why minimalists love it:
- Tiny file size — won't slow your browser at all
- Full page and visible area capture modes
- Keyboard shortcuts for fast access
- Saves straight to your Downloads folder
- Zero setup or sign-up needed
Downsides:
- No annotation tools at all
- No cloud features or sharing links
- Only PNG export (no JPEG or PDF)
- No update history or active development visible
If you need to mark up screenshots, look at Nimbus or Awesome Screenshot. But if you grab a quick full-page capture once a week, Screenshot Tool does the job with no fuss.
Pricing: Free
Best for: Users who want the lightest tool possible. It captures pages and gets out of the way.
7. Chrome DevTools — Built-in Method for Developers
Did you know Chrome has screenshots built in? No extension needed. Just DevTools.
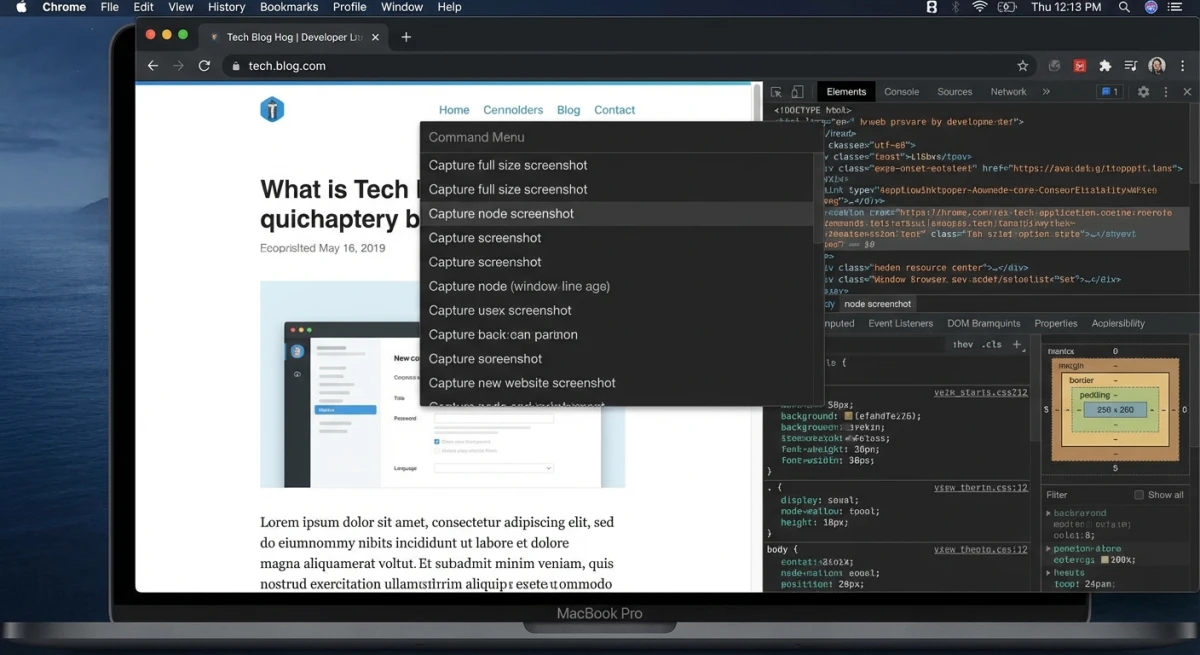
How to use it:
- Open the page you want
- Press
F12(orCmd+Option+Ion Mac) - Press
Cmd+Shift+Pto open Command Menu - Type "screenshot" and pick one:
- Capture full size screenshot — whole scrollable page
- Capture screenshot — visible area only
- Capture node screenshot — specific HTML element
- Capture area screenshot — custom selection
Pros:
- No extension to install
- Captures at device-specific sizes
- Great for responsive design testing
- Can screenshot specific DOM elements
Cons:
- Must open DevTools each time
- No annotation
- Slower than dedicated extensions
Bonus trick: You can emulate any device before capturing. Open the device toolbar with Cmd+Shift+M. Pick an iPhone or tablet. Then run the screenshot command. You get a pixel-perfect capture at that screen size. Designers use this to grab mobile mockups without touching a phone.
Best for: Developers testing designs or grabbing specific elements. For daily use, get a real extension.
How to Choose the Right Chrome Screenshot Extension
With seven solid options, picking one can feel overwhelming. Focus on what you do most.
Ask yourself these questions:
- Do you need full-page capture? If yes, skip Lightshot. Go with GoFullPage, FireShot, or Awesome Screenshot.
- Do you annotate screenshots? If you add arrows, text, or blur sensitive data, Nimbus or Awesome Screenshot are your best bets.
- Do you share screenshots a lot? Lightshot and Awesome Screenshot make sharing fast with cloud links.
- Is privacy a concern? FireShot works 100% offline. Your data stays local. If you need to blur sensitive info, pick a tool with good redaction.
- Do you want free or paid? GoFullPage and Lightshot are solid free options. FireShot's one-time $60 fee is a good-value paid choice.
Our top picks by use case:
- Casual user: GoFullPage (free, reliable)
- Content creator: Nimbus Screenshot (best annotation)
- Team collaboration: Awesome Screenshot (integrations galore)
- Privacy-focused: FireShot (fully offline)
- Speed demon: Lightshot (fastest workflow)
If you capture more than web pages, skip ahead to the native apps section. A tool like ScreenSnap Pro handles everything — browser, desktop, menus — in one app. Need to convert screenshots to different formats? That's covered too.
Why Native Mac Apps Beat Chrome Extensions
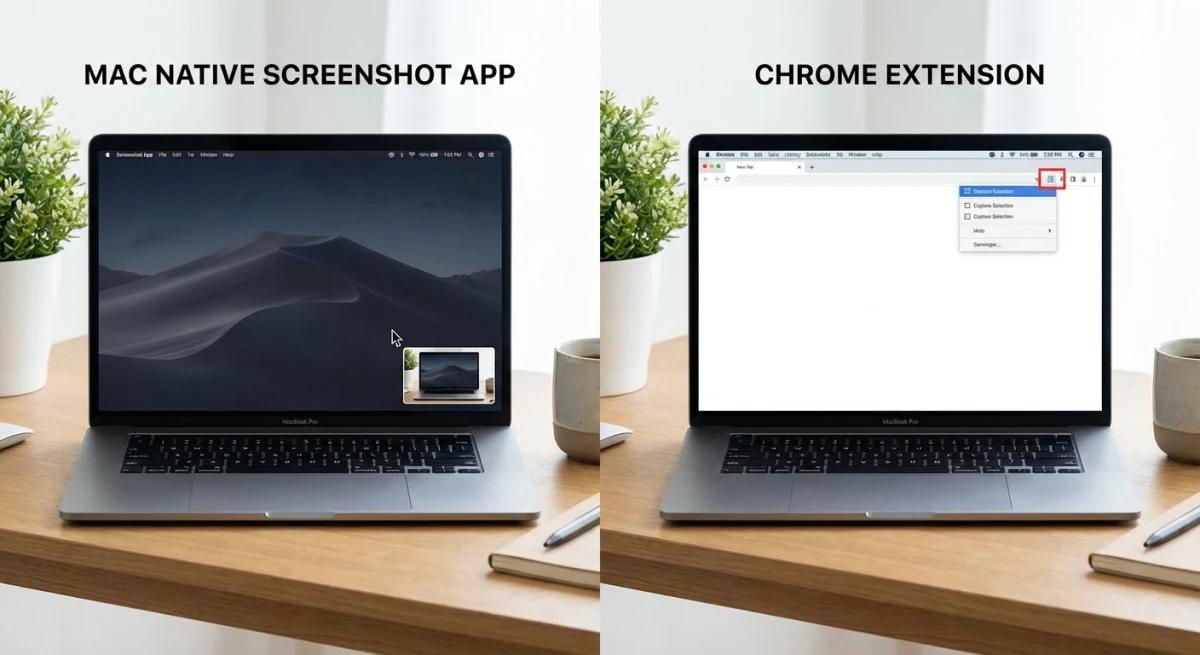
Chrome extensions are handy. But they have limits that native apps solve.
Extensions only work in Chrome. Need to capture Slack, a popup, or Finder? Extensions can't help. Native apps work everywhere.
Extensions need Chrome open. Close your browser, lose your tool. Native apps run on their own.
Extensions have basic annotation. Most offer shapes and text. But they lack pro features like:
- Blur for sensitive info
- Numbered steps
- Beautiful gradient backgrounds
Cloud sharing varies. Some extensions upload to their servers. Privacy risk! Others have no cloud at all. Native apps like ScreenSnap Pro let you choose when to share.
GIF recording is rare. Only Awesome Screenshot and Nimbus record. GIF output is limited. For quality GIF recording on Mac, native apps are better.
Speed can suffer. Extensions run inside Chrome. Long pages and many tabs slow them down. Native apps run on their own and stay fast.
When to Use Extensions vs Native Apps
| Use Case | Best Choice |
|---|---|
| Quick webpage capture (once in a while) | Chrome extension |
| Full-page scrolling screenshots | GoFullPage or native scrolling |
| Screenshot + instant annotation | Native app |
| Capturing desktop apps, menus | Native app |
| GIF recording | Native app |
| Cloud sharing with privacy | Native app |
Use screenshots daily? A native app like ScreenSnap Pro gives a smoother workflow. Capture anything. Annotate fast. Share via cloud link. One tool for everything—not just your browser.
Frequently Asked Questions
- GoFullPage
- FireShot
- Awesome Screenshot
- Nimbus Screenshot
- Go to
chrome://extensions - Find your screenshot extension
- Click "Details"
- Turn on "Allow in incognito"
- GoFullPage:
Alt+Shift+P - Lightshot:
PrtScror custom - Awesome Screenshot:
Ctrl+Shift+Eor custom
Final Verdict: Which Extension Should You Pick?
For full-page captures on a budget: GoFullPage. Reliable, light, and free.
For pro documentation and PDFs: FireShot. Pay $60 once. No subscriptions.
For all-in-one with recording: Awesome Screenshot. Combines screenshots and screen recording in one extension.
But if you take screenshots often—especially outside your browser—go native. Tools like ScreenSnap Pro work system-wide. Annotate fast. Share via cloud. Record GIFs. One-time purchase.
Want to explore more? Check our full guide to the best screenshot apps for Mac.
Morgan
Indie DeveloperIndie developer, founder of ScreenSnap Pro. A decade of shipping consumer Mac apps and developer tools. Read full bio
@m_0_r_g_a_n_