How to Redact Text in Screenshots & PDFs Safely (2026)
You blur a credit card number, post the screenshot, and feel safe. You shouldn't. Pixelation and blur are reversible: researchers have rebuilt pixelated text with over 96% accuracy using free tools. True redaction means making the original mathematically unrecoverable, not just hard to read.
This guide covers how to redact text in screenshots and PDFs, the three methods that actually work, and the common mistakes that have leaked real card numbers.
What "redact" actually means
To redact text is to permanently remove it. Not hide it, not cover it with something a viewer can peel back. A redacted file is one where the underlying content is gone. No layers. No metadata. No reversible filters.
That's a different bar from "looks blurry enough." If your screenshot has anything that could harm someone (a customer's email, an API key, a medical record), you need real redaction.
The problem with blur and pixelate
Most "redacted" screenshots online are not redacted at all. They're blurred or pixelated, and both can be reversed.
Pixelation is reversible
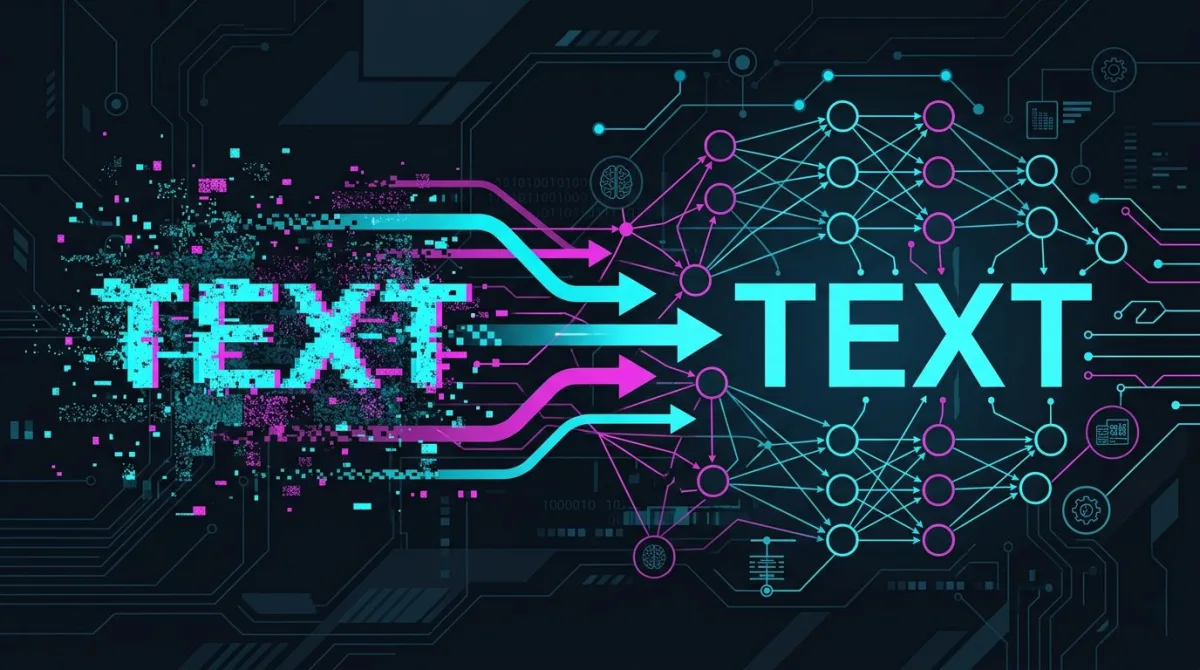
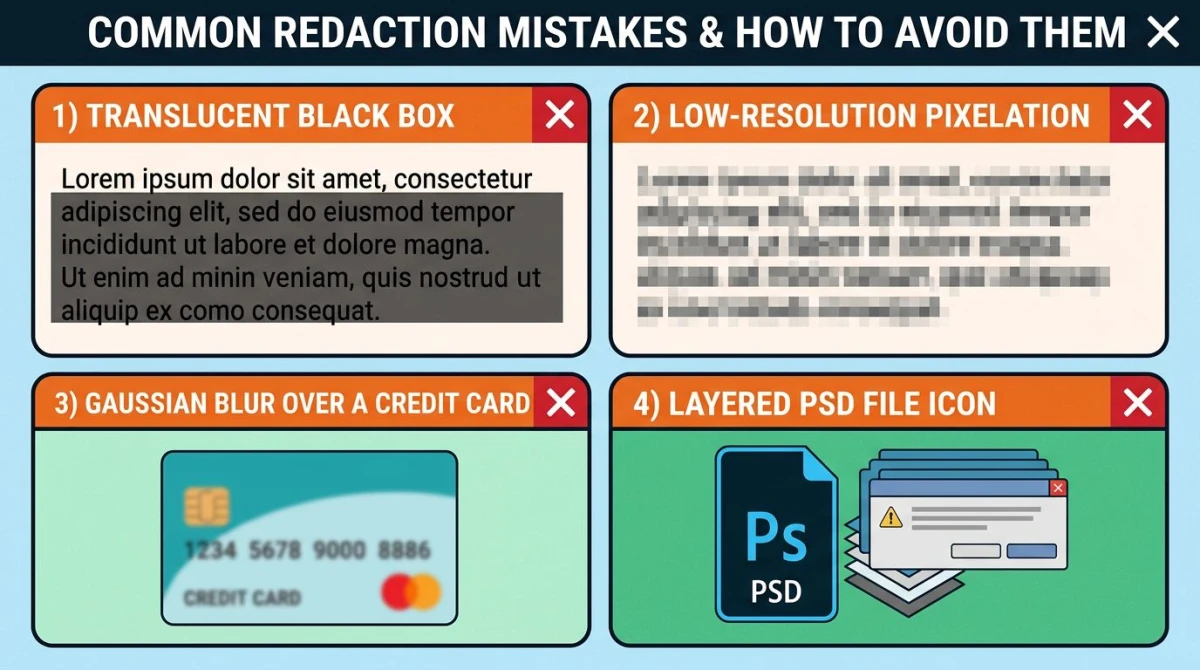
Pixelation averages blocks of pixels with a known algorithm. That makes it brute-forceable: render every possible string in the same font, pixelate it the same way, compare. The Depix proof-of-concept on GitHub does exactly that: it recovers pixelated passwords from real screenshots in seconds. Security researchers have reported over 96% accuracy on common fonts.
If you've ever pixelated a card number on Twitter, assume it's been read.
Blur can be partially reversed
Gaussian blur is also a deterministic operation. Modern deconvolution and neural "deblurring" tools can recover short strings of text, especially when the attacker knows the font and approximate length. Mosaic filters have leaked card numbers, addresses, and license plates this way.
The lesson: blur and pixelate are obfuscation, not redaction. Use them on low-stakes things like a stranger's face in a vacation photo. Don't use them on sensitive data.
The right way to redact
Three methods reliably destroy the original content.
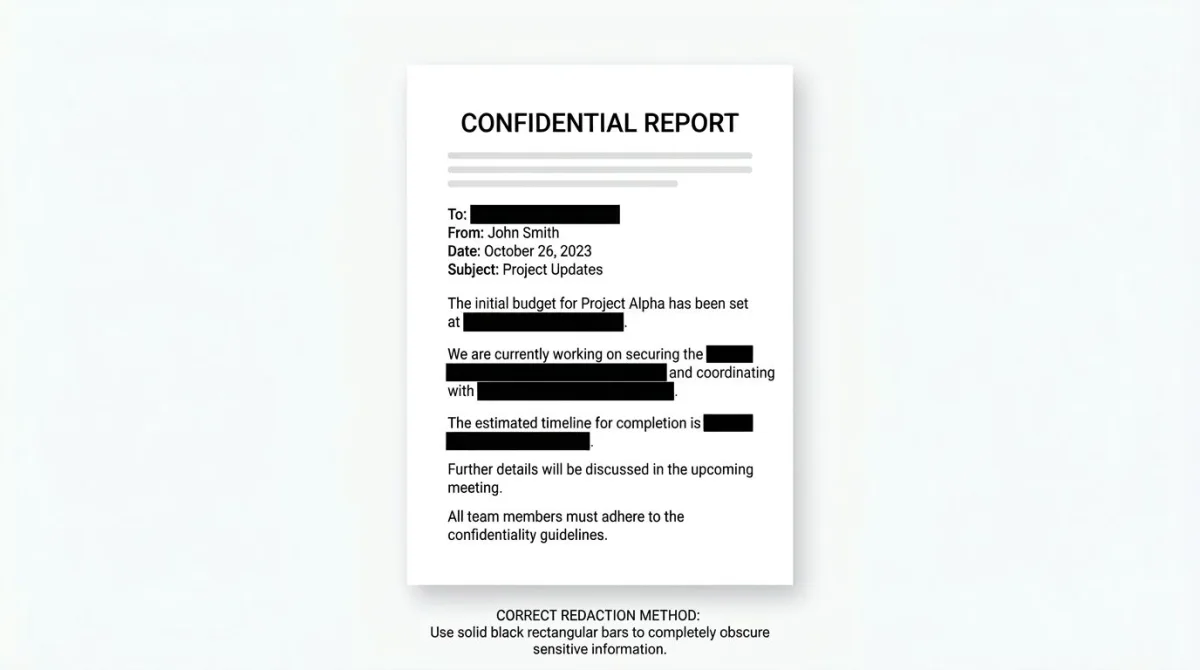
- Solid color overlay. Cover the text with an opaque, fully filled rectangle (no transparency). When you flatten and re-export the image, the original pixels are replaced. Nothing to recover.
- Delete the source, then export. If you control the document, delete the text first and export the result. Cleanest path for editable files.
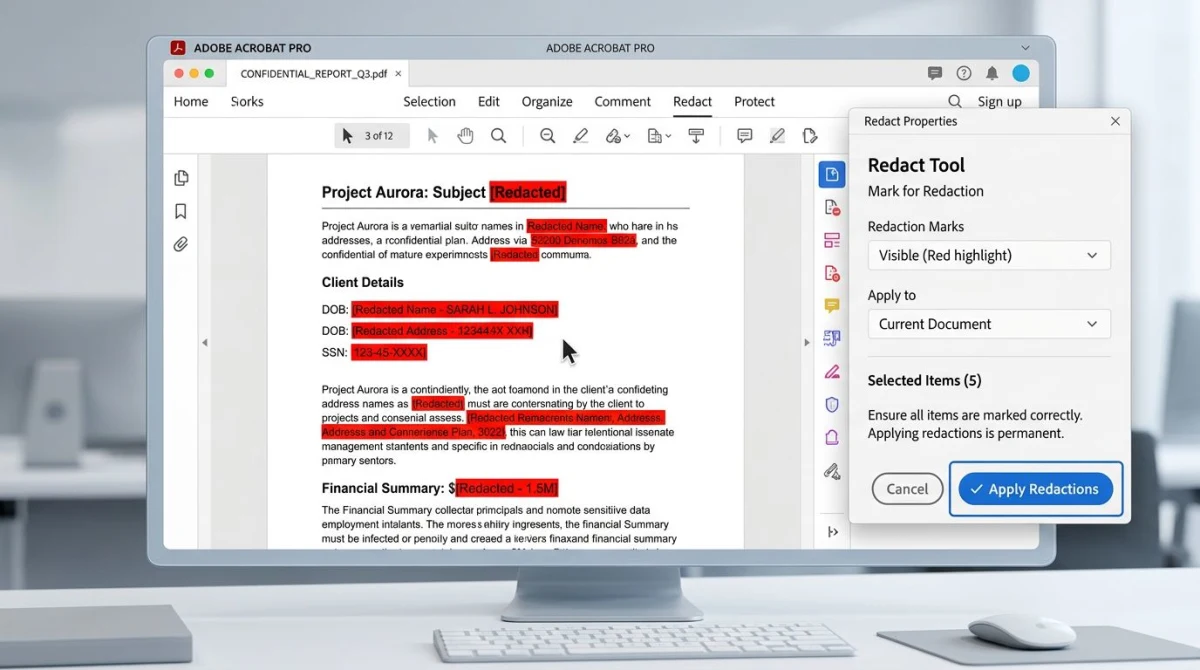
- PDF redaction tools. PDFs store text as a separate layer from the visual. A black box alone is not enough: the text underneath is still selectable. You need a tool that removes the text layer. Adobe Acrobat Pro's Redact tool removes the text from the underlying layer, not just the visible page.
The Wikipedia entry on classified-information sanitization puts it well: redaction is not a visual effect but the removal of data.
Tools for the job
Here's what we'd trust with sensitive data, and what we wouldn't.
| Tool | Use for | Notes |
|---|---|---|
| ScreenSnap Pro (rectangle tool) | Screenshots | Solid-fill rectangle, flat export that destroys the pixels |
| Adobe Acrobat Pro Redact | PDFs | Removes the underlying text layer |
| macOS Preview | Screenshots & light PDF work | Free, built-in; export to flatten |
| MS Word + Print to PDF | Word docs | Black highlight then print to PDF strips the layer |
| /tools/blur-image | Non-sensitive obfuscation only | Good for faces in casual photos; not for PII |
ScreenSnap Pro ships with 17 annotation tools, including a solid-fill rectangle that does the job once you save and re-encode the file. It's $34 once, no subscription, Mac and Windows.
About our /tools/blur-image page: it's built for quick obfuscation, not for redacting PII. For real text redaction, draw a solid rectangle over the area.

Tired of plain screenshots? Try ScreenSnap Pro.
Beautiful backgrounds, pro annotations, GIF recording, and instant cloud sharing, all in one app. Pay $34 once, own it forever.
See pricing and featuresStep-by-step: redact text in a screenshot
The workflow is the same on each platform: different tool, same idea.
Mac (Preview)
- Open the screenshot in Preview.
- Click Show Markup Toolbar (the pen icon).
- Choose the rectangle shape. Set fill to black, border to none, opacity 100%.
- Draw it over the sensitive text. Cover every character fully.
- Use File > Export and save as PNG or JPEG. The export flattens the image and bakes the rectangle into the pixels.
Windows (Paint)
- Open your screenshot in Paint.
- Pick the rectangle shape, fill black, outline "no outline."
- Draw a solid rectangle over the text. Go wider than you think.
- Save as a new PNG with File > Save As.
ScreenSnap Pro
- Capture the screenshot as usual.
- In the editor, pick the Rectangle tool. Fill: solid black, no opacity slider.
- Drag over the text and save. The output is a flattened PNG: no layers, no recoverable original.
For lighter obfuscation (a stranger's face, a partial logo), see our Mac blur and pixelate guide and face blur tutorial.
Step-by-step: redact text in a PDF
PDFs are trickier because the text is a separate, selectable layer.
Adobe Acrobat Pro
- Open the PDF and choose Tools > Redact.
- Select Mark for Redaction and highlight the text you want gone.
- Click Apply. Acrobat warns you it's permanent. Confirm.
- Save as a new file. Acrobat strips the text from the underlying layer, not just the visible page.
Free alternatives that work
- Print to PDF after blacking out. Open the PDF, draw black boxes over the text, then File > Print > Save as PDF. Printing flattens the file and drops the text layer. The output is no longer searchable, but it's irreversible.
- Microsoft Word. Black-highlight the text, then export as PDF.
- Preview on Mac. Annotate with rectangles, then export as PDF. For peace of mind, print the result to a new PDF.
Online tools like Smallpdf and PDFescape offer redaction, but think hard before uploading anything sensitive to a third party. If it matters, redact locally.
Common mistakes to avoid
- Transparent or low-opacity fills. A 90% black rectangle is still 10% readable. Use fully opaque colors.
- Saving as a layered format. Native PDFs, PSDs, and Sketch files keep your "redaction" as an editable layer anyone can delete. Always export to a flat raster (PNG, JPEG) or flattened PDF.
- Forgetting metadata. EXIF and PDF metadata can include author names, timestamps, and even thumbnail copies of the original. Use an image metadata viewer to check what's hiding in your file before you share it.
- Using blur on PII. Card numbers, account names, and phone numbers should never get blur or pixelate. Solid box only.
Frequently Asked Questions
Wrapping up
Redaction looks easy and quietly isn't. Blur and pixelate feel like they should work, but the math disagrees. The safe move is boring: solid rectangles, flat exports, stripped metadata.
If you take a lot of screenshots, ScreenSnap Pro handles capture, redaction, and flattening in one workflow. $34 once, no subscription.

Morgan
Indie DeveloperIndie developer, founder of ScreenSnap Pro. A decade of shipping consumer Mac apps and developer tools. Read full bio
@m_0_r_g_a_n_