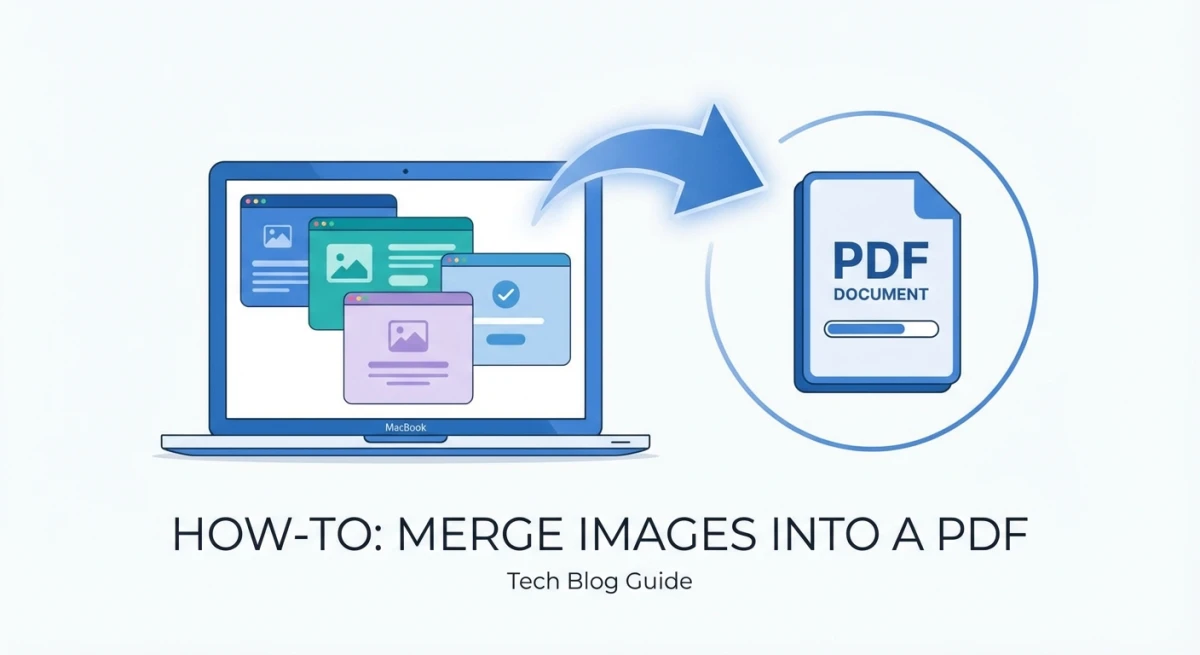
How to Send Screenshots in Slack on Mac (2026)
Sharing a screenshot in Slack on Mac takes just seconds when you know the right shortcuts. There's a faster method than the save-upload-attach workflow most people use, and dedicated capture apps like ScreenSnap Pro shave it down to a single keystroke.
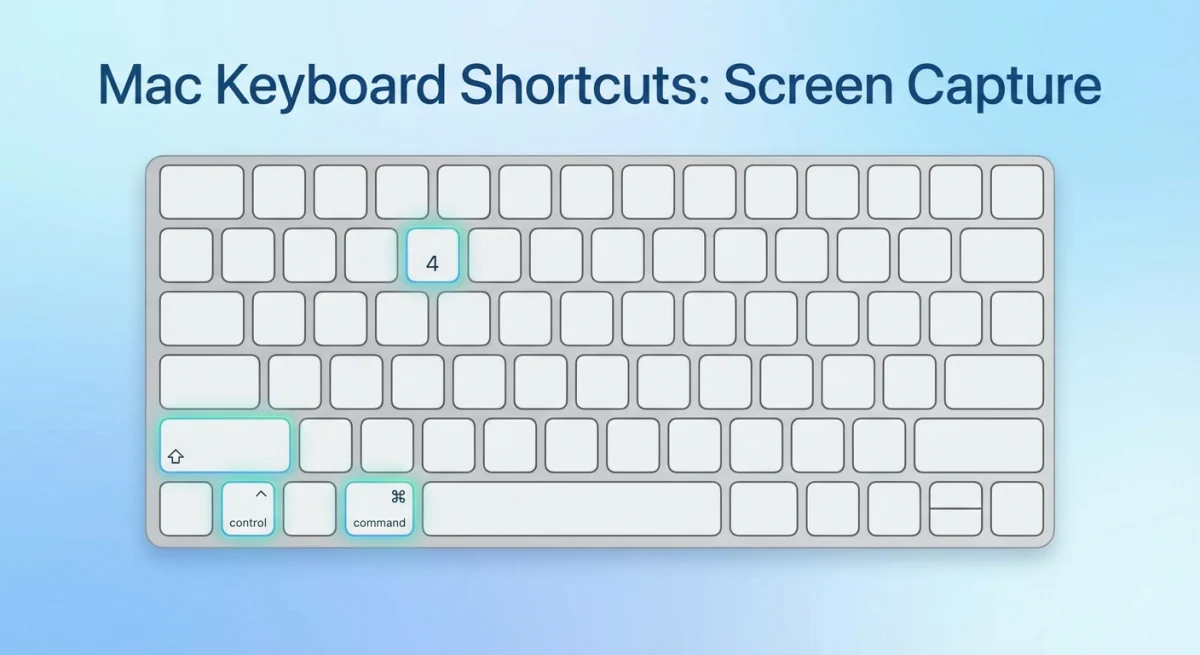
TL;DR: The fastest method is⌘ + Shift + Control + 4to capture an area to your clipboard, then⌘ + Vto paste it directly in Slack. No file saved, no uploading—just capture and paste.
This guide covers four ways to send screenshots to Slack on Mac:
- Built-in keyboard shortcuts
- Drag and drop from Finder
- The Screenshot app with preview
- Dedicated tools with annotations and cloud links
Why Fast Screenshot Sharing Matters
The old workflow wastes time:
- Save screenshot to Desktop
- Open Slack
- Navigate to a channel
- Click the attachment button
- Browse for the file
That's 20-30 seconds per screenshot. Share dozens weekly, and you're wasting hours.
Screenshots are how remote teams communicate. Bug reports, design feedback, quick how-tos—all faster with a visual. Slack knows this. They've made image handling smooth on purpose.
The methods below skip those extra steps. The fastest lets you paste a screenshot in Slack directly from your clipboard. No file handling needed.
Method 1: Capture to Clipboard and Paste (Fastest)
This is the quickest way to send a screenshot in Slack without creating any files on your Mac.
How to Do It
- Press
⌘ + Shift + Control + 4on your keyboard - Click and drag to select the area you want to capture
- The screenshot goes directly to your clipboard (no file saved)
- Switch to Slack and click in the message field
- Press
⌘ + Vto paste
That's it. The screenshot appears inline, ready to send with your message.
Quick Variations
| Shortcut | What It Captures |
|---|---|
⌘ + Shift + Control + 4 | Selected area to clipboard |
⌘ + Shift + Control + 3 | Full screen to clipboard |
⌘ + Shift + Control + 4 then Space | Single window to clipboard |
Pro tip: The Control key sends the capture to your clipboard. Without it, macOS saves a file to your Desktop.
This works in any app that accepts pasted images:
- Slack
- Notion
- Documentation tools
If your screenshots aren't appearing where you expect, check out our guide on how to change screenshot location on Mac.
Method 2: Drag and Drop from Finder
Got a saved screenshot? Or need to share several at once? Drag and drop is fastest.

How to Do It
- Locate your screenshot in Finder (Desktop, Downloads, or your custom screenshot folder)
- Open Slack and navigate to the channel or DM
- Drag the file from Finder directly into the Slack message field
- Add a comment if needed, then send
You can drag multiple screenshots at once. Slack will upload them as a batch.
Works from Anywhere
Drag and drop works from:
- Finder windows
- Desktop icons
- The Downloads folder in your Dock
- Quick Look previews (press Space on a file, then drag from the preview)
Method 3: Screenshot App with Preview
macOS's built-in Screenshot app (⌘ + Shift + 5) gives you a preview thumbnail before sharing—useful when you want to verify or crop the screenshot first.
How to Do It
- Press
⌘ + Shift + 5to open Screenshot controls - Choose your capture type (area, window, or full screen)
- Click to capture
- A thumbnail appears in the bottom-right corner
- Click the thumbnail to open preview (or wait for it to save)
- From preview, drag the image directly to Slack
When to Use This Method
The Screenshot app is best when you:
- Want to review the capture before sharing
- Need to make quick edits (crop, markup) via Preview
- Are capturing a screen recording (though Slack limits video file sizes)
For more detailed screenshot editing, see our guide on how to edit screenshots on Mac.
Tired of plain screenshots? Try ScreenSnap Pro.
Beautiful backgrounds, pro annotations, GIF recording, and instant cloud sharing — all in one app. Pay $39 once, own it forever.
See what it doesMethod 4: Dedicated Screenshot Tools (Best for Teams)
Share Slack screenshots often? A dedicated tool adds features macOS doesn't have.
What Dedicated Tools Add
| Feature | macOS Built-in | Dedicated Tool |
|---|---|---|
| Capture to clipboard | ✓ | ✓ |
| Instant annotations | ✗ | ✓ |
| Blur sensitive info | ✗ | ✓ |
| Auto-upload to cloud | ✗ | ✓ |
| Shareable links | ✗ | ✓ |
| GIF recording | Limited | Full control |
Cloud Links vs File Uploads
File uploads count against Slack workspace storage. Cloud links don't.
Here's how it works:
- Capture your screenshot
- The tool uploads it to the cloud
- You get a shareable link
- Paste the link in Slack—it unfurls with a preview
Tools like ScreenSnap Pro generate these links instantly. Your message stays clean, and you avoid storage limits.
When Cloud Links Make Sense
Cloud links work best when you're:
- Sharing in public channels (easier to reference later)
- Posting in threads that might get long
- Working with limited Slack storage
- Sharing the same image across multiple channels
- Building documentation
The key difference? File uploads live only in that Slack message. Cloud links can be shared anywhere—Slack, email, docs, issue trackers. One source, many destinations.
For more on cloud-based screenshot workflows, see our cloud screenshot sharing guide.
Which Method Should You Use?
| Method | Speed | Setup Required | Best For |
|---|---|---|---|
| Clipboard shortcut | ⚡ Fastest | None | Quick one-off captures |
| Drag and drop | Fast | None | Multiple screenshots |
| Screenshot app | Medium | None | When you need to preview |
| Dedicated tool | Fast | One-time install | Teams, heavy users |
For most people: Start with the clipboard shortcut. It covers 80% of use cases. Zero setup.
For teams: A dedicated tool with cloud uploads pays for itself. This is especially true when everyone shares 10+ screenshots daily.
For designers: The Screenshot app's preview helps catch incomplete captures before sharing.
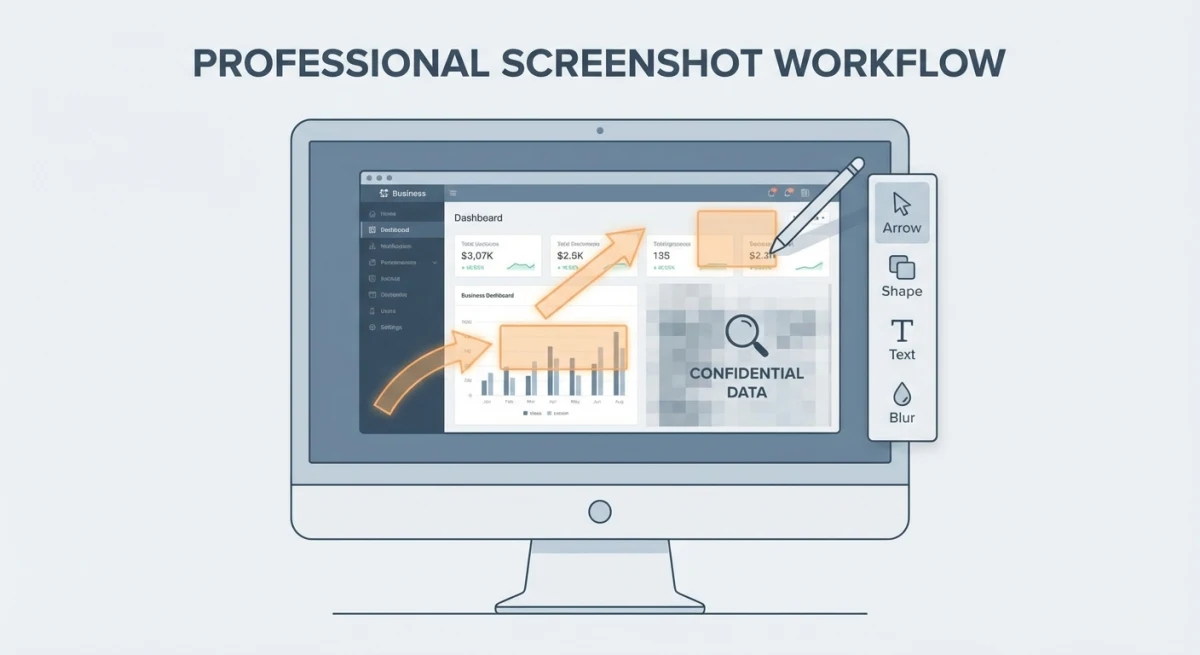
Pro Tips for Better Slack Screenshots
Annotate Before Sharing
Raw screenshots often need context. Add:
- Arrows pointing to the relevant UI element
- Circles around error messages
- Blurs over sensitive data
This makes your Slack screen capture clear at a glance.
macOS Preview has basic markup tools, but they're clunky. ScreenSnap Pro includes annotation tools that work in-flow. Capture, annotate, and share in one motion.
Learn more in our guide on how to annotate screenshots on Mac.
Blur Sensitive Information
Before sending, scan for:
- Personal data (names, emails, phone numbers)
- API keys or credentials
- Financial info
- Internal URLs
See our guide on how to blur sensitive information on Mac for details.
Use GIFs for Demos
Sometimes a static image doesn't capture the problem. A quick GIF showing the issue in action saves a dozen back-and-forth messages.
macOS's Screenshot app can record video. But Slack handles GIFs better for short demos. Check out how to record GIFs on Mac for the best approach.
Extract Text from Screenshots
Need to copy text from a screenshot? An error message, code snippet, or contact info? You don't have to retype it.
OCR tools can copy text directly from screenshots. Faster and no typos.
Troubleshooting Screenshot Slack Issues
Screenshot Shortcut Not Working
If ⌘ + Shift + Control + 4 doesn't respond:
- Go to System Settings > Keyboard > Keyboard Shortcuts > Screenshots
- Check that shortcuts are enabled
- Look for conflicts with other apps
- Try in Finder first (some apps override shortcuts)
- Log out and back in to reset
For more help, see Apple's screenshot documentation or our guide on Mac screenshot not working.
Paste Not Working in Slack
If ⌘ + V doesn't paste your clipboard screenshot:
- Make sure you're clicking in the message input field (not the sidebar)
- Try clicking the + button and selecting "Upload" instead
- Check if another app cleared your clipboard
Large Screenshots Slow to Upload
Slack can be slow with large images. To speed things up:
- Capture only the area you need (not full screen)
- Use a tool that compresses images automatically
- Consider cloud links instead of file uploads
Frequently Asked Questions
- Clipboard paste
- Drag and drop
- The + button
Wrapping Up
The clipboard shortcut (⌘ + Shift + Control + 4 then ⌘ + V) is the fastest way to send screenshots in Slack on Mac. It works great for quick, one-off captures.
For teams sharing dozens of screenshots daily, a dedicated tool pays for itself. Cloud uploads and annotations save real time.
The goal is always the same: get visual info to your team fast. Add enough context so they don't need follow-ups. A well-annotated screenshot beats a hundred messages.
Morgan
Indie DeveloperIndie developer, founder of ScreenSnap Pro. A decade of shipping consumer Mac apps and developer tools. Read full bio
@m_0_r_g_a_n_