Best Way to Share Screenshots on Windows (2026)
The fastest way to send screenshots on Windows is to copy them to the clipboard with Win + Shift + S and paste them straight into Slack, Teams, or email. For bigger files or repeat shares, a cloud link is better — you get a short URL, no upload wait, and the other person opens it in a tap.
Sending a screenshot should take one second. In reality, most people still drag files through File Explorer, hunt for the attach button, or wait for an email to chug through a 4 MB PNG. That is a lot of friction for something you will do ten times today.
This guide walks through every way to share a screenshot on Windows — from the built-in clipboard trick to cloud apps and secure workflows. Pick the method that fits your chat app, your privacy needs, and your patience.
Why sending screenshots on Windows is still a mess
Windows has improved its screenshot tools. Win + Shift + S is fast. Snip & Sketch is better than the old Snipping Tool. But sharing is still stuck in 2005.
Here is what usually goes wrong:
- Files land in random folders — or never save at all. PrtScn leaves the image in your clipboard.
Win + PrtScndrops it inPictures\Screenshots. - Email attachments get compressed — Outlook and Gmail squash PNGs. Text gets fuzzy. UI bugs stop looking like bugs.
- Messaging apps have size limits — Discord caps free users at 25 MB. Slack and Teams compress preview images.
- No built-in cloud link — Windows has no native way to get a shareable URL. You need ShareX, OneDrive, or a paid tool.
- Quality loss in chat apps — Slack and Discord re-compress images. Code and UI screenshots become unreadable.
Each has a fix. You just need to know which method to reach for.
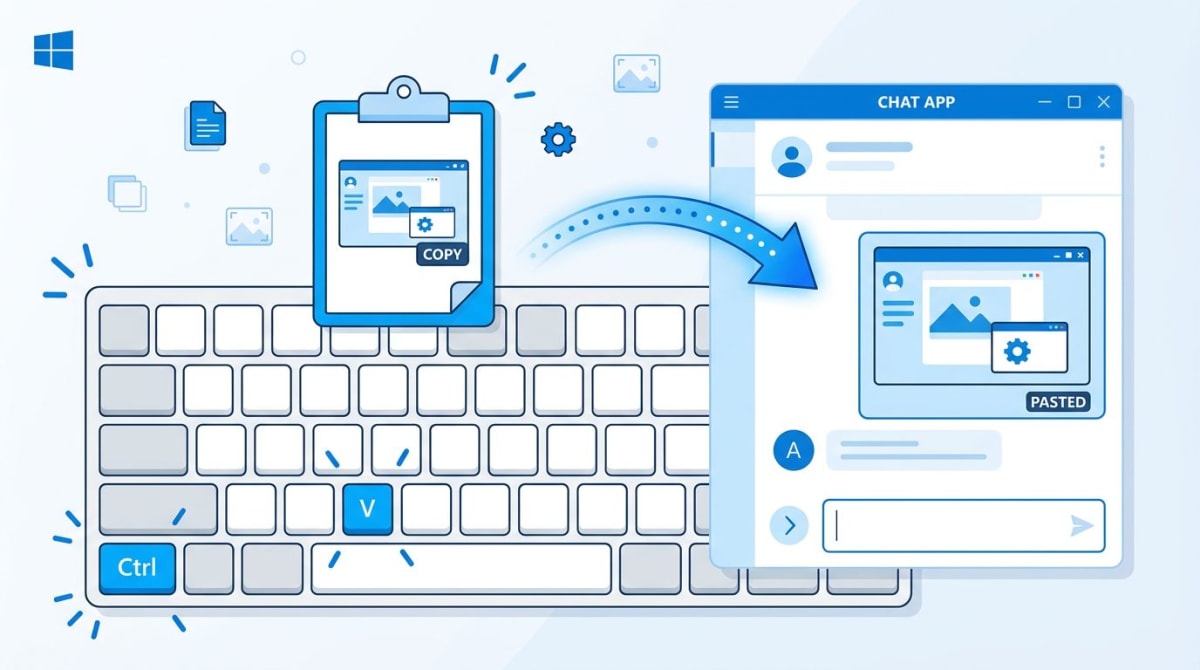
Method 1 — How to send screenshots via clipboard paste
The quickest way to send screenshots on Windows is the clipboard. No files. No folders. No upload.
- Press
Win + Shift + Sto open the snipping overlay. - Drag to select the area you want.
- The image goes to your clipboard.
- Click into Slack, Teams, Outlook, Gmail, Discord, or a doc.
- Press
Ctrl + V.
That is it. The image pastes inline. No file on disk. No attachment step. Works in almost every modern app. If you need to grab a long webpage first, our full-page screenshot guide for Windows covers the workflow.
When to use it: quick one-off shares. Bug reports in Slack. Showing a teammate a weird error. Pasting into a Google Doc or Notion page.
When it falls short: when you want to share the same image in five places, email it to people without chat apps, or keep a record of what you sent. The clipboard only holds one thing at a time.
Pro tip: Windows 11 has a clipboard history. Press Win + V to see the last 25 things you copied, including screenshots. Pin the ones you want to keep handy.
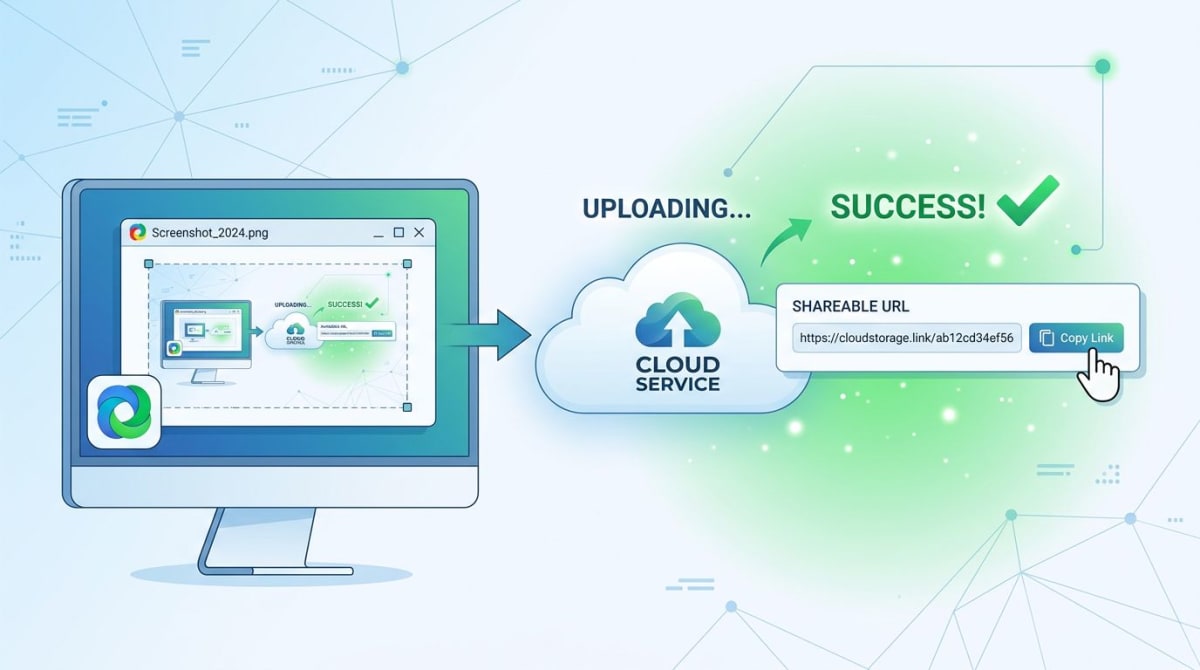
Method 2 — Cloud upload with a shareable link
For repeat sharing or big files, a cloud link beats a file every time. You get a short URL. The other person clicks. Done.
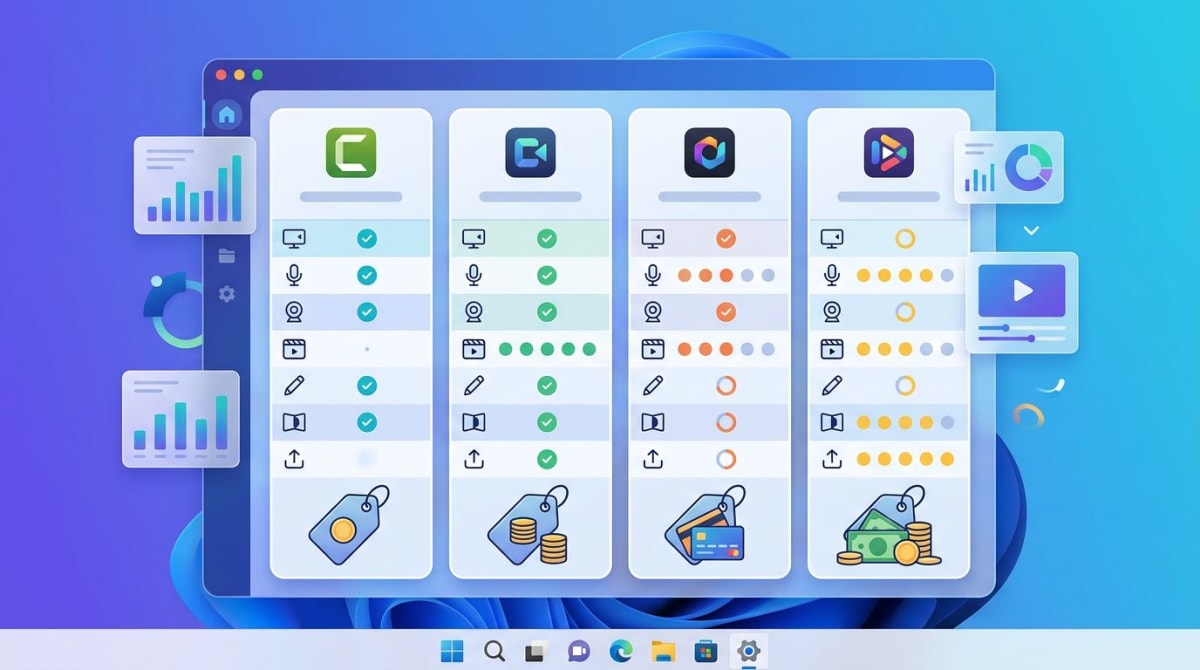
The usual suspects for cloud screenshot sharing on Windows are:
- ShareX — free, open source, powerful but fiddly to set up
- ScreenSnap Pro — $29 one-time, clean UI, instant link
- Imgur — free, public by default, not great for work
- OneDrive or Dropbox — good for files you already keep there
Most paid tools work the same way. You press a hotkey, drag a region, and the image uploads in the background. A short URL lands on your clipboard. You paste that anywhere.
Using ShareX for free cloud sharing
ShareX is the top free option. It lets you pick where to upload — Imgur, Google Drive, Dropbox, your own server — and copies the link after upload. The trade-off: the setup menu has 500+ options. First-time users get lost.
Once it is dialed in, ShareX is hard to beat for free. We cover it in detail in our best screenshot tools for Windows roundup.
Using ScreenSnap Pro for one-click sharing
ScreenSnap Pro works on both Windows and Mac. Press the hotkey, drag the region, and a link is on your clipboard. No account setup. No public feeds. The file is private by default.
For teams that want short links without a subscription, this is the simplest path. More on the full cloud sharing flow in our cloud screenshot sharing guide.
Imgur and its alternatives
Imgur still works, but its images can vanish over time and it pushes you toward its social feed. For work screenshots, a private option is safer. We rounded up better choices in our Imgur alternatives for screenshot sharing post.
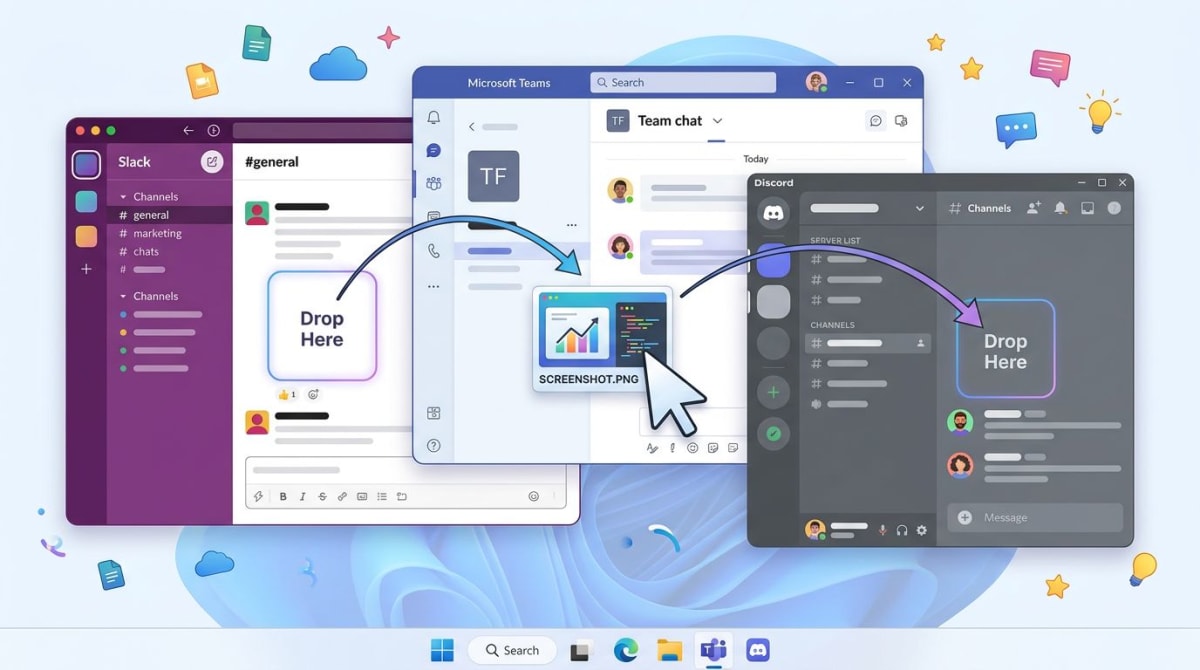
Method 3 — Drag and drop into Slack, Teams, and Discord
If you already have the screenshot saved, drag and drop is the fastest way into a chat app.
- Take the screenshot (any method).
- Find the file (usually
Pictures\Screenshotsor your desktop). - Drag the file right into the chat window.
- Add a note, hit send.
This works in:
- Slack — drag into a channel or DM. Keeps full resolution on paid plans.
- Microsoft Teams — drag into a chat. Teams compresses heavily for previews but the original is in the attachment.
- Discord — drag into a server or DM. Free users have a 25 MB file cap.
- Zoom chat — drag into the meeting chat panel.
- Outlook — drag into the email body.
Watch out for compression. Slack and Discord can shrink images in preview. If the reader needs pixel-perfect detail (think UI bugs or design review), either note the file is attached or use a cloud link instead.
Quick tip: if you cannot find your saved screenshot, check our guide on where screenshots go on Windows. Spoiler: it depends on how you captured it.
Method 4 — Email attachment (Outlook and Gmail)
Email is the oldest way to share a screenshot. It still works. It is still slow.
In Outlook:
- Paste the screenshot directly into the email body (
Ctrl + VafterWin + Shift + S), or - Drag the file from File Explorer into the message, or
- Click Attach File and browse.
In Gmail:
- Paste inline with
Ctrl + V— Gmail embeds it in the body. - Or drag into the compose window for an attachment.
- Large files (over 25 MB) auto-convert to Google Drive links.
Email has two big downsides:
- Compression. Both Outlook and Gmail can resize inline images. If you need full quality, attach the file instead of pasting.
- Size limits. Outlook caps at 20 MB. Gmail at 25 MB. Over that, you need a cloud link anyway.
For bug reports, include both: paste the screenshot inline so the reader sees it, and attach the file for full resolution.
Tired of plain screenshots? Try ScreenSnap Pro.
Beautiful backgrounds, pro annotations, GIF recording, and instant cloud sharing — all in one app. Pay $29 once, own it forever.
See what it doesMethod 5 — Nearby Share for cross-device sending
Windows 11 has a built-in Quick Share feature (the new name for Nearby Share). It sends files over Wi-Fi or Bluetooth to other Windows PCs or Android phones nearby. Microsoft documents the full setup in their Windows Share guide.
To share a screenshot this way:
- Right-click the image file.
- Pick Share.
- Select the nearby device from the list.
- Accept on the other device.
When it works: sending from your laptop to your desk PC, or to an Android phone nearby.
When it fails: if the other device is off Wi-Fi, has Nearby Share off, or runs macOS/iOS. Apple devices need a cloud link instead.
Method 6 — Cloud folders (OneDrive, Dropbox, Google Drive)
Cloud folders are the slow-and-steady option. The screenshot sits in a synced folder. Right-click it, pick Share, and get a link.
OneDrive is built into Windows 11. Save to a synced folder, right-click any file, pick Share. You get permission controls — read-only, edit, password, expiry.
Dropbox works the same way and is faster at generating links in our testing.
Google Drive uploads via the web or Drive for Desktop. Right-click, Share, Copy Link.
Downside: two or three extra clicks per file, ugly long links, manual permissions. Upside: you already pay for these.
How to share without losing quality
Screenshot quality dies in three places: chat app compression, email resize, and the wrong file format.
- Use PNG, not JPG. PNG is lossless and handles text edges cleanly. JPG adds blur.
- Skip chat previews when quality matters. Share a cloud link so the reader opens the full image on click.
- Turn off Outlook auto-resize. Uncheck "Resize large images when I send this message" under File > Info > Image Attachments.
- Avoid double-compression. If you screenshot a JPG and save as JPG, you lose quality twice. Capture as PNG.
Need to convert formats? Our free image format converter handles PNG, JPG, and WebP in the browser.
Security — what to blur before you share
A screenshot can leak more than you think. Before hitting send, scan for:
- Email addresses and names in the sidebar
- API keys, tokens, or passwords in a terminal window
- Customer data in a CRM screenshot
- Chat DMs visible in the background
- Your computer name in the window title bar
- Browser bookmarks or history in the nav
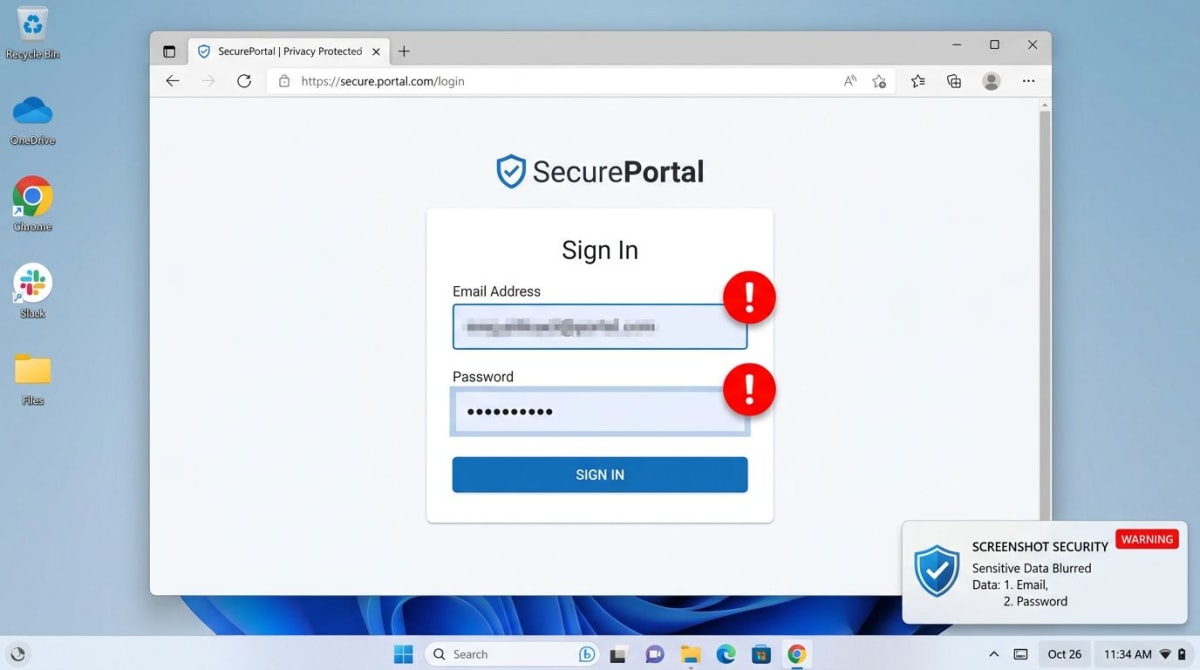
The fix is simple: blur or black out sensitive regions before sharing. Most good screenshot tools have a blur or pixelate tool built in. ScreenSnap Pro has a dedicated blur brush. ShareX has blur and pixelate effects.
If your screenshot is already on disk and unedited, you can use our free image annotation tool to blur regions before you upload.
For a walkthrough of what to mark up, see our guide on editing screenshots on Windows.
Which method should you use?
Short answer: match the method to the moment.
| Situation | Best method |
|---|---|
| Quick bug report in Slack | Clipboard paste (Win + Shift + S then Ctrl + V) |
| Same image to five people | Cloud link |
| Designer review with pixel detail | Cloud link (no chat compression) |
| Sending to a nearby PC or phone | Nearby Share / Quick Share |
| Record of what you sent | Cloud link (has a URL you can log) |
| External client | Cloud link with password or expiry |
| Big batch of screenshots | Cloud folder (OneDrive or Dropbox) |
| One-time reply to an email | Paste inline in the email |
For most people, the real win is picking one cloud tool and using it every time. A single hotkey, a short link on the clipboard, no more dragging files. If you grab more than a few screenshots a day, that habit saves hours a month.
ScreenSnap Pro handles this end-to-end on Windows. Capture with a hotkey. The image uploads in the background. The link is on your clipboard before you tab back to Slack. It is $29 one-time — no subscription. You also get 150+ gradient backgrounds, 15 annotation tools, blur brushes, and GIF recording.
For more alternatives, compare options in our best screenshot tools for Windows ranking.
Frequently Asked Questions
Morgan
Indie DeveloperIndie developer, founder of ScreenSnap Pro. A decade of shipping consumer Mac apps and developer tools. Read full bio
@m_0_r_g_a_n_