How to Record a Webinar (2026): Mac & Windows
# How to Record a Webinar (2026): The Complete Step-by-Step Guide
To record a webinar, run a screen recorder that captures your screen and system audio at the same time, start it a moment before the session begins, and let it run until the host wraps up. On Windows the fastest built-in option is Xbox Game Bar; on Mac it's the Cmd + Shift + 5 toolbar. Both have gaps (mainly system audio), so a dedicated recorder is the reliable choice when the talk matters.
Maybe you're a marketer archiving a product launch. Maybe you're a trainer saving a session for later, or an attendee who wants to rewatch a dense talk. The goal is the same: a clean video with the slides and the speaker's voice intact. This guide covers every method for both Mac and Windows. It also covers the legal etiquette and how to capture system audio, your mic, and a webcam feed together.
Is it legal to record a webinar?
Recording a webinar you're hosting is entirely your call. Recording one you're attending is where etiquette matters. In most places, capturing a session for personal reference is fine, but redistributing it can breach the host's terms or copyright. The safe rule: ask the organizer for permission, and never republish a paid or gated webinar without written consent. Many hosts are happy to share the official recording if you just ask.
With that settled, here's how to actually capture one.
How to Record a Webinar on Windows
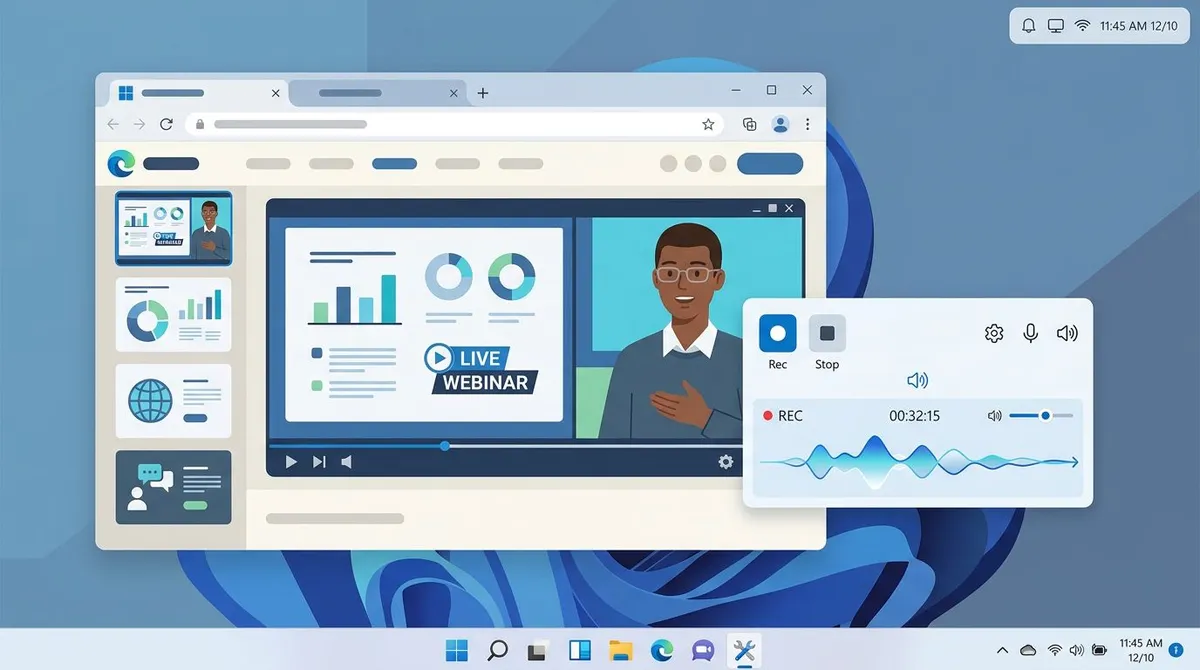
Windows ships with Xbox Game Bar, which records the active window and system audio with no extra install.
- Press
Win + Gto open Game Bar. - In the Capture widget, click the record button (or press
Win + Alt + R). - Make sure the microphone icon matches what you want: on for your commentary, off for a clean feed.
- Click stop when the webinar ends. Your file lands in
Videos\Capturesas an MP4.
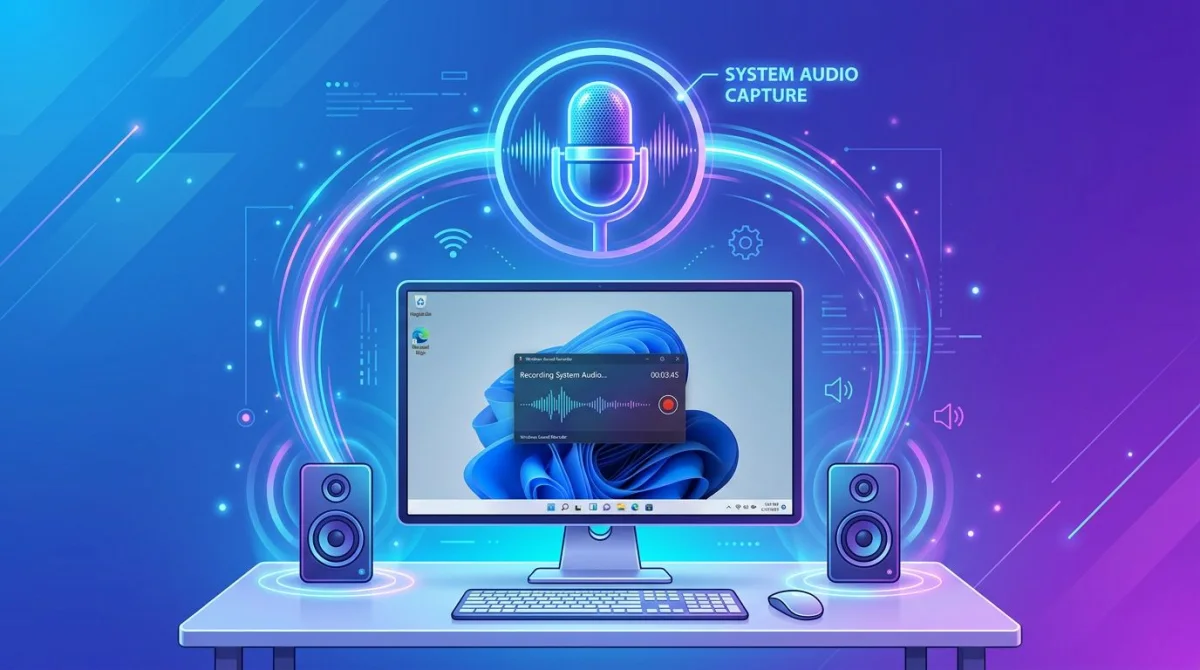
Game Bar's catch is that it can't record File Explorer or the desktop, and it captures whatever plays through your speakers, so if you can't hear the webinar, the recording won't either. If you're only getting your own mic and not the presenter, our guide to recording computer audio on Windows walks through fixing the system-audio routing.
For longer or more polished captures (region selection, a webcam overlay, no Videos\Captures clutter), step up to a purpose-built recorder. We compare the strongest free and low-cost options in the best free screen recorders for Windows. Microsoft's own Teams webinar recording documentation is worth a read if you host on that platform.
How to Record a Webinar on Mac
On macOS, press Cmd + Shift + 5 to open the screen-recording toolbar.
- Choose Record Entire Screen or Record Selected Portion.
- Click Options to pick a save location and toggle your microphone.
- Click Record, then the stop icon in the menu bar when you're done.
There's one big limitation: macOS does not capture system audio by default. The built-in tool records your microphone, but not the sound from the webinar itself. So your recording will show the slides in silence. To fix it, you either route system audio through a virtual audio device, or use a recorder that captures it natively. Our walkthrough on screen recording on a MacBook covers the built-in flow in detail, and the best screen recorders for Mac lists tools that grab system audio without the extra setup. Apple's screen-recording guide documents the native toolbar.

Recording a Webinar You're Hosting vs. One You're Attending
The best method depends on which side of the webinar you're on.
If you're hosting, use the platform's built-in recording first. Zoom, Microsoft Teams, and Google Meet all record to the cloud or locally with one click, and they capture every participant's audio cleanly because they tap the stream directly rather than your speakers. This is always higher quality than a screen capture. Keep a local screen recorder running as a backup in case the cloud recording fails. It happens more than you'd think.
If you're attending, you usually can't trigger the host's recording, so a screen recorder on your own machine is the only option. Capture the shared screen plus system audio, and add your mic only if you're narrating notes for yourself. Ask the host first, as covered above.

Tired of plain screenshots? Try ScreenSnap Pro.
Beautiful backgrounds, pro annotations, GIF recording, and instant cloud sharing, all in one app. Pay $39 once, own it forever.
See pricing and featuresCapturing System Audio, Mic, and Webcam Together
The recurring headache across every built-in tool is audio: Game Bar needs the sound routed correctly, and macOS won't grab it at all. For a webinar, you often want three sources at once: the presenter's system audio, your own microphone for notes, and optionally a webcam bubble if you're reacting on camera.
This is exactly where an all-in-one recorder earns its place. ScreenSnap Pro records the screen, system audio, and microphone at once, with an optional webcam overlay. There's no virtual audio driver to set up and no audio to sync afterward. It works the same way on Mac and Windows, so a mixed team captures webinars identically. And it's a $39 one-time purchase, not a monthly subscription. That matters if you only record now and then.
If your use case leans academic (lectures, training modules, recorded courses), our roundup of lecture recording software compares tools built specifically for that workflow.
Editing, Annotating, and Sharing the Recording
A raw webinar recording is rarely the finished product. Once you've captured it, you usually want to trim dead air at the start, call out a key slide, and get a shareable link to the team.
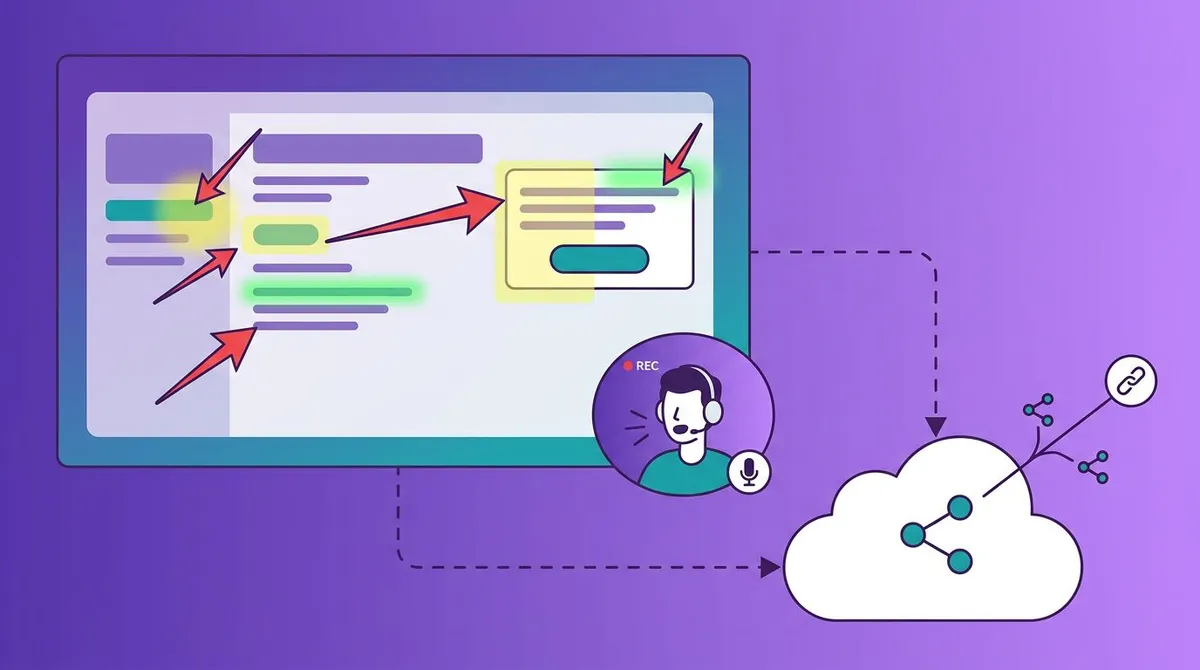
- Annotate the highlights. Drop arrows, boxes, and text on the frames that matter: a pricing slide, a key stat, a demo step. ScreenSnap Pro includes 15 annotation tools for marking up captures directly.
- Share without huge attachments. Instead of emailing a multi-gigabyte file, upload once and send a link. Built-in cloud upload gives you an instant shareable URL with no watermark on the output.
- Turn a moment into a GIF. For a quick "here's the one thing you missed" clip, a short GIF beats a full video. ScreenSnap Pro records straight to GIF, so you skip the conversion step.
Built-in Tools vs. Webinar Platforms vs. ScreenSnap Pro
| Method | Cost | System audio | Webcam overlay | Annotate & share | Works on |
|---|---|---|---|---|---|
| Xbox Game Bar | Free | ⚠️ Speakers only | ❌ | ❌ | Windows |
macOS Cmd+Shift+5 | Free | ❌ Not by default | ❌ | ❌ | Mac |
| Zoom / Teams (host) | Subscription | ✅ | ✅ | ⚠️ Limited | Mac + Windows |
| ScreenSnap Pro | $39 one-time | ✅ | ✅ | ✅ | Mac + Windows |
Platform recording wins when you host on it. For everything else (attending, cross-platform teams, or wanting to annotate and share afterward), a dedicated recorder covers the gaps the built-in tools leave open.
Troubleshooting Common Webinar Recording Problems
No audio in the recording. The most common issue. On Windows, confirm the webinar plays through the same output device Game Bar is capturing. On Mac, remember the built-in tool won't grab system audio. You need a recorder that captures it natively, or a virtual audio device.
Black screen where the video should be. Some webinar players use DRM or hardware-accelerated video that blanks out under capture. Turn off hardware acceleration in your browser (Settings → System) and try again, or record the browser window rather than full screen.
Choppy or laggy video. Close other heavy apps, drop the capture resolution from 4K to 1080p, and lower the frame rate to 30fps. Webinars are mostly static slides, so 30fps is plenty and roughly halves the file size.
File too large to send. Export at 1080p instead of 4K, or share via a cloud link instead of an attachment.
Frequently Asked Questions

Morgan
Indie DeveloperIndie developer, founder of ScreenSnap Pro. A decade of shipping consumer Mac apps and developer tools. Read full bio
@m_0_r_g_a_n_