Screen Recording No Sound: How to Fix (2026)
# Screen Recording With No Sound? Here's How to Fix It
A screen recording with no sound almost always comes down to one thing: the recorder captured the wrong audio source, or none at all. Most built-in tools record your microphone by default and ignore system audio (the sound coming out of your speakers). On Mac, the OS does not capture system audio on its own. On Windows, it is usually a settings toggle or a blocked app permission.
The good news is that this is a fixable problem, and you do not need to re-record blind. Below is a clear decision tree, then step-by-step fixes for both Mac and Windows. Let's break this down.
First, Figure Out Which Audio Is Missing
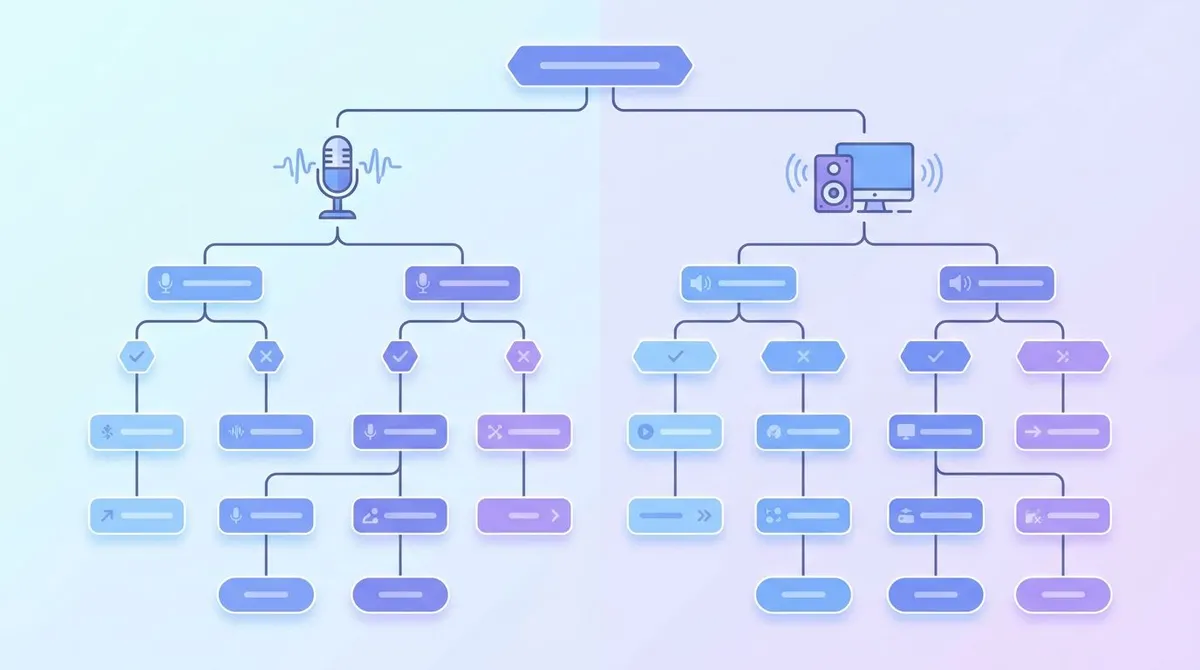
Before you change any settings, you need to know which sound is gone. There are two kinds of audio in a screen recording, and they fail for different reasons.
- Microphone audio is your voice, narration, anything from a mic. Missing because the mic is muted, the wrong input is selected, or the app lacks mic permission.
- System audio is sound from the apps on your screen: a video, a game, a Zoom call, music. Missing because the recorder is not set to capture internal audio.
Here is the quick decision tree:
- Recorded yourself talking but hear nothing? That is a microphone problem. Jump to the mic permission and input fixes below.
- Recorded a YouTube video or a call and the visuals play but it is silent? That is a system audio problem. This is the most common cause of a screen recording no sound issue, especially on Mac.
- Both are missing? Start with permissions (Mac and Windows both gate recording behind privacy settings), then check your audio source toggles.
Knowing this saves you a lot of time. A mic fix will not help a silent gameplay clip, and a system audio fix will not bring back your narration.
One more quick check before you dig into settings: was the source app actually making sound during the recording? A muted browser tab, a paused video, or a call where the other person was on mute will all produce a silent clip even when your recorder is set up perfectly. Rule out the obvious first, then move on to the platform fixes below.
Why Screen Recording Has No Sound on Mac
Macs have a quirk that trips up almost everyone: the built-in screen recorder captures your microphone, but it does not record system audio on its own. So if you record a video playing in Safari, the picture is fine and the sound is gone.
This is not a bug. Apple does not route internal playback audio into the screen recorder by design. To capture it, you need an audio routing helper or a recorder that handles system audio for you.
Fix 1: Check your microphone input is on
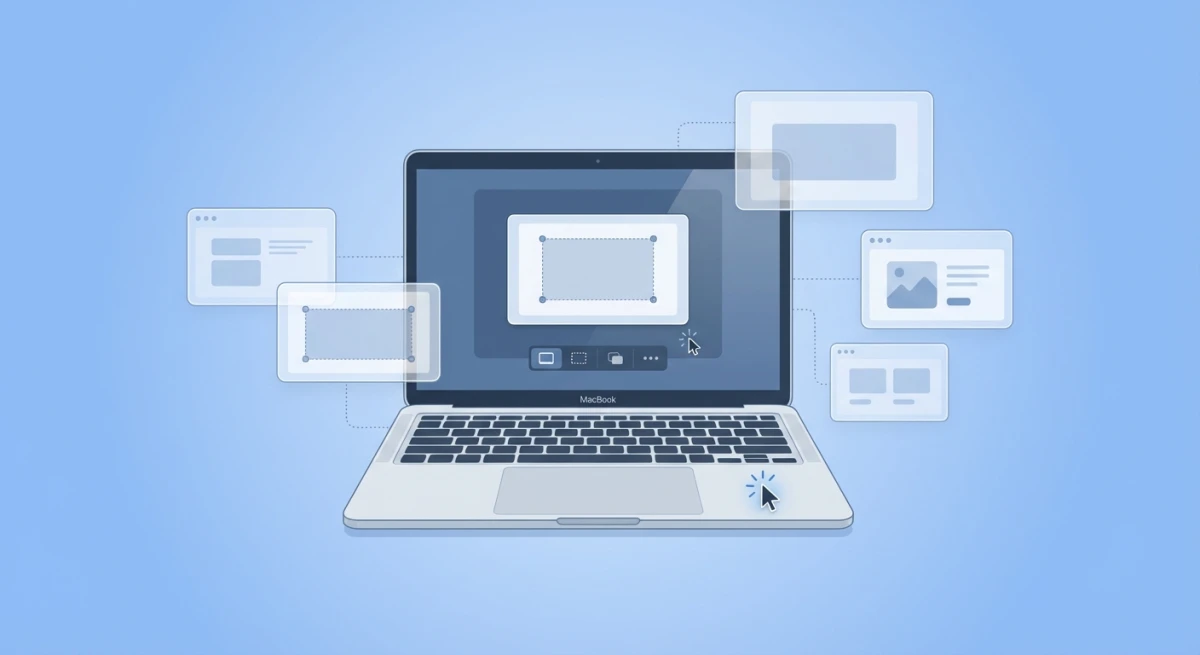
If you only need your voice, the fix is quick. Apple's built-in screen recording lives in QuickTime Player and the Shift-Command-5 toolbar.
- Press
Shift + Command + 5to open the recording toolbar. - Click Options.
- Under Microphone, pick your input device (built-in mic, AirPods, or an external mic). If it shows None, that is your problem.
- Start recording and watch the on-screen meter move when you speak.
If the meter does not move, the mic input is wrong or muted. For a full walkthrough of mic and audio setup, see our guide on how to screen record with audio on Mac.
Fix 2: Route system audio with a virtual device
System audio is the harder one. Because macOS will not hand internal sound to the recorder, you route it through a free virtual audio driver like BlackHole. The driver acts as a bridge: app sound goes into the virtual device, and the recorder reads from it.
Here is the short version of the routing setup:
- Download and install BlackHole (the free two-channel version is enough).
- Open Audio MIDI Setup, click the + button, and create a Multi-Output Device.
- Check both your real speakers and BlackHole inside that device, so sound plays out loud and feeds the recorder.
- Set that Multi-Output Device as your Mac's output.
- In your recorder, choose BlackHole as the audio input.
It works, but it is fiddly, and you have to switch your output device back to normal speakers afterward or your other apps will sound off. The Mac screen recording with audio guide covers the BlackHole steps in detail, with screenshots of each panel.
Fix 3: Check Screen Recording permission
If nothing records at all, macOS may be blocking the app. Open System Settings → Privacy & Security → Screen & System Audio Recording and make sure your recorder is toggled on. After granting permission, quit and reopen the app so the change takes effect.
For QuickTime specifically, our QuickTime screen recording walkthrough shows where the audio options hide.
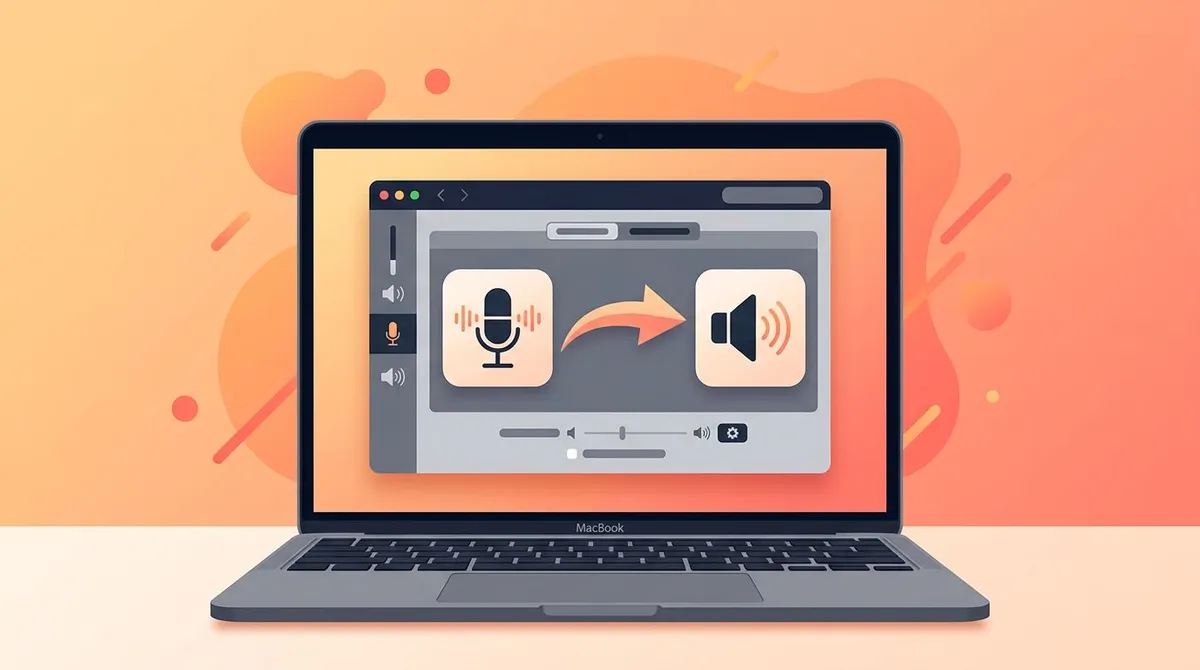
You can confirm the official mic options anytime in Apple's QuickTime screen recording guide.
Why Screen Recording Has No Audio on Windows
Windows is friendlier here: most of its recorders can capture system audio. When sound is missing, it is usually a toggle that is off, a blocked app permission, or the wrong playback device. Let's work through the common tools.
Fix 1: Turn on audio in Xbox Game Bar
Game Bar records system audio and mic, but the settings are easy to miss.
- Press
Windows + Gto open Game Bar. - Open the Audio (or Capture) widget.
- Make sure the system audio slider is up and not muted.
- To add your voice, click the mic icon so it is unmuted before you record.
If Game Bar will not record at all, the cause is often a missing permission or a disabled feature. Our Xbox Game Bar not working guide covers the full reset.
Fix 2: Enable mic permission for Snipping Tool
The Snipping Tool added screen recording, and a frequent complaint is video with no sound. By default it captures the screen only, so you have to switch audio on.
- Start a recording in Snipping Tool.
- Look for the microphone and system audio icons in the toolbar before you hit record.
- Click them so they are enabled (not crossed out).
- If the mic icon is greyed out, grant permission in Settings → Privacy & security → Microphone and allow desktop apps to use it.
Microsoft documents the recording controls in its Snipping Tool support page.
Fix 3: Set the right playback device
If system audio is still silent, your recorder may be listening to the wrong output. Right-click the speaker icon in the taskbar, open Sound settings, and confirm your active speakers or headphones are the default output. A recorder set to capture "default playback" will follow whatever that is.
This catches a lot of people who use both headphones and speakers. If you record while the audio is routed to one device but your recorder watches the other, you get a silent clip. Switch to a single output device, set it as default, and test again. It is also worth checking the Volume Mixer here. Windows lets you set per-app volume, so a single quiet app can look like a recording-wide audio failure when the real cause is one slider turned down.
For a complete setup, see how to record computer audio on Windows and the broader screen record with audio on Windows walkthrough.

Tired of plain screenshots? Try ScreenSnap Pro.
Beautiful backgrounds, pro annotations, GIF recording, and instant cloud sharing, all in one app. Pay $39 once, own it forever.
See pricing and featuresApp-Specific No-Sound Fixes
Some tools have their own gotchas worth calling out.
- Snipping Tool video has no sound: covered above; the audio icons are off by default. Toggle both mic and system audio before recording.
- QuickTime is silent: QuickTime records mic audio, not system audio. For internal sound you still need a virtual device. See the QuickTime screen recording guide.
- Game Bar mic works but game is quiet: check the per-app volume in the Windows Volume Mixer; the game may be turned down there.
- Recording on Windows feels overcomplicated: the standard screen recording on Windows guide walks through the cleanest method.
If you are on a MacBook and want a plain start-to-finish recording, our how to screen record on a MacBook guide keeps it simple.
Volume, Levels, and the Hard Truth About Lost Audio
Sometimes the audio was captured but is too quiet to hear. Before you re-record, check these:
- Open the file in a player and turn the volume up. Laptop speakers can be deceiving.
- Look at the waveform in any basic editor. A flat line means no audio was recorded; a small wiggle means it is just low.
- If levels are low, your mic gain or system volume was down during the recording. Raise it next time.
Here is the hard truth: if the audio was never captured, you cannot add it back afterward. There is no setting that recovers sound that was never recorded. You can dub new narration over the video, but the original system audio is gone. That is why getting your audio source right before you record matters so much.
Pro tip: do a five-second test recording first. Play it back, confirm both your voice and the on-screen sound are there, then start the real one. This single habit saves more re-records than any setting change. Thirty seconds of checking beats re-recording a ten-minute walkthrough.
If you record often, build a tiny pre-flight routine: pick your mic, confirm system audio is on, run the test clip, then record. Once it becomes muscle memory, the silent-recording problem mostly disappears.
The Reliable Fix: A Recorder That Captures Both by Default
If you are tired of toggles, virtual drivers, and silent clips, the lasting fix is a recorder that captures system audio and mic out of the box on both Mac and Windows.
ScreenSnap Pro records system audio, microphone, and webcam together without the BlackHole routing dance that macOS otherwise demands. You pick your sources once, and your recordings have sound every time. It also exports straight to GIF if you need a quick clip instead of a full video.
It is a one-time $39 purchase that works on Mac and Windows with the same license, so you are not juggling different fixes per platform. For people who record demos, calls, or tutorials often, skipping the per-recording audio hunt is worth it.
That said, if you only narrate the occasional clip, the built-in tools plus the fixes above are enough. No need to add software.
Frequently Asked Questions

Morgan
Indie DeveloperIndie developer, founder of ScreenSnap Pro. A decade of shipping consumer Mac apps and developer tools. Read full bio
@m_0_r_g_a_n_