How to Screen Record on a Chromebook (2026): Full Guide
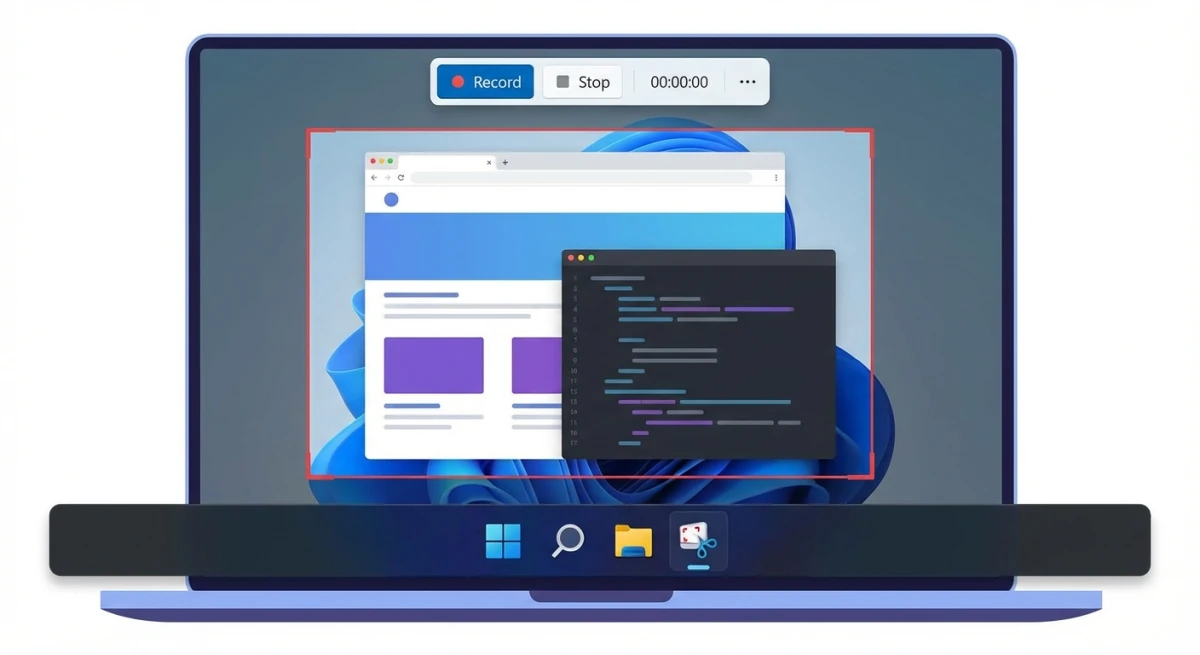
To screen record on a Chromebook, press Shift + Ctrl + Show windows, click the video camera icon, choose full screen, partial, or window, then click to start. Stop with the red button in the shelf or by pressing Search + Shift + X. The recording saves to your Downloads folder as a .webm file. No app to install, no extension, no account.
That shortcut is the whole trick, and it is the part almost nobody finds on their own. The Show windows key is the one above the 6 that looks like a rectangle with two lines beside it. If your keyboard does not have it, Ctrl + Shift + F5 does the same thing.
ChromeOS has shipped a real screen recorder since 2021, and it has quietly grown into a capable one. It handles system audio, your microphone, a webcam overlay, and even GIF output. This guide covers every option, the settings worth changing before you hit record, and what to do about the two things it genuinely cannot do.
Quick comparison: what the Chromebook recorder can and cannot do
| Capability | Built-in ChromeOS recorder |
|---|---|
| Full screen, region, or window | Yes, all three |
| Record system (device) audio | Yes |
| Record your microphone | Yes |
| Both audio sources at once | Yes |
| Webcam overlay | Yes, front camera |
| Show clicks and keystrokes | Yes |
| Output format | .webm video, or .gif for region recordings |
| Trim or edit afterwards | No |
| Pause and resume mid-recording | No |
The two gaps at the bottom are the honest limits. There is no pause button, and there is no editor, so a mistake halfway through means recording again from the top.
Method 1: Screen record on a Chromebook with the built-in tool
This is the method you want in almost every case. It is built into ChromeOS, so it is already there.
Step by step
- Press
Shift + Ctrl + Show windows. The Show windows key sits on the top row and looks like a rectangle with two lines to its right. On keyboards without it, pressCtrl + Shift + F5. You can also open it from Quick Settings by clicking the clock and choosing Screen capture. - Switch to video. The toolbar opens in screenshot mode by default. Click the video camera icon to switch to screen recording. This is the step people miss, and it is why so many end up with a still image instead of a video.
- Pick your capture area. Three icons sit next to it: full screen, partial, and window. See the next section for which to use.
- Open Settings and set your audio. The gear icon holds the options that matter most. Details below.
- Start recording. For full screen, click anywhere. For partial, drag a box and click Record. For a window, click the window you want. A 3, 2, 1 countdown appears.
- Stop recording. Click the red stop button in the shelf, or press
Search + Shift + X.
The file lands in Downloads and a preview appears in Tote, the holding space at the corner of your shelf. Click it to play the recording immediately.
Choosing full screen, partial, or window
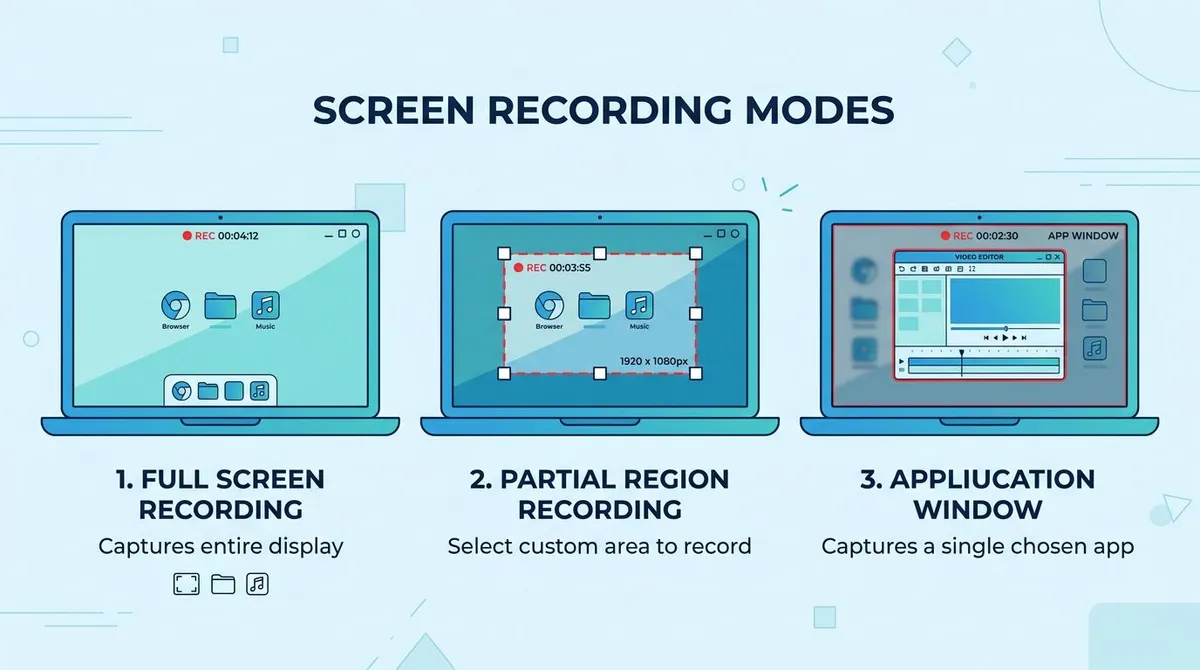
Full screen captures everything including the shelf and the clock. Use it for gameplay or when you genuinely need the whole desktop.
Partial lets you drag a box around a region. This is the best default for tutorials: it crops out your bookmarks bar and any personal tabs, and the smaller frame keeps the file size down. It is also the only mode that can output a GIF.
Window follows one app. If you switch to another window mid-recording, the recording keeps following the original one, which is exactly what you want for a focused demo and surprising the first time it happens.
Method 2: Record a Chromebook screen with audio
Audio is the single most common thing people get wrong, because the recorder does not capture any sound by default on many devices. Open Settings (the gear in the capture toolbar) before you start and you will find three switches worth knowing.
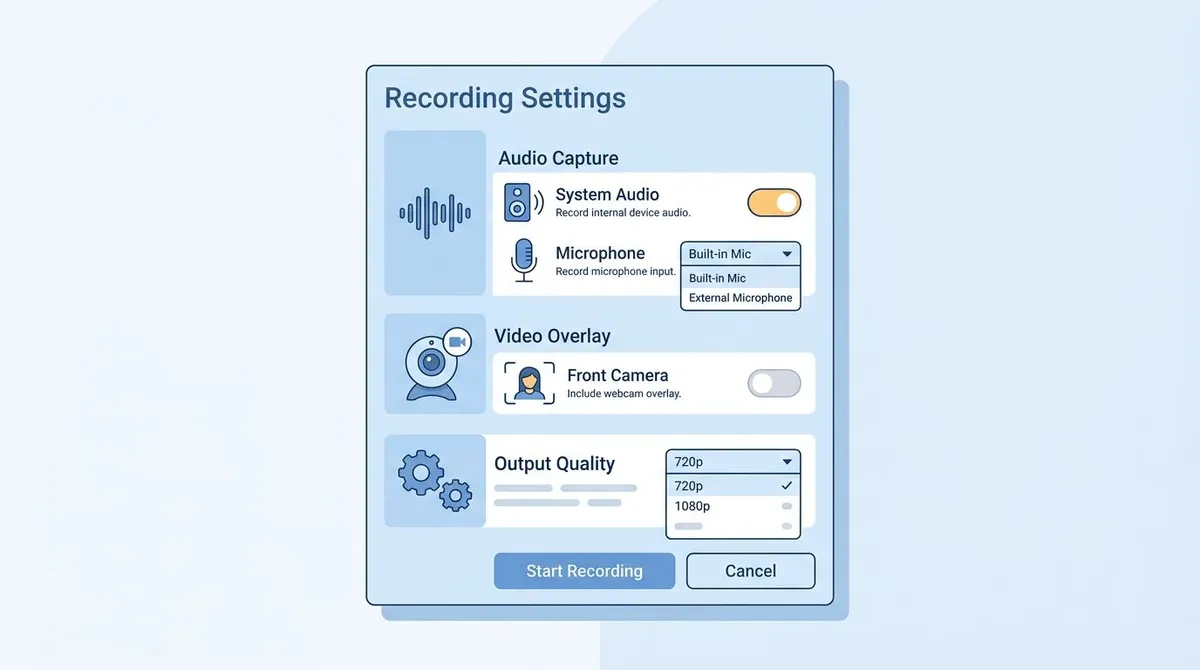
Device audio records the sound your Chromebook is playing: video playback, notification chimes, game audio, a call. Turn this on when you are recording something that makes noise.
Microphone records your voice. Turn this on for narration.
You can enable both at once, which is what you want for a tutorial where you talk over a video, or for capturing a meeting with your own commentary. Getting this combination right on Windows takes third-party software; on ChromeOS it is two toggles.
Two more settings sit in the same panel:
- Front camera adds a small circular webcam overlay of your face, useful for a personal walkthrough.
- Show clicks and keys displays your mouse clicks and keyboard shortcuts on screen as you press them. For any how-to recording this is worth turning on every single time. Viewers can follow what you actually pressed instead of guessing.
If your finished recording plays back silent, the cause is almost always that neither audio toggle was on before you started. The setting cannot be changed mid-recording. Our guide to fixing silent screen recordings walks through the same problem on Mac and Windows, where the causes run deeper.
Method 3: Record a GIF on a Chromebook
ChromeOS can save a recording directly as an animated GIF, which is genuinely useful for bug reports, chat messages, and documentation where a video file is overkill.
The catch: GIF output only works in partial mode. Select the partial capture icon, drag your region, and a small format selector appears offering .webm or .gif. Choose GIF and record as normal.
Remember that GIFs carry no audio at all. They are silent by design, so any narration is lost. Keep them short, because GIF is an inefficient format and a long capture produces an enormous file. If you need a GIF from a longer recording, or want to control the frame rate and palette, our walkthrough of recording a screen as a GIF covers the trade-offs in more depth.

Tired of plain screenshots? Try ScreenSnap Pro.
Beautiful backgrounds, pro annotations, GIF recording, and instant cloud sharing, all in one app. Pay $34 once, own it forever.
See pricing and featuresWhere Chromebook screen recordings are saved
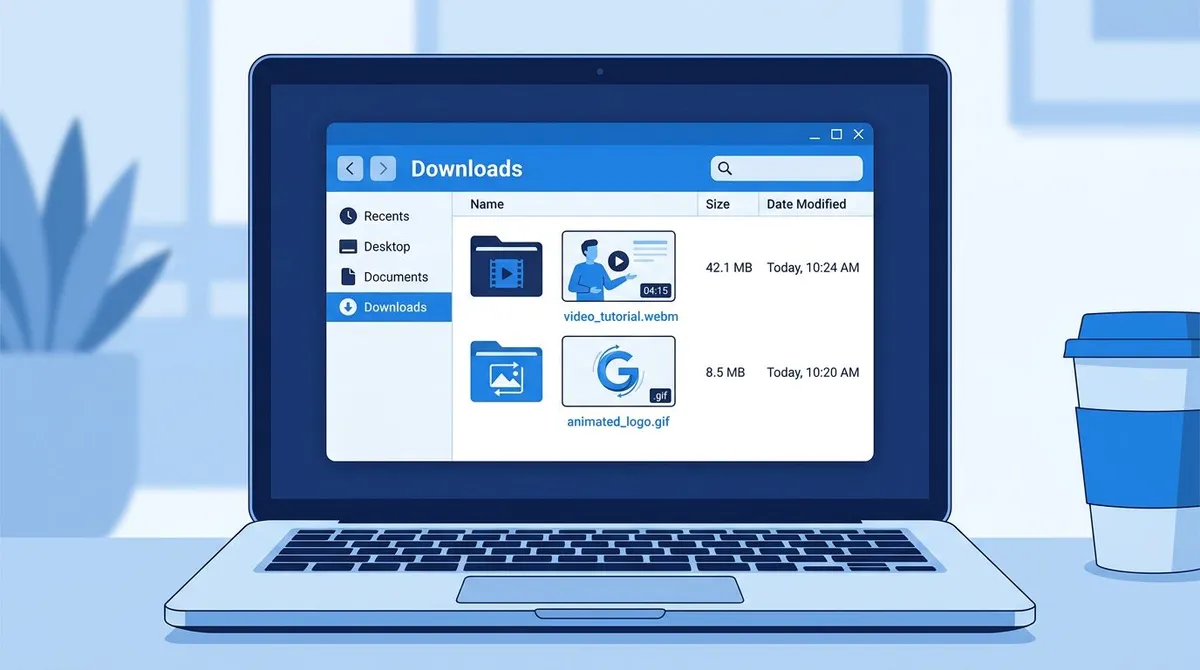
Every recording goes to Downloads by default, and a thumbnail appears in Tote on your shelf for quick access.
To change where files land, open the capture toolbar, click Settings, and choose a different folder. Pointing it at a Google Drive folder is a good move if you record often, since Chromebooks tend to have small local drives and .webm files add up quickly.
To find an older recording, open the Files app and look in Downloads. Recordings are named by date and time, so sorting by newest gets you to what you just made.
The two real limitations, and what to do about them
The built-in recorder is good at capturing. It does nothing at all afterwards.
There is no editor. You cannot trim a few seconds of dead air off the front, cut a mistake from the middle, add a caption, or blur a piece of private information. What you record is what you keep.
There is no pause. Every other desktop recorder lets you pause while you switch tabs or collect your thoughts. ChromeOS does not, so a long recording is one continuous take.
Practical workarounds:
- Rehearse once before the real take. With no editing available, a single practice run is the cheapest fix by far.
- Record in short segments. Several small clips beat one long take you cannot repair.
- Trim in a web editor. Since a Chromebook runs everything in the browser, a browser-based video trimmer can cut the ends off a
.webmwithout installing anything. - Use a real desktop recorder if you have one available. If the Chromebook is a secondary machine and you also have a Mac or a PC, that is where the polished version of the video should be made.
That last point deserves honesty rather than a sales pitch. ScreenSnap Pro does not run on ChromeOS. It is a Mac and Windows app, so it is not an alternative to the built-in tool on this device. If your recording is heading somewhere that matters, though, and you have a Mac or PC within reach, doing it there gets you annotation, GIF export, webcam, and system audio in one pass for a one-time $34. Our guides to screen recording on Windows and screen recording on a MacBook cover those workflows.
Chromebook screen recording for school and work
Chromebooks dominate classrooms, and a managed device behaves a little differently.
Your administrator can disable screen recording entirely. If the video camera icon is missing or greyed out in the capture toolbar, the device policy is blocking it and no workaround exists on your side. Ask your IT administrator.
Recording a video call captures whatever is on screen, including other participants. Most workplaces, and most schools, require you to tell people before you record them. Some jurisdictions require it by law. Ask first.
For a longer lesson or demo, the lack of pause and trim really starts to hurt. If you are producing something that students or colleagues will watch more than once, our guide to making a tutorial video covers the planning that removes most of the need to edit in the first place.
Frequently Asked Questions
The takeaway
For anything short, the built-in ChromeOS recorder is genuinely all you need, and Shift + Ctrl + Show windows is the only thing to memorise. Set your audio before you start, turn on Show clicks and keys for tutorials, and use partial mode to keep the frame clean.
Its weakness is everything after the recording stops. With no trim and no pause, a single take has to be right. Rehearse once, record in short pieces, and you will work around both.
For the official reference, Google documents the tool at Chromebook Help.

Morgan
Indie DeveloperIndie developer, founder of ScreenSnap Pro. A decade of shipping consumer Mac apps and developer tools. Read full bio
@m_0_r_g_a_n_