How to Record a Google Meet (2026), Even for Free
# How to Record a Google Meet (Workspace or Free Account)
Quick answer: open the call, click Activities in the bottom right, choose Recording, then Start recording. That button only exists on paid Google Workspace plans. On a free Gmail account, capture the call with your computer's screen recorder instead: press Shift + Command + 5 on a Mac, or open the Xbox Game Bar with Windows + G on a PC.
Most advice on how to record a Google Meet stops at those first three clicks. That is fine if your company pays for Workspace. It is useless if you opened Meet with a personal Gmail address and the record option is nowhere to be found.
This guide covers both paths. First the native recorder and who actually has it, then the free route that works on any account, on any plan, as host or as guest.
Who actually gets Google Meet's built-in recorder
Recording is a paid feature, and it is gated twice. Your plan has to include it, and your Workspace admin has to switch it on.
| Account type | Built-in recording |
|---|---|
| Free personal Gmail | Not available |
| Workspace Business Starter | Not available |
| Business Standard, Business Plus, Enterprise | Available |
| Education Plus, Teaching and Learning Upgrade | Available |
| Google One Premium (2 TB and up) | Available for meetings you organize |
Even on a supported plan, only certain people can press the button: the host, a co-host, or someone in the host's own organization once the host allows it. A guest from another company cannot start a recording, no matter what their own plan is. Google keeps the current plan list on its record a video meeting help page.
If your plan is on the list and the option is still missing, an admin has to turn it on in the Admin console under Apps, Google Workspace, Google Meet, then Meet video settings.
How to record a Google Meet with the built-in recorder
On a supported account, the whole thing takes about ten seconds.
- Join or start the meeting in a browser on your computer.
- Click Activities, the shapes icon in the bottom right corner.
- Choose Recording, then Start recording.
- Pick a captions language if you want captions saved with the file.
- Click Start again to confirm. Everyone gets a visible badge and a spoken announcement.
- When you are done, open Activities, choose Recording, then Stop recording and confirm.
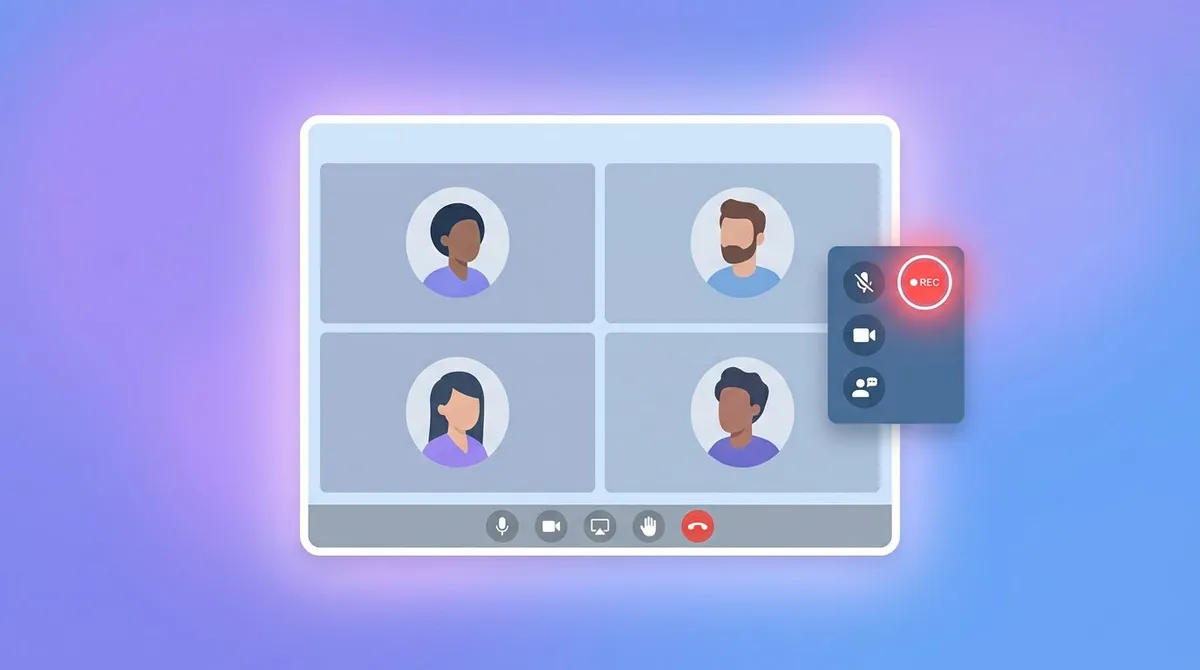
Two things worth knowing before you rely on it. The recording follows the active speaker and anything shared on screen, so it will not preserve the full grid of faces. And it stops on its own once the last person leaves, which means a forgotten recording will not run all night.
How to record a Google Meet on Mac with a free account
macOS has a screen recorder built into every install, and it does not care which video platform you are using. This is the cleanest way to record Google Meet on Mac when the native button is not an option.
- Join the meeting and arrange the window the way you want it captured.
- Press
Shift + Command + 5to open the capture toolbar. - Choose Record Entire Screen or Record Selected Portion.
- Open Options and pick your microphone so your own voice is captured.
- Click Record, then stop from the menu bar icon when the call ends.
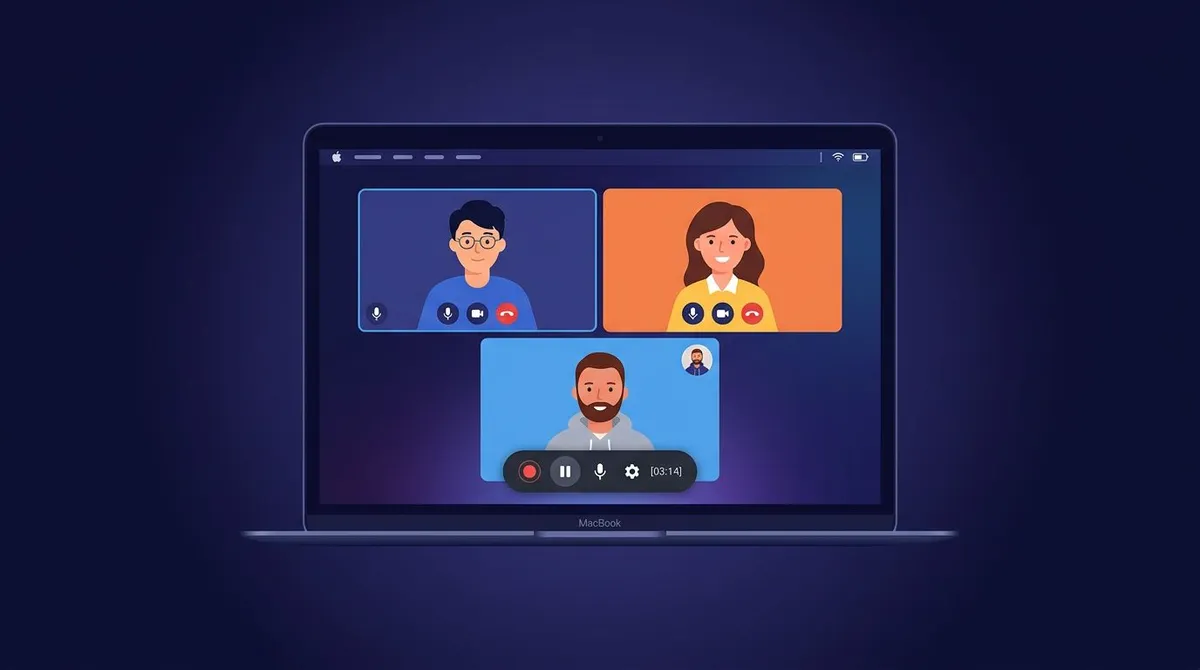
Here is the catch, and it is the reason so many Meet recordings come back silent on one side. The macOS toolbar records your microphone, not the sound coming out of your Mac. Everyone else on the call ends up muted in the final file unless you route the system audio yourself. Apple documents the basic flow in its guide on how to record the screen on Mac, and we walk through the audio fix in detail in our guide to screen recording with audio on Mac.
How to record a Google Meet on Windows with a free account
Windows gives you two free options. The Xbox Game Bar opens with Windows + G, and you start the capture from the Capture widget. Turn the microphone toggle on before you begin, or you will only get the other side of the conversation.
The Game Bar has real limits. It records one app window at a time, it will not follow you if you switch to another program, and long calls can produce very large files. The Snipping Tool also records the screen in Windows 11, and Microsoft covers it in its Snipping Tool support article.
For the full set of Windows methods, including OBS and browser extensions, read our dedicated walkthrough on how to record Google Meet on Windows. If audio is your only sticking point, our guide to screen recording with audio on Windows solves that part on its own.

Tired of plain screenshots? Try ScreenSnap Pro.
Beautiful backgrounds, pro annotations, GIF recording, and instant cloud sharing, all in one app. Pay $39 once, own it forever.
See pricing and featuresGetting both sides of the audio in one file
The recurring problem with free built-in recorders is audio routing. You get your own voice or you get theirs, rarely both, and you usually find out after the meeting is over.
A dedicated recorder handles it in one pass. ScreenSnap Pro records system audio and your microphone together on both Mac and Windows, with an optional webcam overlay, so the finished file has the whole conversation in it. Setup takes three steps:
- Get ScreenSnap Pro. The license key and installer arrive by email right after checkout.
- Start a screen recording, then enable both system audio and microphone before the call begins.
- Stop when the meeting ends. The file is yours, with no watermark and no upload required.
It is a $39 one-time purchase covering both platforms, with 15 annotation tools and 500 plus backgrounds for the screenshots you take along the way. There is no subscription and no recurring cloud fee. The tradeoffs are honest ones: it does not edit video, and it does not run on Linux.
Where Google Meet recordings save, and how to share them
Native recordings go to the meeting organizer's Google Drive, inside a folder called Meet Recordings in My Drive. The organizer and whoever started the recording both get an email with the link, and the file is attached to the Calendar event as well.

Sharing works through normal Drive permissions, so anyone outside the organization needs to be added by name or given link access. Expect a few minutes of processing before the file appears, and longer for meetings over an hour.
Screen recordings behave differently. On a Mac the file lands on your Desktop by default, and on Windows it goes to Videos, then Captures. Nothing touches the cloud unless you put it there, which is the main reason people prefer this route for sensitive calls. The same pattern applies to any platform, as we cover in our guide to recording a video call.
Ask before you press record
Meet announces native recordings to everyone in the room. Screen recorders do not, which puts the responsibility on you.
Say out loud that you are recording, and say why. Many places, including several US states and most of the EU, require consent from everyone on the call before it can legally be captured. Some workplaces have their own policy on top of that.
A one line note in the chat and a quick verbal heads up covers you in almost every ordinary situation. If the call involves customers, legal matters, or medical information, check with whoever owns that policy at your company first. The same courtesy applies when you record a webinar you did not organize.
Frequently asked questions
Wrapping up
If you pay for Workspace, use the native recorder. It is the only option that saves to Drive automatically and announces itself to the room.
Everyone else gets a better deal from a screen recorder. It works on any plan, on either operating system, whether you are hosting or just attending, and the file never leaves your machine unless you send it. The only thing worth fixing is the audio, and that is a setting, not a limitation. If you record calls often enough that silent halves are getting annoying, ScreenSnap Pro captures both sides in one pass on Mac and Windows for a single payment.

Morgan
Indie DeveloperIndie developer, founder of ScreenSnap Pro. A decade of shipping consumer Mac apps and developer tools. Read full bio
@m_0_r_g_a_n_