How to Record a Presentation (2026)
To record a presentation, open your slides, start a recorder that captures your screen, voice, and webcam, then click record and present as normal. PowerPoint and Keynote have a built-in Record button. Google Slides has none, so you screen-record the slideshow. A dedicated screen recorder works for all three in one pass.
That last option is why this guide exists. Most tutorials cover one app and stop. But you may build slides in PowerPoint one week and Keynote the next, and the method changes each time. Below you get all four methods, plus webcam framing, export tips, a comparison table, and fixes for the two problems that ruin most recordings: missing audio and a hidden webcam.
What you need before you record
Every method below shares the same short checklist. Get these right once and every recording goes smoother.
- A microphone. Your laptop mic works, but a cheap USB or headset mic sounds far cleaner.
- A webcam (optional). A face in the corner makes a talk feel personal. Skip it for pure voiceover.
- Your slides, finished. Edit text and animations first. Re-recording to fix a typo wastes time.
- A quiet room and 5 spare minutes for a test recording.
The goal is simple: learn how to record a presentation well enough that people watch to the end. That means clear audio, readable slides, and a steady pace. The tool matters less than the prep.
Method 1: Record a PowerPoint presentation with narration and webcam
PowerPoint has the most complete built-in recorder. It captures your voice, your webcam, and even your pen annotations, then bakes the timing into each slide.
- Open your deck and go to the Record tab, or find the Record button near the upper-right corner of the window.
- Choose the slide you want to start from.
- In the recording view, toggle the microphone and camera icons on. The webcam appears as a small bubble in the corner.
- Click the red Record button, wait for the countdown, then start speaking.
- Click through your slides at a natural pace. Pause during transitions, then resume.
- Press Stop when done. Use Replay to check it before saving.
To turn it into a shareable video, go to File > Export > Create a Video, pick a resolution, and save it as an MP4. Microsoft's own record a presentation guide covers the controls in detail.
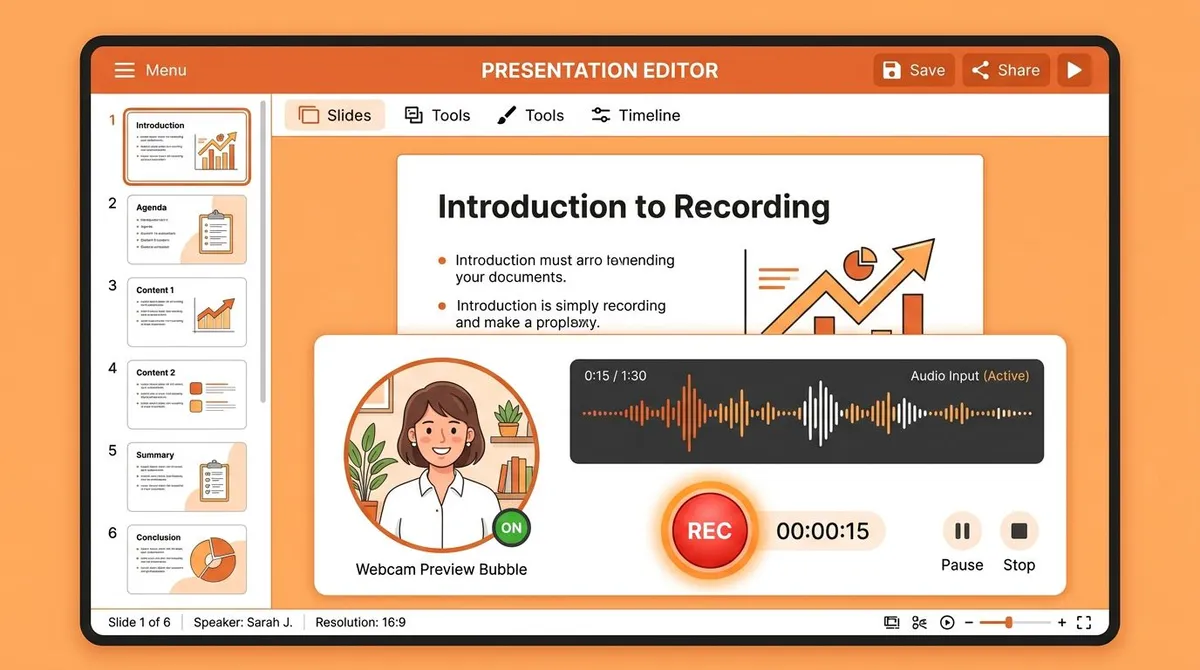
Pro tip: PowerPoint stores narration per slide. If one slide sounds off, you can re-record just that slide instead of the whole deck. Use Clear to wipe the audio on a single slide or all of them.
The catch: PowerPoint's editing is thin. You can't trim a long pause or zoom in on a detail. For that you either re-record or move the file into an editor. If you record often, see our notes on the best way to edit screen recordings on Windows.
Method 2: Record a Google Slides presentation
Google Slides has no native recording feature. There is no Record button anywhere in the menu. To record a Google Slides presentation, you screen-record the slideshow while you talk.
- Open your deck and click Slideshow (or press the present shortcut) to go full screen.
- Start your screen recorder. Turn on your microphone, and your webcam if you want a face on screen.
- Click record, then advance through your slides with the arrow keys.
- Stop the recorder when you reach the last slide. Save the file.
That is the whole method. Because Slides lives in the browser, a screen recorder is the only way to capture both the slideshow and your voice together. The same approach works for Prezi, Canva decks, or any web-based slides.
Pro tip: Hide the browser tabs and bookmarks bar before you present. Press the full-screen shortcut so only your slides show, not the address bar. A clean frame looks far more polished.
If your recording needs to loop as a short clip rather than a full video, you can also create a GIF for a presentation on Mac from the same footage.
Method 3: Record a Keynote presentation on Mac
Keynote, Apple's slide app, has a built-in narration recorder much like PowerPoint's. It captures your voice and slide timing, though not a webcam bubble.
- Open your deck and choose Play > Record Slideshow from the menu bar.
- The recording view opens with your current slide and a timeline at the bottom.
- Click the red Record button to start, then narrate as you advance slides.
- Press the same button to stop, then close the recording view to save.
Apple's record audio in Keynote page walks through the timeline controls. To export, choose File > Export To > Movie and save it as an MP4 or MOV.
Keynote's recorder has the same gap as the others: no webcam, and no real trimming. If you want your face in the corner of a Keynote talk, screen-record the slideshow instead (Method 4). For a full walkthrough of macOS recording, see how to screen record on a MacBook.
Method 4: Record any presentation with a screen recorder (the universal way)
This is the easiest method, and it works the same on every app: PowerPoint, Google Slides, Keynote, or anything else. You capture your full-screen slides, your webcam as a picture-in-picture bubble, your microphone, and your system audio. It all lands in one recording, with no per-app setup.
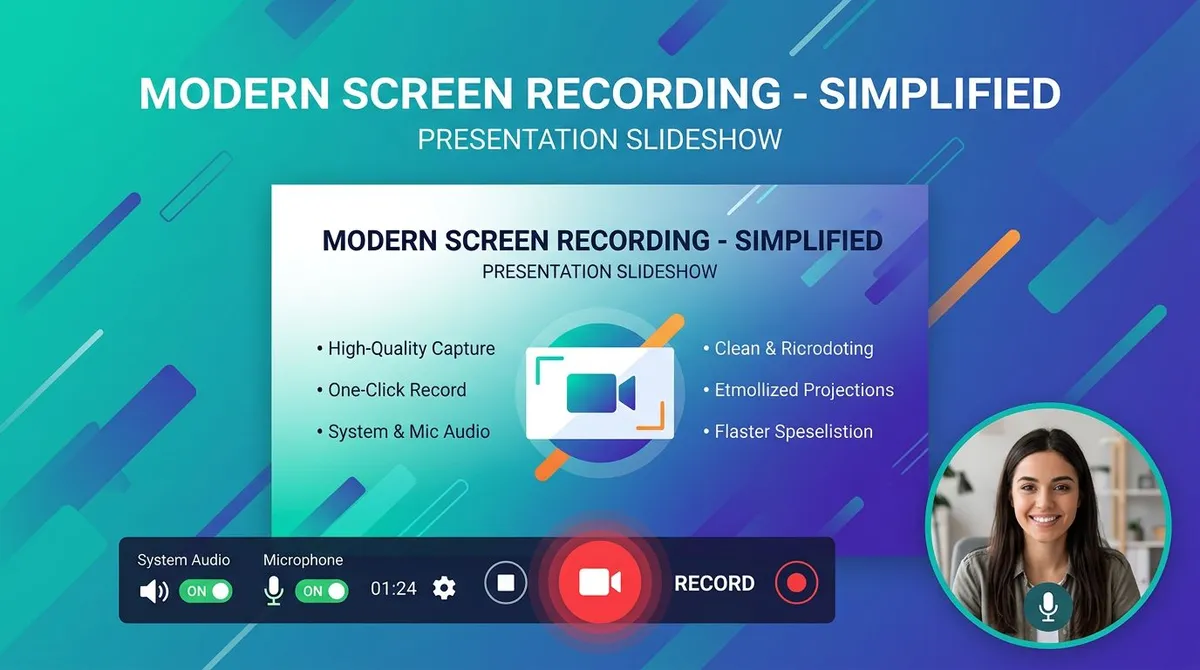
Here is the flow with any dedicated recorder:
- Open your slides and put them in full-screen presenter mode.
- Open your screen recorder and select full-screen capture.
- Turn on the webcam (it appears as a movable bubble), the microphone, and system audio if your slides have video or sound.
- Click record, present your talk, then stop.
- Save the MP4, or grab a shareable cloud link.
ScreenSnap Pro handles this in one pass on both Mac and Windows. It records your screen, webcam bubble, mic, and system audio together, with no watermark on the output. It is a one-time $34 purchase rather than a subscription, which suits anyone who records talks now and then instead of daily. For the deeper how-to, see screen record with audio on Mac or screen record with audio on Windows.
The big win is consistency. You learn one workflow and use it forever, even when you switch slide apps. You also get the webcam bubble that Keynote and Google Slides can't give you natively.

Tired of plain screenshots? Try ScreenSnap Pro.
Beautiful backgrounds, pro annotations, GIF recording, and instant cloud sharing, all in one app. Pay $34 once, own it forever.
See pricing and featuresTips for a recording people actually watch
The method gets you a file. These habits get you a file worth sharing.
Use your presenter notes
Keep your script in the presenter notes, not on the slides. In PowerPoint and Keynote, presenter view shows your notes on one screen while the recording captures the clean slides. You sound natural without memorizing a word.
Frame your webcam well
A good webcam bubble lifts a talk. A bad one distracts.
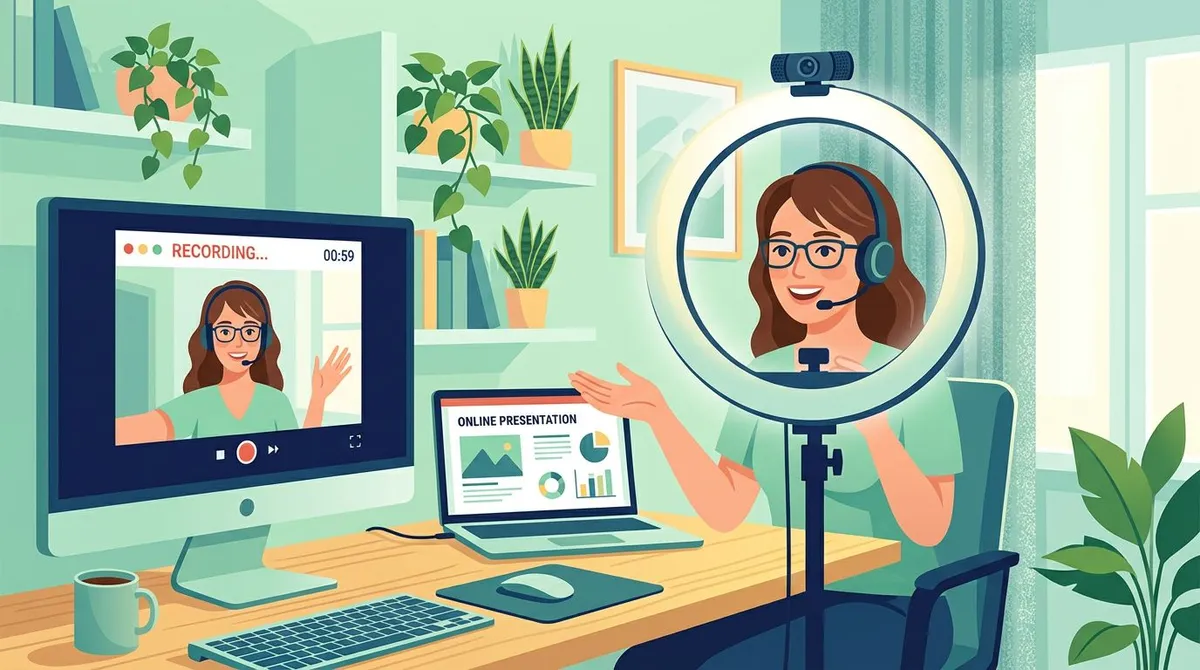
- Put your eyes in the top third of the frame, not dead center.
- Face a window or a lamp so your face is lit, not shadowed.
- Set the bubble in a corner that never covers slide text.
- Look at the camera, not the screen, when you make a key point.
Always do a 30-second test
Record half a minute, then play it back. Check that your voice is clear, the webcam shows, and the slides are readable. Thirty seconds now saves a 20-minute re-record later. This one habit prevents almost every recording disaster.
Export and share your recording
Once you stop recording, you have a video file. How you share it depends on size and audience.
- MP4 is the safe default. It plays everywhere and keeps files small. Export at 1080p for slides: 4K just bloats the file with no real gain.
- Watch the file size. A 20-minute 1080p talk runs roughly 200 to 400 MB. Email caps out near 25 MB, so larger files need a cloud link.
- Use a shareable link for big files. Upload to a cloud service and send a URL instead of an attachment. Viewers stream it with no download.
- Trim dead air first. Cut the silence at the start and end. If you need real edits, see how to edit a screen recording on Mac.
For repurposing, a recording can also become a short highlight clip or a GIF from your video on Mac for social posts.
Comparison: which presentation recording method to use
Each method fits a different need. This table sums up the tradeoffs at a glance.
| Method | Webcam bubble | System audio | Editing | Platform | Best for |
|---|---|---|---|---|---|
| PowerPoint Record | Yes | Limited | Basic | Win + Mac | PowerPoint-only users |
| Google Slides | Via recorder | Via recorder | None | Any (browser) | Web-based decks |
| Keynote Record | No | Limited | Basic | Mac | Mac slide narration |
| Screen recorder | Yes | Yes | Depends on app | Win + Mac | One workflow for every app |
If you only ever use one slide app, its built-in recorder is fine. If you switch between apps, or you want a webcam bubble on every talk, a screen recorder is the simplest path. For more options, compare the best lecture recording software and free Loom alternatives.
Troubleshooting: no audio or webcam not showing
These two problems wreck more recordings than anything else. Here are the fast fixes.
No audio in the recording
- Check the mic toggle. In PowerPoint, Keynote, or your recorder, confirm the microphone icon is on, not muted.
- Pick the right input. If you plugged in a USB or headset mic, select it as the input device. Your app may default to the built-in mic.
- Grant microphone permission. On Mac, open System Settings > Privacy & Security > Microphone and enable your app. On Windows, check Settings > Privacy > Microphone.
- Enable system audio separately. App sound (a video inside your slides) is a different setting from your voice. Turn on system audio if your deck has media.
Webcam not showing
- Select the right camera. If you have more than one, pick the correct device in the recorder settings.
- Grant camera permission. Mac: System Settings > Privacy & Security > Camera. Windows: Settings > Privacy > Camera.
- Close other apps using the camera. Zoom, Teams, or a browser tab can hold the webcam, so your recorder can't see it. Quit them, then restart your recorder.
- Confirm the layout. In a screen recorder, make sure webcam capture is on and the bubble isn't sized to zero or hidden behind a slide.
If recording still fails on a Mac, our guide to screen recording with audio on Mac covers permission resets step by step.
Frequently Asked Questions
Final thoughts
Recording a presentation comes down to three things: clear audio, readable slides, and a tool you don't have to relearn. PowerPoint and Keynote handle narration well on their own. Google Slides needs a screen recorder. And if you bounce between apps or want a webcam bubble every time, one screen recorder covers all of it.
Pick the method that matches your slides today, run a 30-second test, and present. The first recording is always the hardest. After that, it's just hitting record. If you want one workflow that works the same on Mac and Windows across every slide app, a tool like ScreenSnap Pro keeps it to a single click.

Morgan
Indie DeveloperIndie developer, founder of ScreenSnap Pro. A decade of shipping consumer Mac apps and developer tools. Read full bio
@m_0_r_g_a_n_