How to Record a Zoom Meeting (2026): Host or Guest
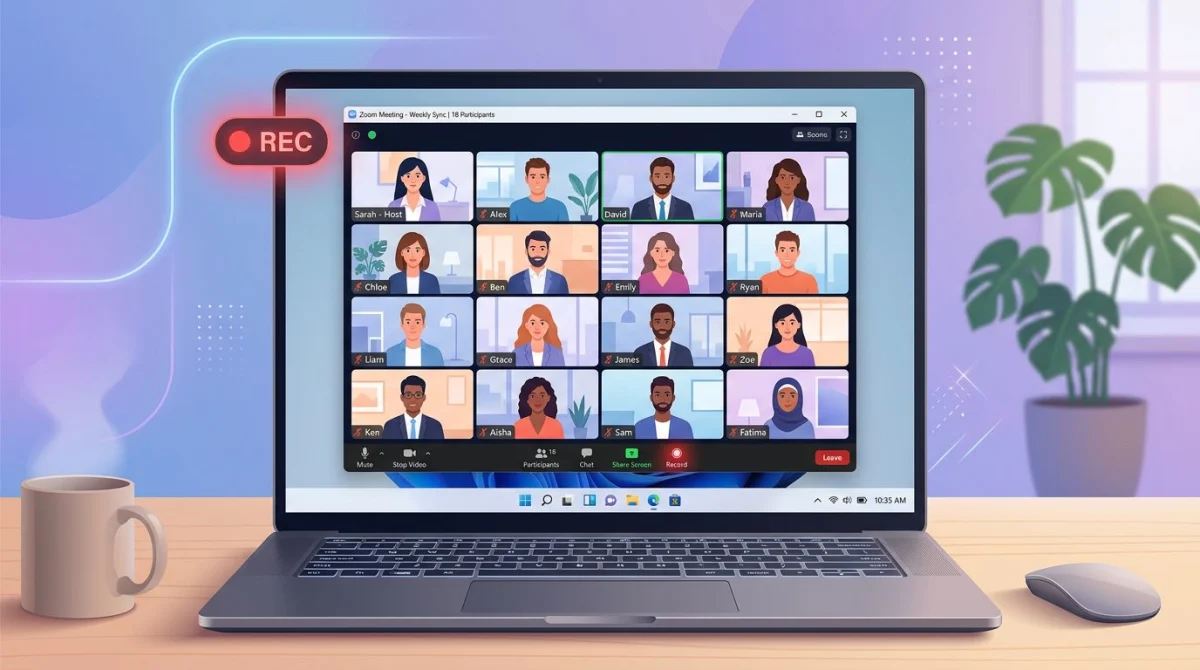
How to record a Zoom meeting: click Record in the meeting toolbar, then pick Record on this Computer or Record to the Cloud. That button only appears if you are the host, or if the host has granted you recording rights. No Record button? A screen recorder on your Mac or PC captures the call instead, audio included.
Most guides stop at the first half of that answer. But plenty of people asking are guests, not hosts: on a client call, in a lecture, or in an onboarding session.
So this guide covers both roles: Zoom's own recorder, then the participant route on Mac and Windows for when the Record button is missing or greyed out.
Which method fits your role
Your role decides your options.
| Your role | Method | Audio | Cost |
|---|---|---|---|
| Host, any plan | Zoom local recording | Separate tracks | Free |
| Host, paid plan | Zoom cloud recording | Plus transcript | In plan |
| Guest with permission | Zoom local recording | Clean | Free |
| Guest, Mac, no permission | ⌘ + Shift + 5 toolbar | Mic only | Free |
| Guest, Windows, no permission | Xbox Game Bar | App plus mic | Free |
| Either platform, one click | ScreenSnap Pro | System plus mic | $39 once |
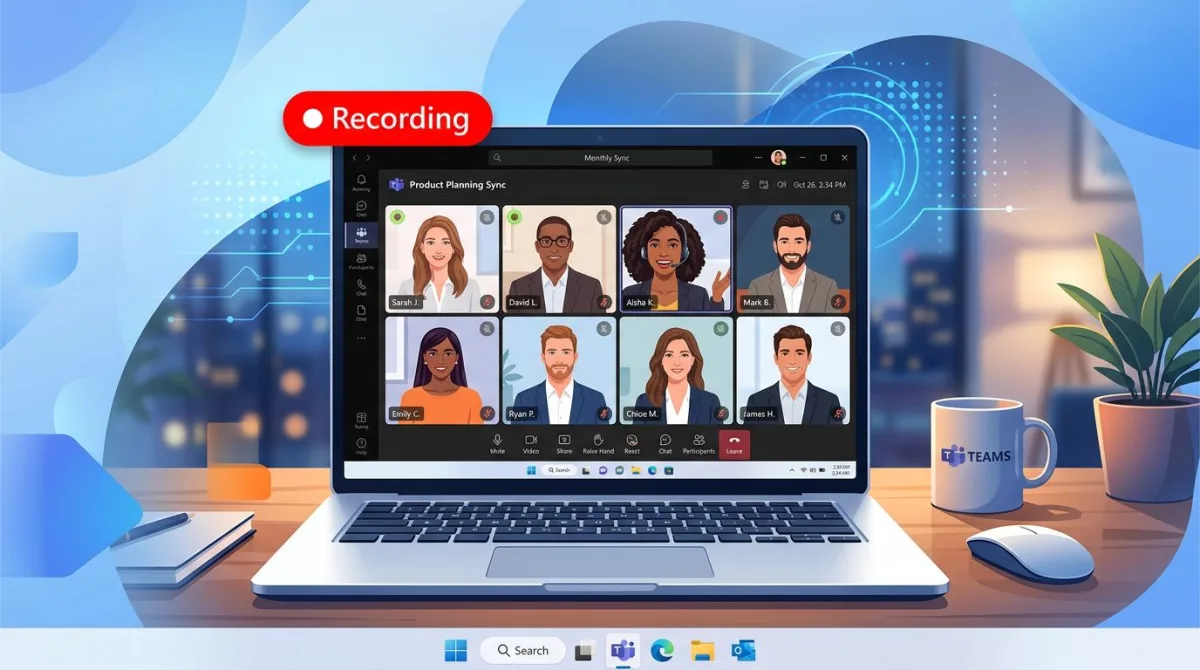
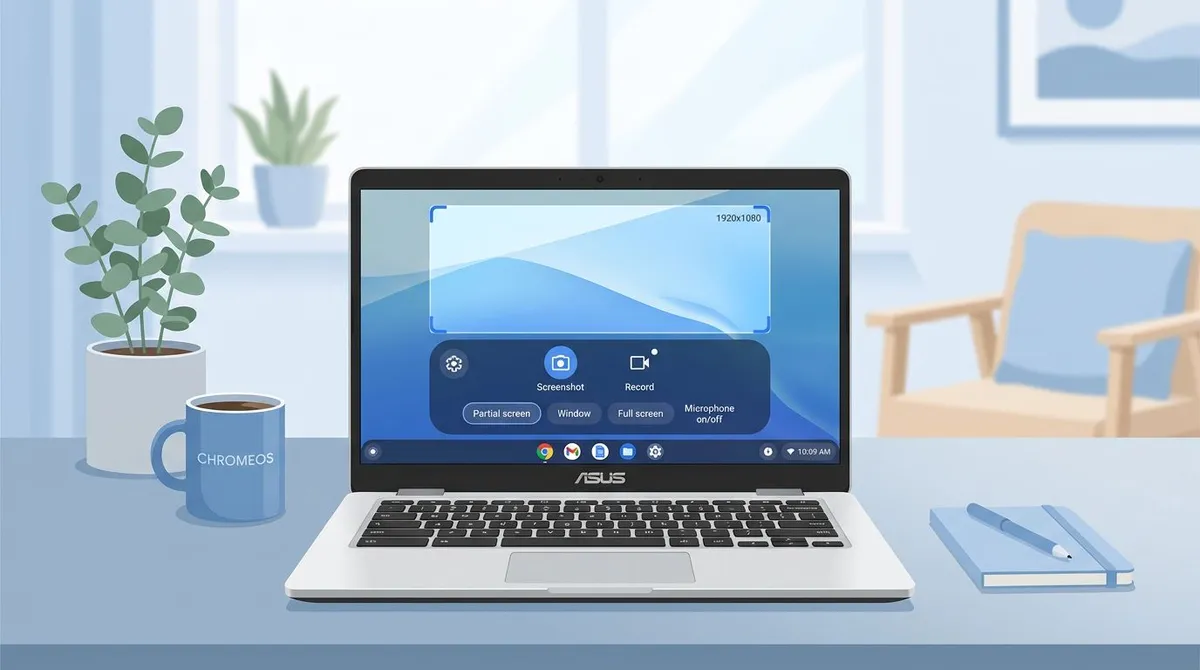
Teams, Google Meet, and Discord lock their recorders the same way. Our guide on how to record a video call covers the cross-app version.
Method 1: Zoom's built-in recorder (host or approved guest)
Zoom's own recorder is the cleanest option when you can use it. It follows the active speaker or shared screen and can save a separate audio file per person.
Who can use it: the host, any co-host, and any participant the host promotes mid-meeting.
Record on this computer (local recording)
- Start or join the meeting in the Zoom desktop app.
- Click Record in the meeting toolbar. On a narrow window it hides under More or the three dots.
- Choose Record on this Computer.
- A "Recording" label appears at the top of your window, and Zoom announces it to everyone.
- Use Pause if someone shares something private, then resume.
- Click Stop Recording or end the meeting. Zoom converts the session into an MP4, an M4A audio file, and a chat log.
Local recording works on the free plan, but only in the desktop app: browser and phone clients cannot save a local file. Zoom's guide to starting a computer recording lists the full controls.
Record to the cloud (paid plans)
Cloud recording needs a paid Zoom license. Pick Record to the Cloud and the file uploads to your Zoom account rather than your hard drive.
You get a share link, an automatic transcript, and browser playback. The trade-off is storage: each plan includes a fixed amount, and old recordings drop off at the cap.
Let a participant record
- Open the Participants panel.
- Hover over the person's name and click More.
- Choose Allow Record.
The Record button then shows up in their toolbar, and you can revoke it from the same menu.
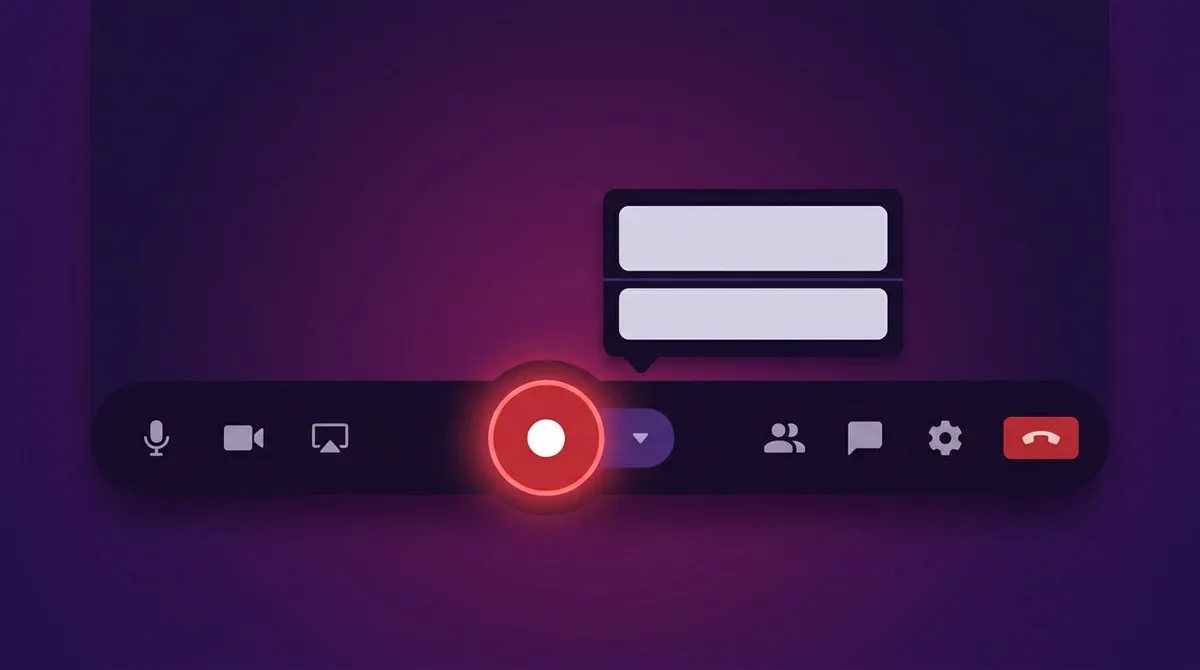
How to record a Zoom meeting as a participant without host permission
This is the part most guides skip. Zoom will not hand its recorder to a guest, and no setting changes that. The way around it is to record the screen itself.
A screen recorder does not ask Zoom for anything. It captures the pixels and the sound on your own machine, so it works the same whether you are host, guest, or webinar attendee. Consent still matters, but permission stops being a technical blocker.
Record a Zoom meeting on a Mac
macOS has a screen recorder built in.
- Press
⌘ + Shift + 5to open the Screenshot toolbar. - Pick Record Entire Screen, or Record Selected Portion and drag a box around Zoom.
- Click Options, choose your microphone, and set the save location.
- Click Record.
- To finish, click the stop icon in the menu bar or press
⌘ + Control + Esc.
One catch: the built-in tools capture your microphone but not the sound coming out of your Mac. You get your own voice and none of theirs. Apple's page on taking a screenshot or screen recording covers the toolbar, but that audio gap is yours to solve.
The free fix is a virtual audio driver such as BlackHole, which routes system sound into an input the recorder can hear. Our walkthrough on how to screen record with audio on Mac has the setup, and stopping a screen recording on Mac covers ending a capture.
Record a Zoom meeting on Windows
Windows 10 and 11 ship with Xbox Game Bar, and it records any app, not only games.
- Make Zoom the active window.
- Press
Win + Gto open Game Bar, then open the Capture widget. - Press
Win + Alt + Mto toggle your microphone on or off. - Press
Win + Alt + Rto start. A small timer appears in the corner. - Press
Win + Alt + Ragain to stop. The MP4 lands inVideos\Captures.
Game Bar records the active window plus its sound, so everyone's voices come through. The limits matter: one window at a time, it stops when you switch apps, and it caps at four hours. Microsoft's page on recording clips with Game Bar explains the settings.
If playback is silent, our guide to screen recording with audio on Windows covers the mixer settings behind it. For a Windows-only walkthrough, see how to record a Zoom meeting on Windows.
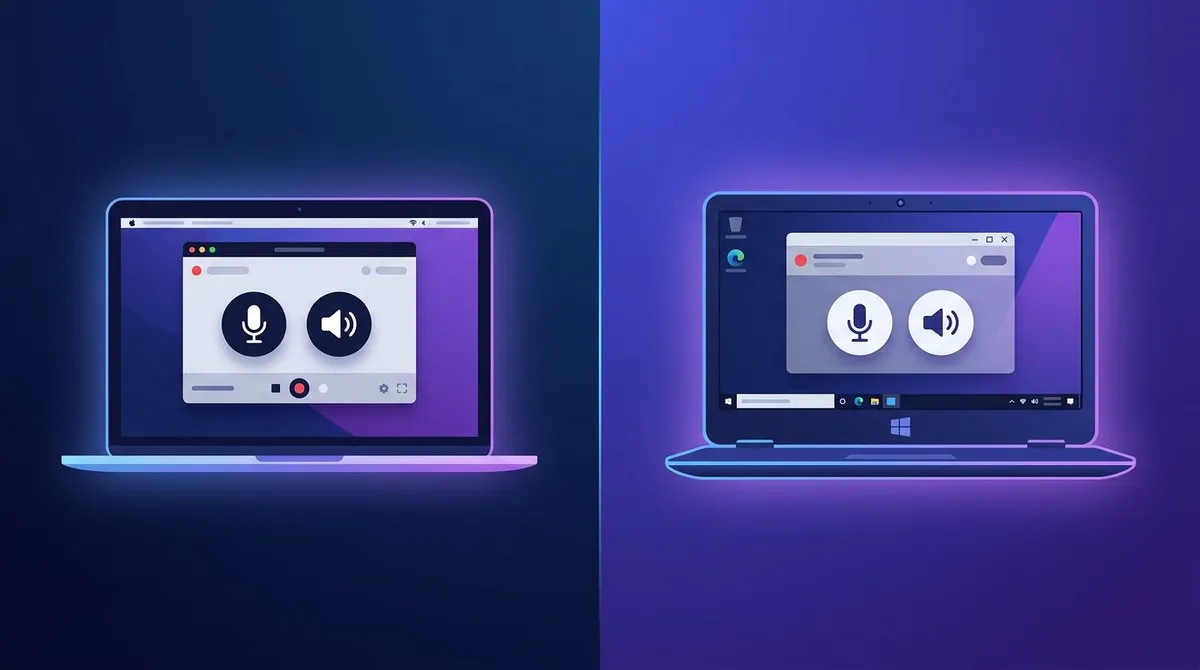
One button on both platforms
Built-in tools are free, and for a short call they do the job. They get awkward when you need system sound on a Mac, a longer recording on Windows, or a webcam bubble over the shared screen.
ScreenSnap Pro covers those cases on Mac and Windows under one license: no virtual audio driver, no four-hour ceiling.
- Get ScreenSnap Pro. The license key and installer arrive by email right after checkout.
- Open the app, pick the Zoom window, and choose video or GIF.
- Toggle system audio, microphone, and webcam as needed.
- Click Start, take the call, then click Stop.
Output carries no watermark, so it is ready for Slack or a shared drive. It records rather than edits, so any trimming happens in the editor you already use. It is $39 once for two computers. Here is what the license includes.

Tired of plain screenshots? Try ScreenSnap Pro.
Beautiful backgrounds, pro annotations, GIF recording, and instant cloud sharing, all in one app. Pay $39 once, own it forever.
See pricing and featuresBefore you hit record: consent and the law
Recording changes a room. Even where it is legal, people speak differently once they know a file exists.
In the United States, federal law and most states follow one-party consent: if you are on the call, you may record it. A smaller group, including California, Illinois, Pennsylvania, and Washington, requires everyone to agree, and when people sit in different states the strictest rule tends to win. The Reporters Committee keeps a state-by-state recording guide worth two minutes. Outside the US, expect stricter defaults: GDPR treats a recording of identifiable people as personal data.
A safe routine takes ten seconds:
- Say out loud that you are recording, at the top of the call.
- Ask if anyone objects, and stop if someone does.
- Keep the file private, and delete it once it has done its job.
- Check your company handbook, which can be stricter than the law.
Zoom's recorder announces itself. A screen recorder does not, which is why saying it out loud matters more. This is general guidance, not legal advice.
Where Zoom recordings save, and how to share them
Local recordings land in a Zoom folder inside Documents by default:
- Mac:
/Users/[you]/Documents/Zoom/ - Windows:
C:\Users\[you]\Documents\Zoom\
Each meeting gets a subfolder with the date and topic, holding zoom_0.mp4, audio_only.m4a, and the chat log. Change the folder under Settings > Recording.
Cloud recordings live in your Zoom web portal under Recordings, where you can copy a share link, add a passcode, or download the MP4.
Screen recordings go to the Desktop on a Mac and Videos\Captures on Windows.
An hour of 1080p runs 1 to 2 GB: too big for email. Two habits fix that:
- Trim first. Most calls have five useful minutes. QuickTime Player cuts the rest on a Mac, and Clipchamp does the same job on Windows.
- Turn the key moment into a GIF. A ten second GIF gets watched. A 60 minute MP4 does not. Convert the clip to a GIF in your browser, then compress it for free if the file still runs heavy.
For a single slide, a Zoom screenshot on Mac beats a recording.

Troubleshooting: no Record button, or Record greyed out
The Record button is missing
- You are a guest without recording rights. Ask the host to use Allow Record.
- Your Zoom window is narrow, so Record moved under More or the three dots.
- You joined in a browser. The web client cannot record locally, so use the desktop app.
- You are on a phone. Mobile offers cloud recording only, and only on paid plans.
- An admin turned recording off for the account. Zoom's article on enabling or disabling computer recording shows the toggle they need.
Record is there but greyed out
An account or group policy is usually blocking it, or the host revoked your permission mid-call. Leaving and rejoining picks up a changed setting.
Nothing was saved after the meeting
Zoom converts the file when the meeting ends. If the app crashed or the laptop slept, reopen Zoom, go to Meetings > Recorded, and click Convert on the unfinished folder.
The recording has no sound
On a Mac, the built-in recorder never captures system audio without a virtual driver, so this is expected rather than broken. On Windows, check that Game Bar is capturing the active app and that Zoom is not muted in the Volume Mixer.
Frequently Asked Questions
Wrapping up
Pick your path and the rest is mechanical:
- Host: click Record, choose local or cloud.
- Guest with permission: the same button, once the host grants it.
- Guest without permission:
⌘ + Shift + 5on a Mac,Win + Alt + Ron Windows. - Guest who needs clean sound: a recorder that captures system audio and mic together.
Whichever route you take, say out loud that you are recording. It keeps the call friendly, and in a handful of states it keeps you out of trouble.
If meetings fill your week, ScreenSnap Pro records screen, webcam, mic, and system audio from one button on Mac and Windows, and ships with 15 annotation tools. It is $39 once. See what is included.

Morgan
Indie DeveloperIndie developer, founder of ScreenSnap Pro. A decade of shipping consumer Mac apps and developer tools. Read full bio
@m_0_r_g_a_n_