How to Screenshot on a Chromebook (2026): Every Method
Here is how to screenshot on a Chromebook: press Ctrl + Show windows to capture the whole screen, or Shift + Ctrl + Show windows to drag a box around part of it. Newer Chromebooks have a dedicated Screenshot key instead. Every capture lands in your Downloads folder and is copied to the clipboard at the same time.
That is the short answer. The rest of this guide covers the pieces that trip people up: the key that has no label on it, what to do on an external keyboard that has no Show windows key at all, tablet mode with no keyboard, and how to grab a single window instead of the whole desktop.
The `Show windows` key, and why you cannot find it
Almost every Chromebook screenshot shortcut depends on one key, and it is the one key most people cannot identify. On the top function row, look for an icon that resembles a rectangle with two vertical lines to its right. That is Show windows (Google has also called it the Overview key, and it sits roughly where F5 lives on a Windows keyboard).
Press it on its own and you get the overview of all open windows. Combine it with Ctrl and it takes screenshots. Google lists the same combinations in its own Chromebook keyboard shortcuts reference.
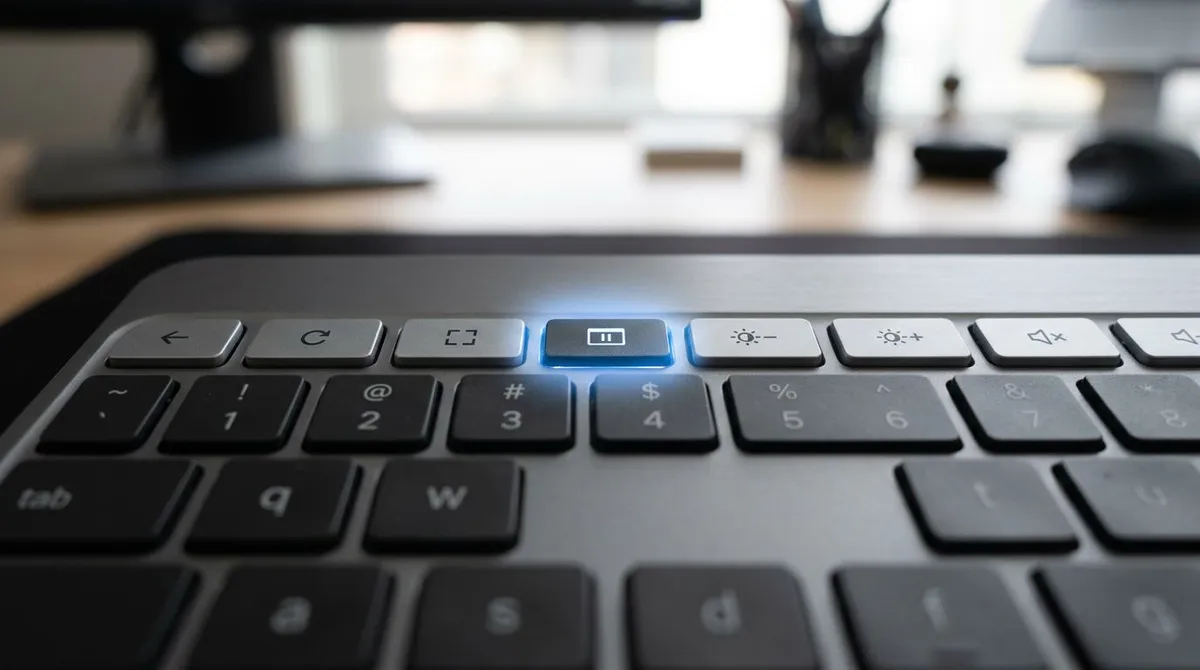
Chromebooks released in the last couple of years may ship with a dedicated Screenshot key instead. If yours has one, pressing it opens the capture toolbar directly and you can skip the modifier keys entirely.
The three shortcuts worth memorising
| What you want | Shortcut |
|---|---|
| The entire screen, saved instantly | Ctrl + Show windows |
| A region you drag a box around | Shift + Ctrl + Show windows |
| The full capture toolbar (window mode, video) | Ctrl + Shift + Show windows |
On an external keyboard with no Show windows key | Ctrl + Shift + F5 |
| Tablet mode, no keyboard attached | Power + Volume down |
The first one is the workhorse. It fires immediately with no toolbar and no confirmation, which is what you want when you are capturing something that will not sit still.
The second drops a crosshair on the screen. Drag a box and release. If you want to be precise, Tab highlights the corner handles and the arrow keys nudge them a pixel at a time, which is far easier than trying to land a trackpad drag exactly on a border.
How to capture just one window
There is no single keystroke for this one, which is why so many people end up cropping a full-screen capture afterwards. Use the toolbar instead.
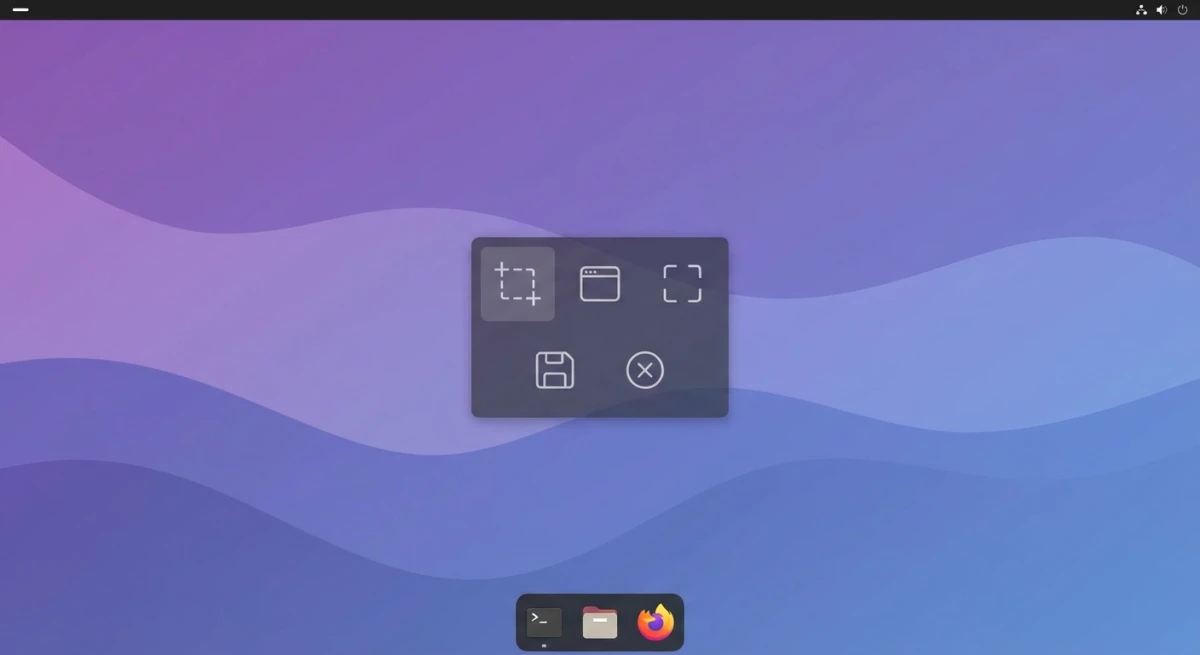
Press Ctrl + Shift + Show windows to open the screen capture toolbar. It offers three capture modes, full screen, partial, and window, alongside a toggle that switches the whole thing between taking a screenshot and recording a video. Choose window mode, then click the window you want. The capture comes out cleanly cropped to that window with no desktop around the edges.
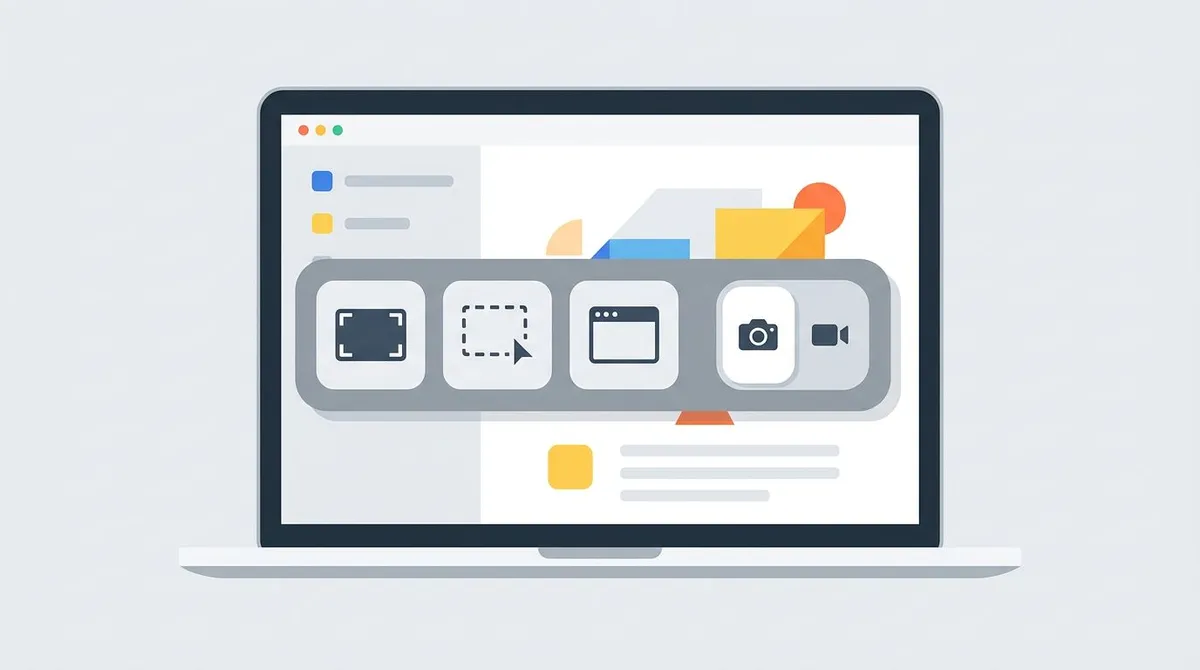
That same toolbar is also the entry point for screen recording. If a still image will not explain the problem, our guide to screen recording on a Chromebook walks through the video side of the same tool.

Tired of plain screenshots? Try ScreenSnap Pro.
Beautiful backgrounds, pro annotations, GIF recording, and instant cloud sharing, all in one app. Pay $34 once, own it forever.
See pricing and featuresWhere Chromebook screenshots are saved
Captures go to your Downloads folder by default, and they are copied to the clipboard at the same moment. That second part is the useful bit: you can paste straight into a Google Doc, a chat message, or a bug report without ever opening the file.
You can change the destination. When the capture toolbar is open, there is a settings control that lets you pick a different folder, including a Google Drive folder if you would rather your captures sync than pile up locally. Google documents the toolbar and its options in its guide to taking screenshots on a Chromebook.
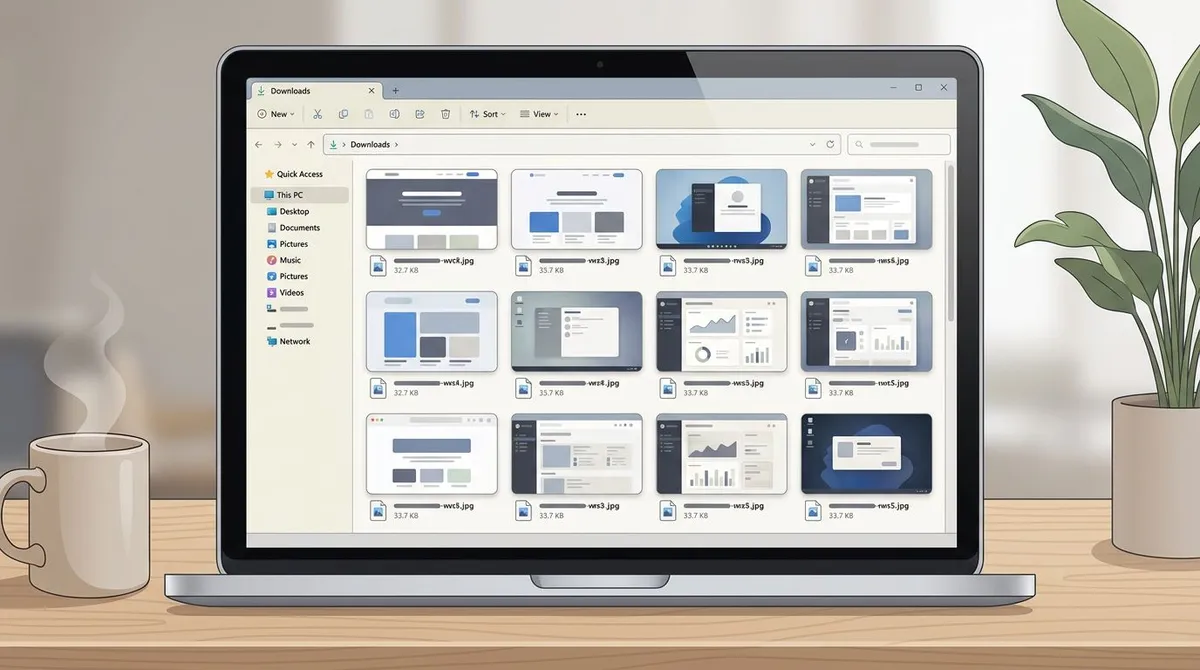
Files are saved as PNG. That keeps the text sharp, which is what you want for anything with an interface in it, but PNGs of a full screen get large quickly. If you are attaching several to an email or a ticket, running them through a free image compressor or converting them with our PNG to JPG converter will cut the weight substantially without a visible difference on screen.
When the screenshot shortcut does not work
A few things account for most failures:
- You are pressing the wrong key.
F5on a Chromebook's own keyboard is not alwaysShow windows, and the icon is easy to confuse with the brightness keys. Press the key alone first. If you see the window overview, you have the right one. - You are on an external keyboard. A regular USB or Bluetooth keyboard has no
Show windowskey. UseCtrl+Shift+F5instead. - The device is managed. School and workplace Chromebooks are often enrolled under an administrator, and screen capture is one of the policies an admin can switch off. If the shortcut does nothing at all and the toolbar never appears, this is the usual reason, and it is not something a setting on your end will override.
- You are in tablet mode. With the keyboard folded away, use
Power+Volume down. Hold both briefly rather than tapping them.
Editing a Chromebook screenshot afterwards
ChromeOS includes a basic image editor in the Gallery app: open the capture from Downloads and you get cropping, rotation, and simple brightness controls. It is enough to trim a stray taskbar off an edge.
What it does not give you is proper annotation. There are no arrows, no step numbers, no blur tool for hiding an email address before you paste a screenshot into a public ticket. For that you either use a web-based editor, or you do the annotation on another machine. The approach is much the same as editing screenshots on Windows, and the cropping options match what we cover in our guide to cropping a screenshot.
A note on ScreenSnap Pro and ChromeOS
To be straightforward about it: ScreenSnap Pro does not run on ChromeOS. It is a desktop app for Mac and Windows, so if a Chromebook is your only computer, the built-in capture tool plus the Gallery app is genuinely your ceiling, and the shortcuts above are the whole toolkit.
Where it becomes relevant is if the Chromebook is your second machine. Plenty of people use one for travel or for a classroom and keep a Mac or a PC as the main desktop. On those, ScreenSnap Pro ($34 one-time, covering two computers) adds the annotation, OCR, GIF recording, and background layers ChromeOS has no equivalent for. If you split your time across platforms, our guide to taking a screenshot on any computer covers the shortcuts for each, and the Mac screenshot guide goes deeper on that side.
Frequently Asked Questions

Morgan
Indie DeveloperIndie developer, founder of ScreenSnap Pro. A decade of shipping consumer Mac apps and developer tools. Read full bio
@m_0_r_g_a_n_