How to Screenshot on Any Computer: Windows & Mac
To take a screenshot on a computer, press Win + Shift + S on Windows or Cmd + Shift + 4 on a Mac, then drag a box around what you want. Not sure which you have? Check the bottom left of your keyboard: a four pane window logo means Windows, a Command key beside Option means Mac.
That is the answer for most people. This page exists because "how to screenshot on computer" usually hides one of three questions: you are not certain which computer you are sitting at, your keyboard has no Print Screen key, or you pressed something and cannot find the file afterwards. All three are answered below, in that order.
First, which computer do you have?
Every guide on this topic assumes you already know. If you borrowed the machine, inherited it at work, or are writing instructions for someone else over the phone, you do not. These three tells take about 30 seconds and work on a laptop, a desktop PC or an all-in-one.
Read the bottom left row of keys:
Ctrl, thenFn, then a key with a four pane window logo means Windows.Control, thenOption(sometimes printedalt), thenCommandwith a looped square symbol means Mac.
Look for a Print Screen key:
- A key labeled
PrtSc,PrtScn,Prt ScrorPrint Screenmeans Windows. It usually sits in the top row to the right ofF12, and sometimes in the bottom right corner near the arrow keys. - Mac keyboards do not have one. If you cannot find that label anywhere, Mac is likely.
Check the system menu, which settles it for certain:
- On Windows, open Start, then Settings, then System, then About. Microsoft walks through that route in its guide to finding information about your Windows device. Pressing
Win+Rand typingwinveris the shortcut to the same answer. - On a Mac, click the apple logo in the top left corner, then About This Mac. Apple explains the same step in find out which macOS your Mac is using.
One more possibility. If your keyboard has a search or launcher key where Caps Lock usually sits, and picture keys for back, reload and full screen instead of F1 to F12, you are on a Chromebook, which uses a different key entirely and nothing below applies to it. Our Chromebook screenshot guide covers that key instead.
How to screenshot on a Windows computer
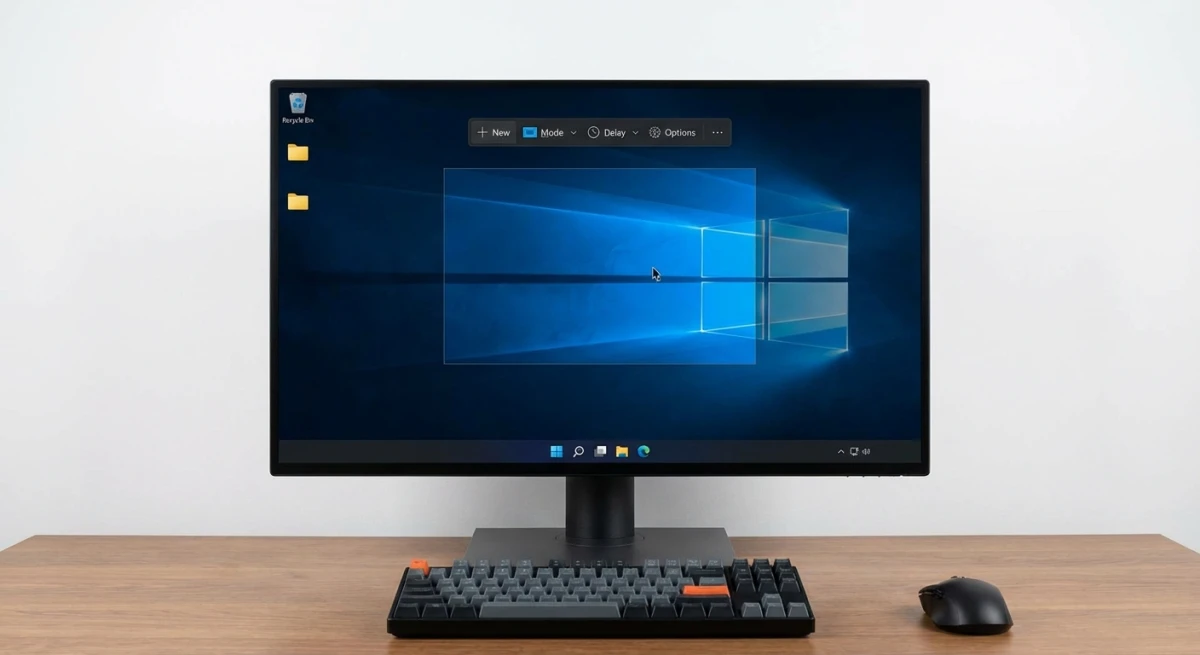
Learn one shortcut and stop there: Win + Shift + S. Your screen dims, a small toolbar appears at the top, and you drag a box over the part you want. The same toolbar has buttons for a single window and the full screen, so it covers every case.
| Shortcut | What it captures | Where it lands |
|---|---|---|
Win + Shift + S | Area, window or full screen, your pick | Clipboard, plus a notification that opens the editor |
PrtSc | The whole screen | Clipboard on Windows 10, and the snipping overlay on current Windows 11 |
Alt + PrtSc | Only the window in front | Clipboard |
Win + PrtSc | The whole screen | A PNG file in Pictures, then Screenshots |
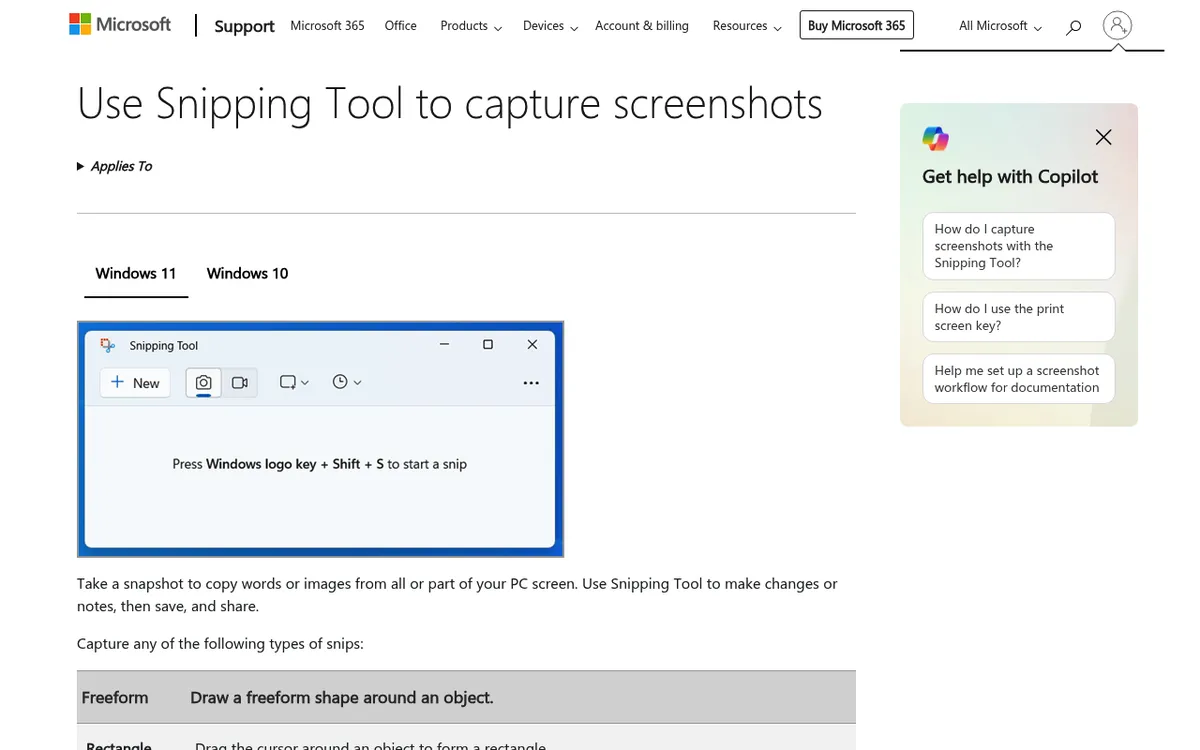
Notice the last column. Only Win + PrtSc writes a file by itself. Everything else hands you a clipboard image that your next copy will overwrite, so paste it into Paint, a document or an email before you do anything else. Microsoft covers the clipboard behavior in its note on copying window or screen contents, and the toolbar side in its Snipping Tool guide.
For the full set, including Game Bar and the Snipping Tool delay timer, read our Windows screenshot shortcuts guide. If you are on the newest release, screenshots on Windows 11 covers what changed.
How to screenshot on a Mac computer
Mac puts everything on Cmd + Shift plus a number. The one worth memorizing is Cmd + Shift + 4, which turns the pointer into a crosshair so you can drag out any region.
| Shortcut | What it captures | Where it lands |
|---|---|---|
Cmd + Shift + 3 | The whole screen | PNG on the desktop |
Cmd + Shift + 4 | The area you drag | PNG on the desktop |
Cmd + Shift + 4, then Space | One window, with its shadow | PNG on the desktop |
Cmd + Shift + 5 | Opens the capture bar, including screen recording | The folder you choose |
Two behaviors confuse first timers. A small thumbnail floats in the bottom right corner for a few seconds after every capture: click it to mark the image up, or ignore it and the file saves on its own. And holding Control with any of the shortcuts above sends the image to the clipboard instead of the desktop, which is handy when you are pasting straight into a message.
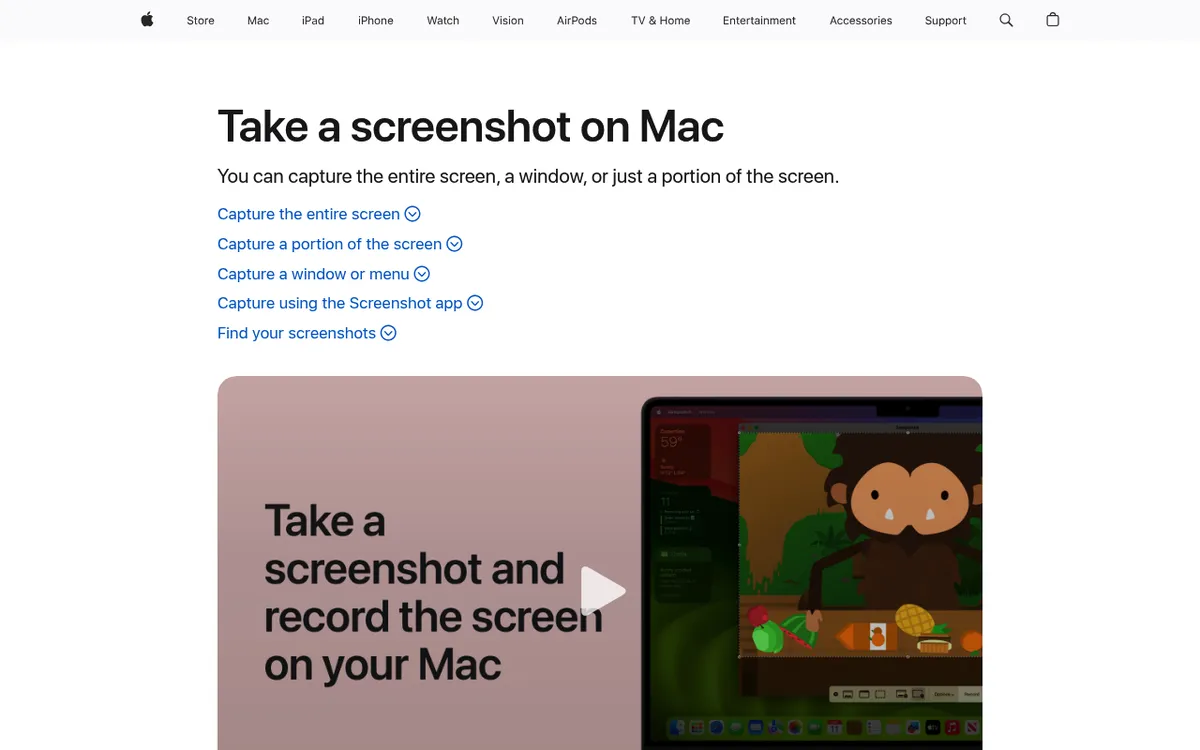
Apple lists all of it in take a screenshot on your Mac. For the longer walkthrough, see how to screenshot on a Mac and our full list of Mac screenshot shortcuts.
Your keyboard has no Print Screen key
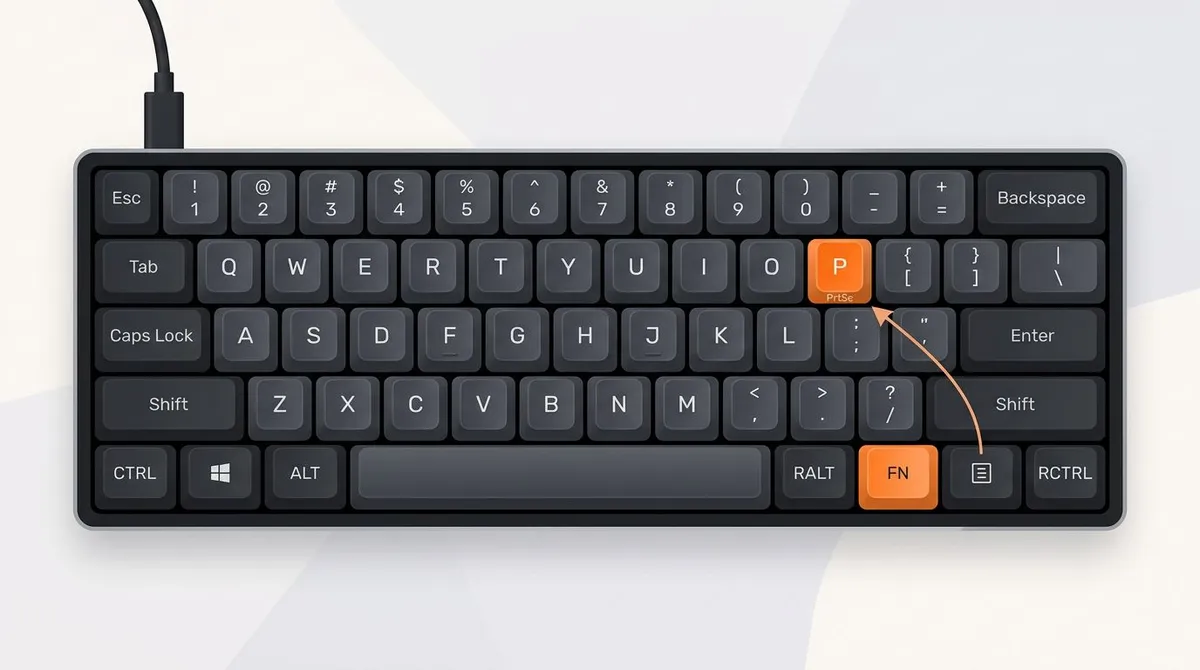
This is the most common dead end, and it is not a fault. Tenkeyless, 65% and 60% keyboards drop the whole navigation cluster to save desk space, and Print Screen goes with it. Plenty of thin laptops do the same.
Four ways around it:
- Check the
Fnlayer. On compact boards the missing keys are often still there, printed in a second color on the front or side of a key face. HoldFnand look along the number row and the right hand side. Dell folds the function intoInserton a lot of its business laptops, soFn+Insertis worth trying even when noPrtSclabel is visible. - Use Microsoft's no-key fallback. For devices that ship without a
PrtScnbutton at all, Microsoft's keyboard shortcut for Print Screen page givesFn+ the Windows logo key +Space. It captures the screen with no Print Screen key involved. - Borrow a key from the screen. Press
Win+Ctrl+Oto open the Windows On-Screen Keyboard. ItsPrtScnbutton behaves like a physical one, so you can holdAlton the real keyboard and clickPrtScnwith the mouse to copy one window. - Skip the key entirely.
Win+Shift+Snever touches the top row, which makes it the reliable choice on any keyboard that is missing keys.
Tablets are their own case. On a detachable Windows tablet with no keyboard attached, hardware buttons take over. Microsoft's Surface screenshot guide says to hold the power button and then press volume up, and notes that this does not work on a Surface Laptop. Our guide to screenshots on a Surface also covers the Surface Pen and the Snipping key on newer keyboards.
If your keyboard clearly has a PrtSc key and pressing it does nothing at all, that is a different problem: Print Screen not working on Windows lists the causes.

Tired of plain screenshots? Try ScreenSnap Pro.
Beautiful backgrounds, pro annotations, GIF recording, and instant cloud sharing, all in one app. Pay $39 once, own it forever.
See pricing and featuresLaptop keyboards differ by brand
The Windows shortcuts are identical on every laptop. Where the PrtSc key sits, and whether it fires on its own, is decided by the manufacturer. One row each, then follow the link for the full fix.
| Brand | Where Print Screen lives | Does it need Fn? |
|---|---|---|
| HP | Top row on the right, printed prt sc in small type | Depends on Action Keys Mode in the BIOS |
| Dell | Shares F10 on Latitude, folds into Insert on others, on a touch strip on recent XPS | Usually yes, until you press Fn + Esc |
| Lenovo | Shared top row | Yes, because Fn lock ships switched on from the factory |
| ThinkPad | Bottom row, just right of the right Alt key, or on F9 on the newest models | Not for the bottom row key, and on F9 models it depends on FnLock |
| Asus | Top row, plus a separate capture hotkey near F11 or F12 | Yes on most models, and Fn + Esc flips it |
| Acer | Top row or bottom right, and absent entirely on some Aspire models | Yes, set by Function Key Behavior in the firmware |
| Surface | Top row on older Type Covers, swapped for a Snipping key on newer ones, and absent once the keyboard is detached | No. Tap the Snipping key on its own, or press Power + Volume Up on a detached tablet |
It did not save. Where did my screenshot go?
Nothing appeared to happen, and that is usually correct. Most shortcuts on both platforms copy to the clipboard rather than writing a file.
On Windows: Win + PrtSc is the only shortcut that saves automatically, into Pictures, then Screenshots. PrtSc, Alt + PrtSc and Win + Shift + S all stop at the clipboard, so press Ctrl + V somewhere to see the image. Our guide to where screenshots go on Windows has the folder paths, and Win + Shift + S not working covers the case where the overlay refuses to open.
On a Mac: captures land on the desktop by default, named "Screenshot" plus the date and time. If yours are not there, someone has changed the destination in the Cmd + Shift + 5 capture bar under Options. See where screenshots go on a Mac, or Mac screenshots not working if nothing is being created at all.
Once you have the image, you can annotate it in the browser without installing anything.
Windows and Mac screenshot keys side by side
Useful if you switch between machines, or if you are writing instructions for a reader who might be on either one.
| What you want | Windows | Mac |
|---|---|---|
| Whole screen | Win + PrtSc | Cmd + Shift + 3 |
| Chosen area | Win + Shift + S | Cmd + Shift + 4 |
| Single window | Alt + PrtSc | Cmd + Shift + 4, then Space |
| Save a file automatically | Win + PrtSc | Any shortcut, by default |
| Copy to clipboard | PrtSc | Add Control to any shortcut |
| Capture toolbar | Win + Shift + S | Cmd + Shift + 5 |
When the built-in keys stop being enough
The built-in tools are fine for the occasional grab. They start to grate when capturing is part of the job: two different shortcut sets if you own both machines, arrows and blur added in some other app afterwards, and a file you still have to attach to something.
ScreenSnap Pro is one answer. It runs on both Mac and Windows from a single $39 one-time purchase with a two computer license, so the shortcut you learn is the same on either side and nothing renews. Captures open straight into markup with 15 annotation tools, blur included, and an optional cloud link lets you paste a URL instead of an attachment. Checkout emails you the license key and installer right away. It is a paid app with no free tier, so if you capture once a month, stay with Win + Shift + S or Cmd + Shift + 4.

Frequently Asked Questions

Morgan
Indie DeveloperIndie developer, founder of ScreenSnap Pro. A decade of shipping consumer Mac apps and developer tools. Read full bio
@m_0_r_g_a_n_