How to Remove Metadata From Photos (Windows, Mac, Online)
Every photo your phone takes carries a hidden file of notes about itself. When you want to remove metadata from a photo before posting it, you are stripping that file off: the GPS coordinates, the timestamp, the camera model, sometimes the serial number of the device. None of it is visible in the picture. All of it travels with the file.
To remove metadata from a photo: on Windows, right-click the file, open Properties, go to Details, and choose "Remove Properties and Personal Information". On Mac, export a copy from Photos with location turned off. Online, run the file through an EXIF stripper. Each of those takes under a minute, and the last section of this guide shows how to confirm the data is actually gone, which most guides skip.
What metadata is actually stored in your photos
The technical name is EXIF. It is a block of fields written into the file next to the pixels. A photo from a modern phone usually carries:
- GPS coordinates. Latitude, longitude, and often altitude, accurate to a few metres. This is the field people care about.
- Date and time. When the shutter fired, sometimes with the time zone.
- Device make and model. "iPhone 16 Pro", "Pixel 9". Occasionally a unique device or lens serial number.
- Camera settings. Aperture, shutter speed, ISO, focal length, whether the flash fired.
- Orientation. How the image should be rotated when displayed.
- Software. The app that last wrote the file. This quietly reveals whether a photo was edited.
- Thumbnail. A small embedded preview. Some older tools did not update it when the main image was cropped.
That last one has caught people out badly. The tool crops the image but leaves the old thumbnail in place, so the thumbnail still shows what you cropped away.
Not every image carries all of this. A screenshot has no GPS and no camera settings, because no camera was involved. It usually still records a timestamp and the software that made it. A photo pulled from a social network has often been stripped already. A photo emailed straight off someone's phone almost certainly has everything.
Do I actually need to remove it?
Sometimes the metadata is the point. Photographers use it to track settings, and location data is what lets your photo library sort holidays onto a map. Stripping it from your personal archive throws away information you cannot recover.
The cases where removing it matters are specific:
- Posting a picture taken at home, or anywhere you do not want tied to you, to a public forum, marketplace listing, or dating profile.
- Sending photos to someone you do not know, such as a buyer, a landlord, or a support agent.
- Publishing images on a website, where the files sit at a fixed URL that anyone can download and inspect.
- Sharing screenshots that were taken on a work machine, where the software field can leak internal tool names.
Most large social platforms strip EXIF on upload. Direct file transfers do not: email attachments, messaging apps in "send as file" mode, cloud folder links, and anything you upload to your own site all preserve it.
How to remove metadata from a photo on Windows
Windows has this built in, and it is the fastest route for a handful of files.
- Find the photo in File Explorer, right-click it, and choose Properties.
- Open the Details tab. Scroll it. This is the metadata, laid out plainly, and it is worth reading once so you know what has been travelling with your files.
- Click Remove Properties and Personal Information at the bottom.
- Choose Create a copy with all possible properties removed, then click OK.
You get a new file next to the original with - Copy in the name and the metadata gone. Use that one.
The second option, "Remove the following properties from this file", edits the original in place and lets you tick individual fields. That is useful if you want to drop the GPS but keep the camera settings. It is also destructive, so make sure you are happy losing those fields permanently.
Select several files first and this works on all of them at once, which makes it the quickest bulk method on Windows without installing anything.
One caveat. This Windows feature is thorough on common fields, but it may not clear every vendor block a camera maker has written. For anything sensitive, check the result using the method at the end of this guide. Microsoft documents the same idea for Office files in its guide to removing hidden data and personal information.
How to remove metadata from a photo on Mac
macOS is less direct than Windows here. There is no single right-click "strip metadata" command in Finder, and Preview's inspector shows you the data without offering to delete it.
Method 1: Export from Photos without location
If the image is in your Photos library, this is the cleanest option.
- Select the photo in Photos.
- Go to File → Export → Export 1 Photo.
- In the export dialog, set Location Information to off, and set Keyword, Title, Caption, and Description to off as well.
- Export to a folder and use the exported copy.
This reliably removes the GPS data and your own tags. It does not strip everything: camera and exposure fields usually survive an export, because Photos treats those as part of the image rather than personal information. Apple covers the location side of this in its guide to editing location and date information.
If GPS is your concern, this is enough. If you want a genuinely bare file, use one of the next two methods.
Method 2: Re-encode the file
Metadata is not part of the pixel data. So any process that decodes an image and writes fresh pixels drops the original block. Opening a photo in Preview and using File → Export with a format change is the manual version. A browser-based converter or compressor does the same thing, because it rebuilds the file rather than editing it.
That makes this a handy side effect of jobs you may be doing anyway, such as converting an image format or compressing a photo without losing quality. It is a real strip, not a cosmetic one. Treat it as a by-product rather than a guarantee, though. Some tools copy EXIF across on purpose to keep the orientation, so check the result.
Method 3: ExifTool, for control and bulk work
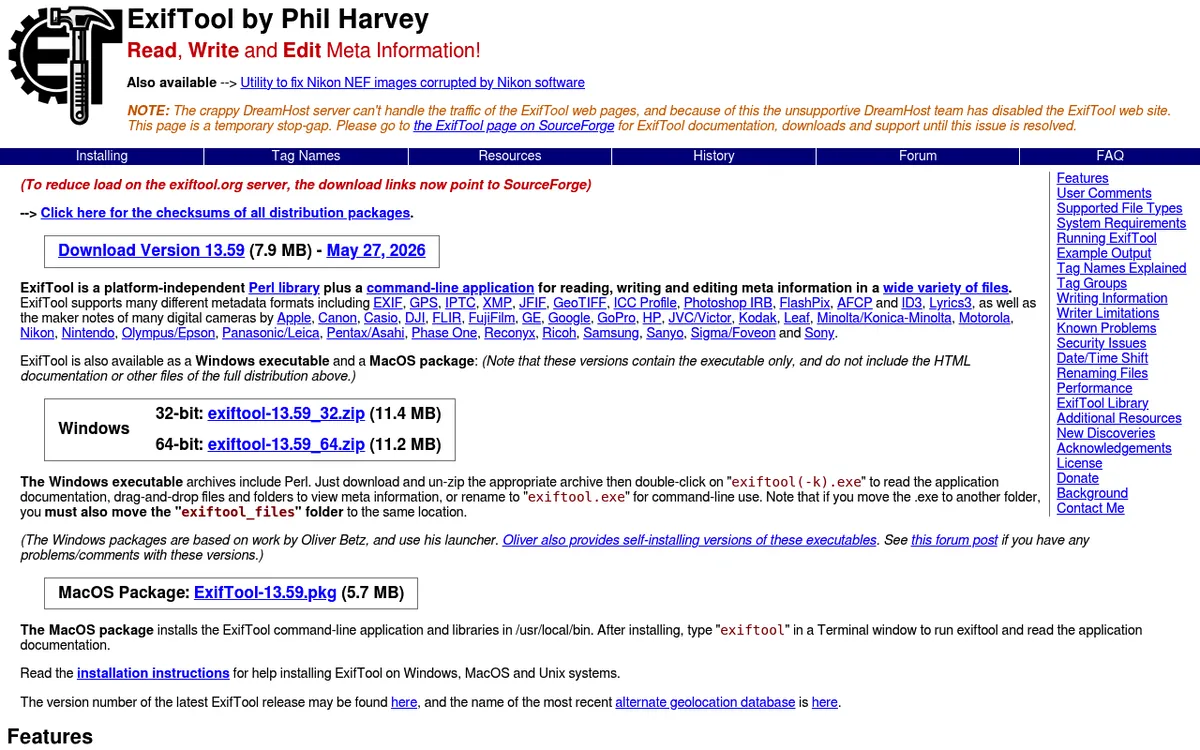
ExifTool is the reference implementation for this job, free, and the tool most privacy guides eventually point at. It is a command line utility, which puts some people off, but the command you need is short.
Install it, then in Terminal:
exiftool -all= photo.jpgThat clears every metadata tag it can write to. ExifTool keeps a backup as photo.jpg_original, so nothing is lost by accident. To do a whole folder, point it at the directory instead of a single file. To strip only location and leave the rest, use -gps:all=.
This is the method to use if you regularly publish images, because it scales to hundreds of files and it is precise about what it removes.

Tired of plain screenshots? Try ScreenSnap Pro.
Beautiful backgrounds, pro annotations, GIF recording, and instant cloud sharing, all in one app. Pay $34 once, own it forever.
See pricing and featuresHow to remove metadata from a photo online
If you have one or two files and do not want to install anything, a browser tool is the pragmatic choice.
Verexif does both halves of the job: it shows you the EXIF data first, including plotting GPS coordinates on a map, then strips it on request. Seeing the map is a useful shock the first time, because it makes the abstract idea of "location metadata" concrete.
imgonline is plainer but handles the same task and lets you choose which blocks to delete.
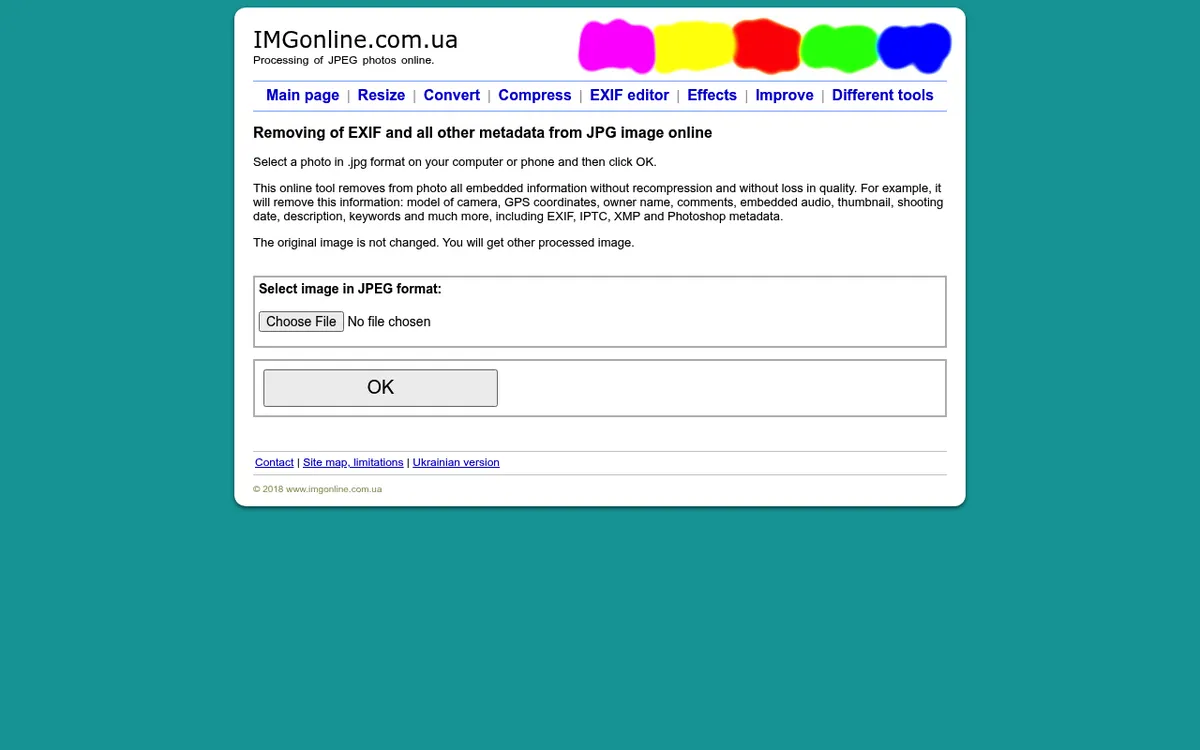
The trade-off is real, so state it plainly. To use an online stripper you upload the file, metadata and all, to somebody else's server. For a photo of a bicycle you are selling, that is fine. For anything sensitive it defeats the point, because you have just handed the coordinates to a stranger. Use the Windows, Photos, or ExifTool routes instead. The same logic applies to any browser tool that processes your files on a server rather than on your own machine.
How to check whether the metadata is really gone
This is the step almost every guide leaves out, and it is the only one that tells you whether the previous steps worked.
Our image metadata viewer reads a file's EXIF fields and shows you what is there. It runs in your browser, so the file you are checking is not uploaded anywhere, which matters when the file you are checking is the sensitive one.
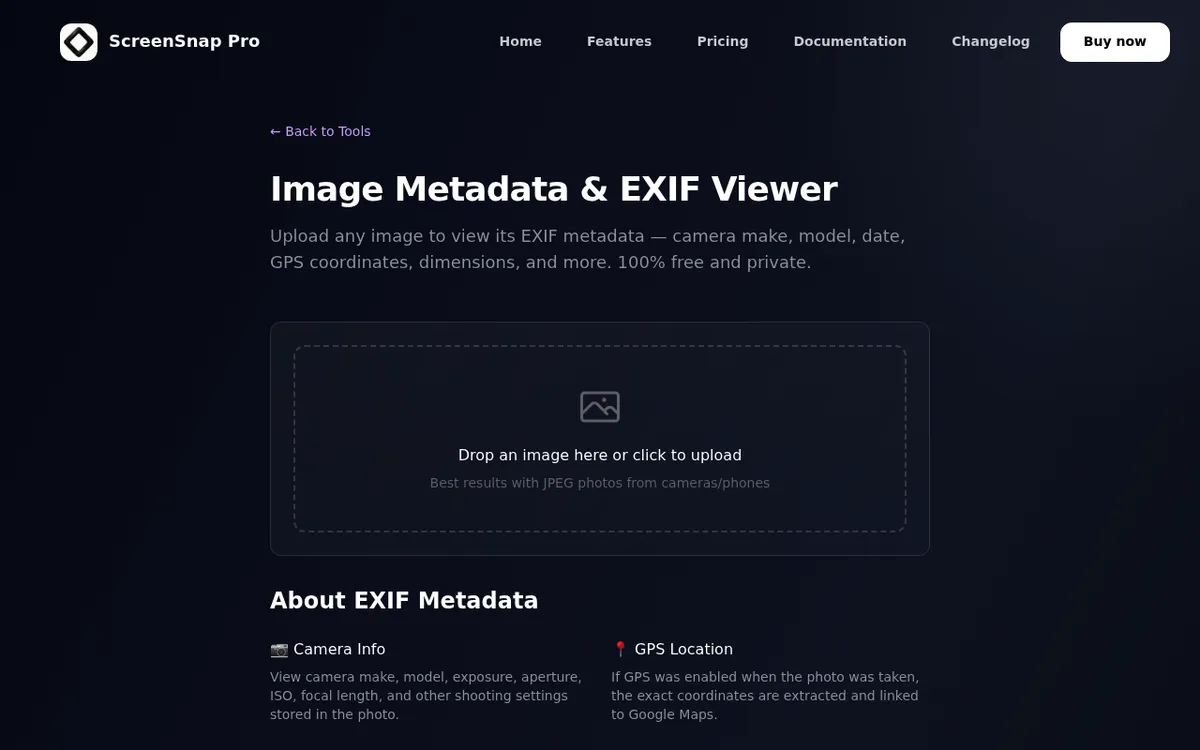
Run it twice. Once on the original, so you can see what was there, and once on the stripped copy. If the second pass shows an empty or near-empty set of fields, the strip worked. If GPS coordinates are still listed, the method you used did not clear them and you should fall back to ExifTool.
Check the file you are about to send, not the one you think you sent. The most common failure here is stripping a copy and then attaching the original.
Metadata and screenshots
Screenshots deserve a note of their own, because people assume they are safe and they are mostly, but not entirely, right.
A screenshot has no GPS and no camera data, because there was no camera. It does typically carry a creation timestamp and a software field. On a work machine that software field can name an internal build or an unusual tool, which is a small leak but a real one.
The bigger risk with a screenshot is never the metadata. It is the pixels. A notification bar, a browser tab title, an email address in the corner, a balance in a sidebar. Stripping metadata does nothing about any of that, and that is the part that actually catches people out. Fix it by blurring or pixelating the sensitive regions before you share. Redact text properly too, rather than drawing a box that can be undone. For faces, there are dedicated tools for blurring people in photos, and our roundup of image censoring tools compares the options.
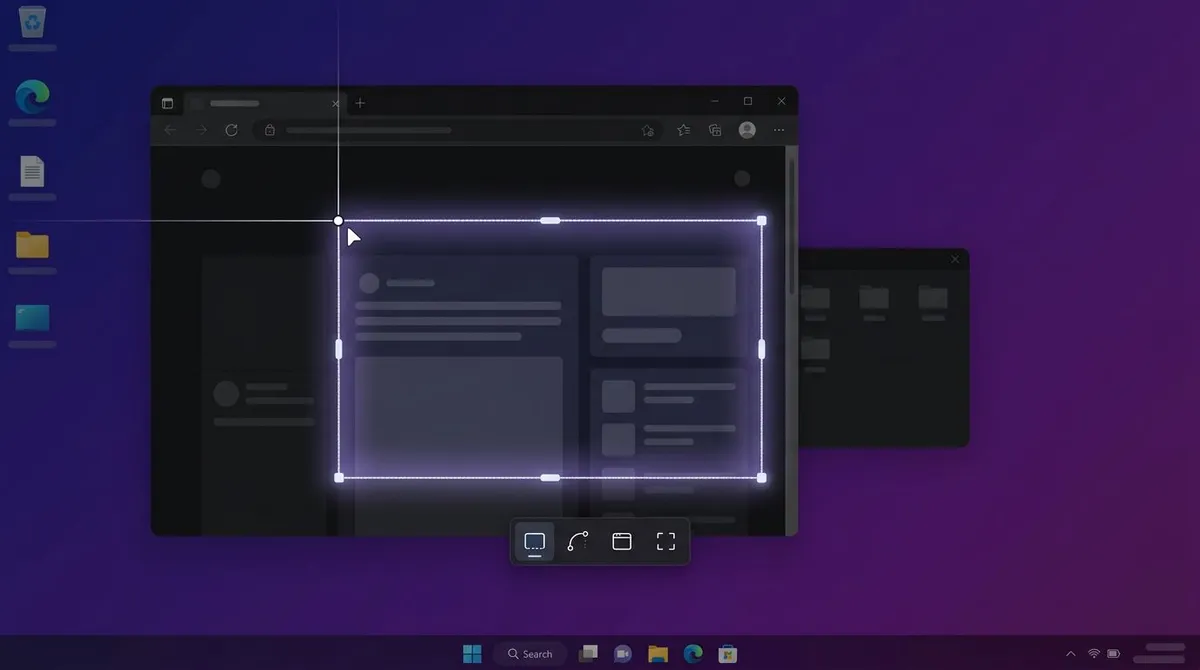
The safest habit is to capture only the region you need in the first place, so the sensitive pixels never enter the file. ScreenSnap Pro does region capture with 17 annotation tools including blur and pixelate, on Windows and Mac, for $34 once.
Frequently Asked Questions

Morgan
Indie DeveloperIndie developer, founder of ScreenSnap Pro. A decade of shipping consumer Mac apps and developer tools. Read full bio
@m_0_r_g_a_n_