How to Use Snipping Tool on Windows 11 (2026)
To use Snipping Tool, press Win + Shift + S for an image snip or Win + Shift + R for a video snip, then drag across the area you want. For the full editor with markup, Text Actions and settings, open Start and search for Snipping Tool.
That is how to use Snipping Tool at its most basic, and those three entry points cover nearly everything the app does. What most guides skip is the rest of the picture: the video recorder, the OCR panel, the honest limits of the markup toolbar, and the two features that will never appear on the majority of PCs no matter how many updates you install.
Open Snipping Tool three ways
Snipping Tool has two separate surfaces, and mixing them up is the most common source of confusion. The overlay is the dimmed screen with a small toolbar on top, and it exists only long enough to take one capture. The app window is a normal desktop app holding the editor, the markup tools, the delay timer and the settings pane.
- Press
Win + Shift + S. The overlay appears instantly. Fastest route for a one-off grab. - Press the
PrtSckey. On current Windows 11 builds this opens the same overlay instead of copying the whole screen. If it does not, switch on Use the Print screen key to open screen capture under Settings > Bluetooth & devices > Keyboard. Older builds keep the same toggle under Settings > Accessibility > Keyboard. - Open Start and search for Snipping Tool. You get the app window. Pin it to your taskbar by right-clicking the icon while it runs, because this is the surface you need for markup and settings.
Once a capture lands, a notification toast appears in the corner. Click it and the app window opens with your snip loaded. Ignore it and the image sits in your clipboard, ready to paste.
For every other capture shortcut on the system, see the full list of Windows screenshot shortcuts. If the overlay refuses to appear at all, that is a separate problem covered in Win + Shift + S not working.
The four image snip modes, and when to use each
The overlay toolbar offers four modes. Microsoft's own documentation lists them without saying when any of them is the right choice, so here is the version with judgement attached.

| Mode | What it captures | Use this when | Limitation |
|---|---|---|---|
| Rectangle | Any area you drag | Cropping a chart, a table row, an error dialog | You eyeball the edges, so straight alignment takes a retry |
| Window | One window, borders and shadow included | Documenting a dialog box or a settings panel | Cannot capture a window that is partly behind another |
| Full screen | Everything on the display | Bug reports where the whole desktop is context | Grabs your taskbar and any personal notifications |
| Freeform | A hand drawn outline | Isolating irregular shapes | Fills the leftover space with white, so it looks odd on coloured backgrounds |
Freeform is the mode almost nobody touches, and it earns its place in one job: circling scattered controls that no rectangle can enclose cleanly. Picture a settings page where the three checkboxes you care about sit in different corners. Draw a loop around all three and the reader's eye follows your outline instead of hunting through a full-page screenshot.
Window mode has a trick worth knowing. Hover a window before clicking and the overlay highlights its exact bounds, so you never have to guess where a drop shadow ends. Need to trim the result afterwards? The built-in crop button handles it, and there is more detail in our guide to cropping a screenshot on Windows.
Record your screen with a video snip
Win + Shift + R opens the video overlay. Drag a rectangle, press the record button, and a three second countdown runs before capture starts. This is the feature most competing tutorials leave out entirely, even though it reached every Windows 11 PC back in early 2023.
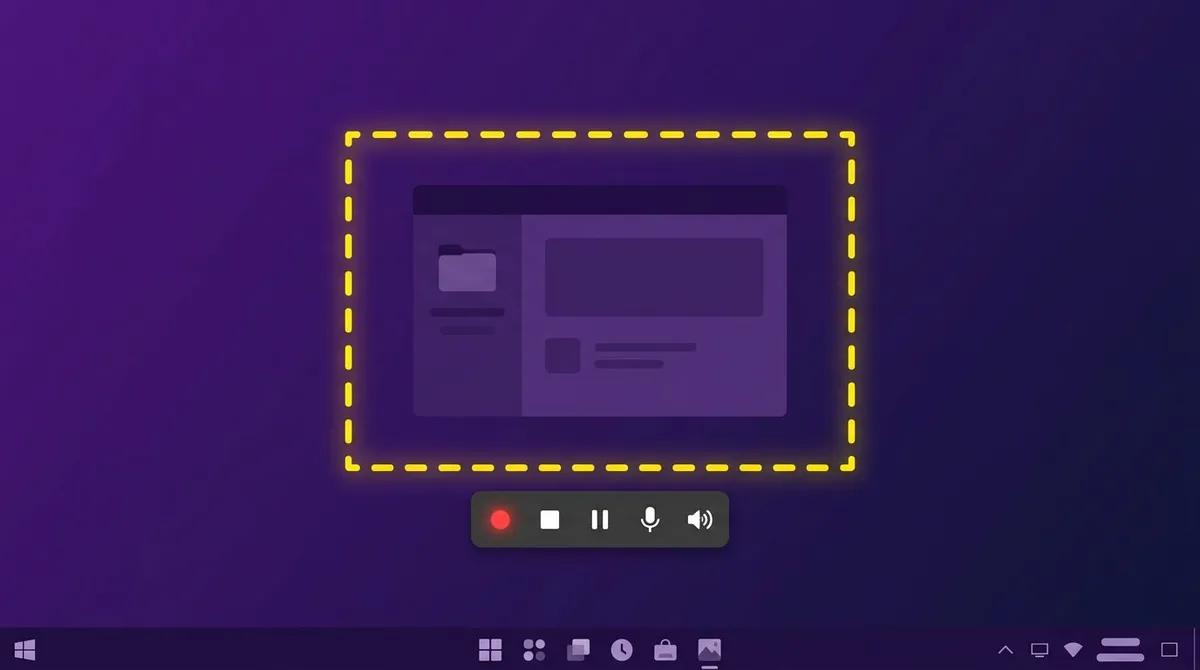
What you get:
- A rectangle, or one window. Current versions add a recording area dropdown with a Window option, which sizes the region to the app you pick. There is no freeform recording and no follow-the-cursor framing.
- Microphone and system audio toggles. Both live in the control bar and in Settings, and your choice persists between sessions. If you cannot see them, update Snipping Tool from the Microsoft Store.
- MP4 output. Saved automatically to
Videos\Screen Recordingswhen you press stop. - No webcam and no cursor highlighting. Trimming exists, but only for the start and end of the clip.
That last point is the real ceiling. The Trim button shortens a clip from either end, so a fumbled opening is easy to lose. Cutting a section out of the middle or splicing two takes together is not possible, which means a five minute walkthrough still has to go right in one pass. For the full walkthrough, including what to do when the Record button is missing, see Snipping Tool screen recording. For anything longer than a short demo, look at the dedicated options in our guide to screen recording on Windows.
Text Actions: pull text out of a snip
Capture an image, then click Text actions in the app window. Snipping Tool runs OCR across the snip and turns every word it recognises into selectable text. From there you can drag-select a passage, use Copy all text, or use Quick redact.
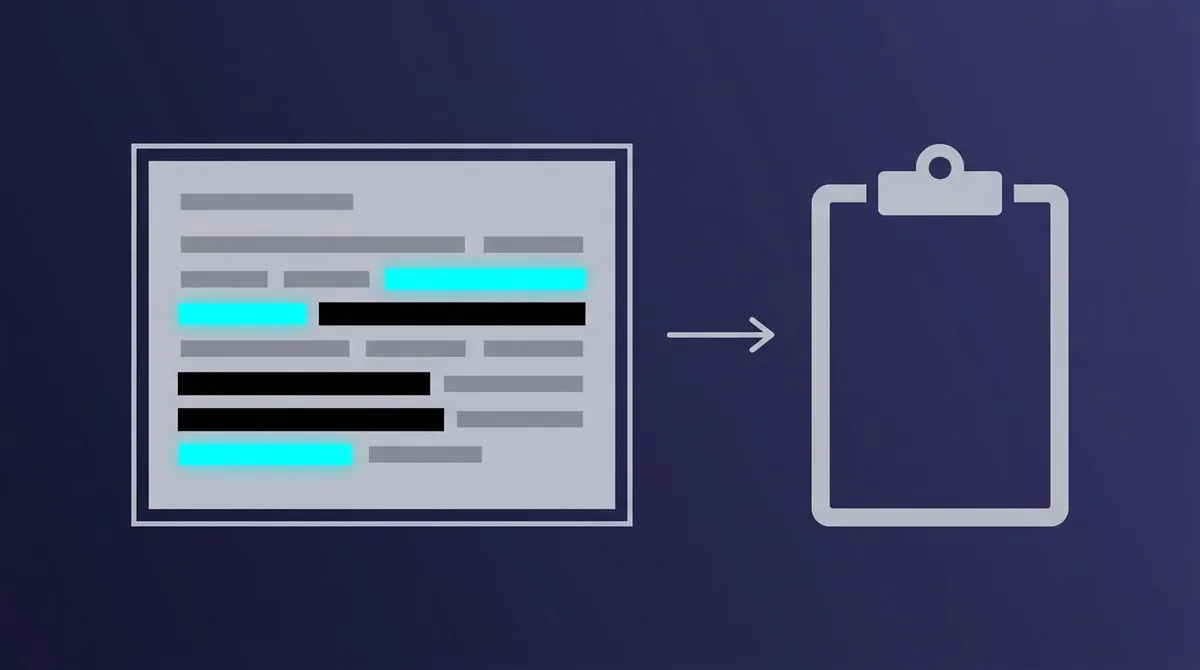
This is a real time-saver on content you cannot select: a PDF that blocks copying, a screenshot someone sent you in Slack, an error message in an installer dialog.
Read this part carefully, because a mistake here leaks data. Quick redact finds email addresses and phone numbers and strips them from the extracted text. It does not paint over the pixels in the image. Copy the redacted text into a ticket and the addresses are gone. Save or share the screenshot itself and every one of them is still sitting there in plain view.
Blurring the picture and redacting the text are two different operations, and Snipping Tool only does the second. Our free OCR tool handles extraction in the browser if your Snipping Tool version is out of date, and OCR software for Windows compares the heavier options.
Markup tools, and where they run out
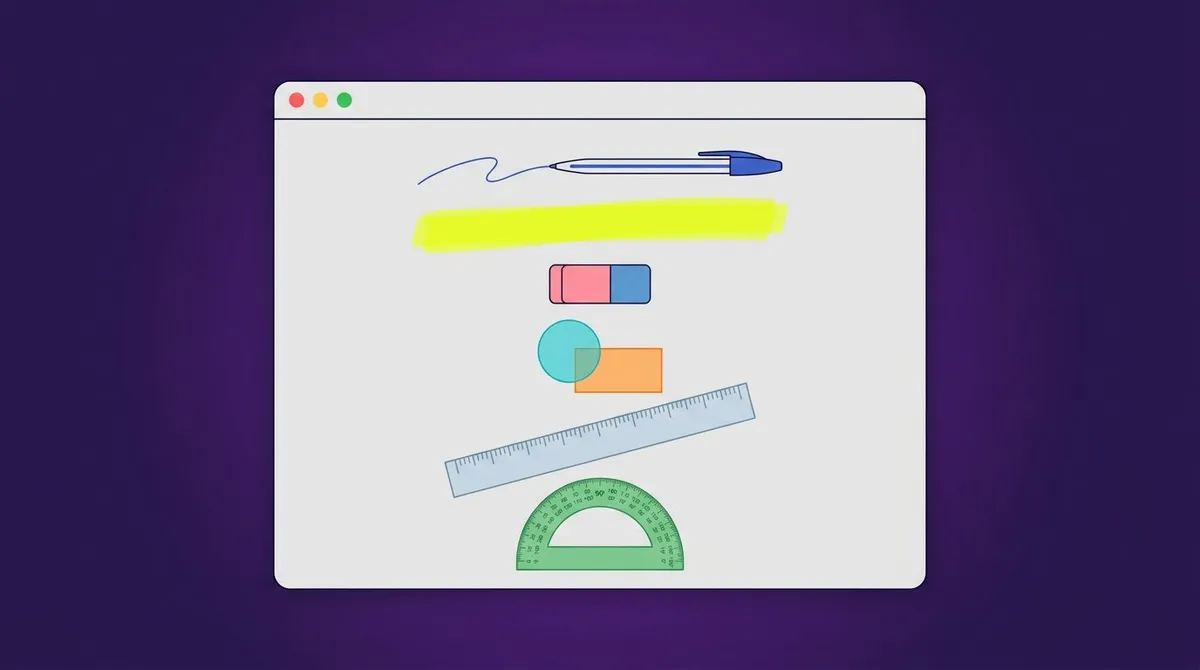
The editor gives you a ballpoint pen, a highlighter, an eraser, a ruler, a protractor, a shapes menu with rectangles, ovals, lines and arrows, and a crop tool. Pen and highlighter both take custom colours and thicknesses. The ruler and protractor rotate and resize with your scroll wheel, which makes straight lines and clean arcs achievable without a steady hand.
Here is the honest ceiling, because no other guide states it:
- No numbered step counters. Multi-step tutorials mean typing numbers into a separate app.
- No blur or pixelate. Nothing in the toolbar hides a password, a licence key or a customer name.
- No text boxes. There is an Edit in Paint button for that, which means leaving the app.
- Shapes are one-shot. Once you click away, a shape merges into the picture. You can undo it or scrub it with the eraser, but you cannot move or recolour it later.
If you hit any of those walls, editing screenshots on Windows covers what to reach for instead, and our browser-based annotation tool adds text and blur without an install.

Tired of plain screenshots? Try ScreenSnap Pro.
Beautiful backgrounds, pro annotations, GIF recording, and instant cloud sharing, all in one app. Pay $39 once, own it forever.
See pricing and featuresWhat needs a Copilot+ PC
Two Snipping Tool features are gated behind hardware, and most articles bury this in a footnote. Perfect screenshot, which auto-tightens the capture area around whatever content is on screen, and the on-screen Color picker, which grabs an exact colour value from anywhere on your display, are both Copilot+ PC only.
Copilot+ means a machine with a neural processing unit rated at 40 TOPS or higher: Snapdragon X series, Intel Core Ultra 200V series, or AMD Ryzen AI 300 series. A capable 2023 laptop with a fast Intel chip and no NPU does not qualify and never will.
So if you have been hunting the toolbar for a Perfect screenshot button, stop. It is not hidden, not behind a setting and not waiting on an update. Need a colour value in the meantime? Our free colour picker reads hex codes from an uploaded image.
Settings worth changing
Open the three-dot menu in the app window and choose Settings. Five toggles matter more than the rest.
- Automatically save original screenshots. On by default. Every snip lands in
Pictures\Screenshotsas an unedited file, alongside the clipboard copy. - Automatically copy changes. Keeps your clipboard in sync as you annotate, so
Ctrl + Valways pastes the current version rather than the raw capture. - Multiple windows. Off by default, which means each new snip replaces the last one in a single window. Turn it on and every capture opens in its own window, which is how you compare a before and after side by side.
- Add border to each screenshot. Draws an outline in a colour and thickness you pick. Useful when your screenshot has a white background and your document does too.
- Delay snip. In the app window, set a 3, 5 or 10 second delay before the overlay appears. This is the only way to capture a right-click menu, a tooltip or a dropdown that vanishes the moment you click elsewhere.
Microsoft's Snipping Tool learning centre page covers the audio defaults too. If the app misbehaves after a settings change, Snipping Tool not working walks through the fixes.
Where snips are saved
Image snips go to C:\Users\. Video snips go to C:\Users\. Recent app versions let you change both folders from Settings, worth doing if you keep project assets on a second drive. Full detail lives in where screenshots are saved on Windows.
Snipping Tool vs the other built-in options
Windows ships three capture paths, and they overlap less than people assume.
| Capability | Snipping Tool | Print Screen key | Xbox Game Bar | ScreenSnap Pro |
|---|---|---|---|---|
| Region capture | Yes, four modes | No, full screen only | No | Yes |
| Video recording | Yes, region or window, MP4 | No | Yes, one app at a time | Yes, plus GIF |
| Annotation depth | Pen, highlighter, shapes, arrows | None | None | 15 tools including blur, pixelate, step counters |
| Text extraction (OCR) | Yes | No | No | Yes |
| Sharing | Save or paste | Paste | Save | Instant link |
Print Screen alone is the fastest full-screen grab if you have not remapped it. Xbox Game Bar records a single app well and cannot record File Explorer or the desktop at all. Snipping Tool is the only built-in option that does regions, video and OCR in one place. If Print Screen has stopped responding, that has its own fix list.
When Snipping Tool is not enough
For a quick grab, Snipping Tool is fine and you should use it. It falls down on repeat, high-volume work: documentation, training material, support tickets, anything where you capture twenty images in an afternoon and every one needs an arrow, a number and a blurred field.
ScreenSnap Pro is built for that loop. Numbered step counters for tutorials, blur and pixelate applied to the image itself, 500+ gradient backgrounds so a raw capture looks presentable in a deck, and cloud upload that turns a capture into a shareable link instead of an attachment. One keystroke takes you from capture to a URL you can paste. It runs on Windows and Mac, costs $39 one time, and adds no watermark.
Two things it does not do: scrolling capture, so long web pages still need a method from scrolling screenshots on Windows, and video editing. If your bottleneck is getting images to teammates rather than making them, sharing screenshots on Windows compares the options, and Snipping Tool alternatives for Windows covers the free shortlist.
Get ScreenSnap Pro and the licence key and installer arrive by email right after checkout.
Frequently asked questions

Morgan
Indie DeveloperIndie developer, founder of ScreenSnap Pro. A decade of shipping consumer Mac apps and developer tools. Read full bio
@m_0_r_g_a_n_